

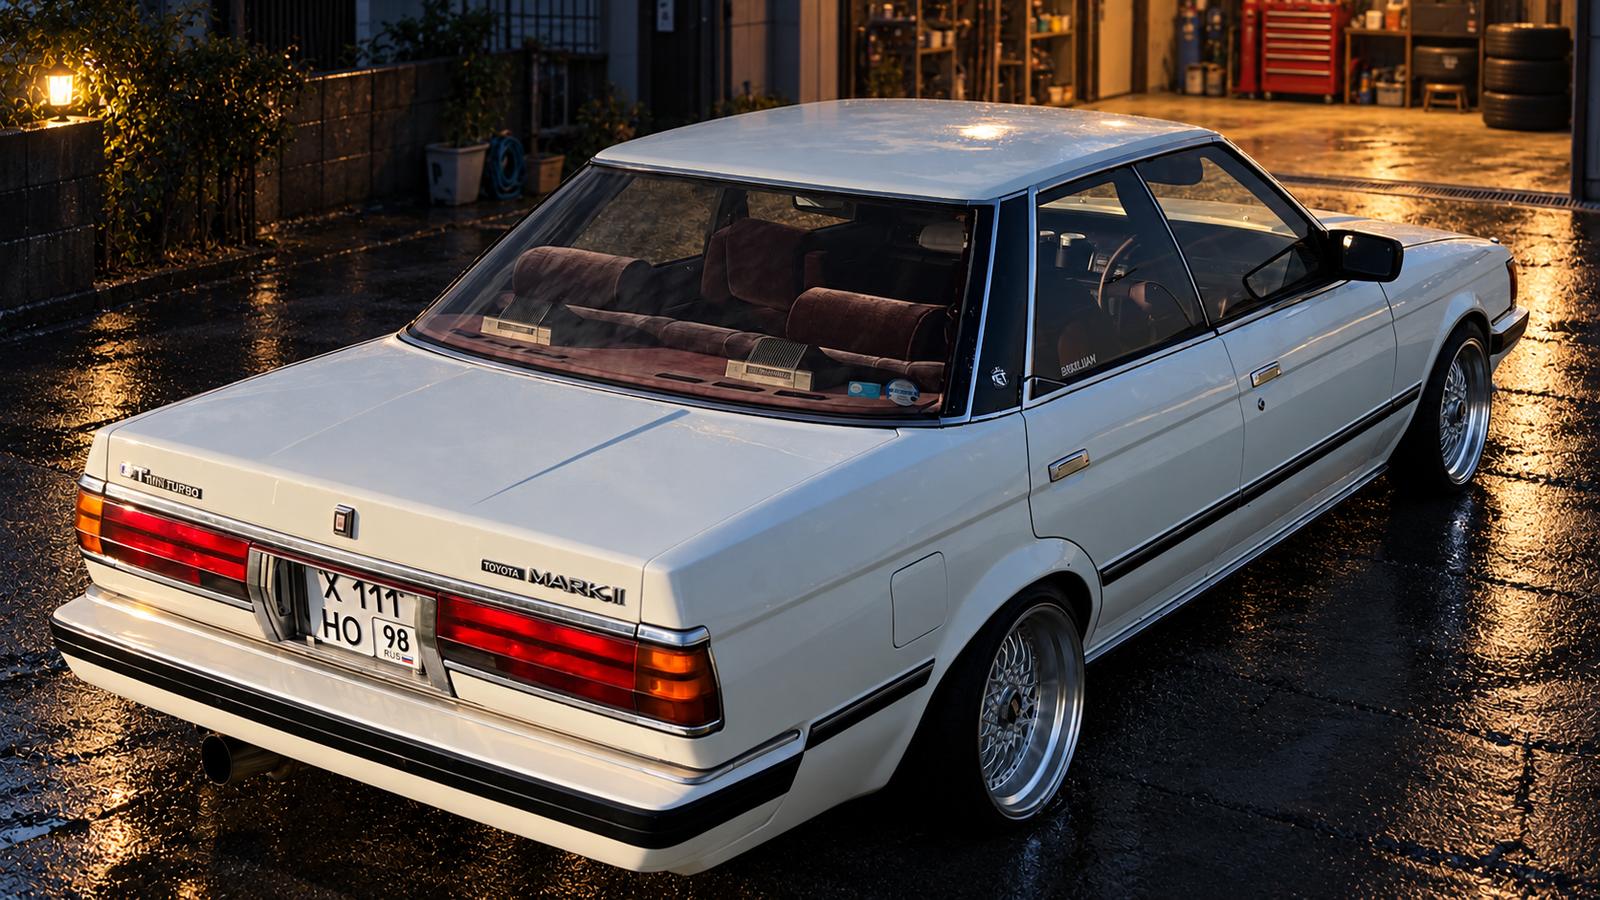
Выкладываю на ваш суд, процесс переборки стартера (так же применим для многих тойота-стартеров.
Итак! Погнали!
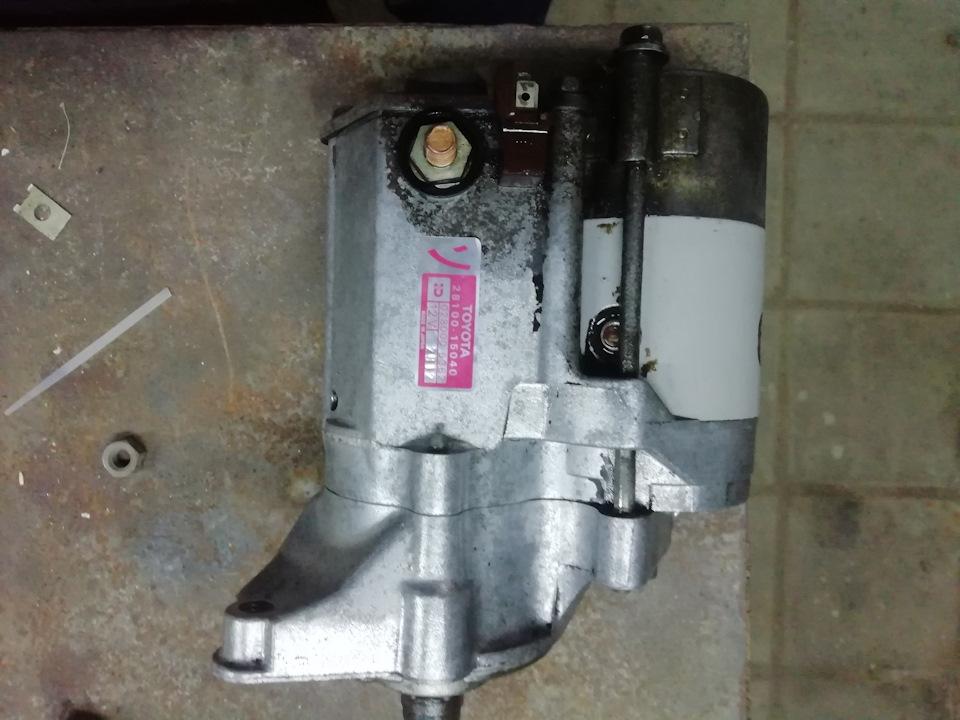
наш пациент
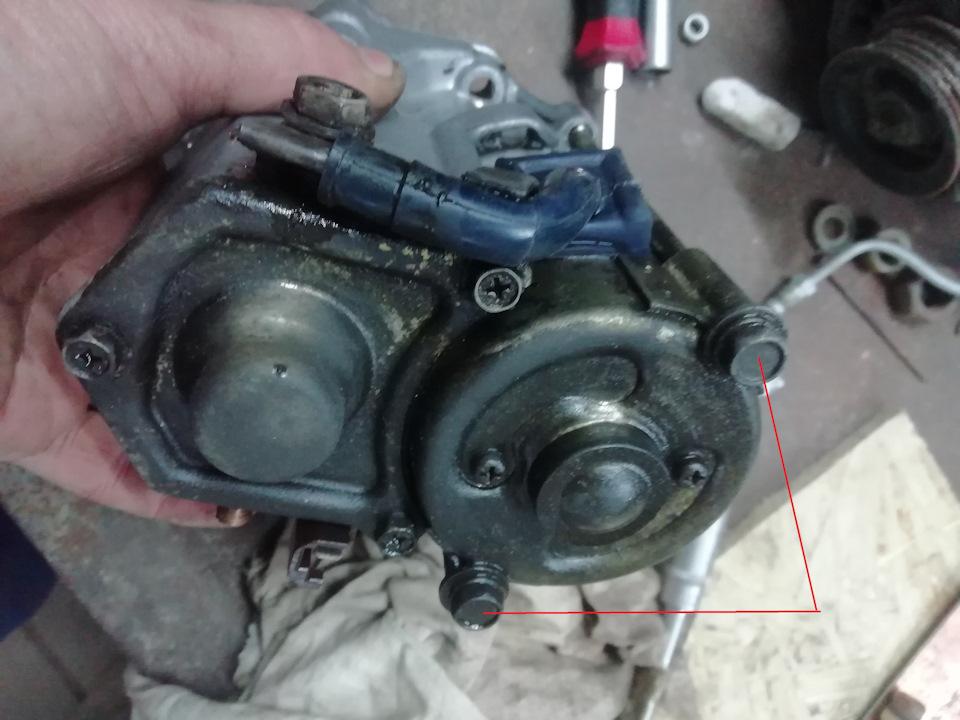
крутим два болтика на10 и гайку с клеммы
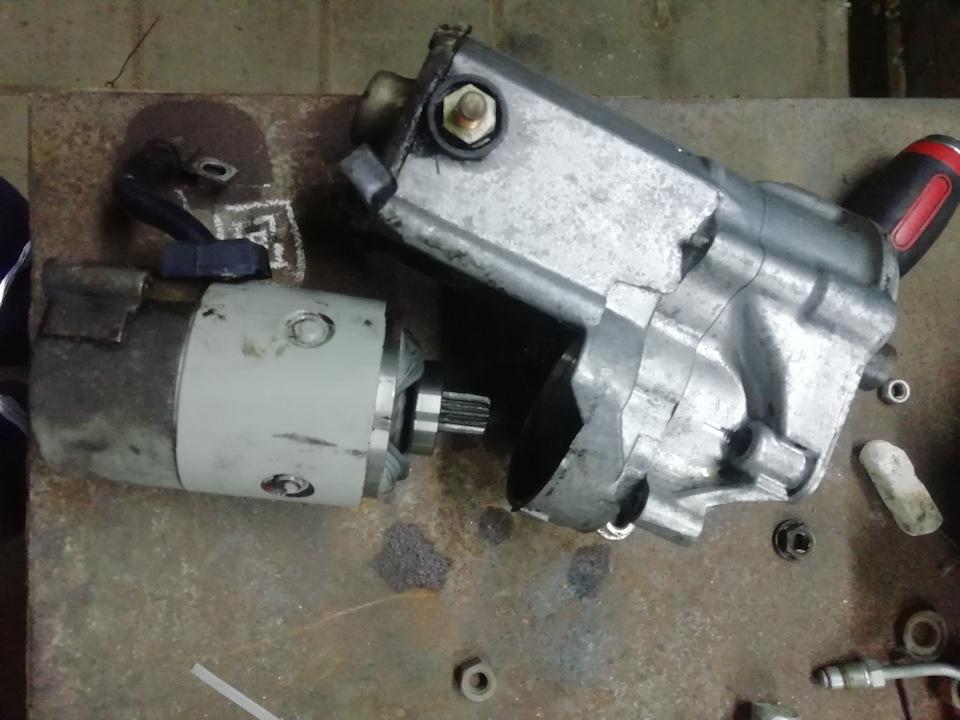
вытаскиваем электродвигатель
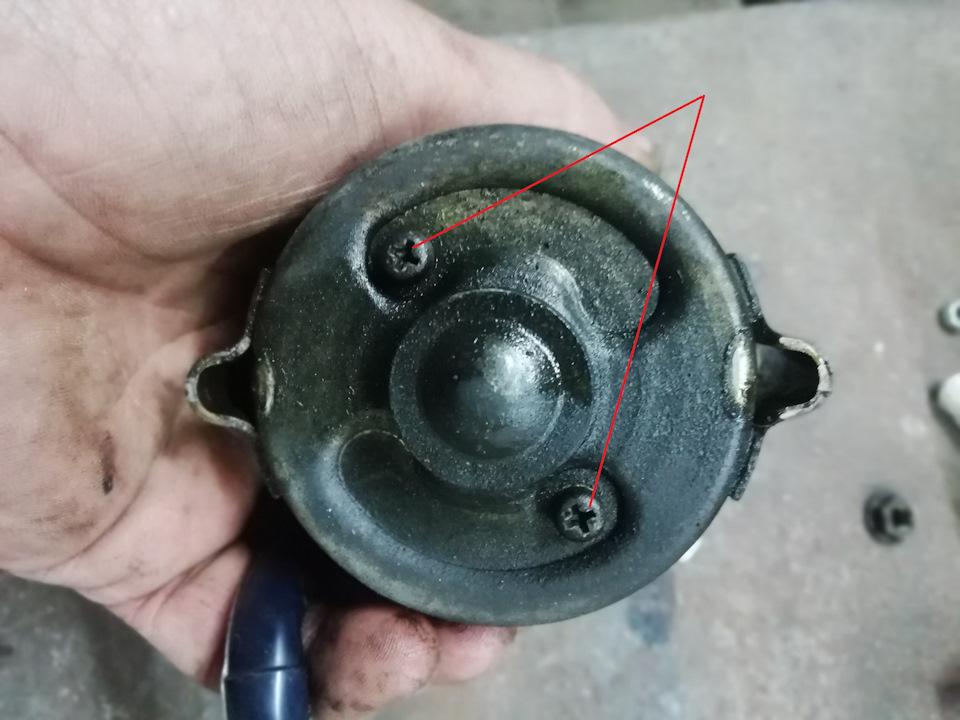
откручиваем
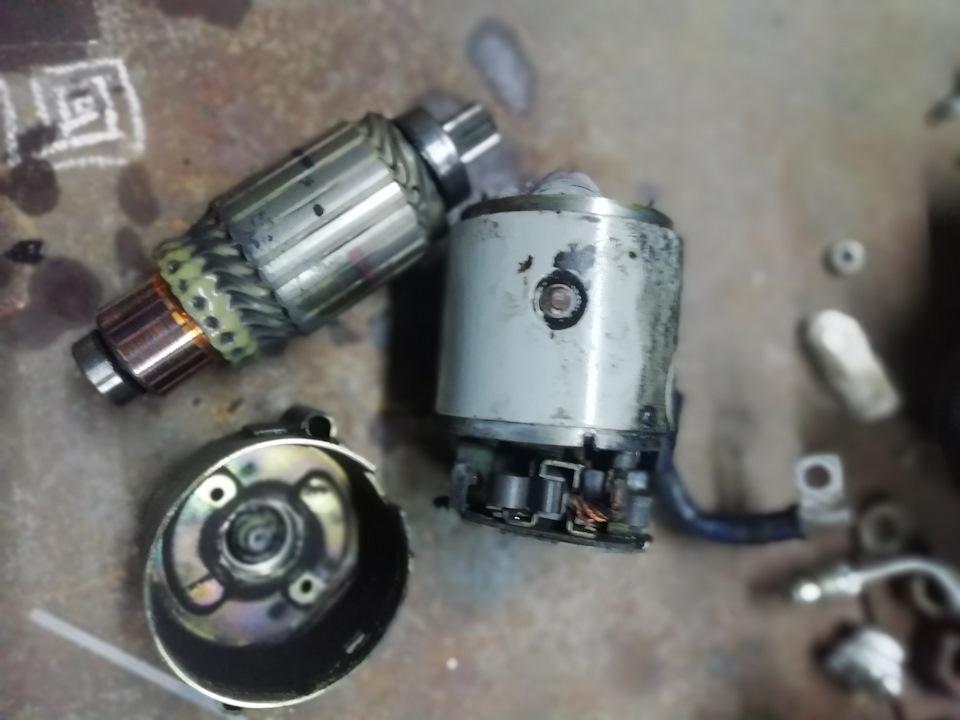
снимаем крышку и вынимаем якорь
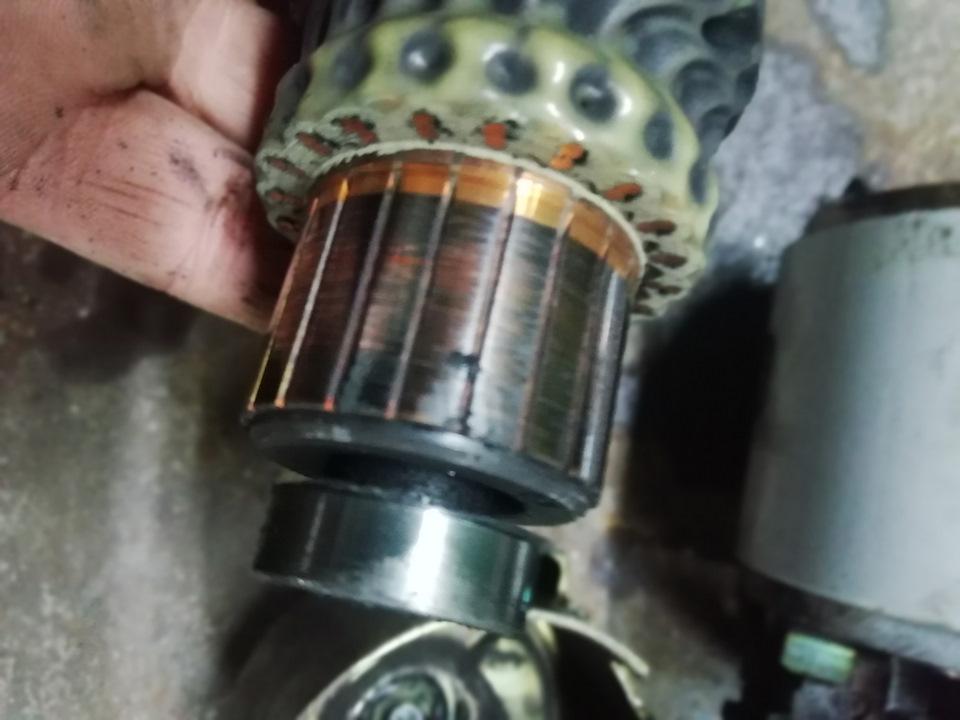
Полный размер
проверяем и чистим ламели по которым ходят щетки
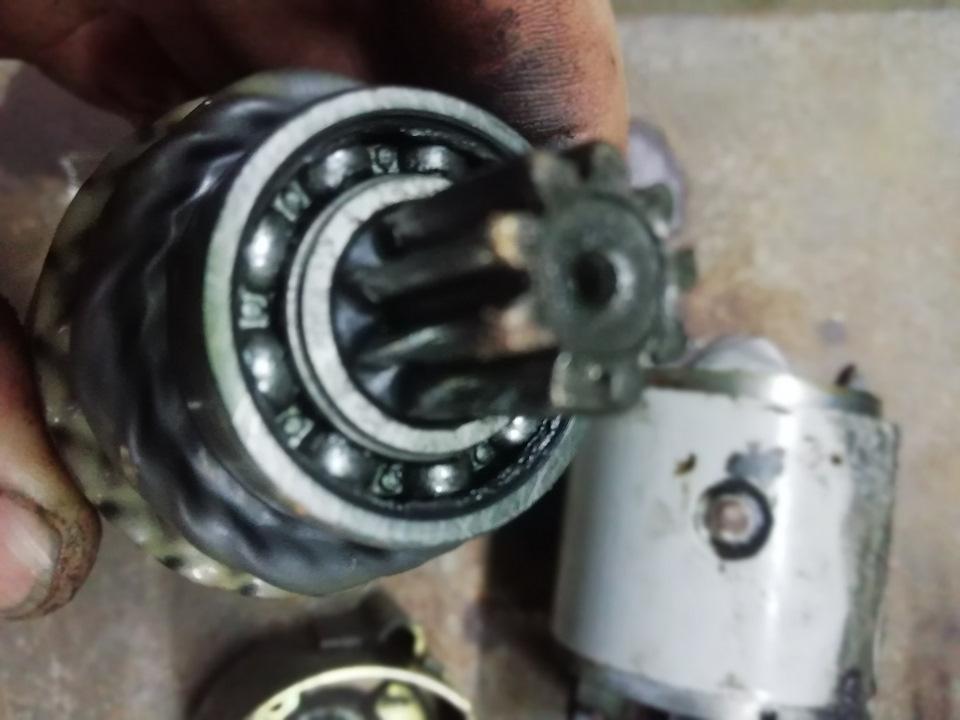
проверяем (если надо меняем), моем и смазываем подшипники. Проверяем вал-шестерню.
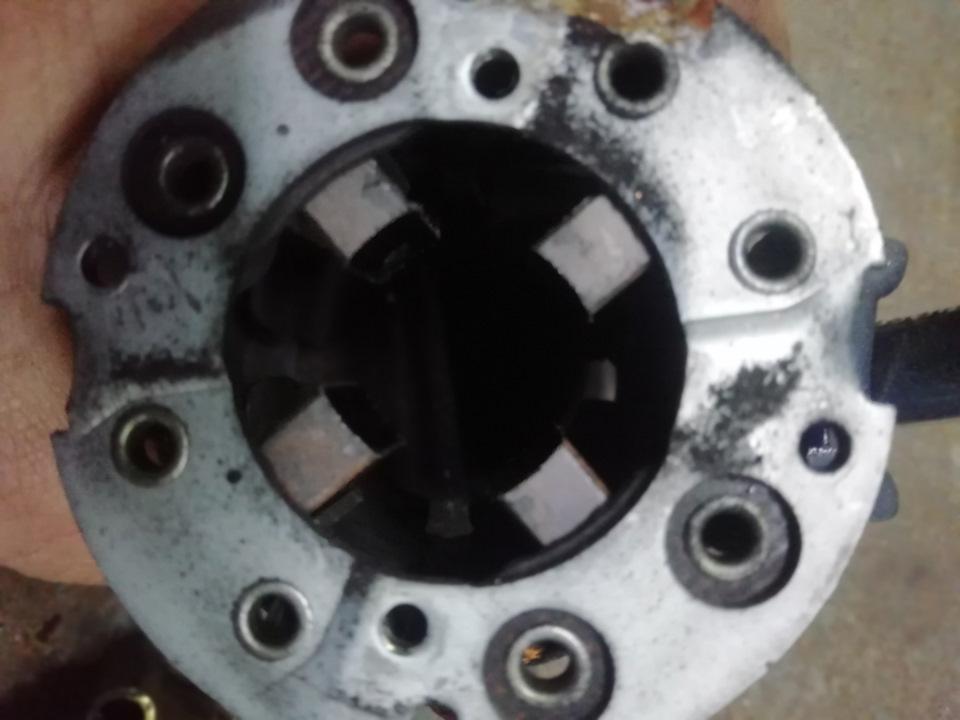
щеточки (ещё походят)
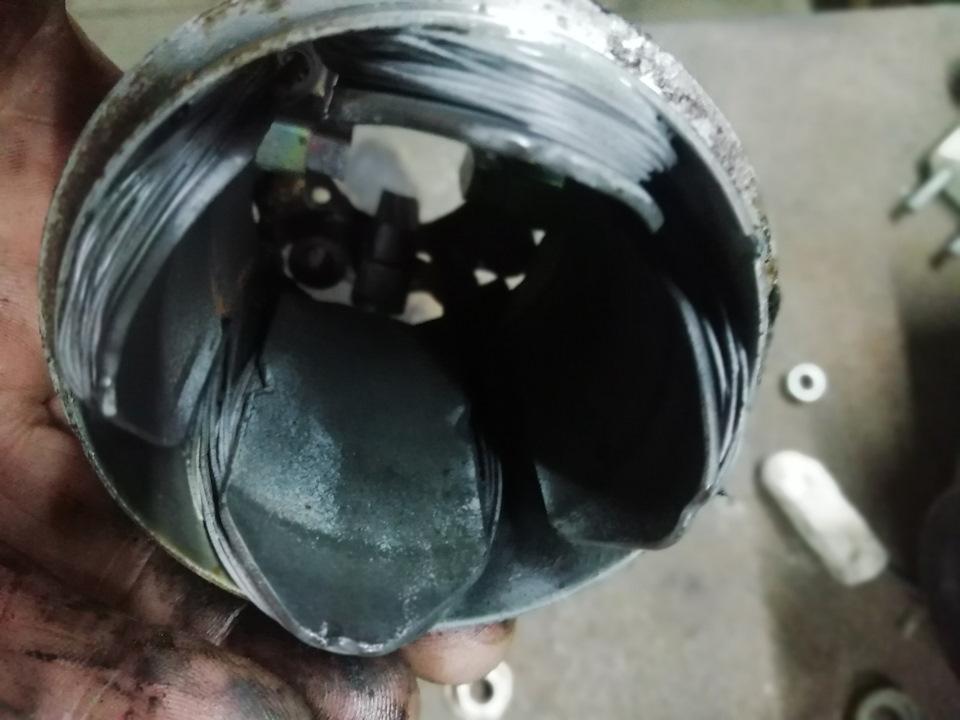
статор (не обуглился, не замкнут)
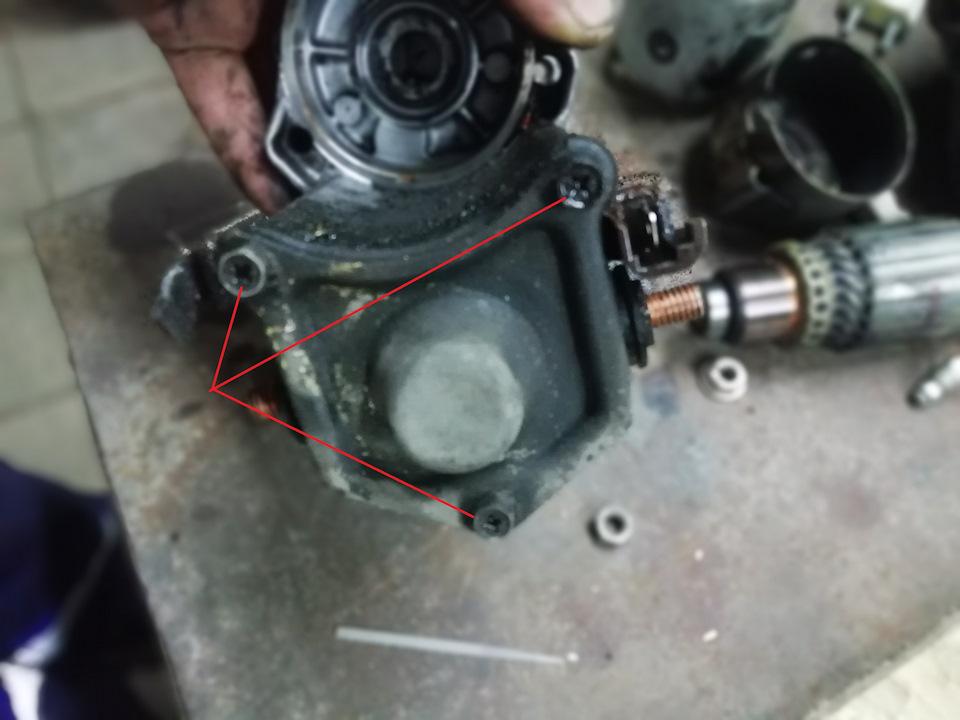
крутим винтики, снимаем крышку, видим контактные пятаки.
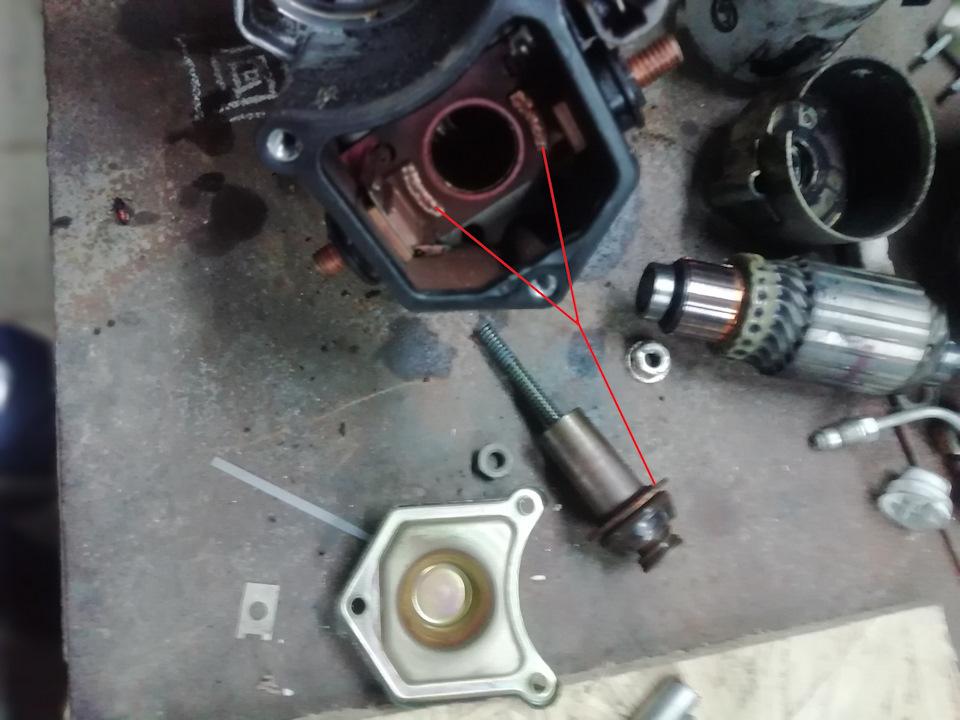
чистим пятаки в трех местах (если они износились-можно купить в магазе и поменять)
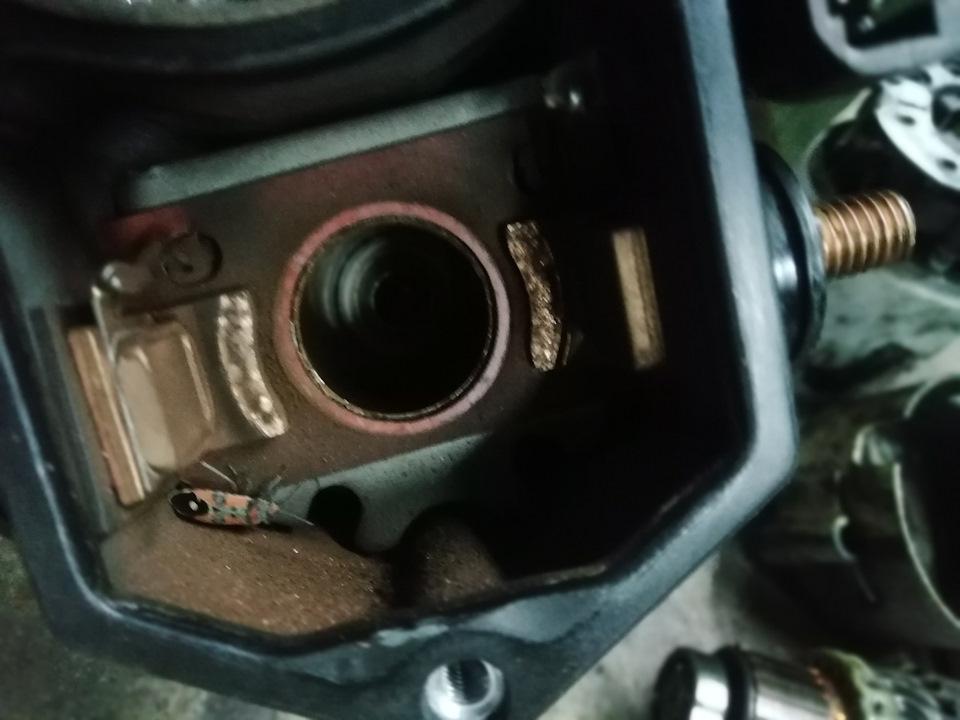
Вот кто грызёт пятаки!
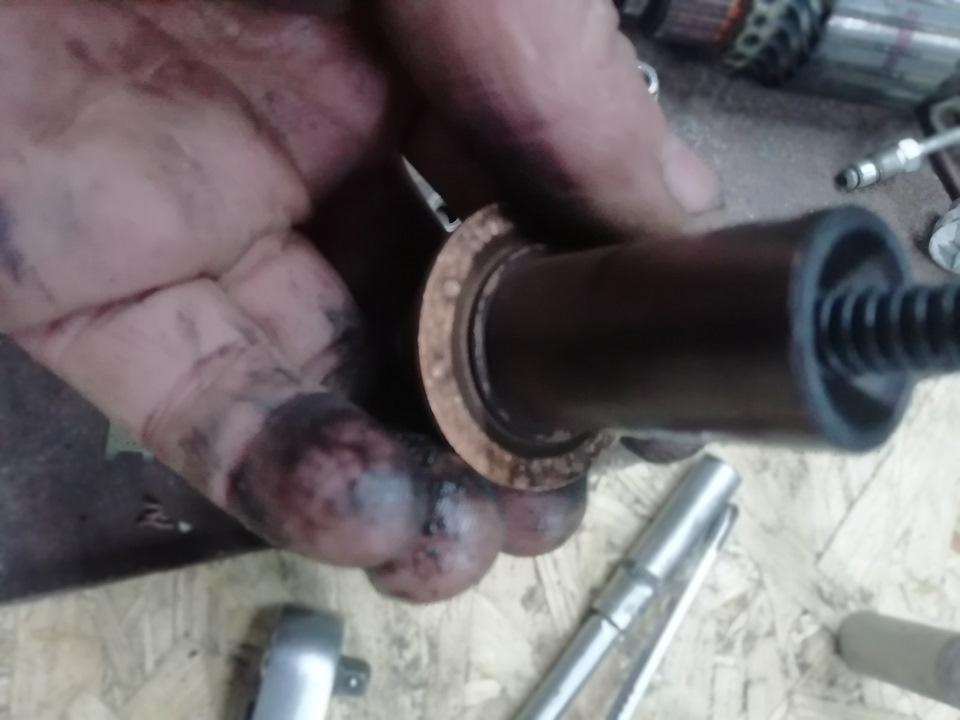
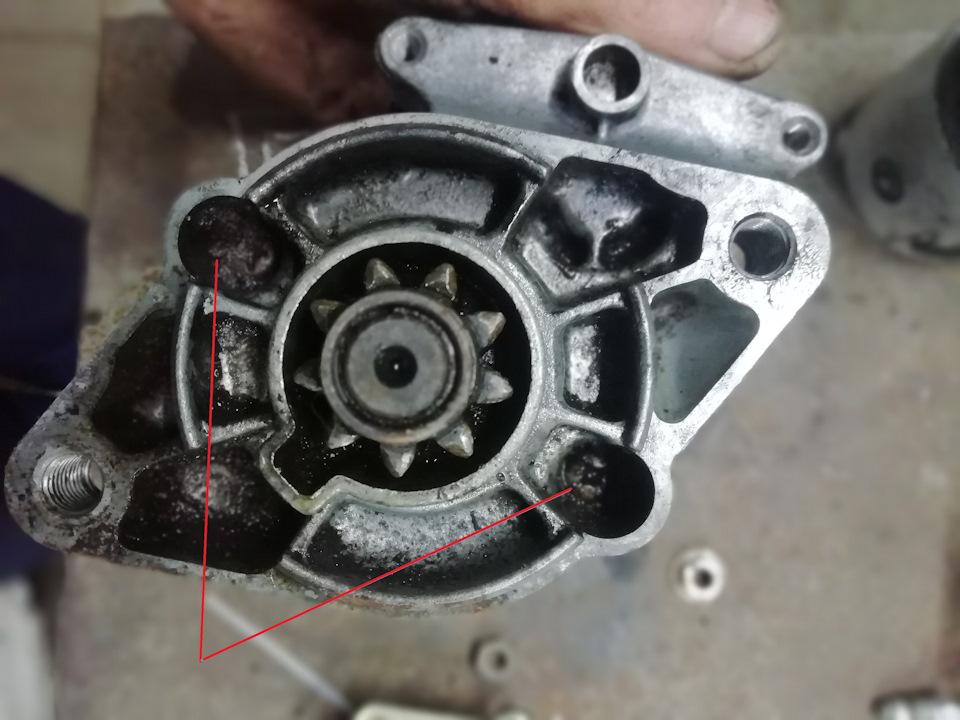
снова два болтика
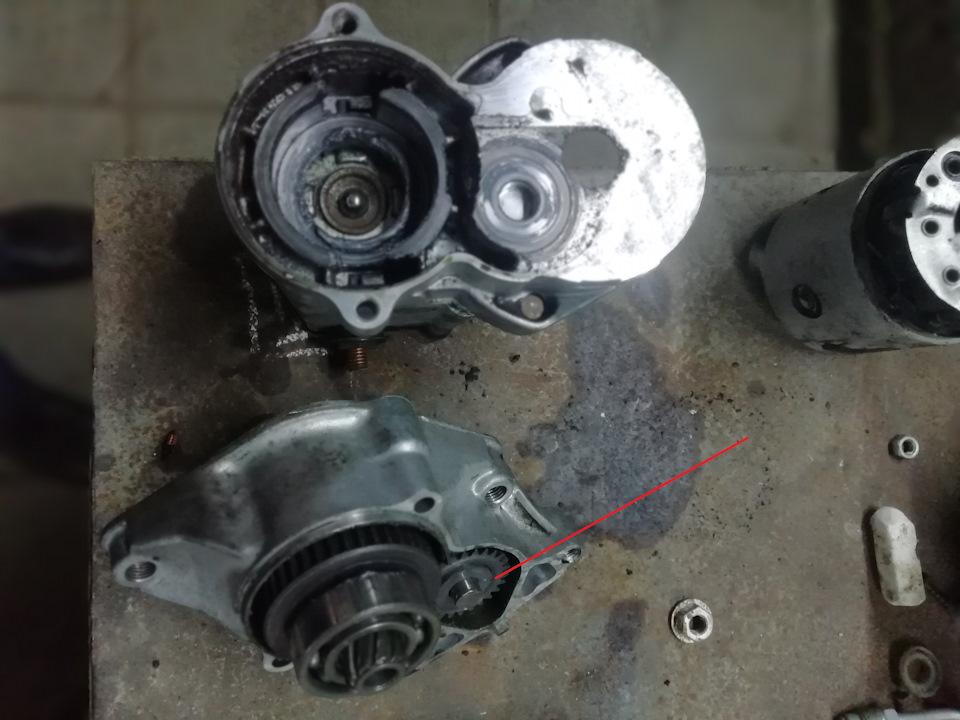
половиним редуктор ВНИМАНИЕ! не потеряйте 5ть роликов с маленькой шестерни (на фото внизу) и один шарик (на фото вверху)
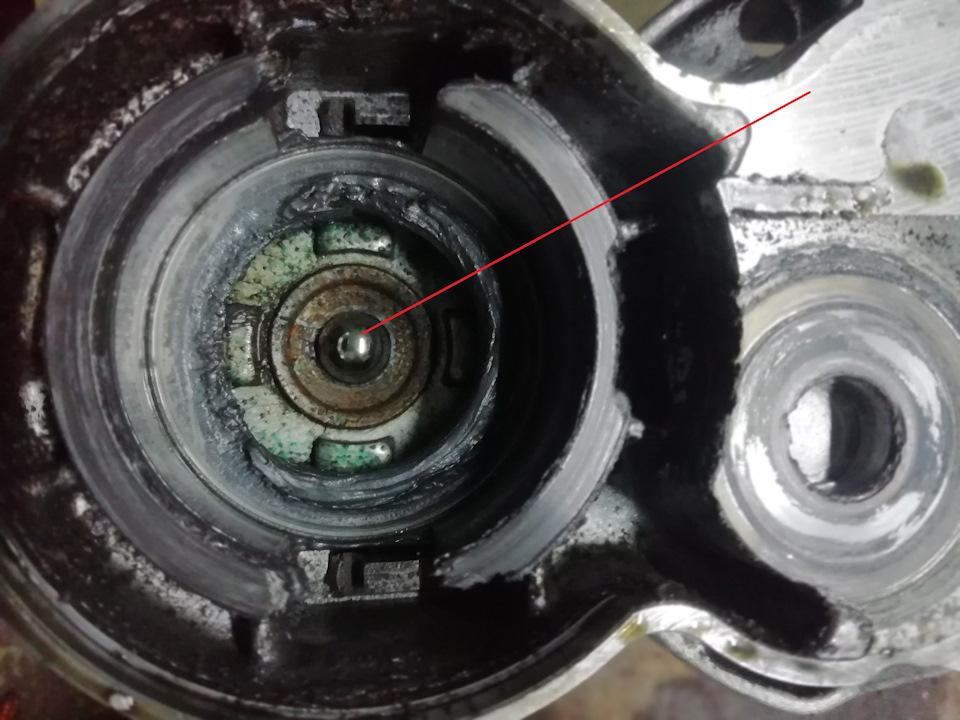
вот этот гражданский тип коварной наружности
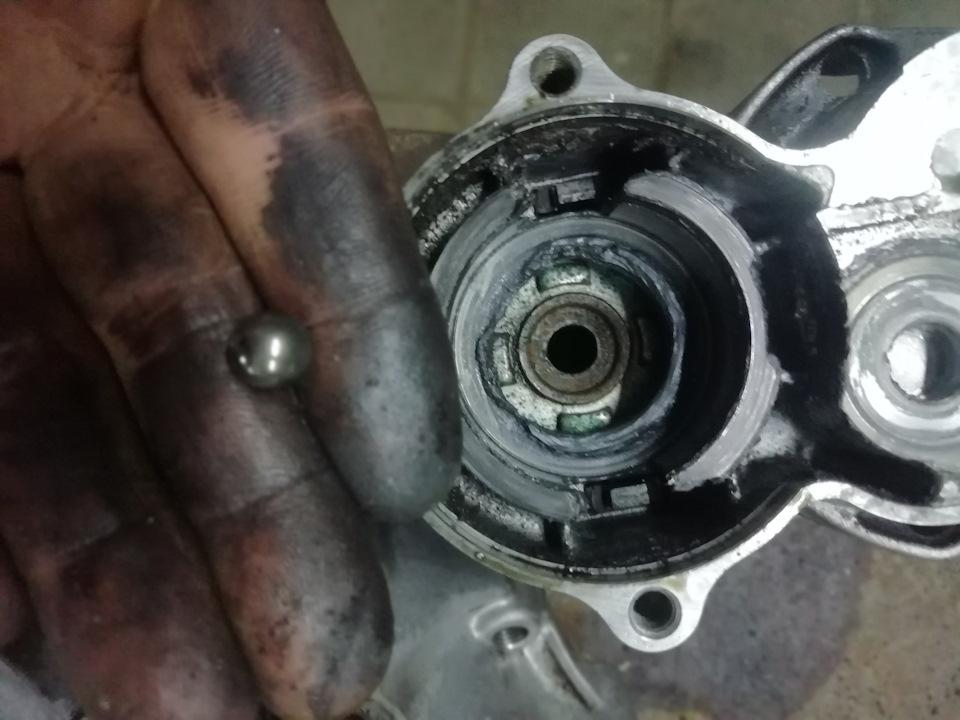
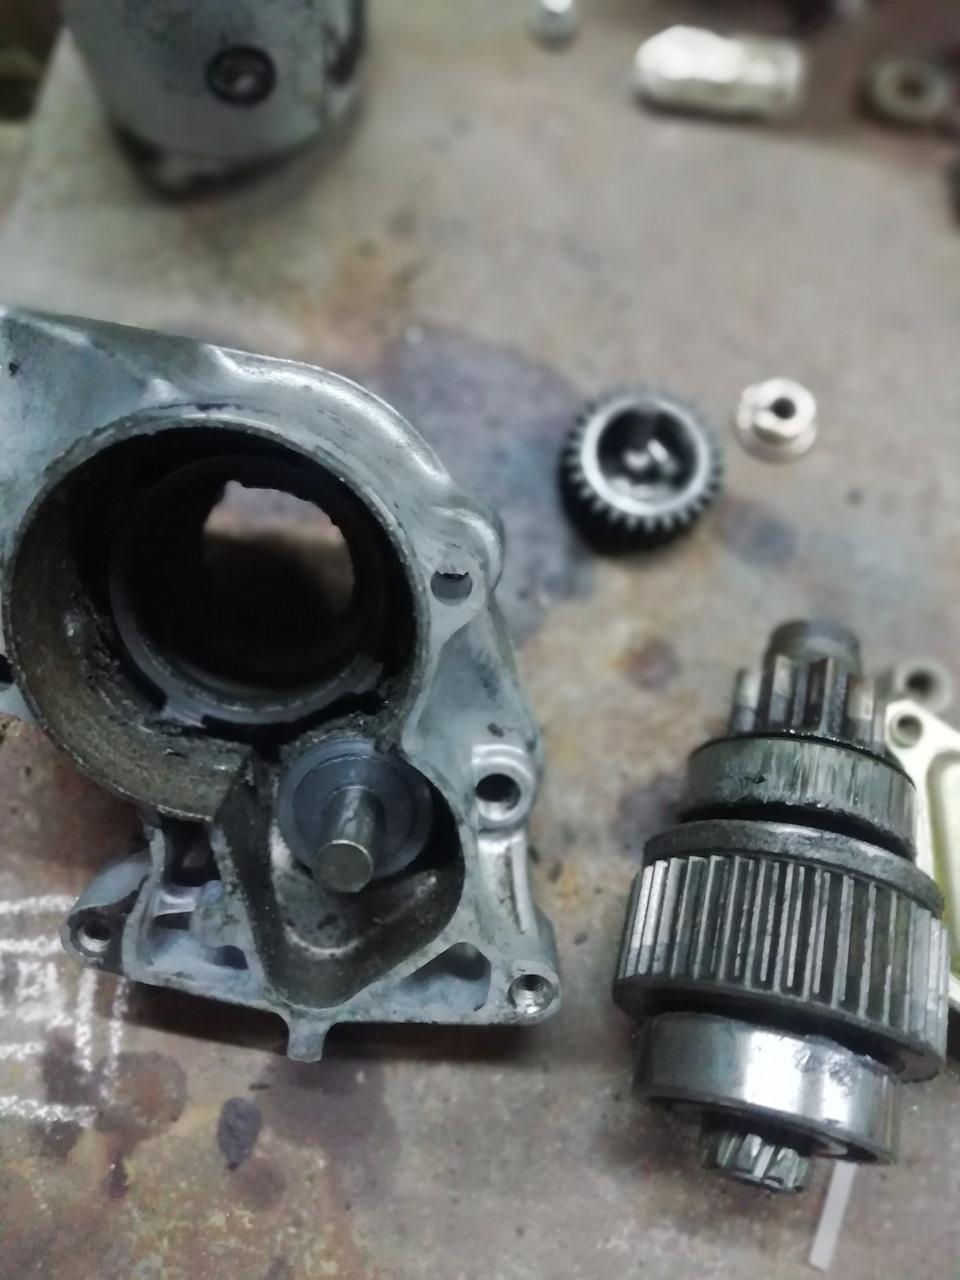
достаём бендикс
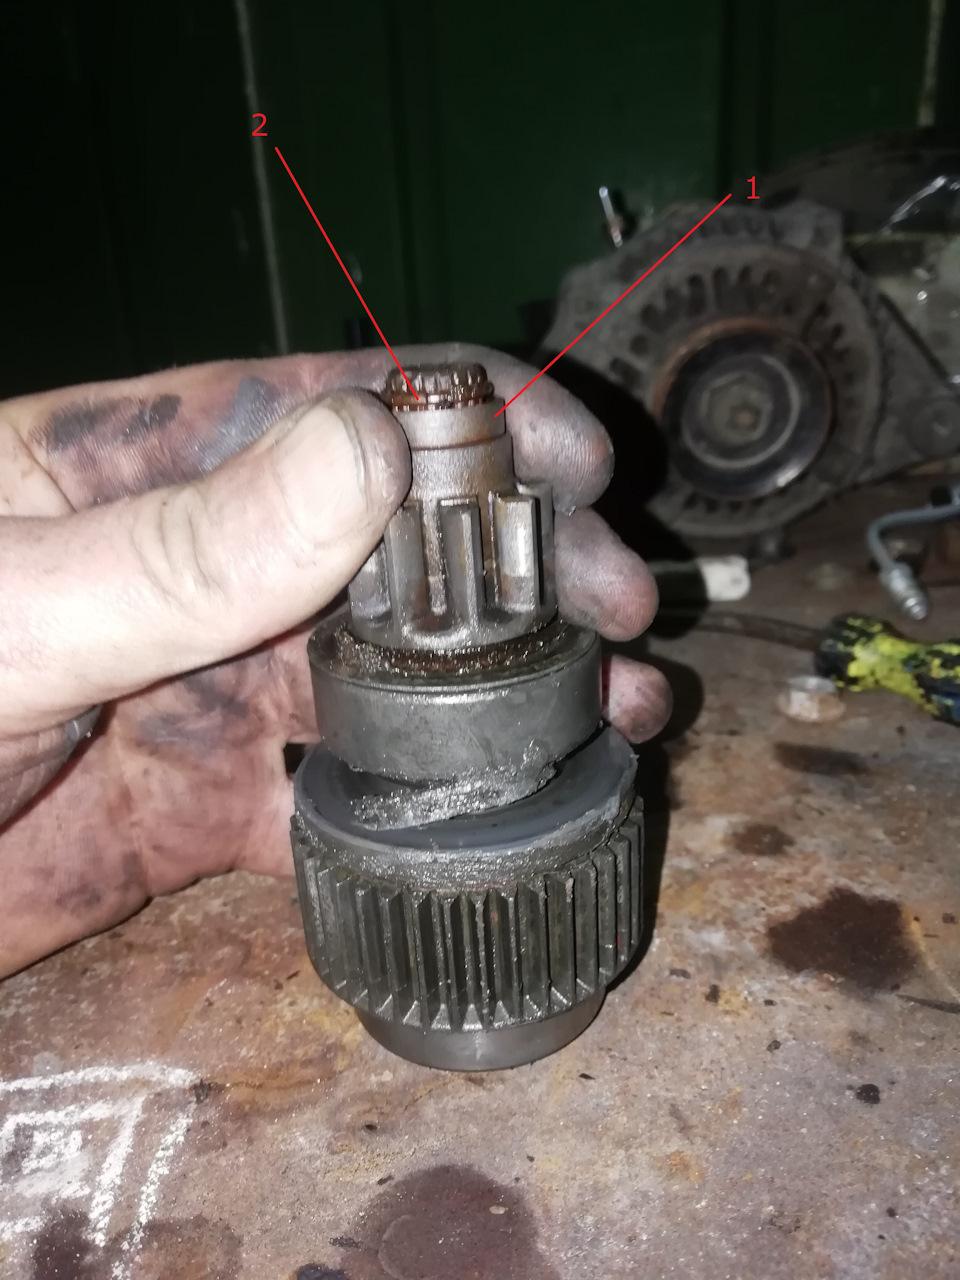
осаживаем вниз кольцо 1 (можно сверху одеть головку на 13 и слегка стукнуть-кольцо спрыгнет со стопора). И снимаем стопор 2
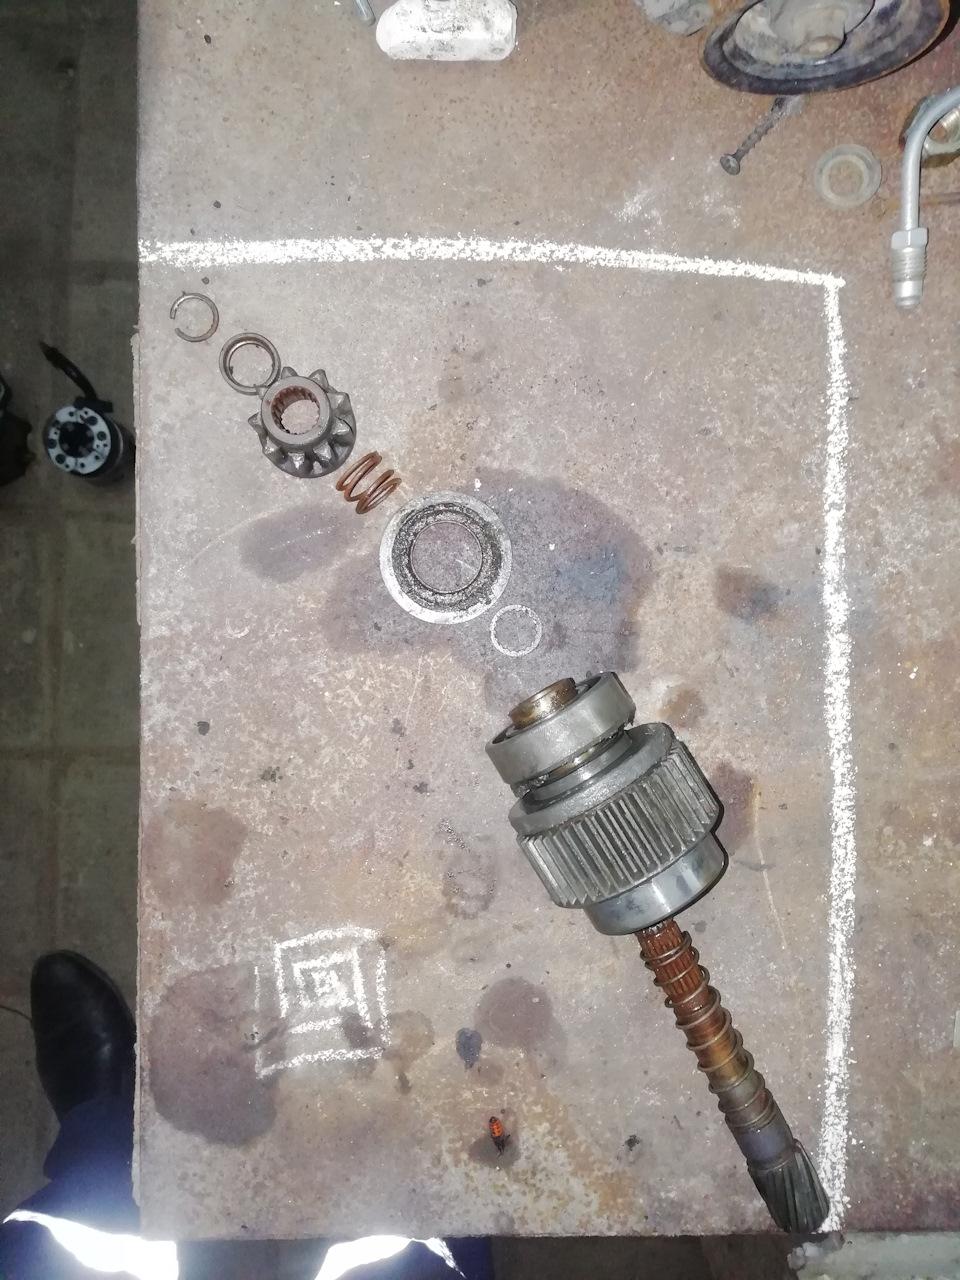
далее всё снимаем с вала в такой последовательности.
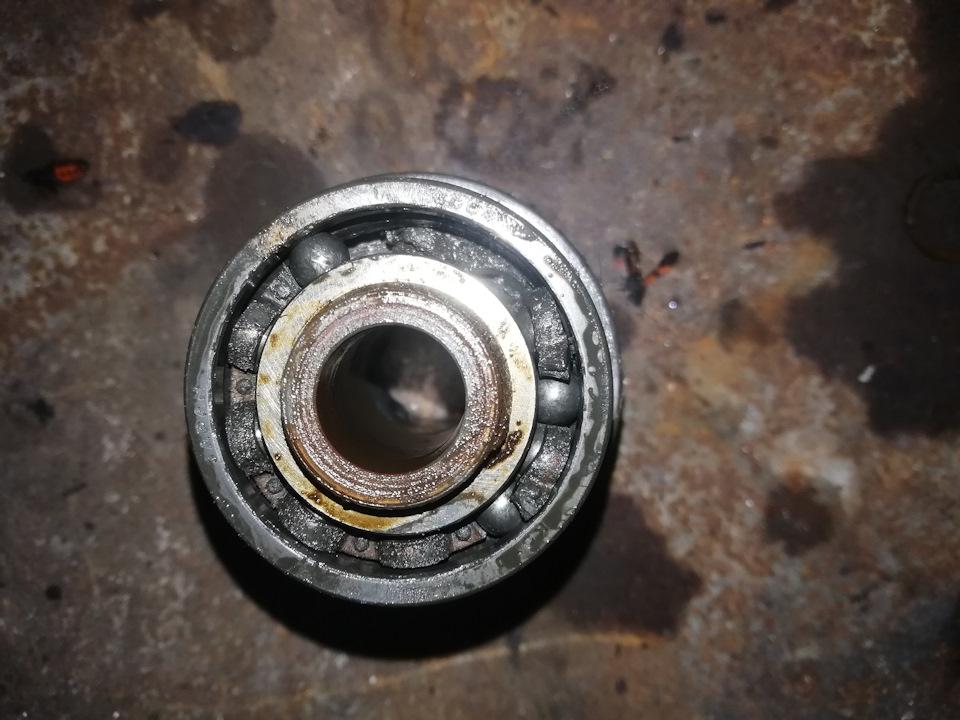
Воооот! Не зря разбирал! подшипник посыпался.
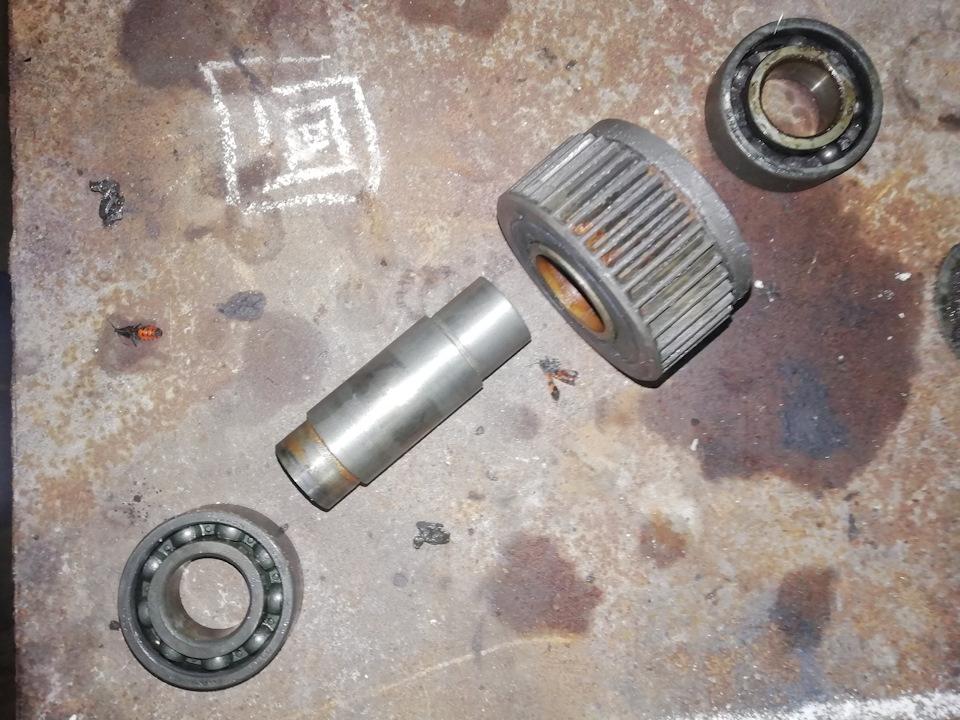
снимаем подшипники бендикса и шестерню (можно снять подшипник с одной стороны.)
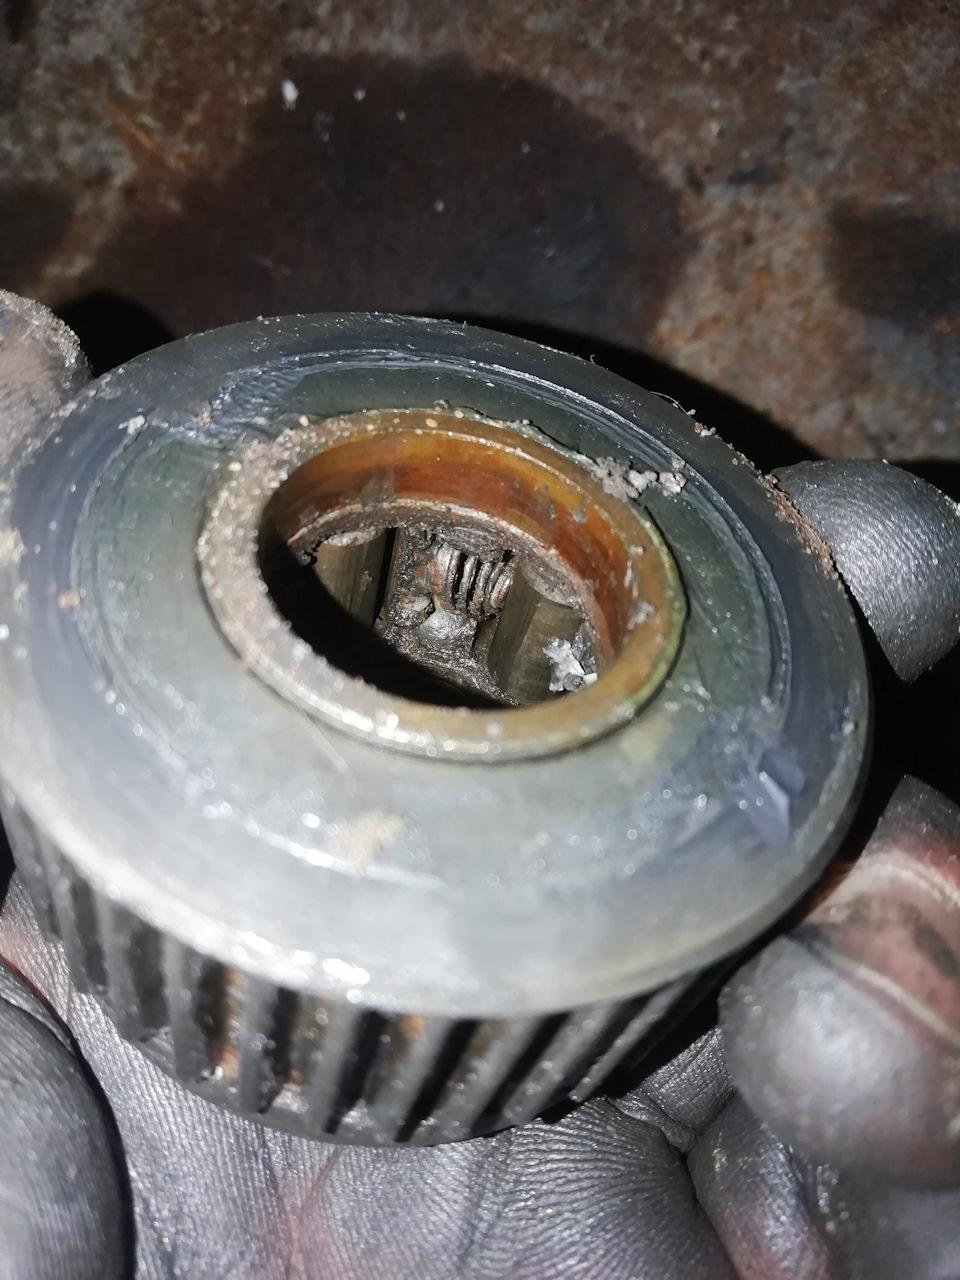
внутри бендикса 5ть подпружиненных роликов
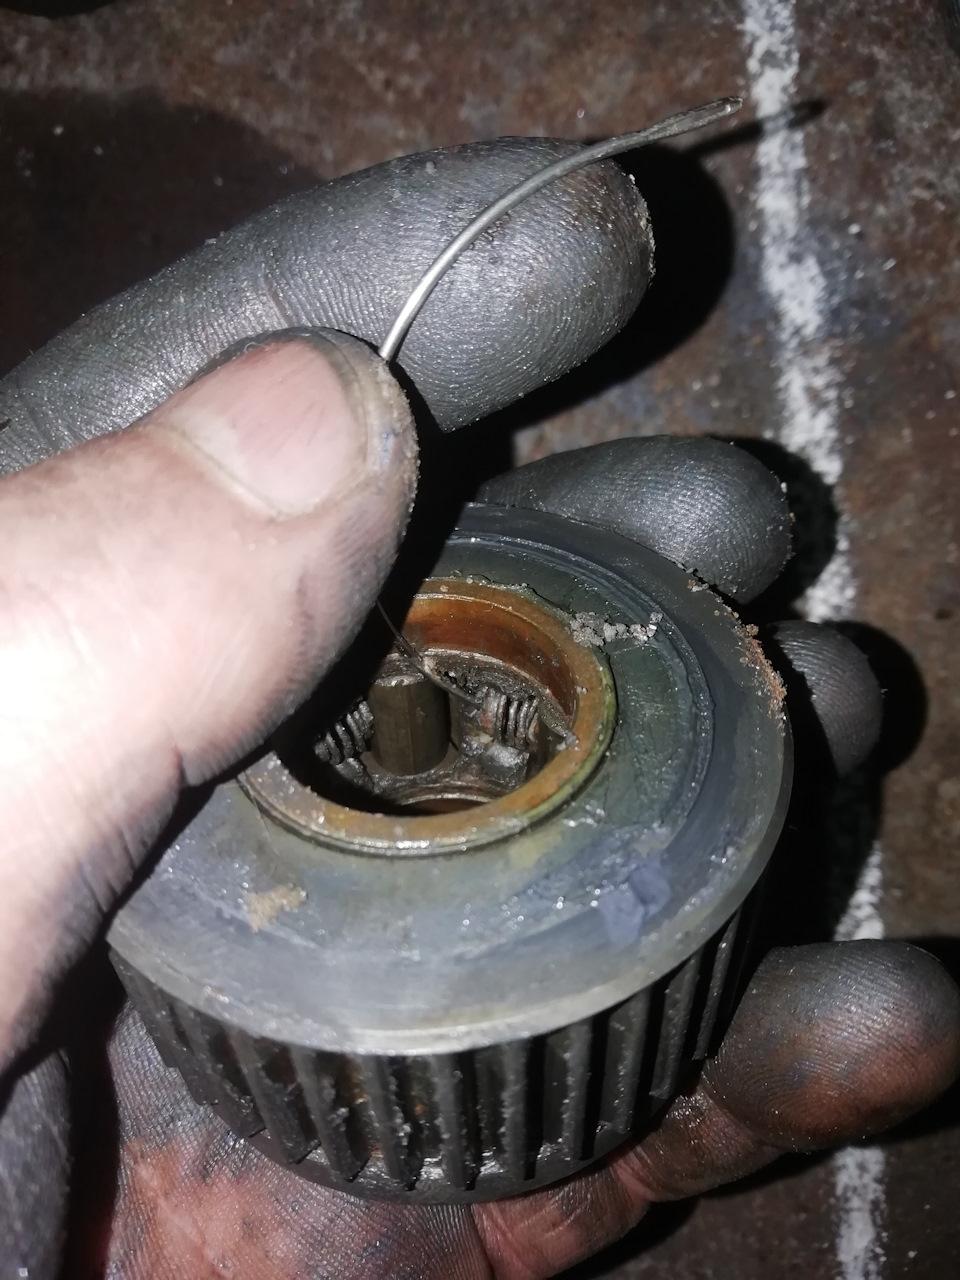
подковыриваем пружинки иголочкой, достаём их и ролики тоже.
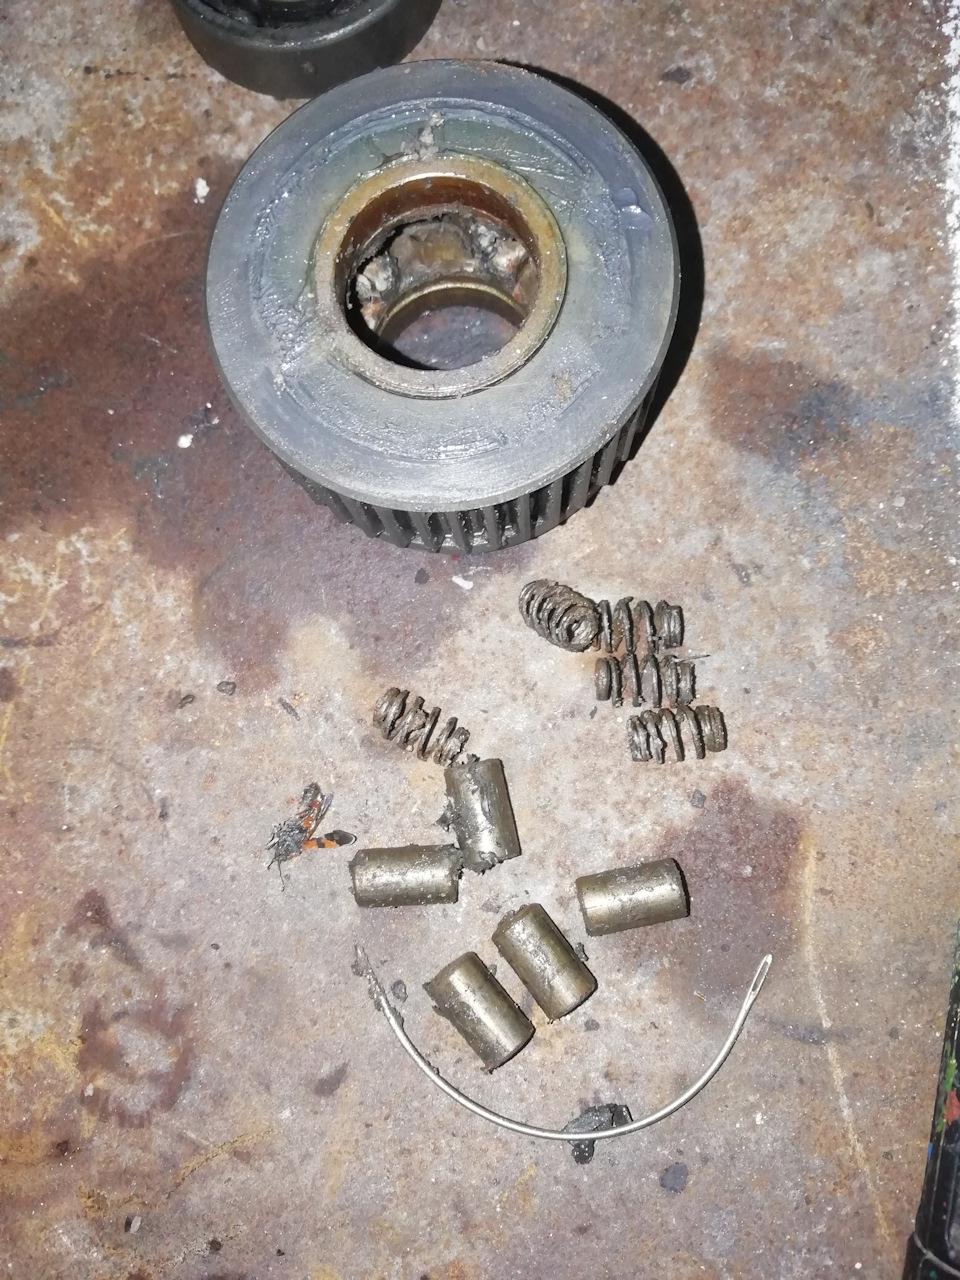
вот они
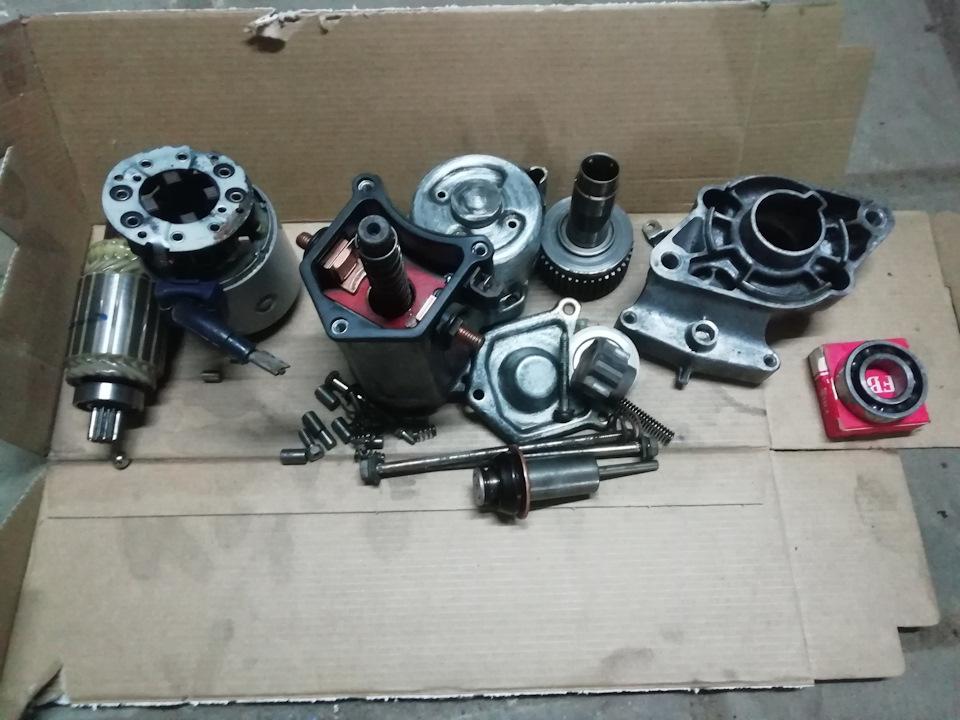
моем-чистим-собираем
Советую при сборке стартера не жалеть смазки, смажьте подшипники, все ролики, все шестерни редуктора. (электромотор и пятаки мазать не надо!)
Собираем просматривая картинки в обратном порядке.
Всем здоровья и удачи!
Комментарии
Пока нет одобренных комментариев.