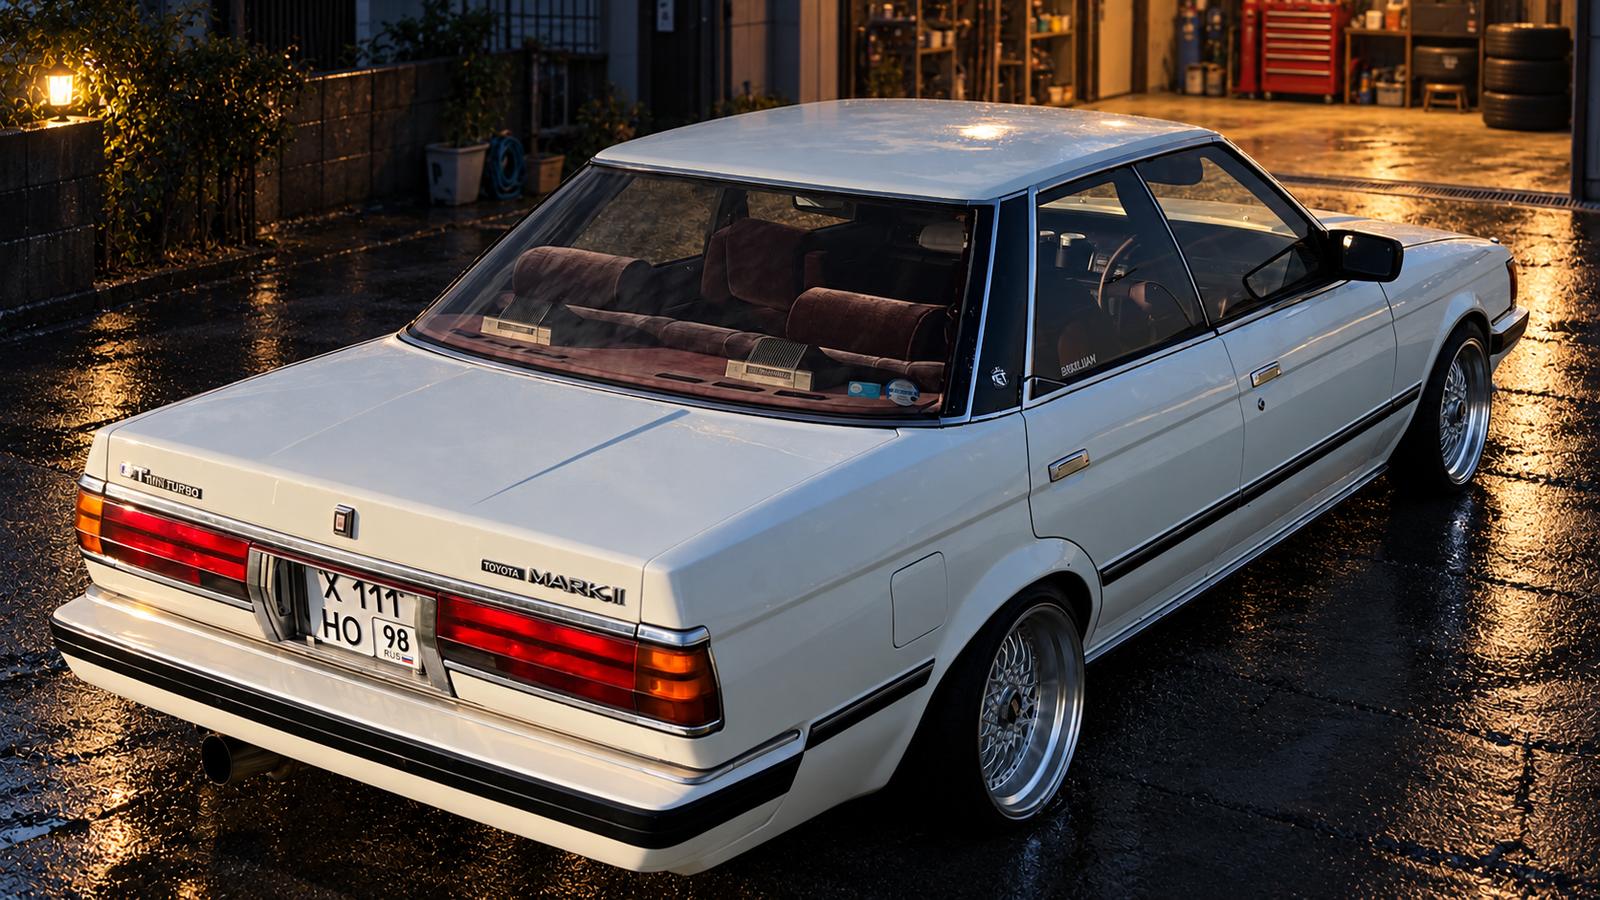
Итак! Первое что надо сделать-приобрести все составляющие для установки.
1-круизный переключатель на руль(гитару)
2-кнопку включения
3-блок управления
4-выключатель стоп сигналов (лягушка)
5-кронштейн под педаль газа
6-тросик
7-вакуумный активатор
8-вакуумный клапан
9-вакуумные трубки
Второе (что очень радует) вся проводка и разьёмы уже заложены в авто. Просто подключай и всё.
А теперь, что куда, откуда…фото и комментарии процесса установки.
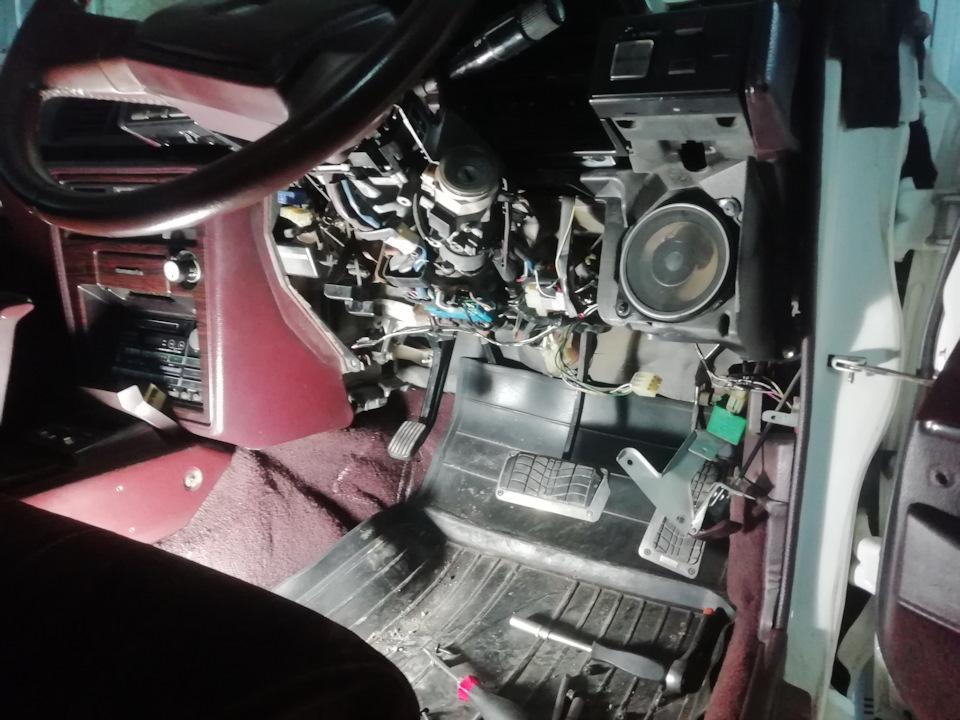
разбираем подрулевое пространство
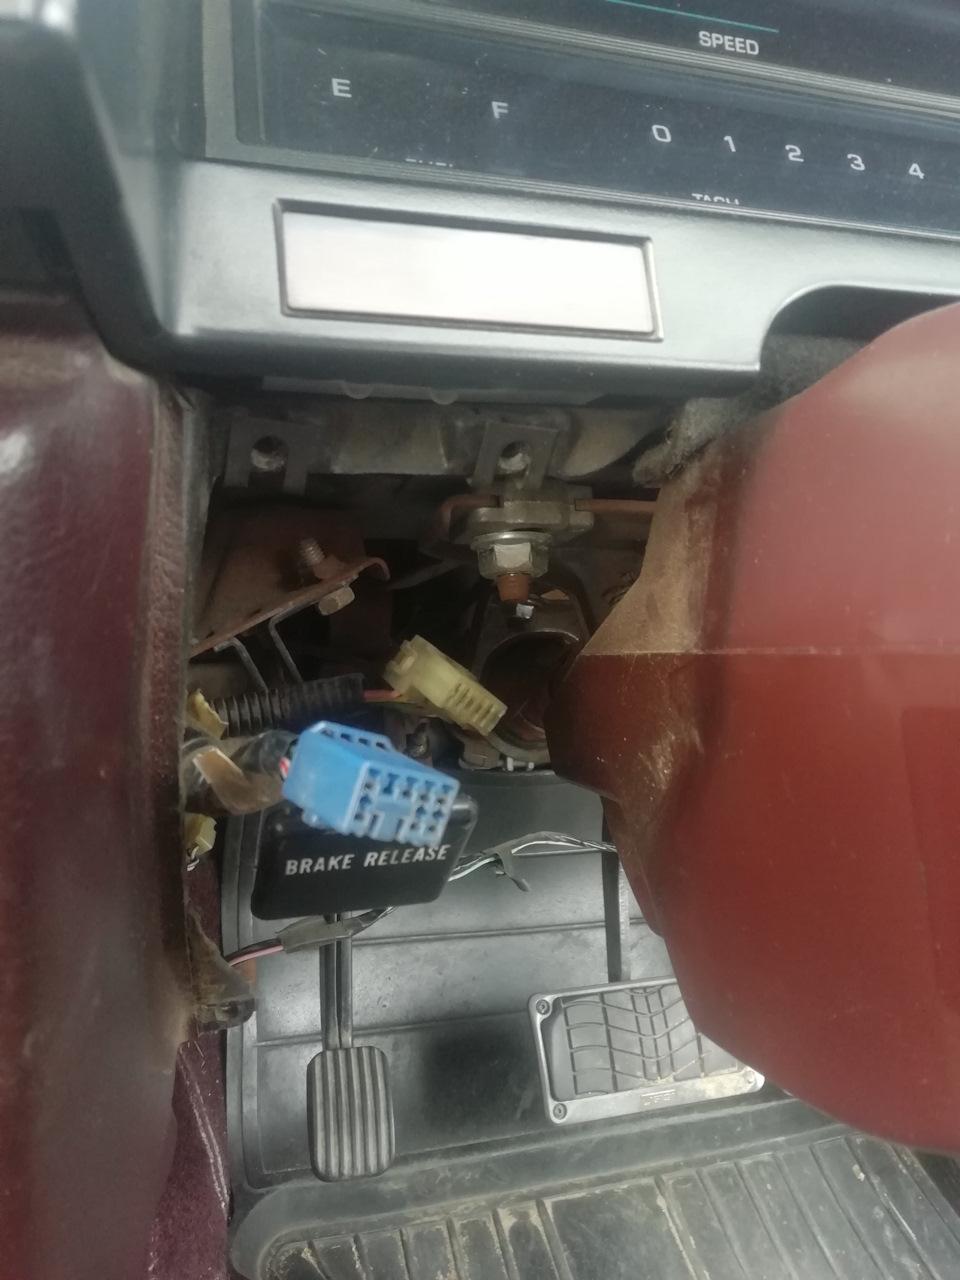
слева от колонки видим синий свободный разьём для кнопки
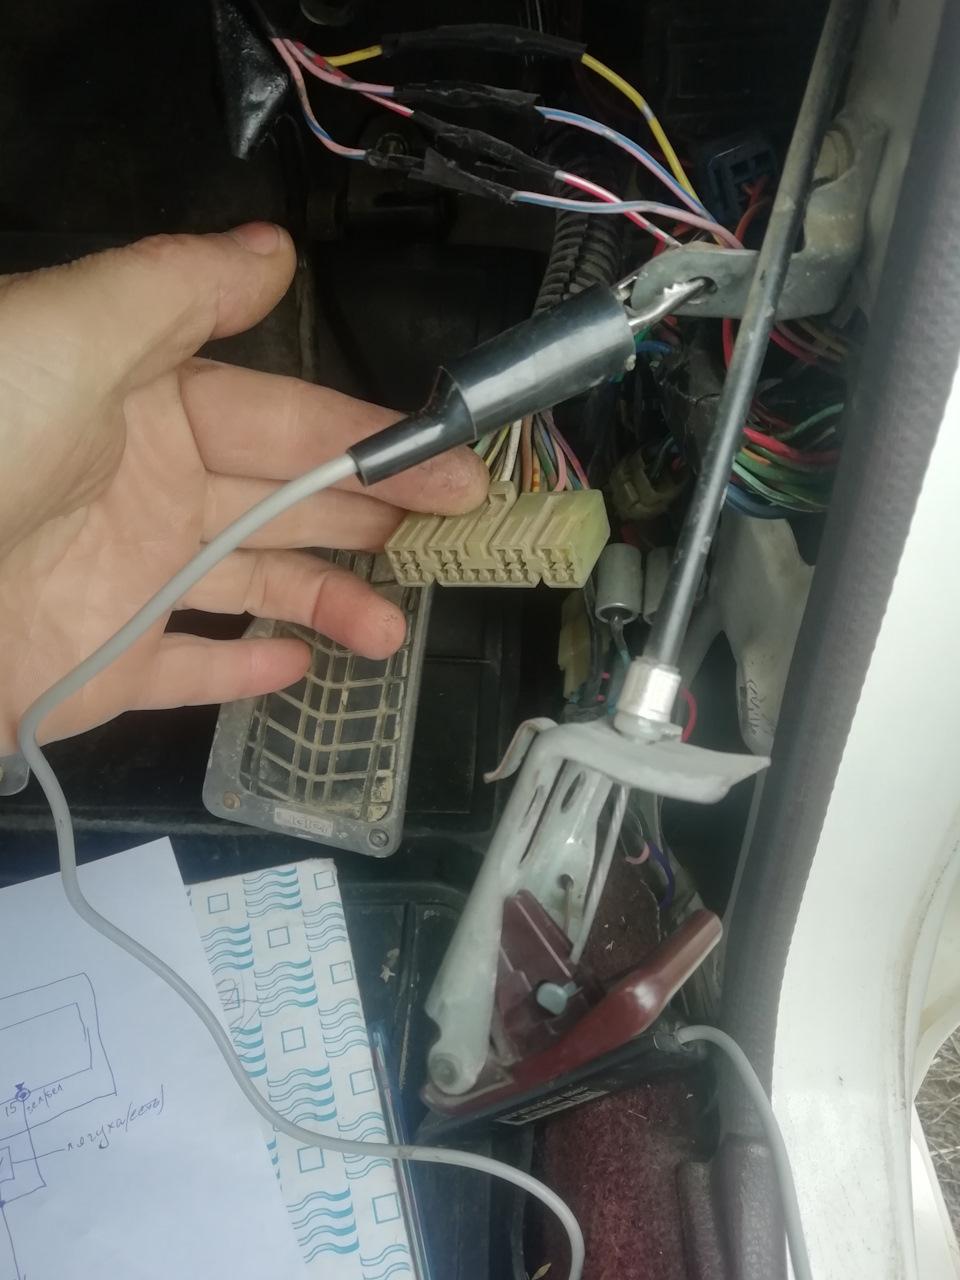
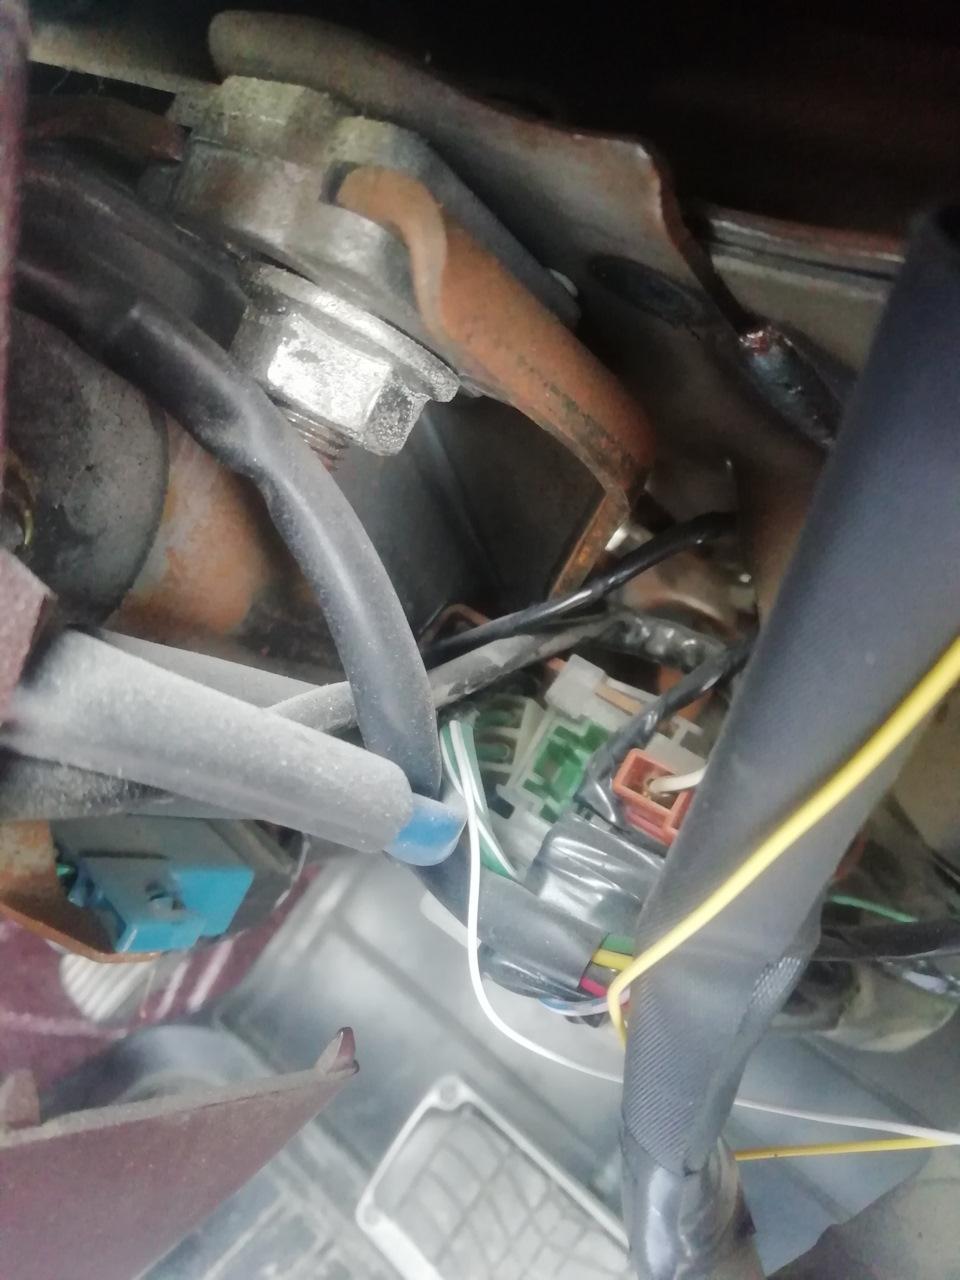
в стойке у педали газа ищем разьём блока управления
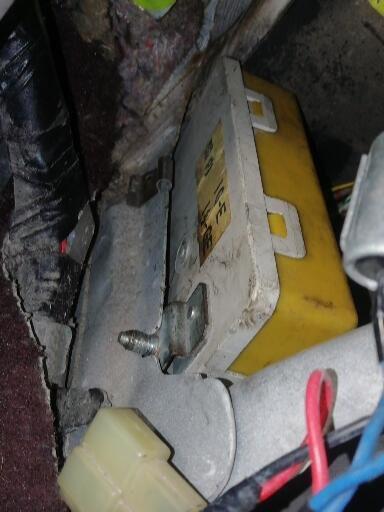
ставим блок в стойку под блок предохранителей, крепим и подключаем
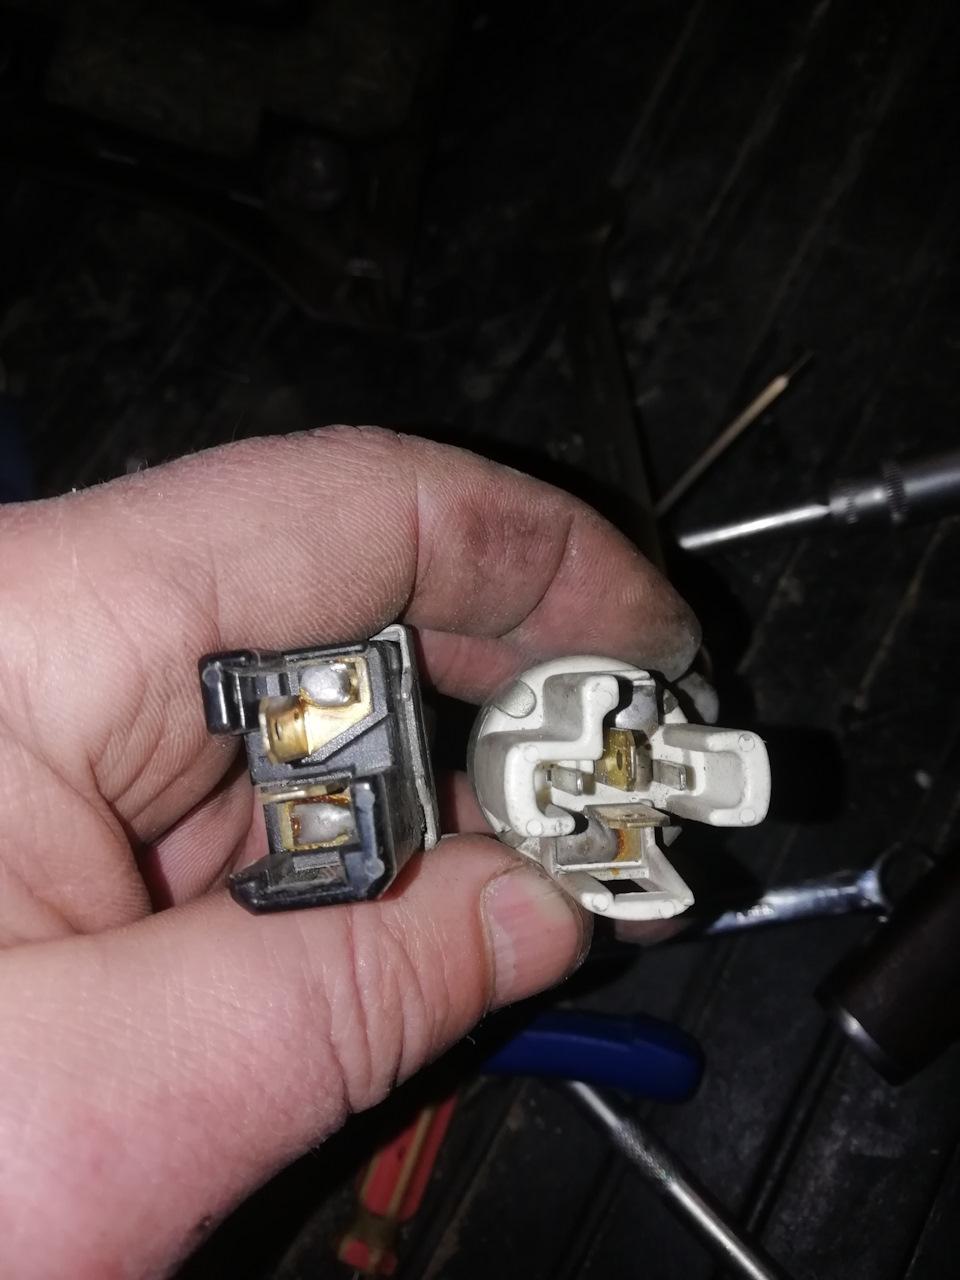
снимаем лягушку и ставим с 4мя контактами(очень геморно). по идее, можно и старую оставить, но надо организовать подключение двух проводочков через доп реле.
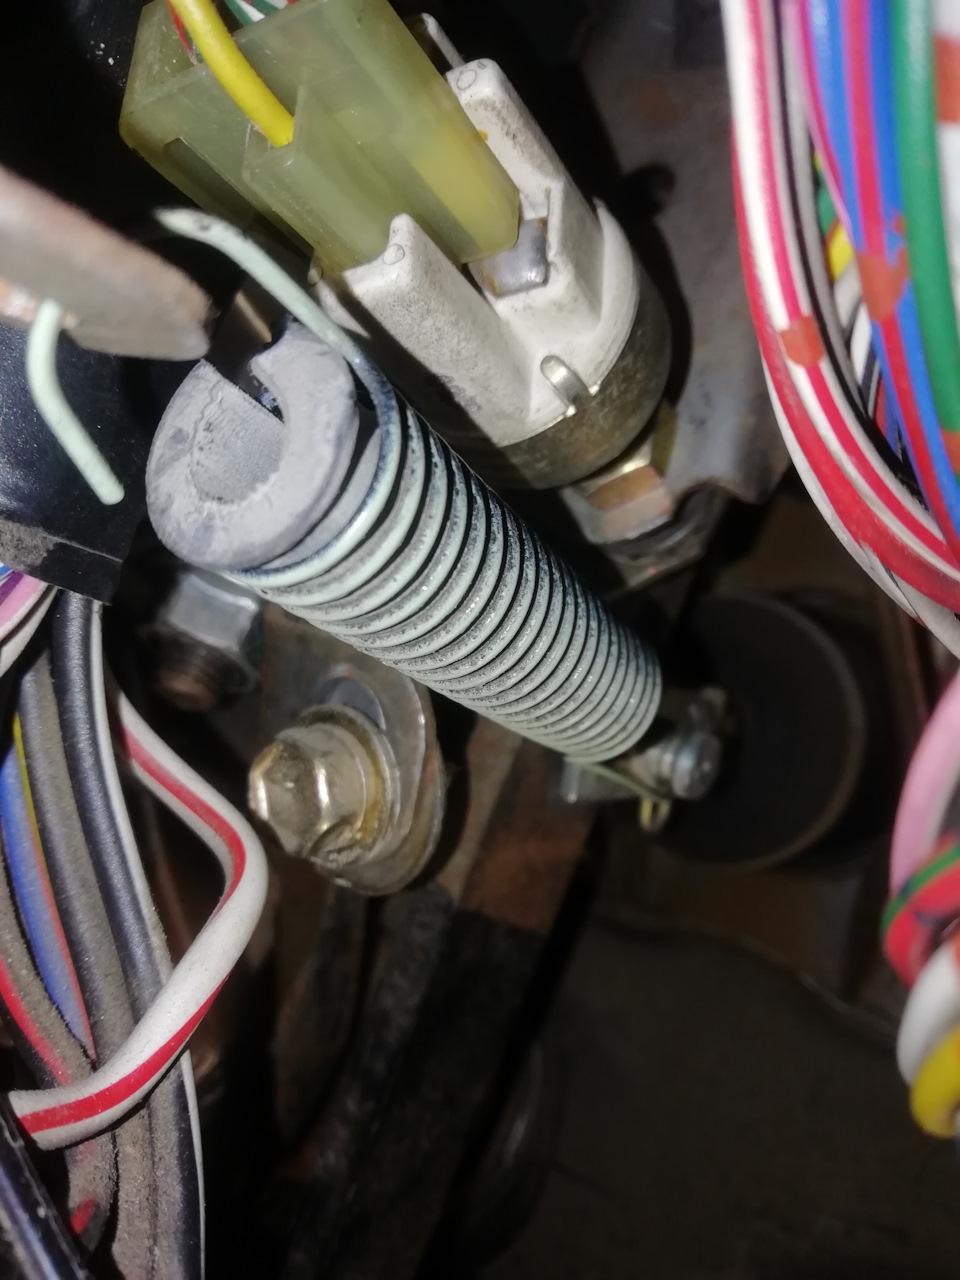
сюды лягуху
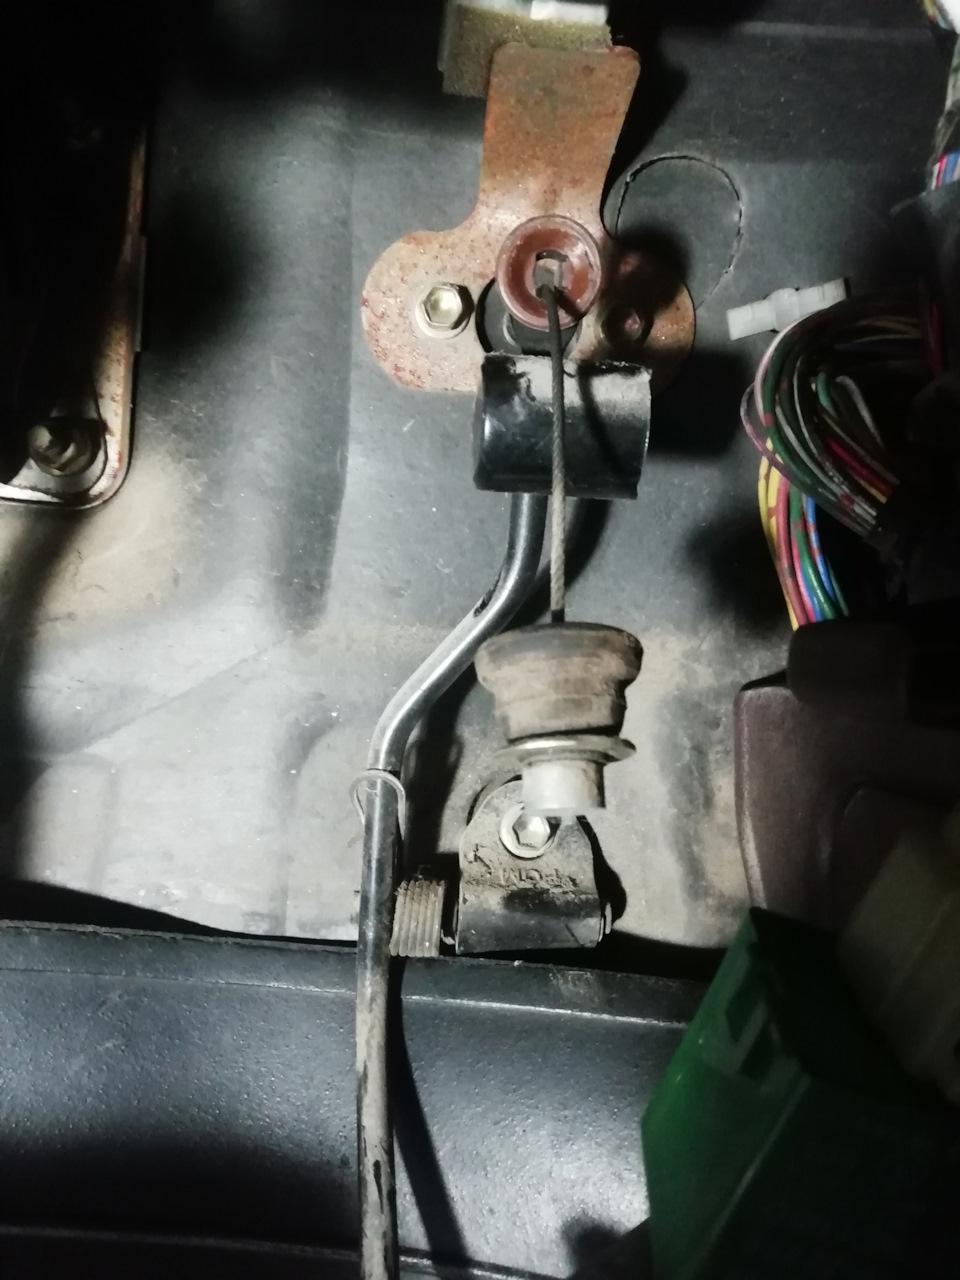
дальше лезем к педали газа. Откручиваем кронштейн
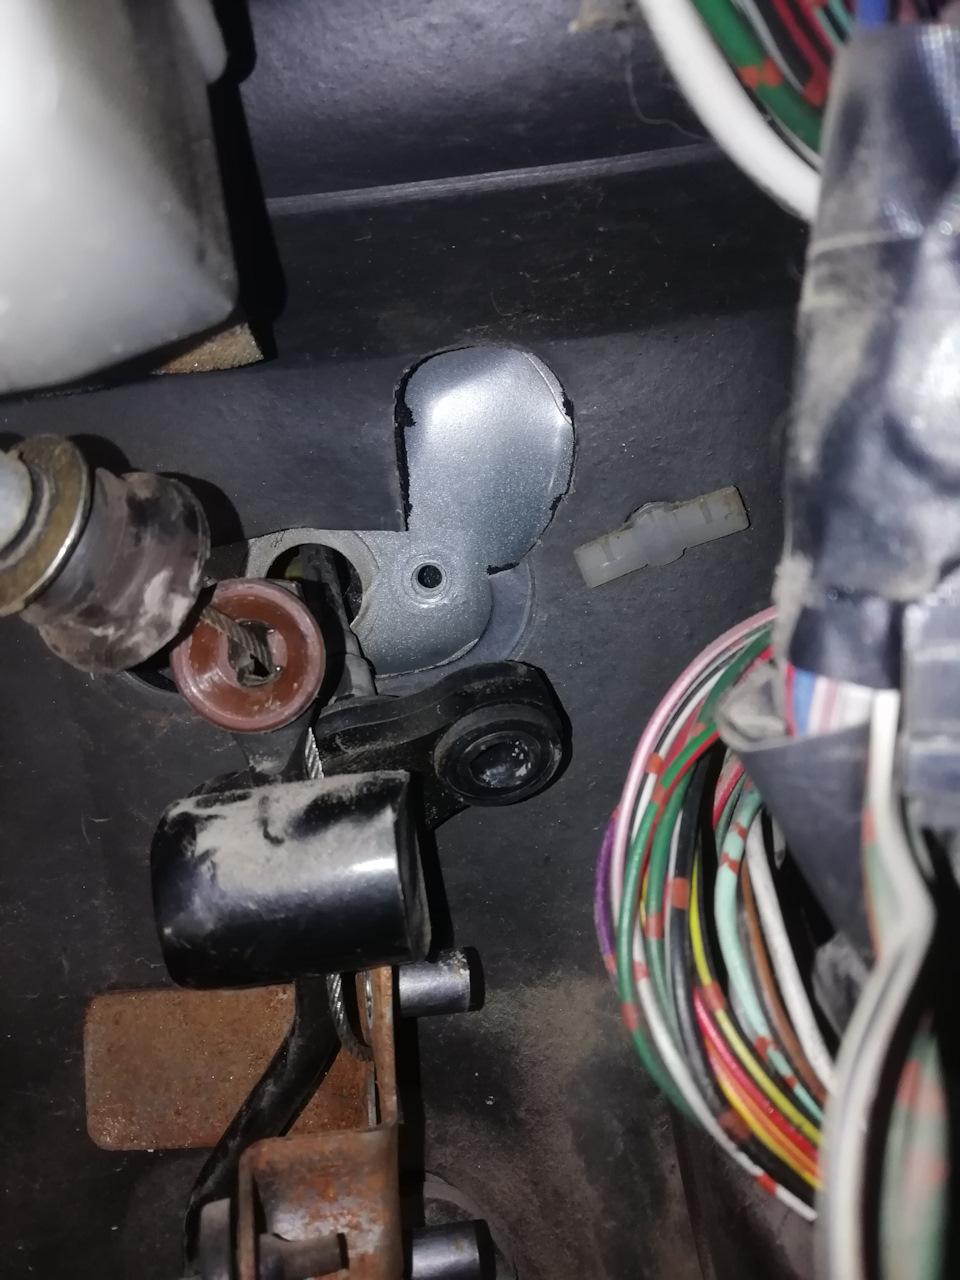
отковыриваем покрытие в этом месте
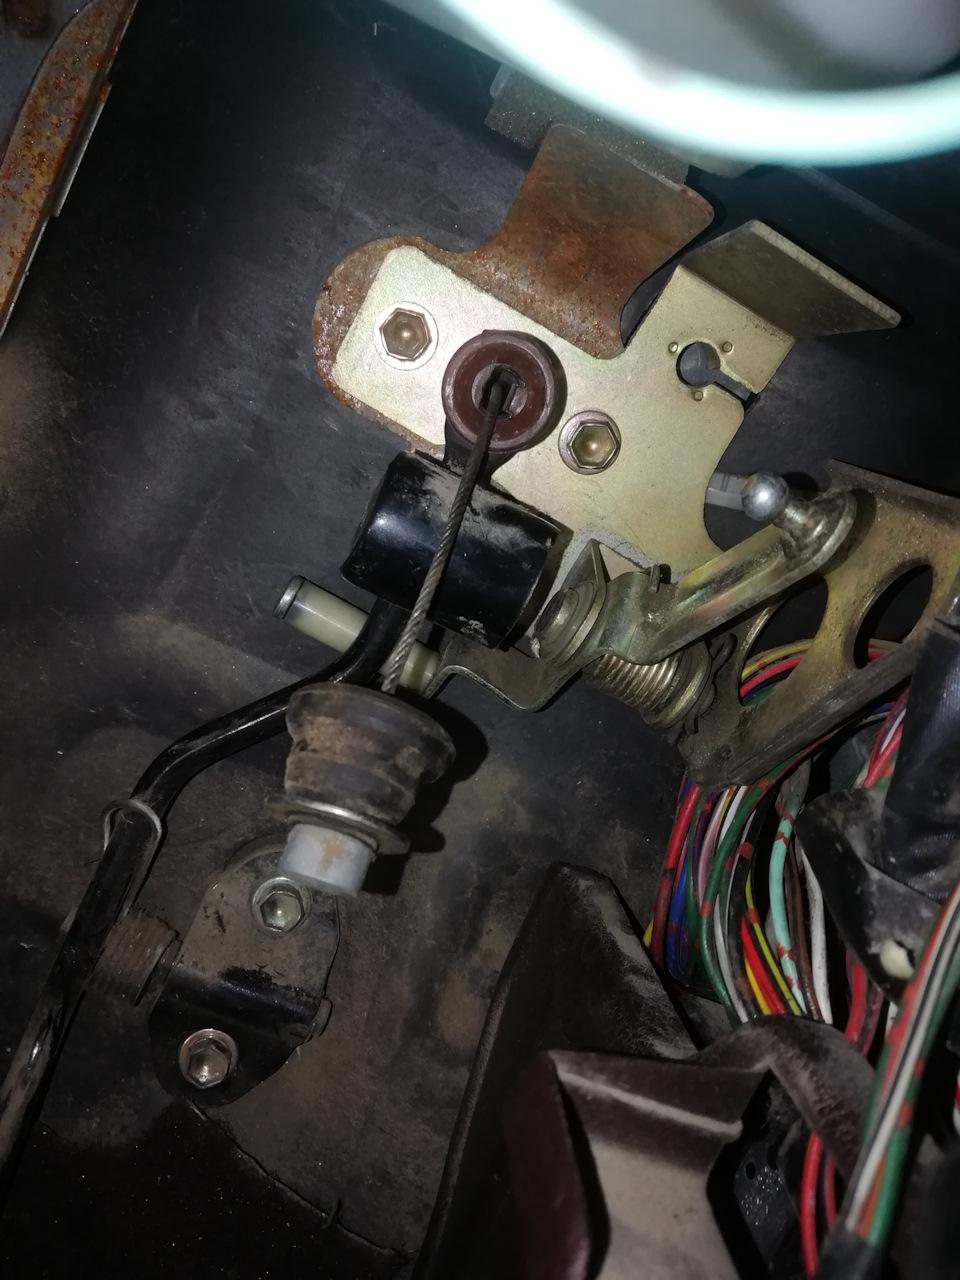
наживляем кронштейн, и отмечаем место где будем сверлить, снова всё снимаем и сверлим отверстие под тросик (не помню точно, вроде 12мм)
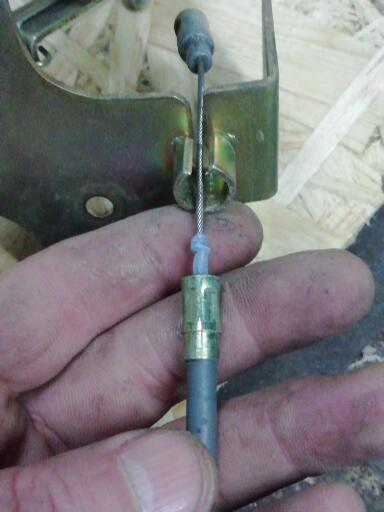
далее был затык с креплением троса.
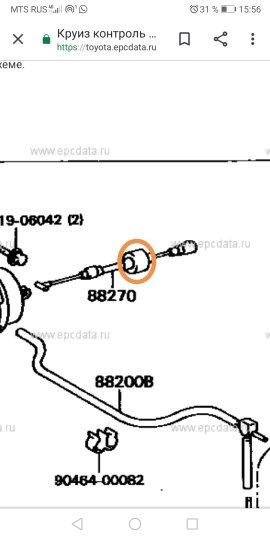
небыло вот такой резиночки
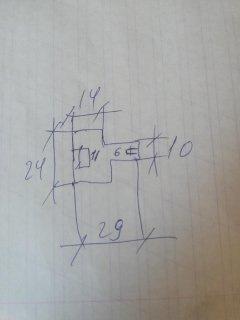
спасибо товарищам помогли с размерами этой резинки
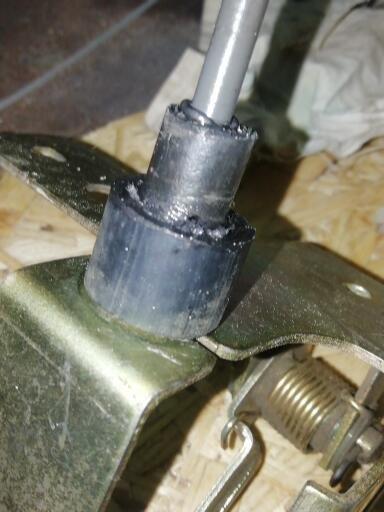
пришлось соорудить из двух трубок и проклеить стекольным герметиком
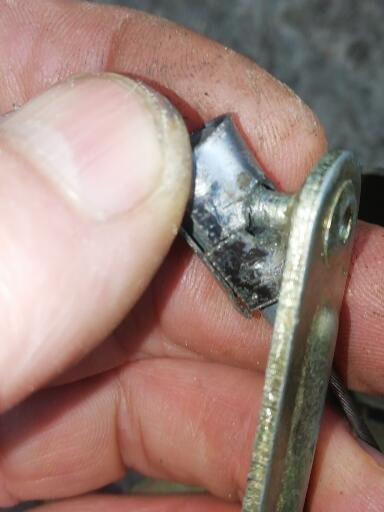
а так-же сделать вот такой зацеп на бобышку троса.
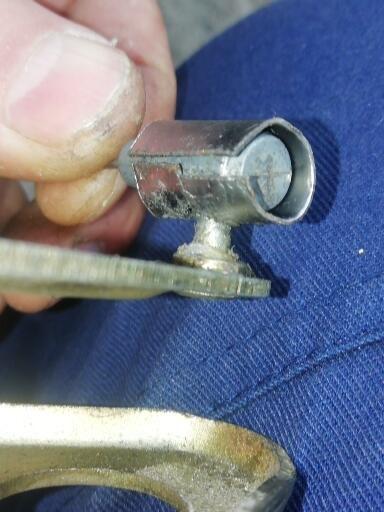
колхозно, но надёжно
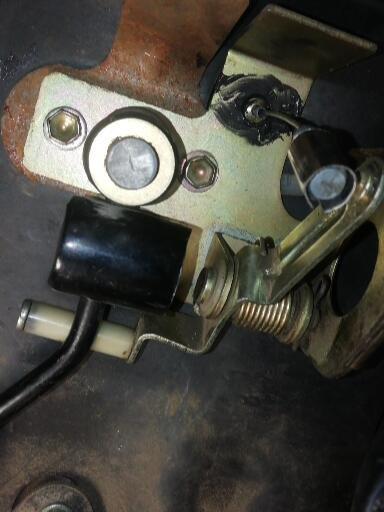
всё это собираем, пропускаем трос в отверстие и крепим
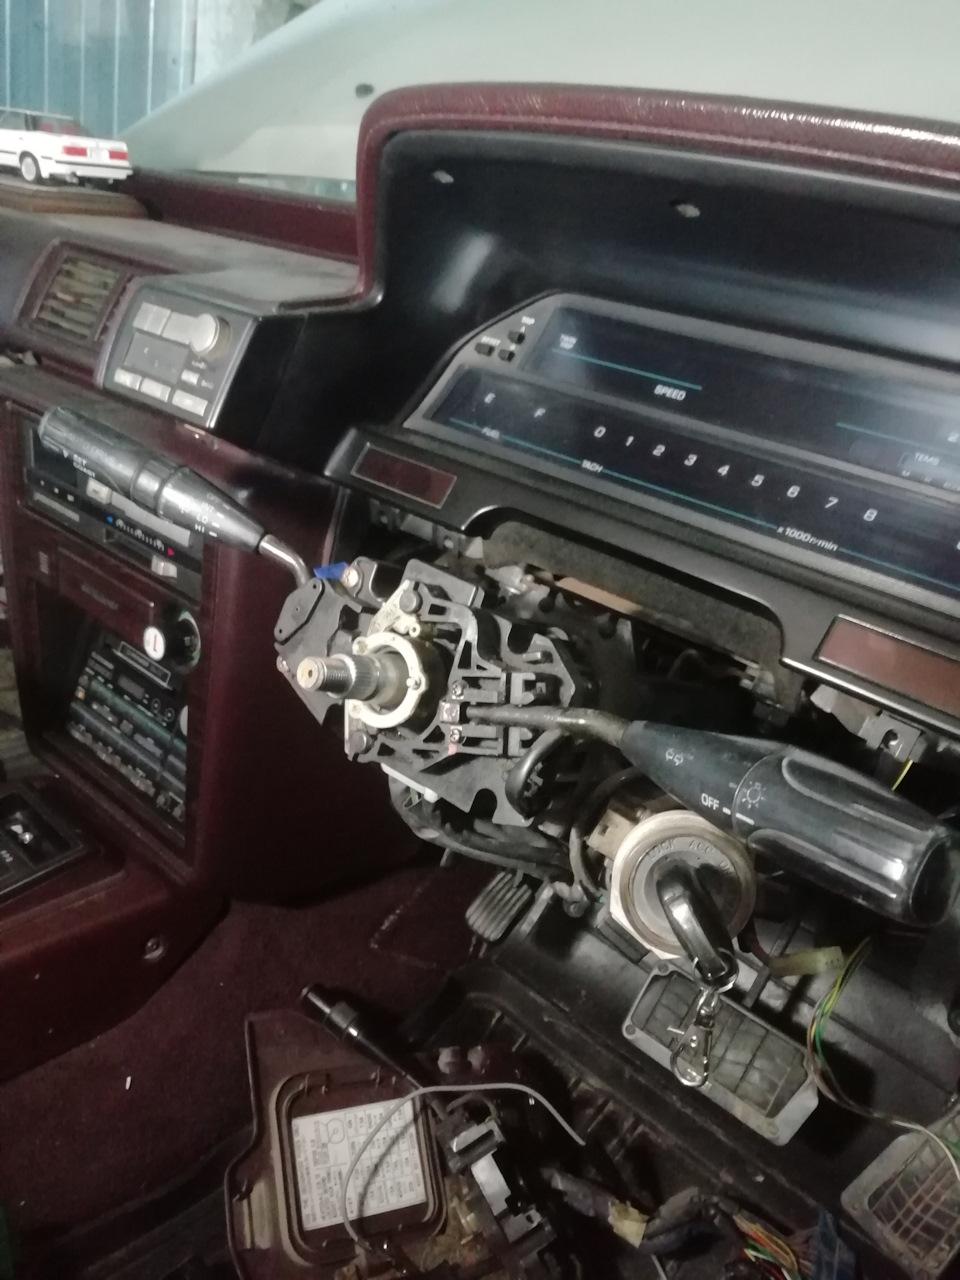
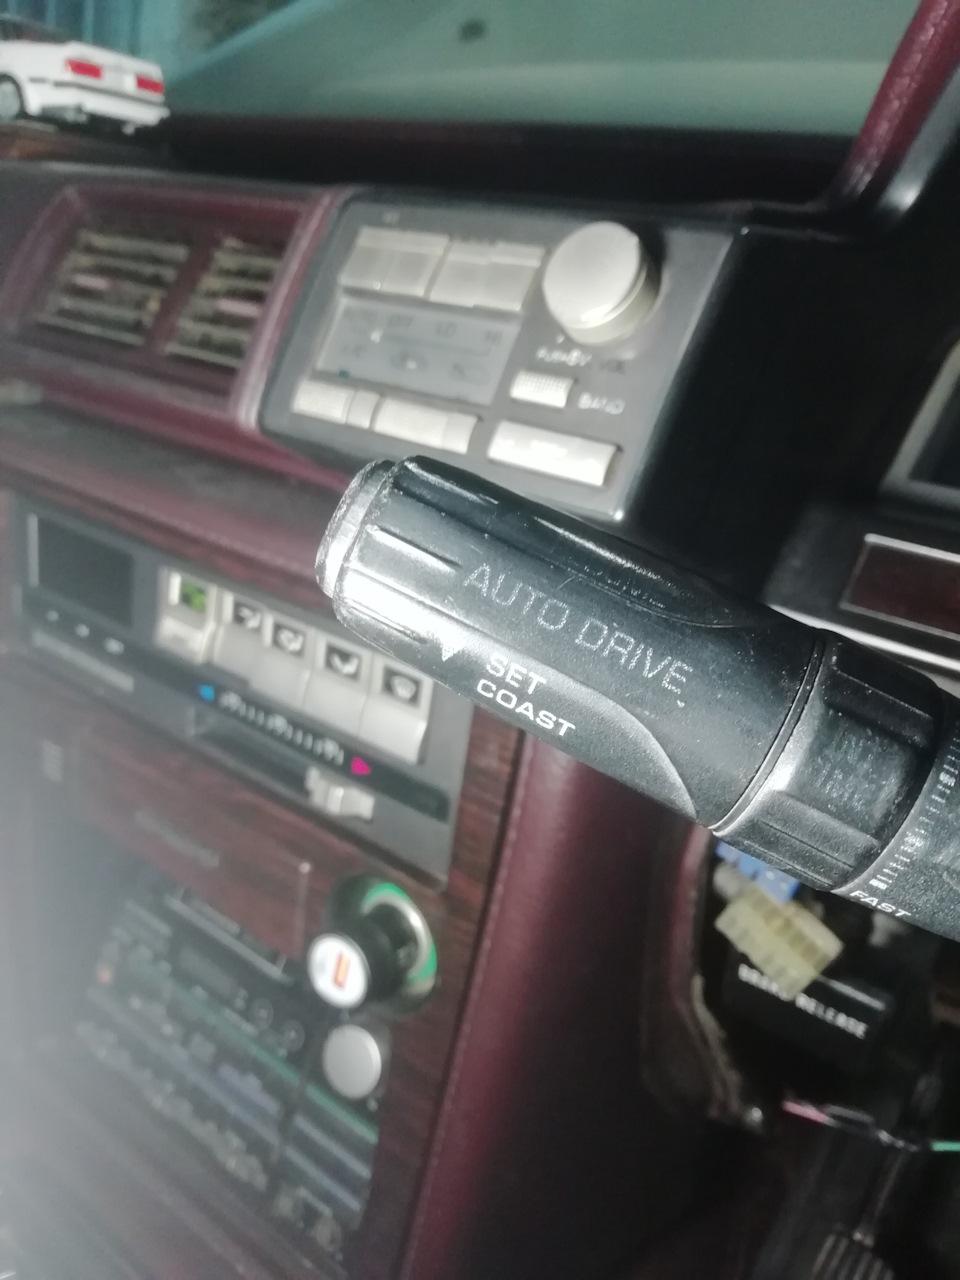
далее снимаем обшиву рулевой колонки (для этого лучше открутить её совсем, чтоб руль опустился как можно ниже), снимаем руль, и меняем нашу старую шестиструнную гитару на семиструнку
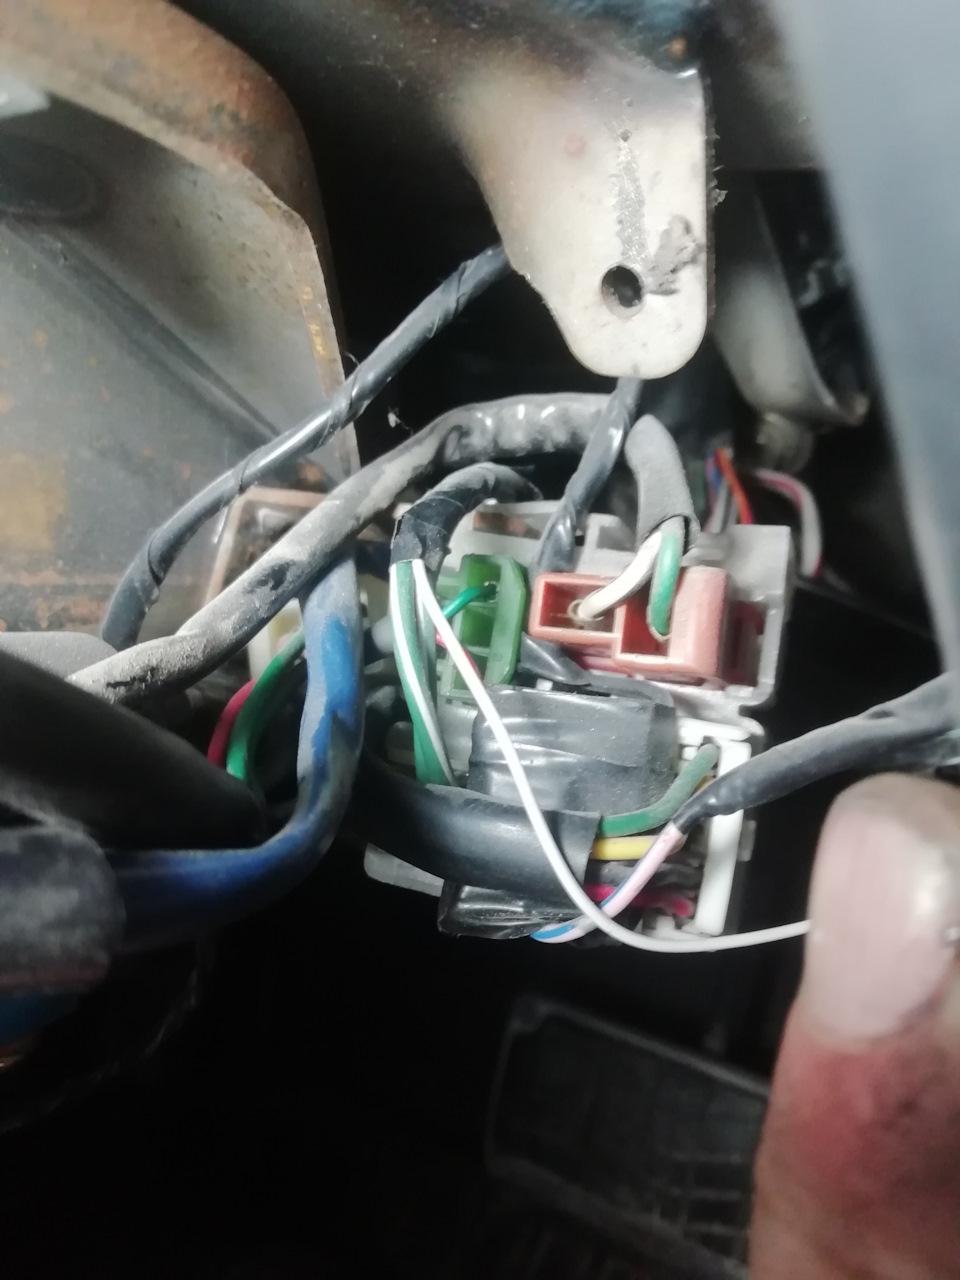
на круизной гитаре будет дополнительный 3х контактный разьём. вставляем его вот сюда-в зелененькое гнездо
По салону работы закончены, всё собираем, и переходим под капот
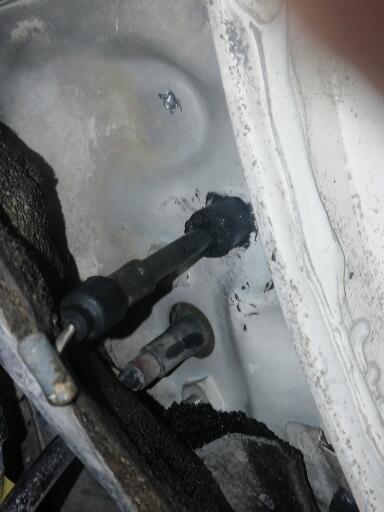
под капотом мы видим наш тросик который мы пропустили в просверленное ранее отверстие
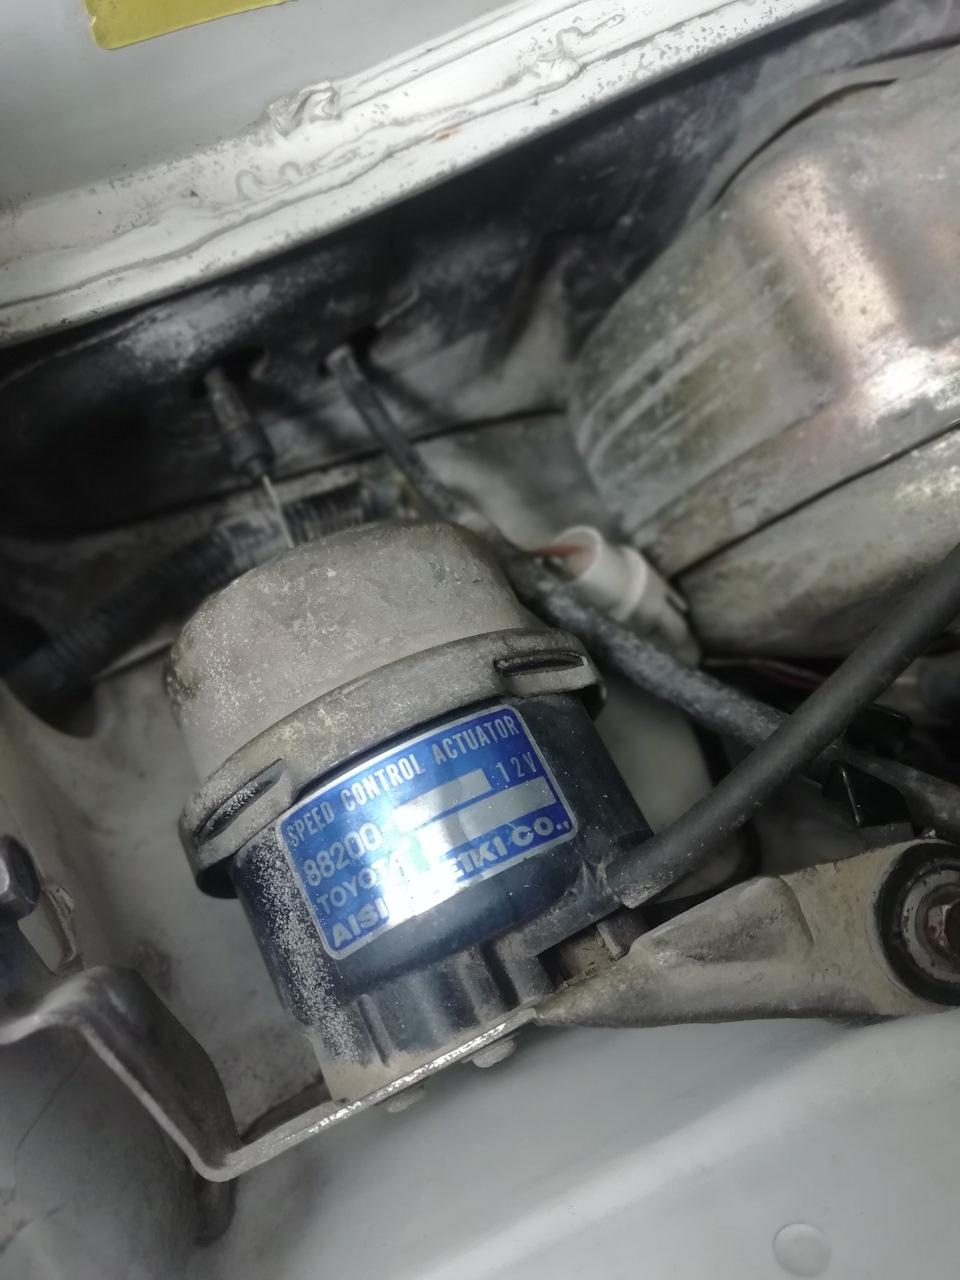
цепляем к тросику вакуумный активатор и закрепляем его
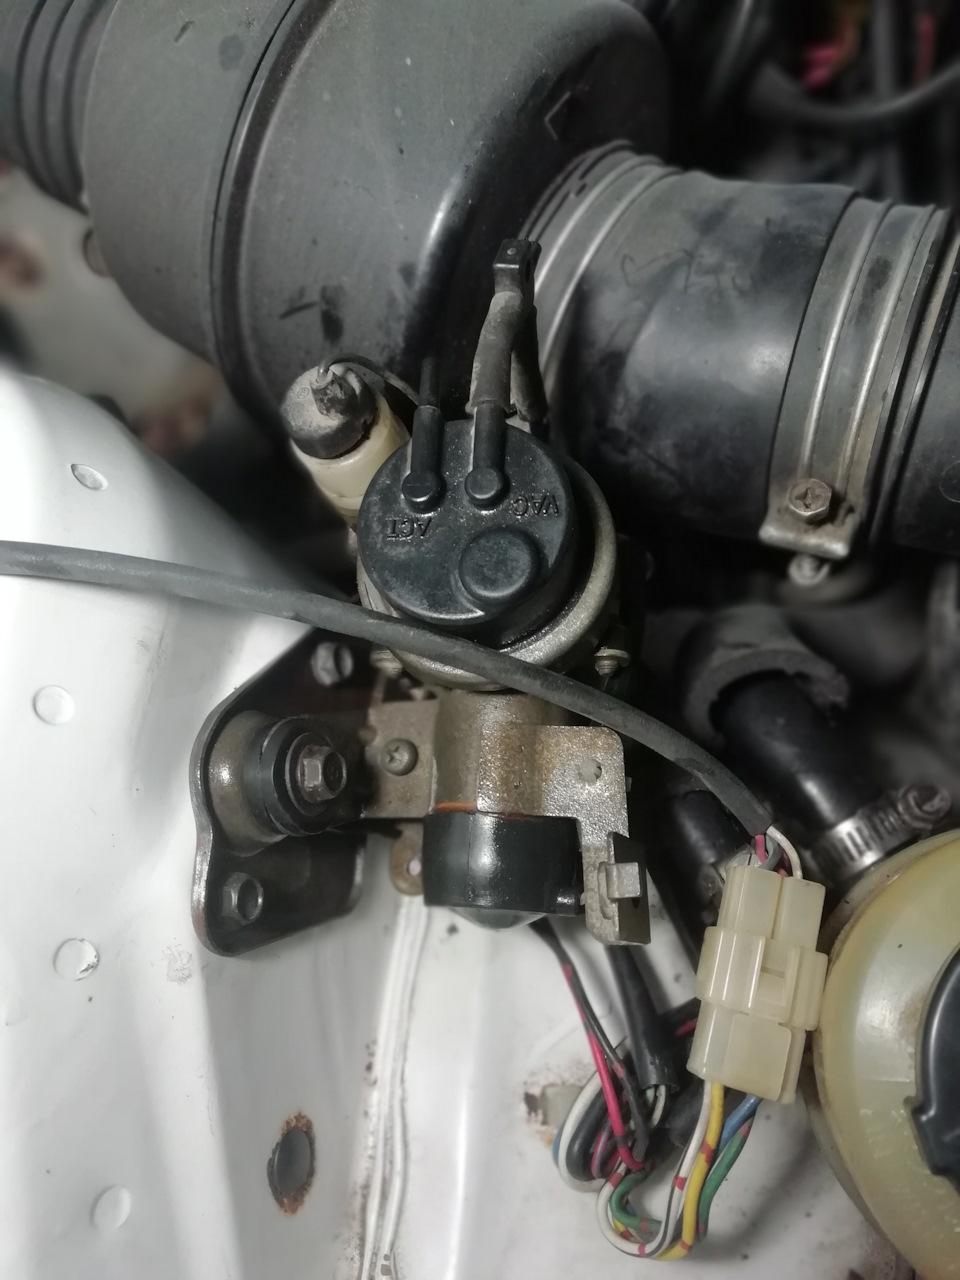
крепим клапан на стакане стойки. метка ACT-на активатор, VAC-через тройник к вакуумной магистрали.
Ну а далее прокладываем вакуумные трубки.(что то не найду фото. добавлю позже)
Проверяем.
Всем удачи!
Комментарии
Пока нет одобренных комментариев.