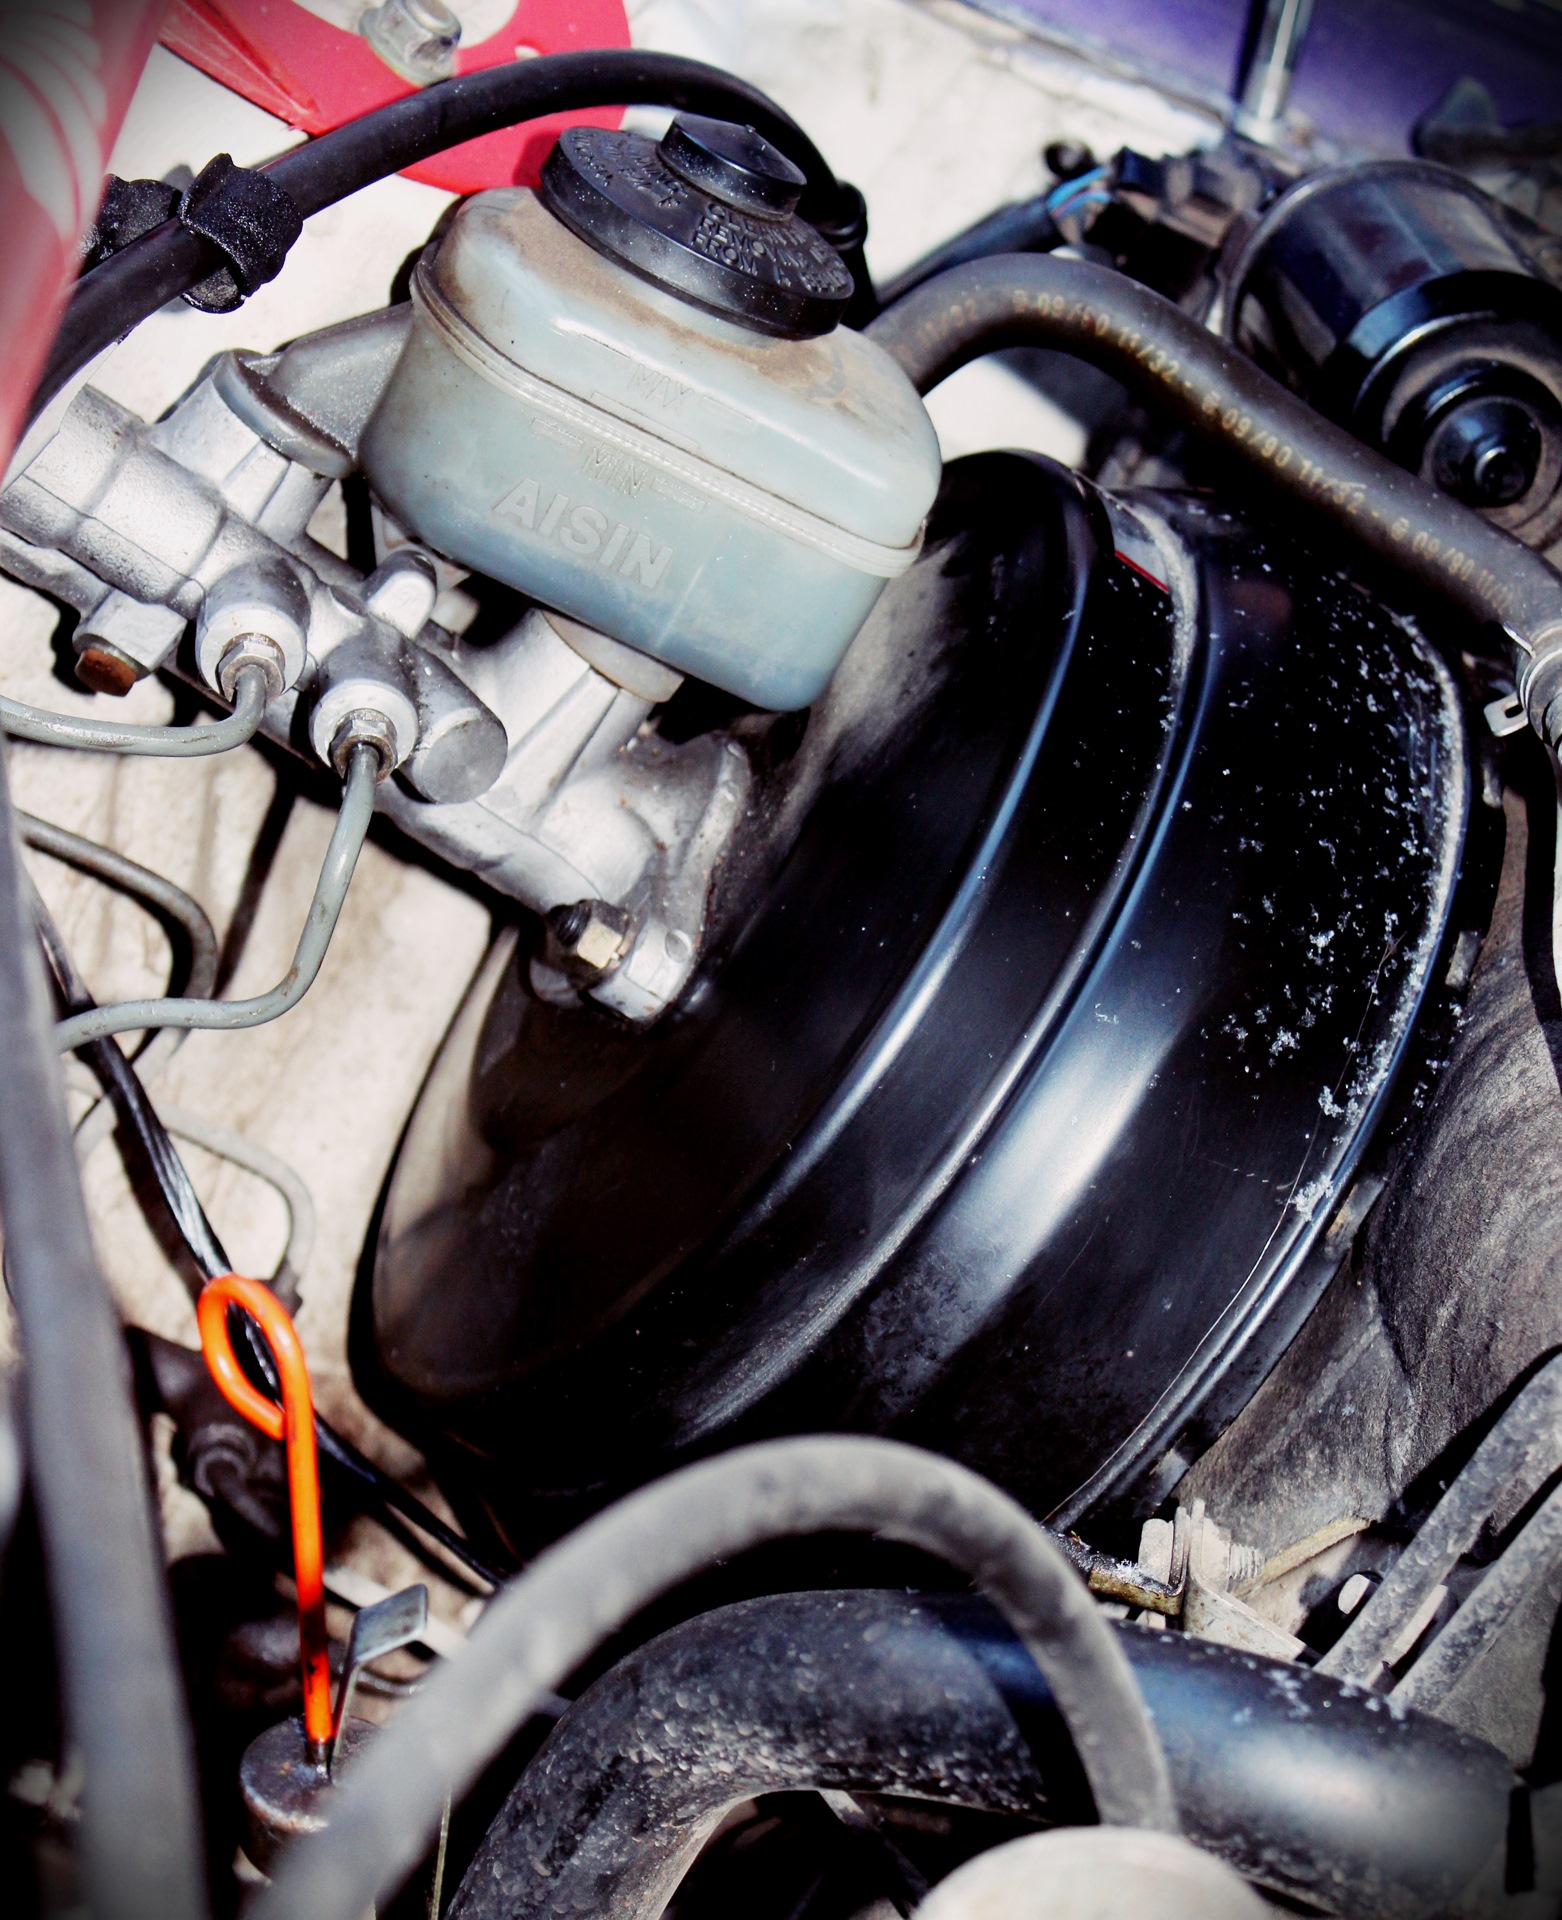
всем привет)) что у нас нового? ну в общем прежде всего, выстрелила у меня чудеснейшая возможность доработать тормоза. а именно, бесплатно достался вот такой вот вакуумник с главным тормозным цилиндром от турбового сотика, ну я и, само собой, ни в коем случае никак не упустил возможность установить его к себе, ибо далее при свапе более мощного мотора и 4х поршневых тормозюлек он сыграет большую роль! я знаю что на овоще он пока особо не сыграет большой роли, но лично я, поездив на новом вакуумнике и ГТЦ несколько дней заметил что тормоза стали значительно быстрее и реще схватываться, лично мне очень нравятся изменения, а это ведь всё ещё на стоковых поршнях. отклик просто моментальный, не успеешь кинуть ногу на педаль тормоза, марк встаёт просто как вкопанный!)) в дальнейших планах покупка со временем покупка и свап полного комплекта тормозюлек GTRа, либо от того же самого цельсиора. там уж как пойдёт и зависит от того, какой капитал я соберу. кстати, кто что посоветует и кто что ставил себе на 81ых? что надёжнее? что будет купить и поставить проще? и по ценникам, что дешевле будет себе воткнуть?)) заранее всем спасибо) а вот вам парочка фото с описанием работы
здесь новый туриковский турбовакуумник с ГТЦ уже на месте
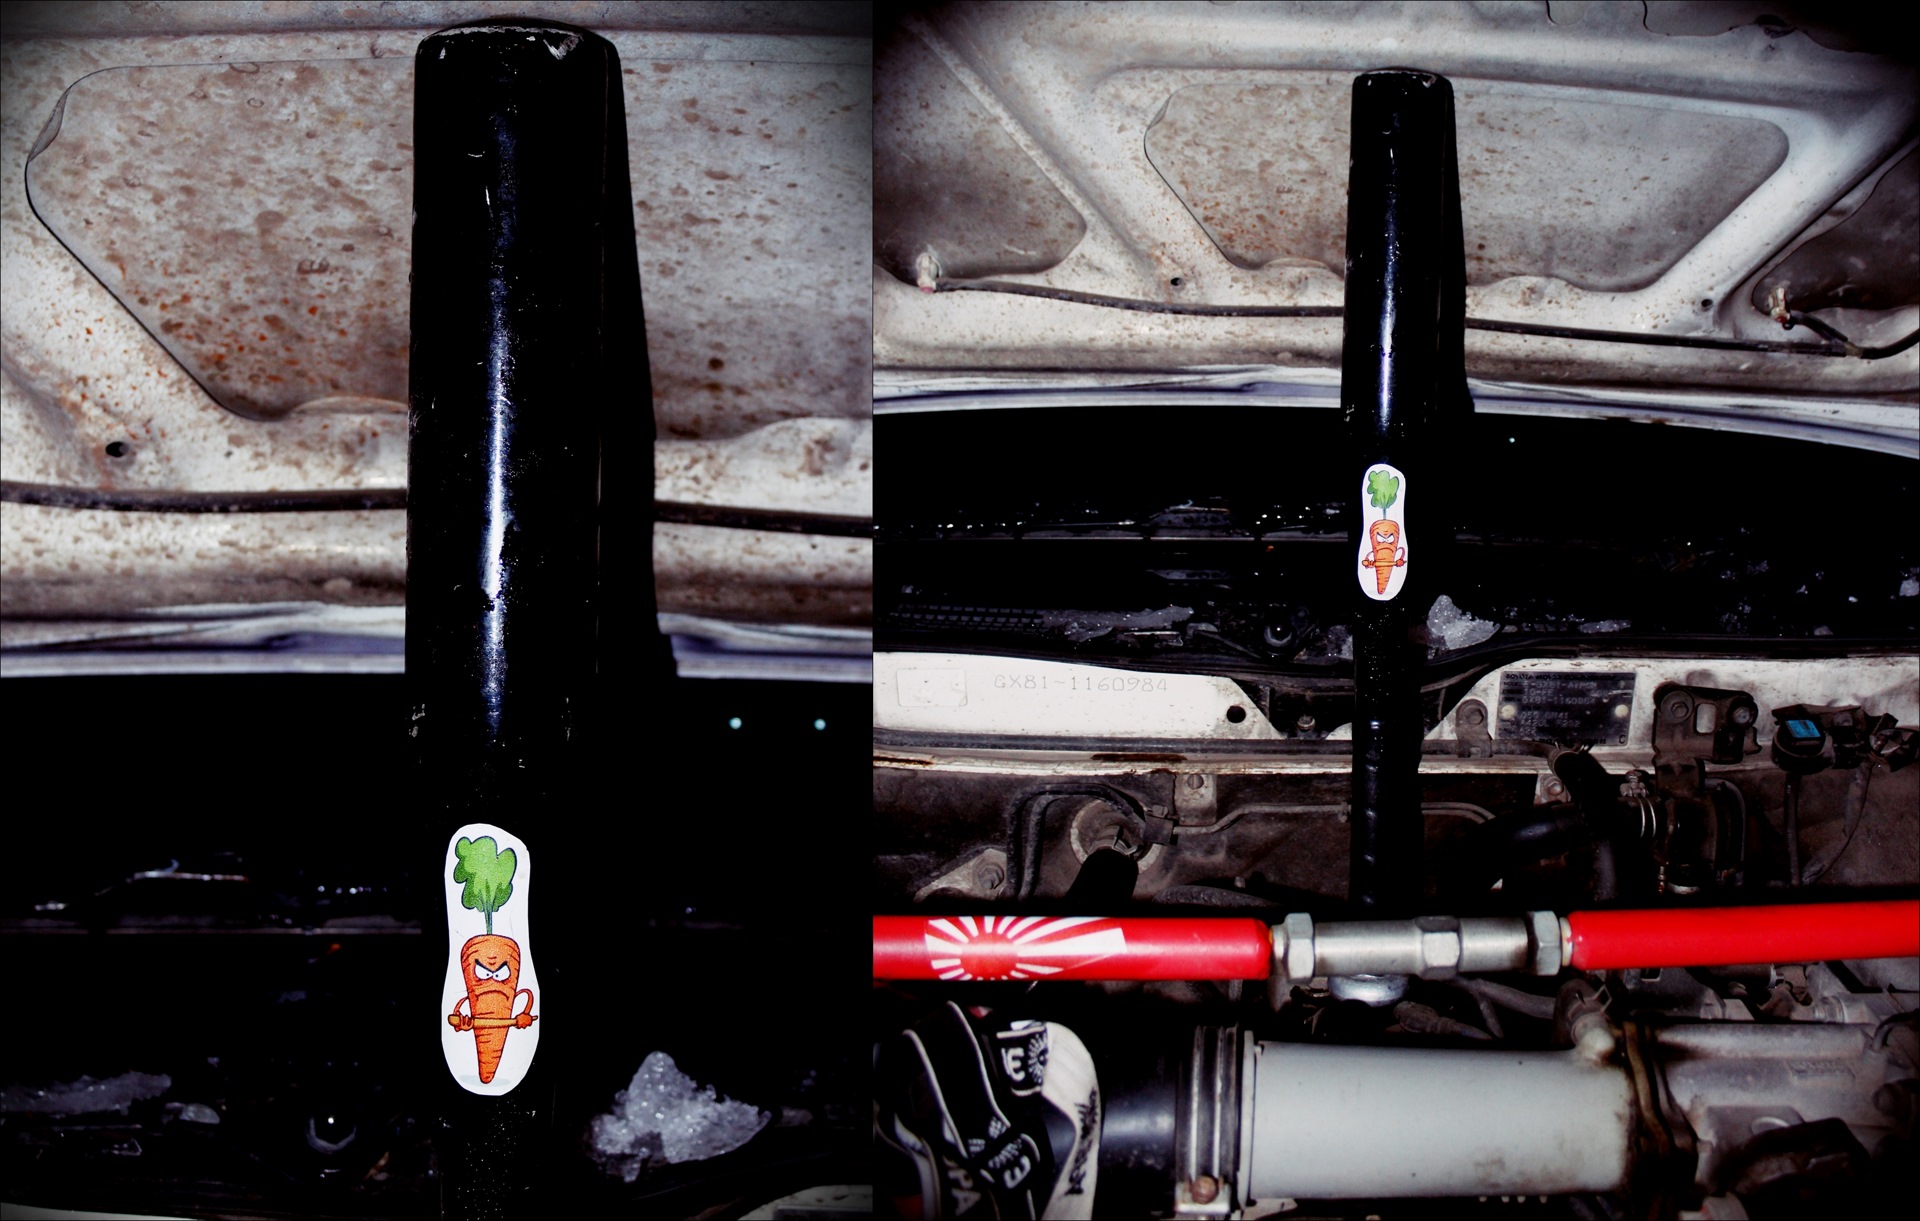
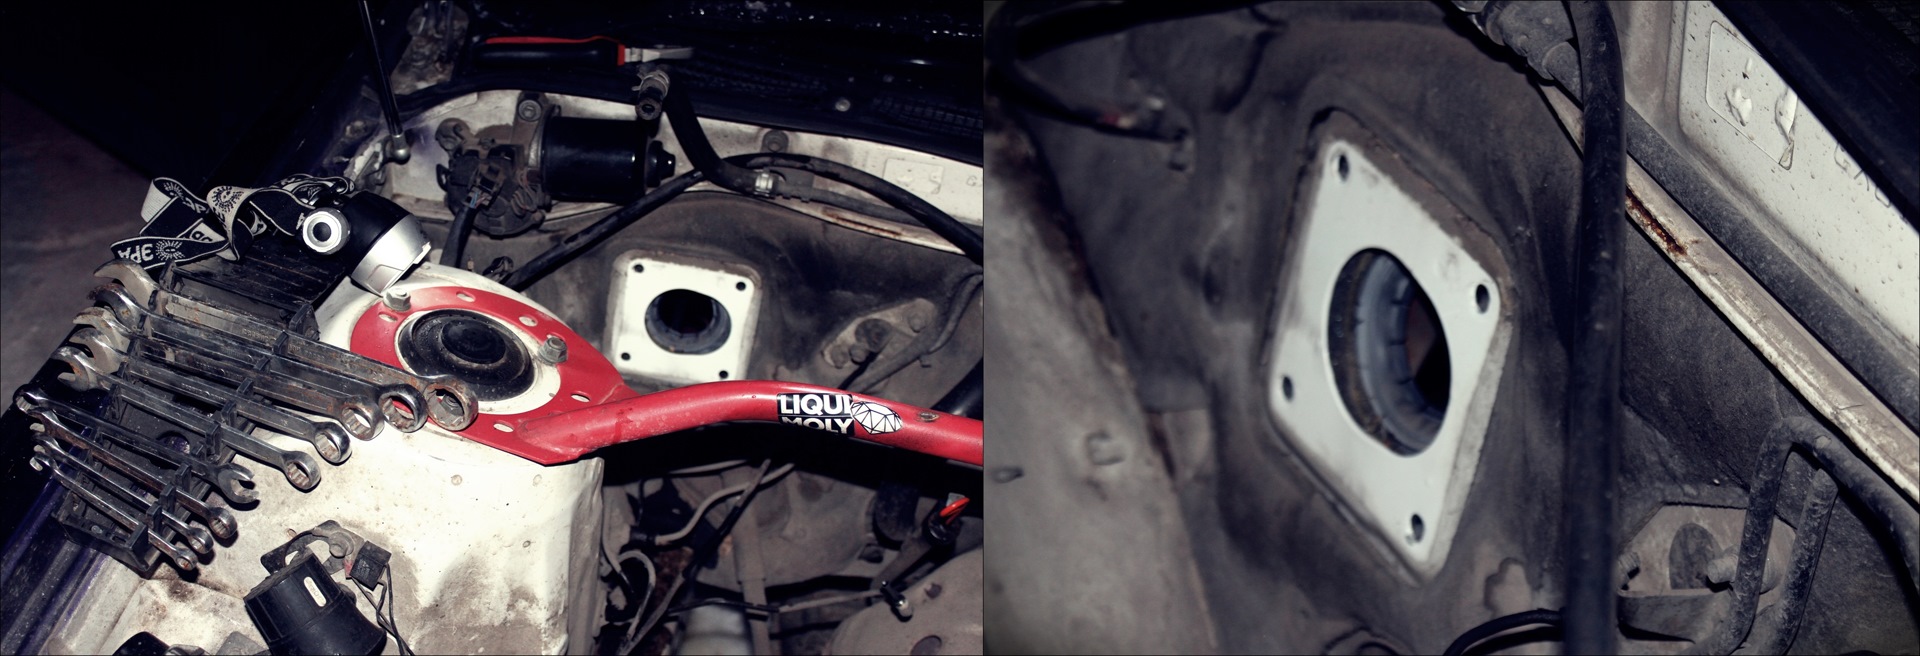
прежде всего подпёр капот своей крутой марковной битой во избежание удара по голове в процессе работы, так как ветер в этот вечер был ну оооочень сильный, мы с другом подумали: НУ ЕГО НАФИГ!
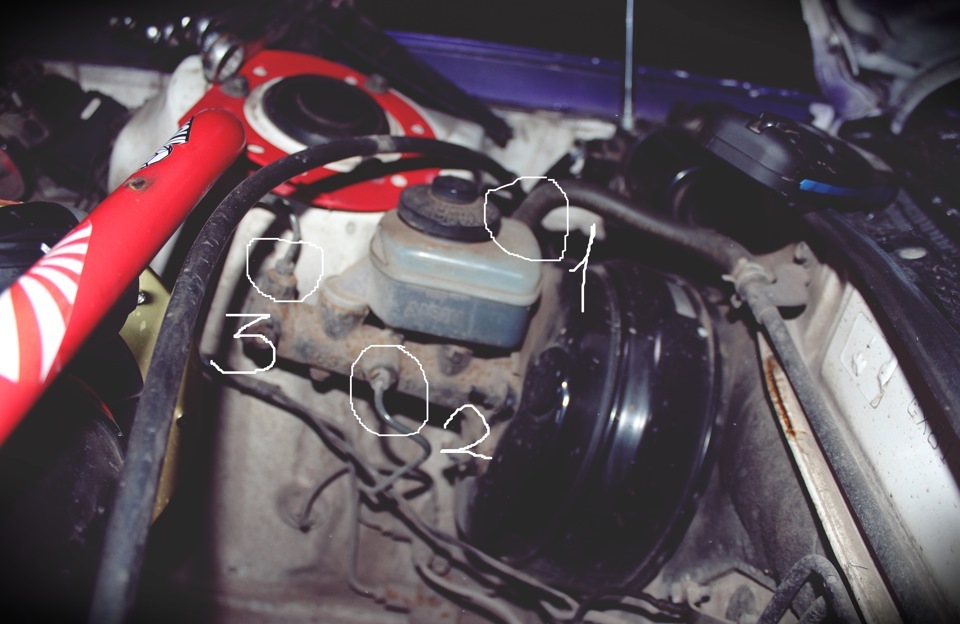
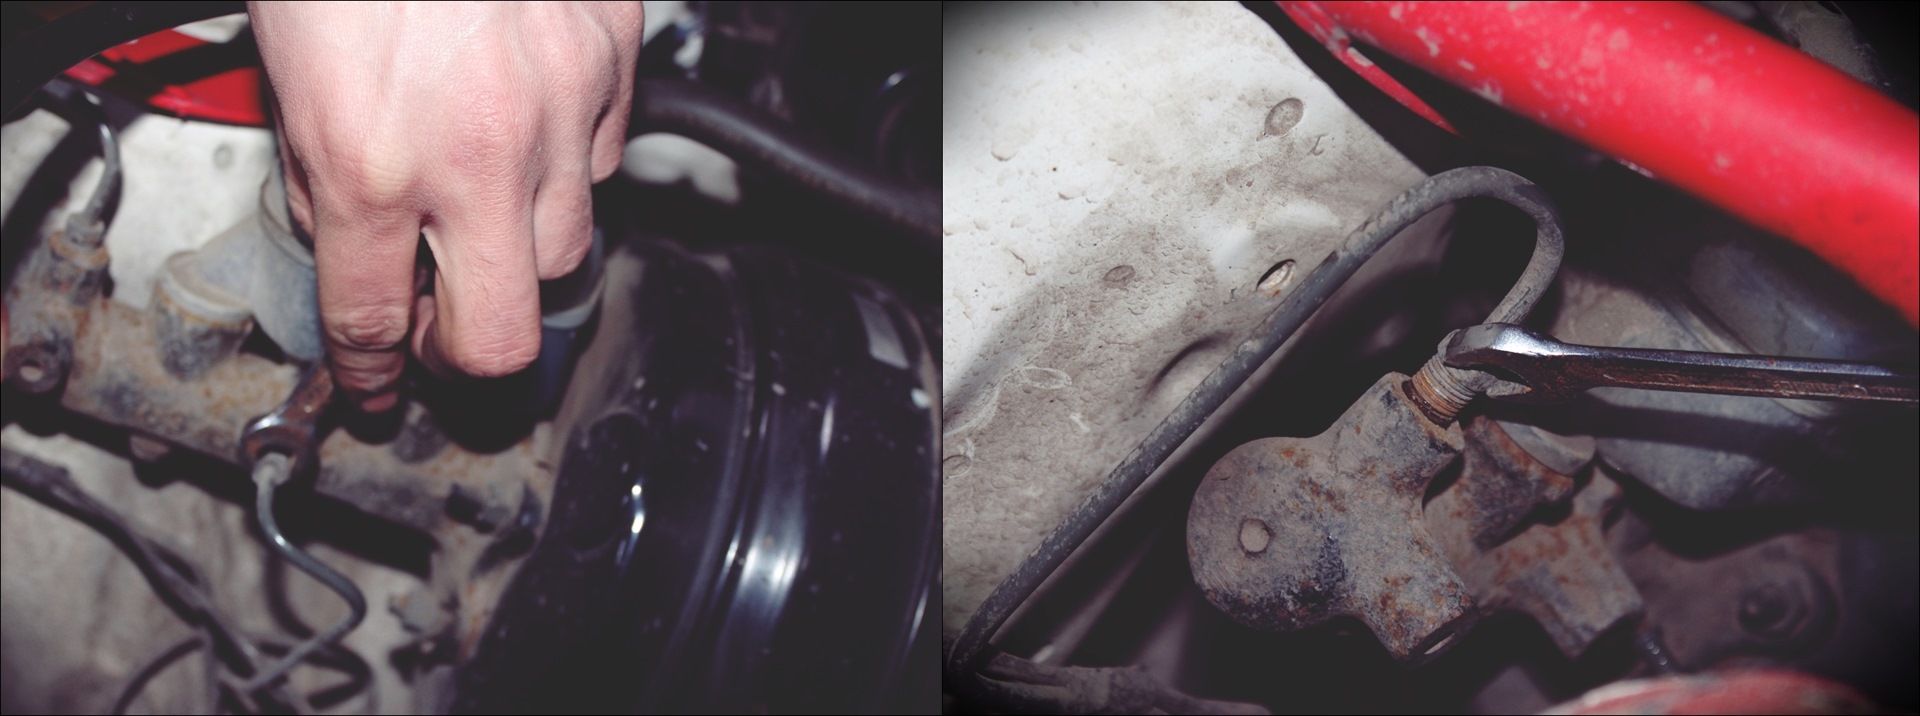
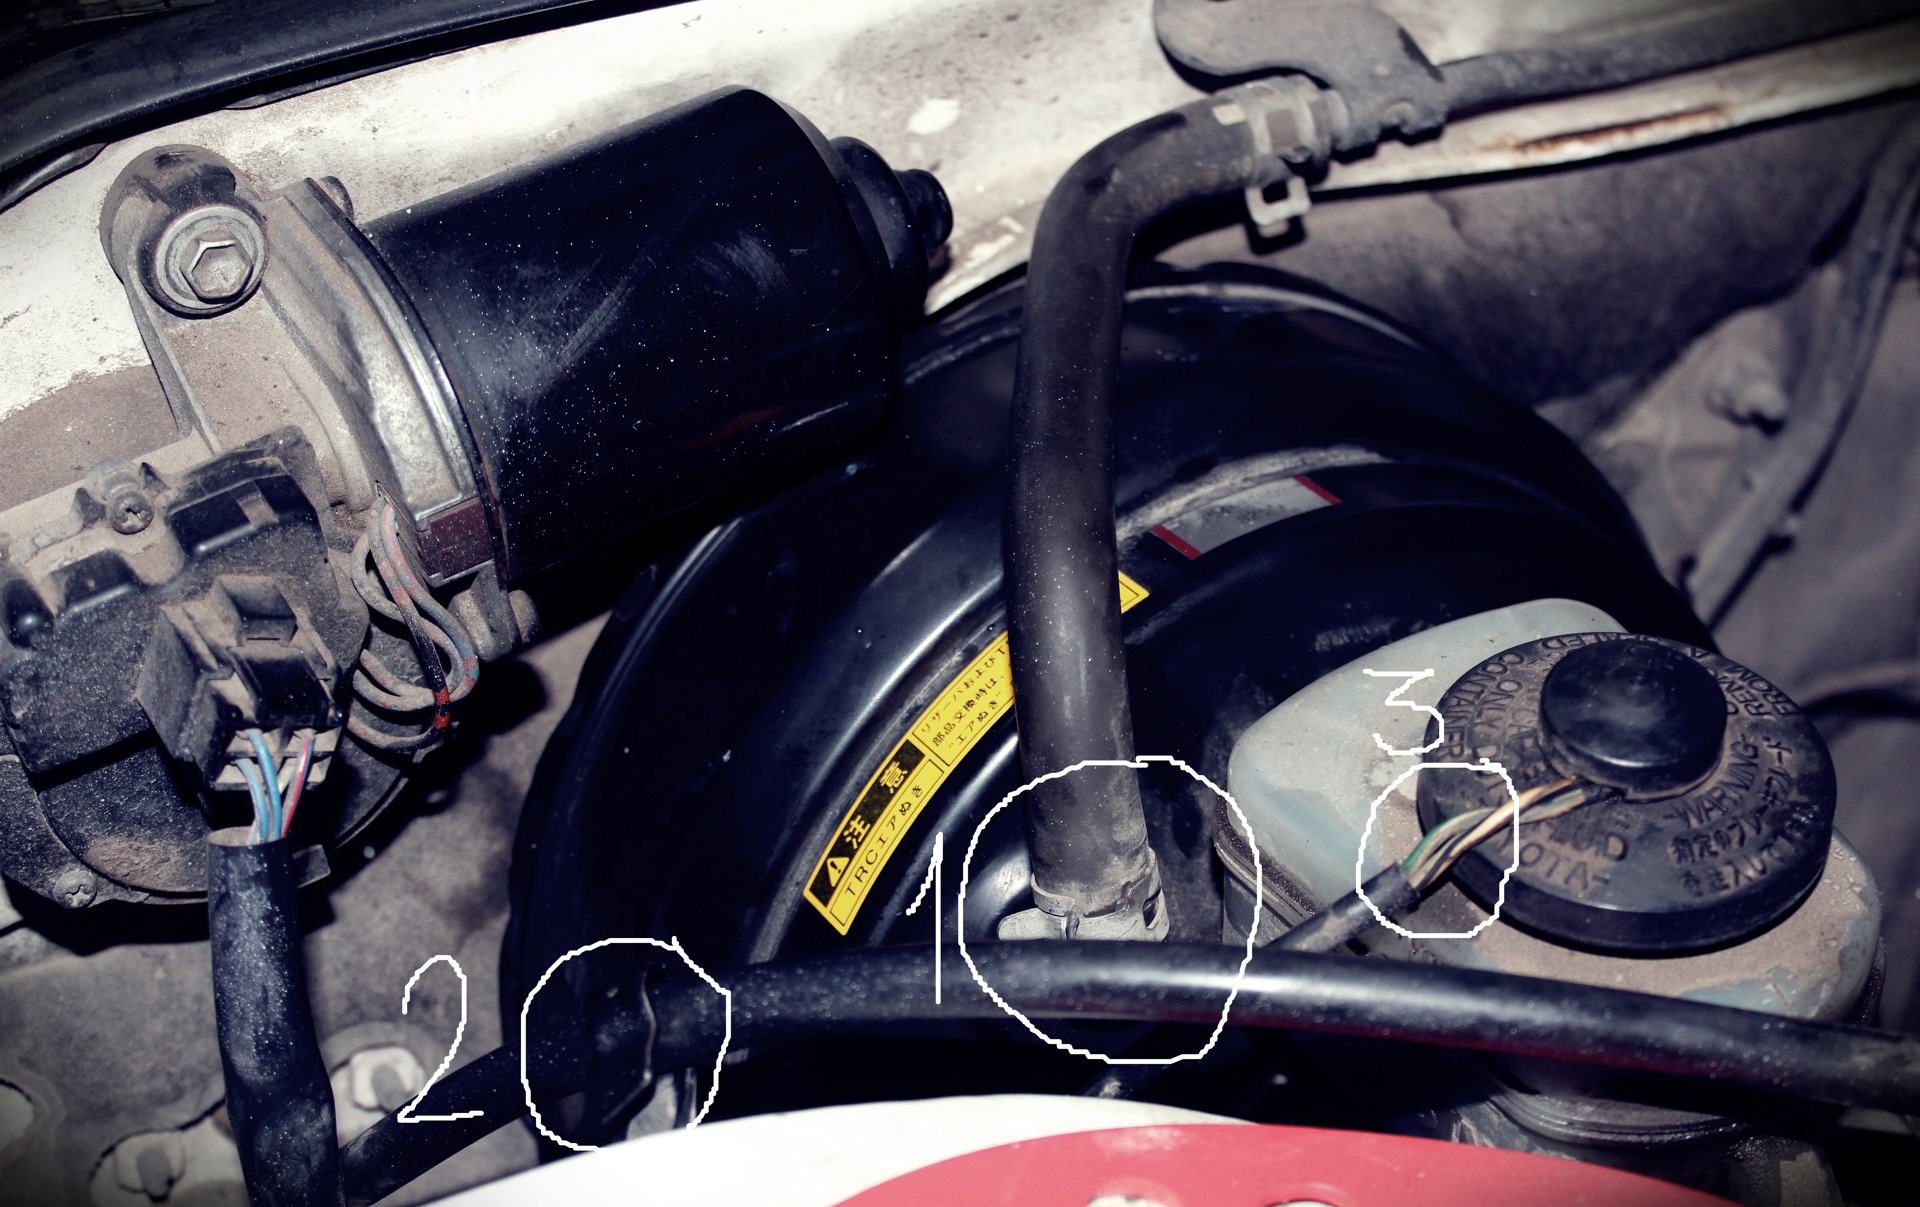
сперва нужно разобрать панель под рулём чтобы было удобно открутить 4 гайки на 13 (я лично использовал из своего набора 2 удлиннителя, трещётку и саму головку соответствующего размера, некоторые умудряются пролезть и открутить эти гайки и рожковым ключём, но лично я таким мозготрёпством не занимался, ибо я зря чтоли покупал себе набор со всеми нужными трещётками, битами и насадками, в общем со всем самым главным и необходимым при ремонте авто), которые крепят сам вакуумник к кузову и отключить педаль тормоза путём вытаскивания фиксатора (тонкая шпилька, которая фиксирует сам шплинт, который служит для того чтобы закрепить педаль с вилкой штока вакуумника) и снятия с педали пружины (только сразу запомните как она стояла). когда все 4 гайки скинуты и педаль отключена от вакуумника, а сам он начал свободно ходить вперёд-назад — лезем под капот, скидываем хомут со шланга под цифрой 1, там же вы увидите штекер показометра уровня тормозной жидкости, который идёт на приборку, его отключаем, он находится рядом со шлангом 1 и там же ключом на 10 откручиваем болт который крепит кронштейн, держащий автоматный тросик и этим же ключом на 10 откручиваем очень аккуратно, не срывая граней трубки под цифрами 2 и 3 (предварительно желательно пшикнуть на них WD-40 чтобы было проще крутить, у меня же трубки открутились вообще безо всяких проблем)) дополнение от AlexandrGX81:
крутим крутим))
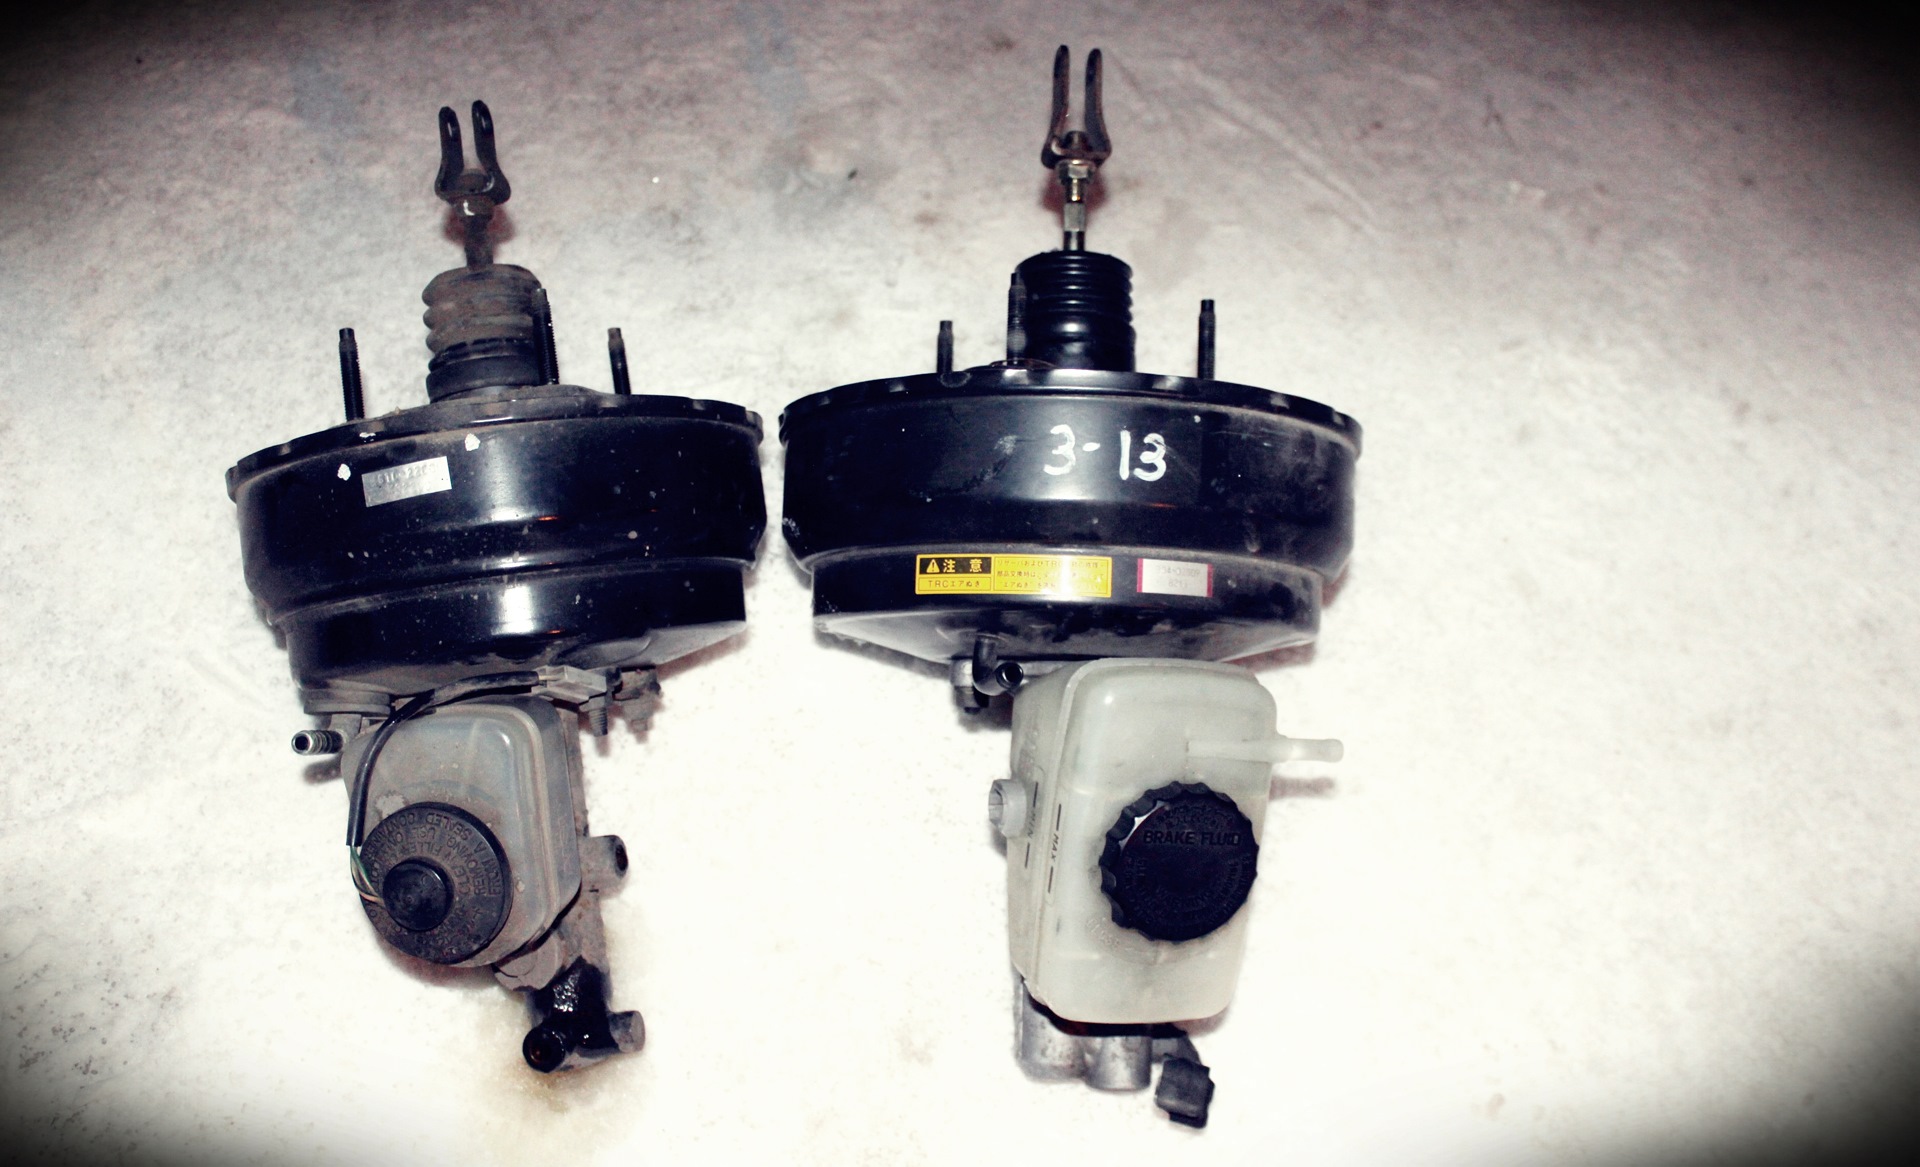
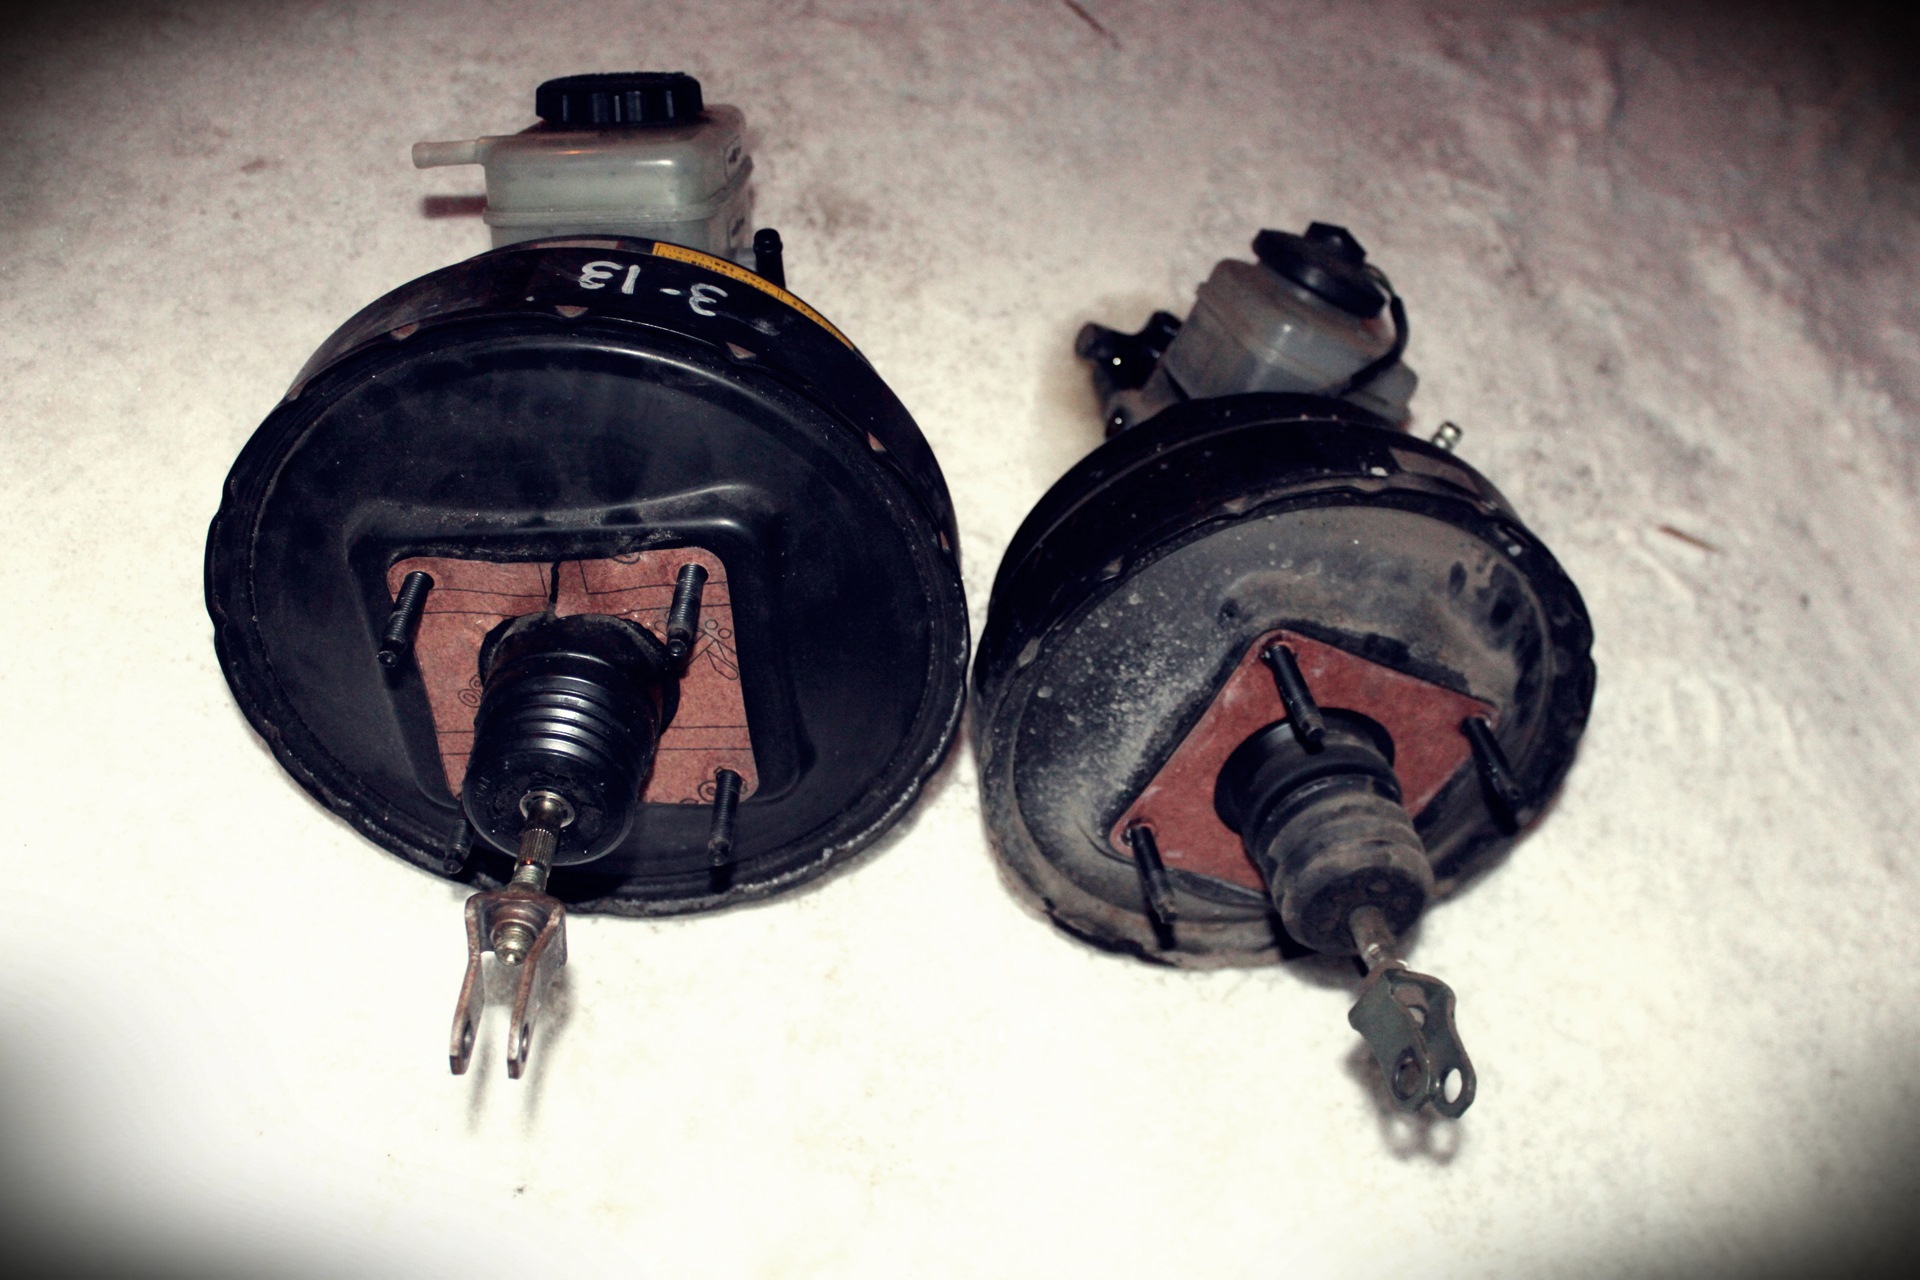
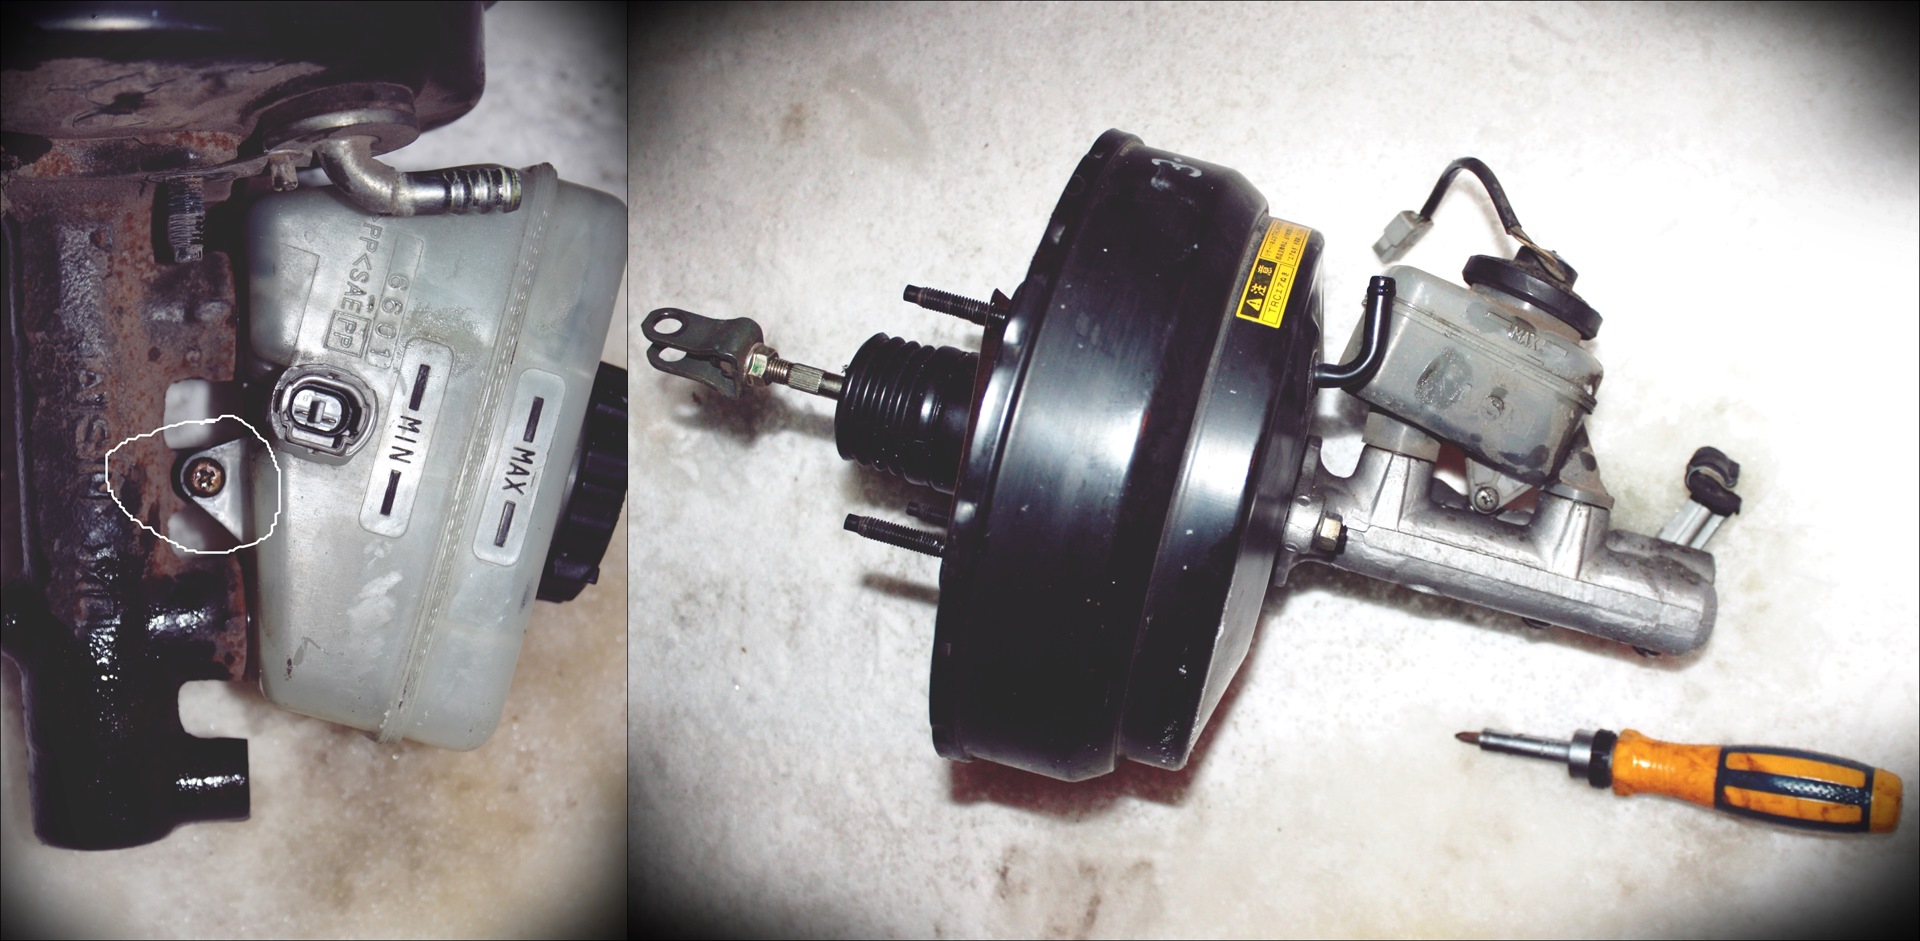
справа, 3-13 это новый туриковский вакуумик. мы перекинули вилки на штоках между собой, так как у меня педалька чуть перевареная и боялся что шток вакуумника не дай Бог упрётся в педаль и будет мешать нормально работать, поэтому перекинул ту вилку что была покороче, то есть родную 81ую. в принципе это делать не обязательно, можно оставить вилки на местах. и дальше нам нужно будет перекинуть бочки для тормозухи и себе оставить родной, так как туриковскому не даст встать на своё место стакан стойки
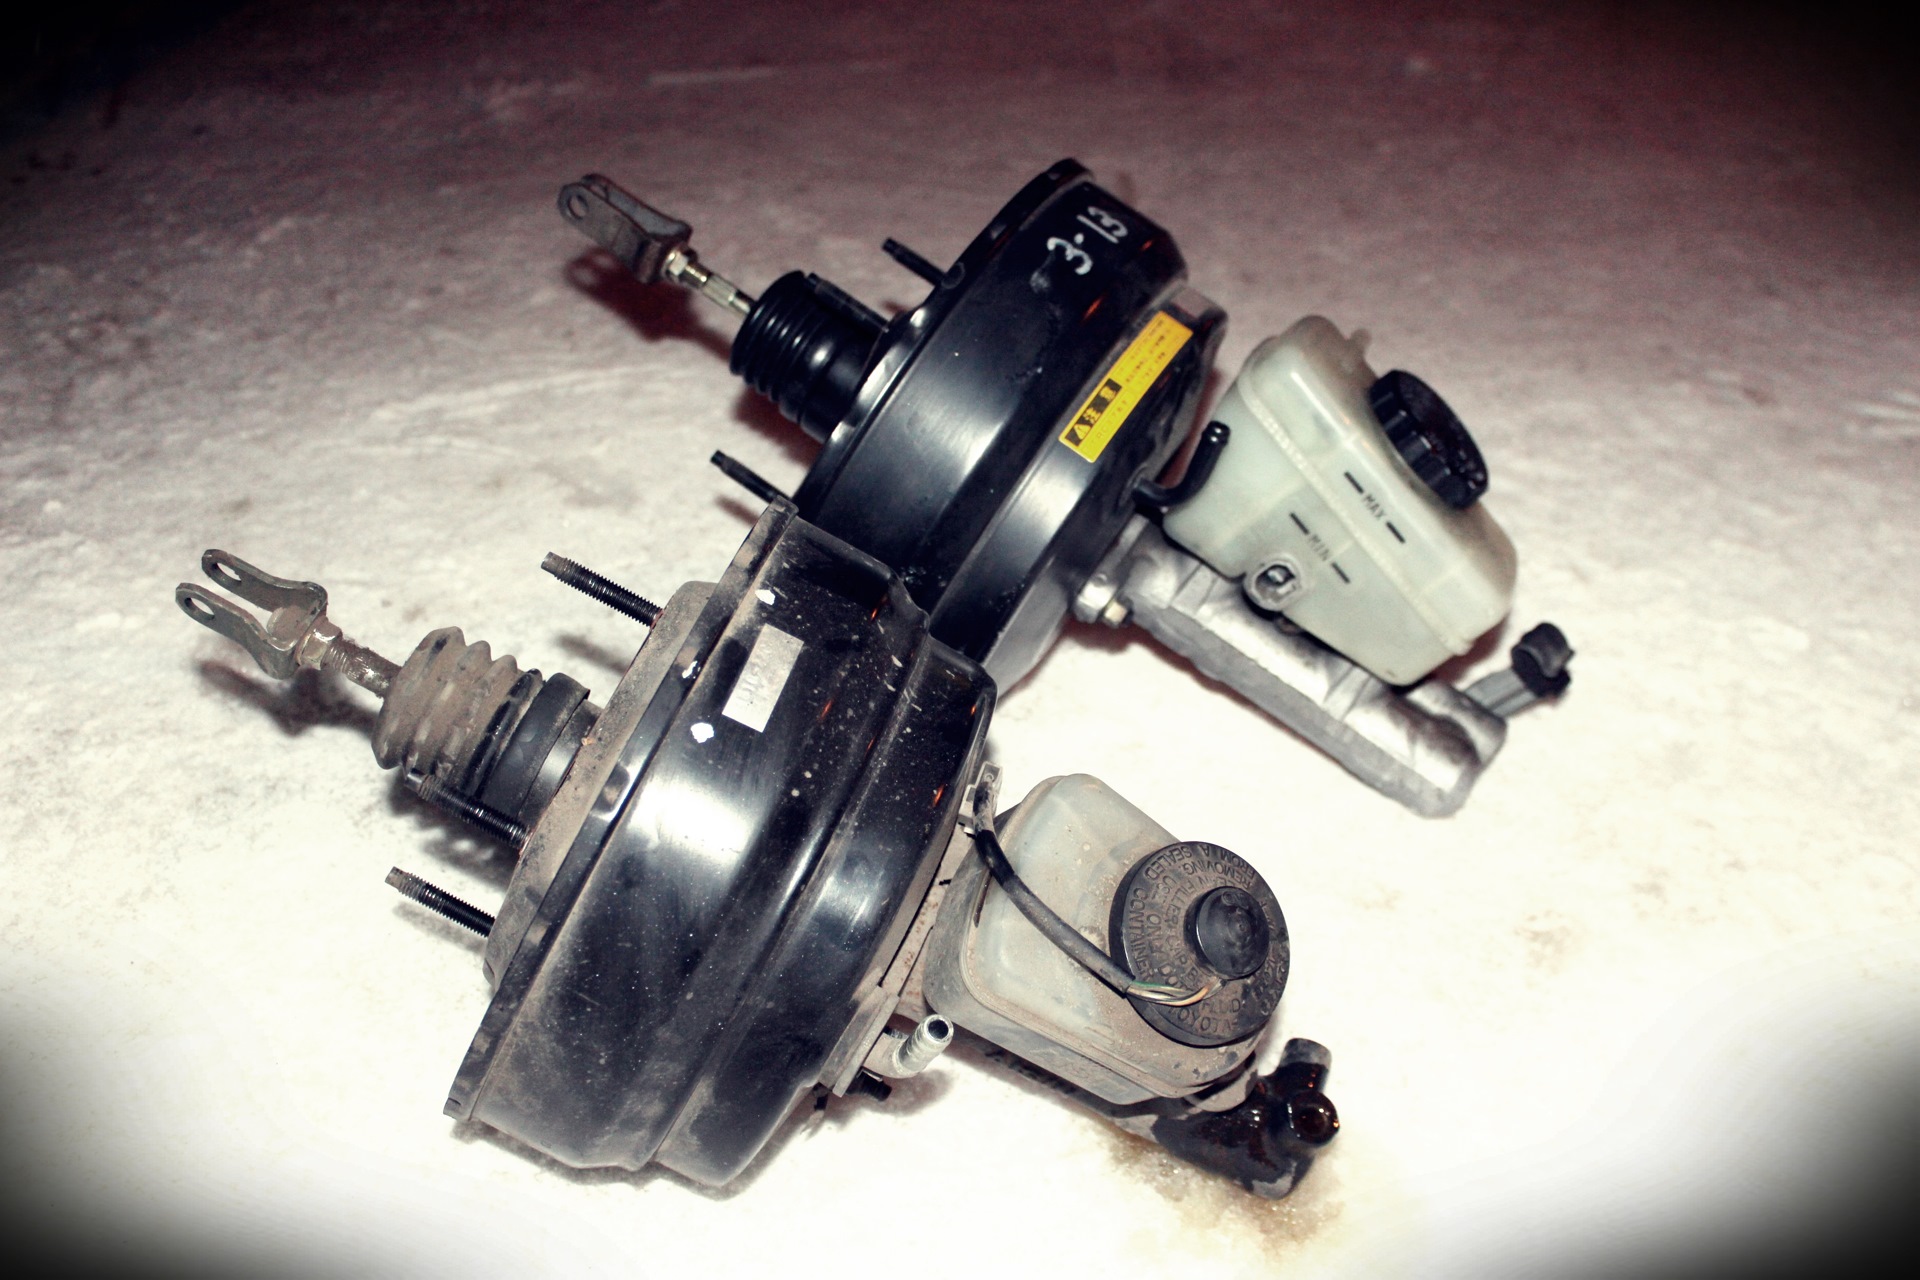
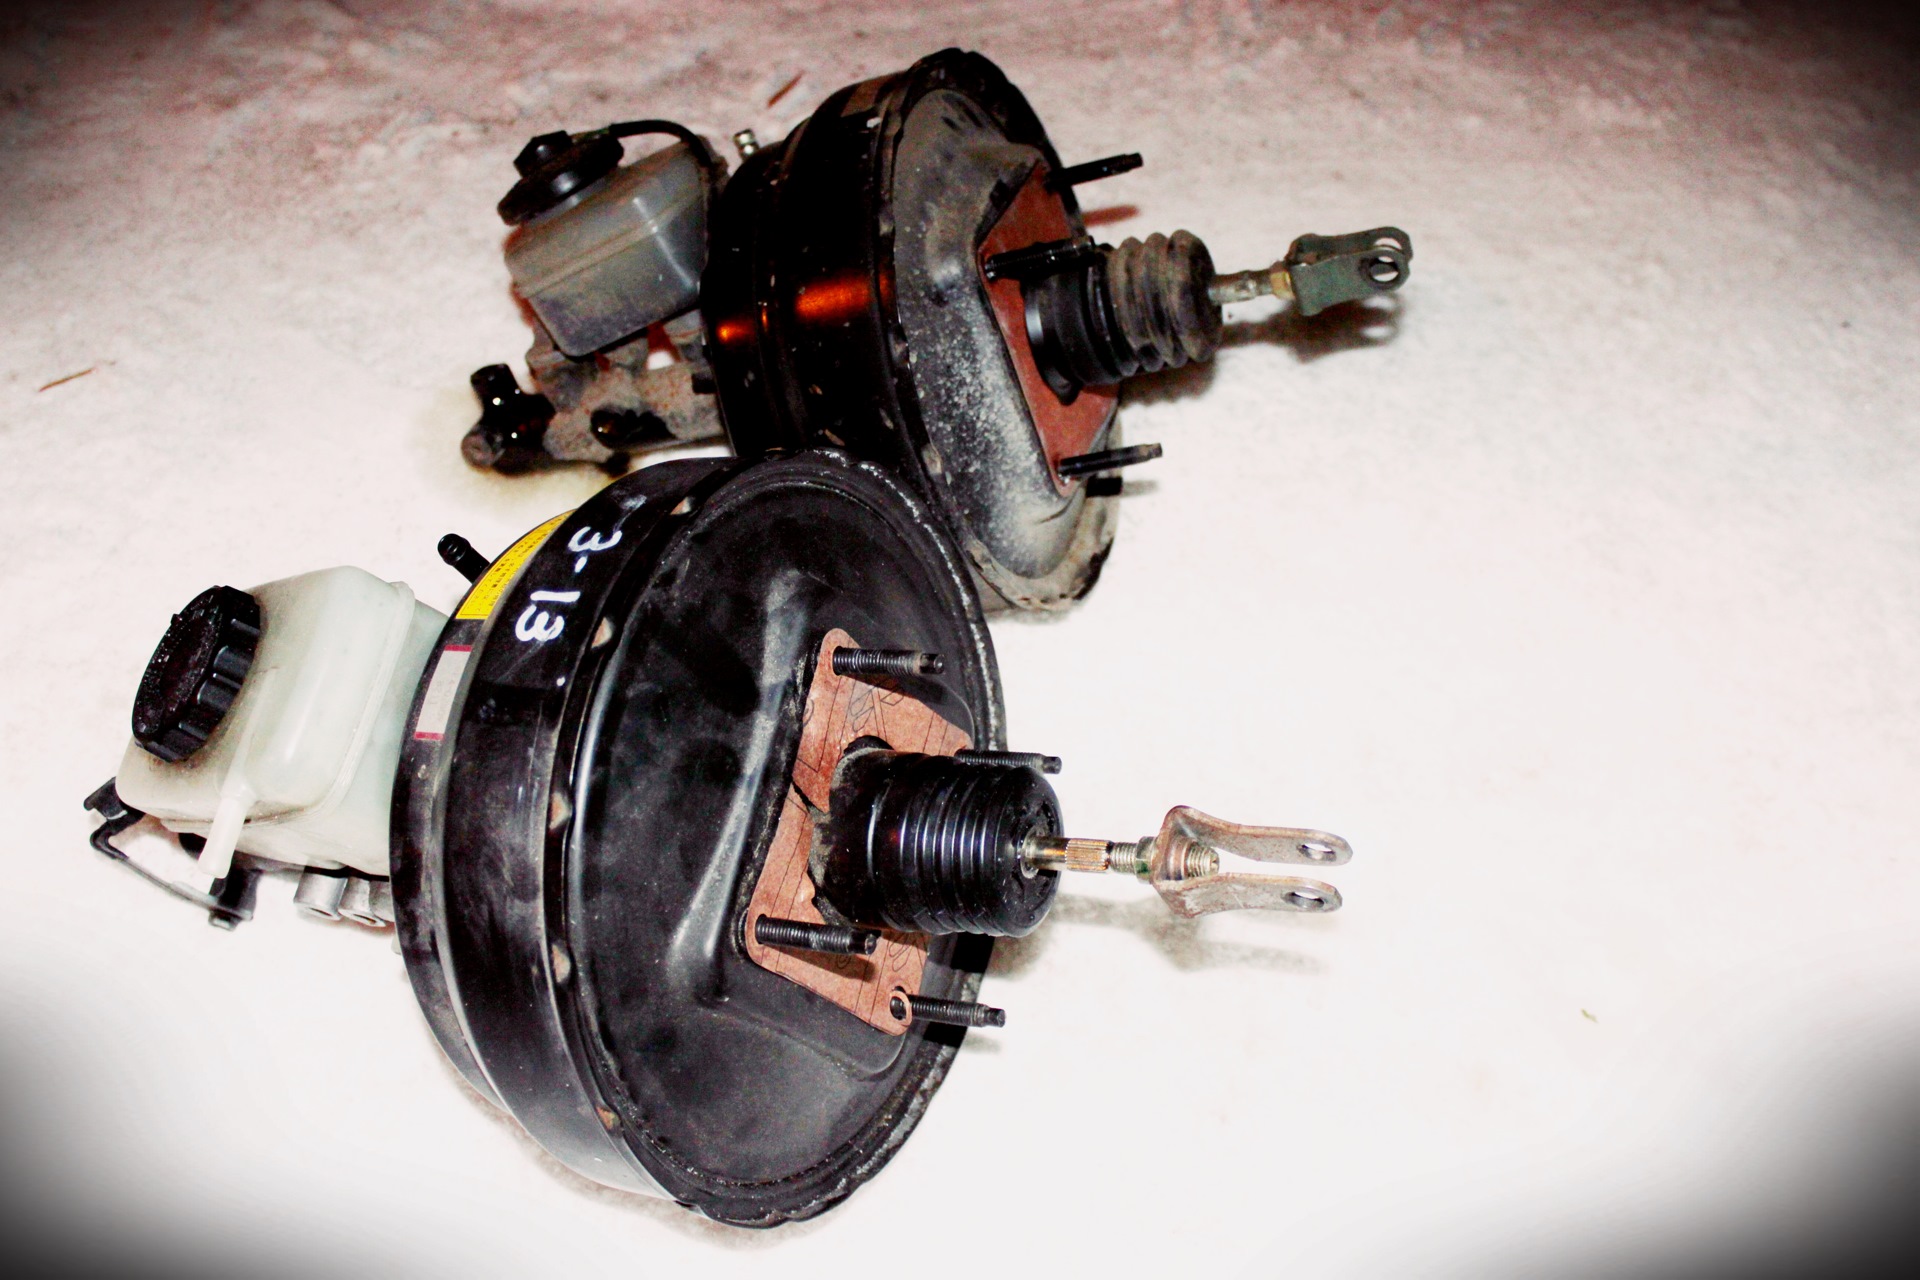
вот вам фото с разных планов
вот вам фото с разных планов
вот вам фото с разных планов
в замене бачков проблем нет вообще никаких. открутил винт (который отмечен на левом фото), вытаскиваем бачок вверх, ту же манипуляцию проделываем со вторым вакуумником, меняем бачки, затягиваем винт и. лёгким движением руки вакуумный усилитель тормозов из JZX100 становится усилком для 81ого)) всё просто
втыкаем новый вакуумник на своё новое место) не забываем прокладку бумажную накинуть (она служит как я понял для того чтобы железо усилителя не тёрлось о кузов)
собираем всё в обратной последовательности)) 1 втыкаем шланг на место, накидываем хомут 2 кронштейн который держит тросик (вроде ватоматный тросик это, хотя может быть и педали тросик газа, я толком не помню, это не важно). кронштейн регулируем и отгибаем так, чтобы сам тросик в нём никак не перетирался у вас на ходу) 3 ну это провода датчика уровня тормозухи в бачке, там где-то внизу нужно будет подключить фишку показометра на место. трубки нужно будет немного аккуратно подогнуть и вкрутить в ГТЦ, обе они теперь вкручиваются сбоку тормозного цилиндра. далее собираем всё на место в салоне
:)
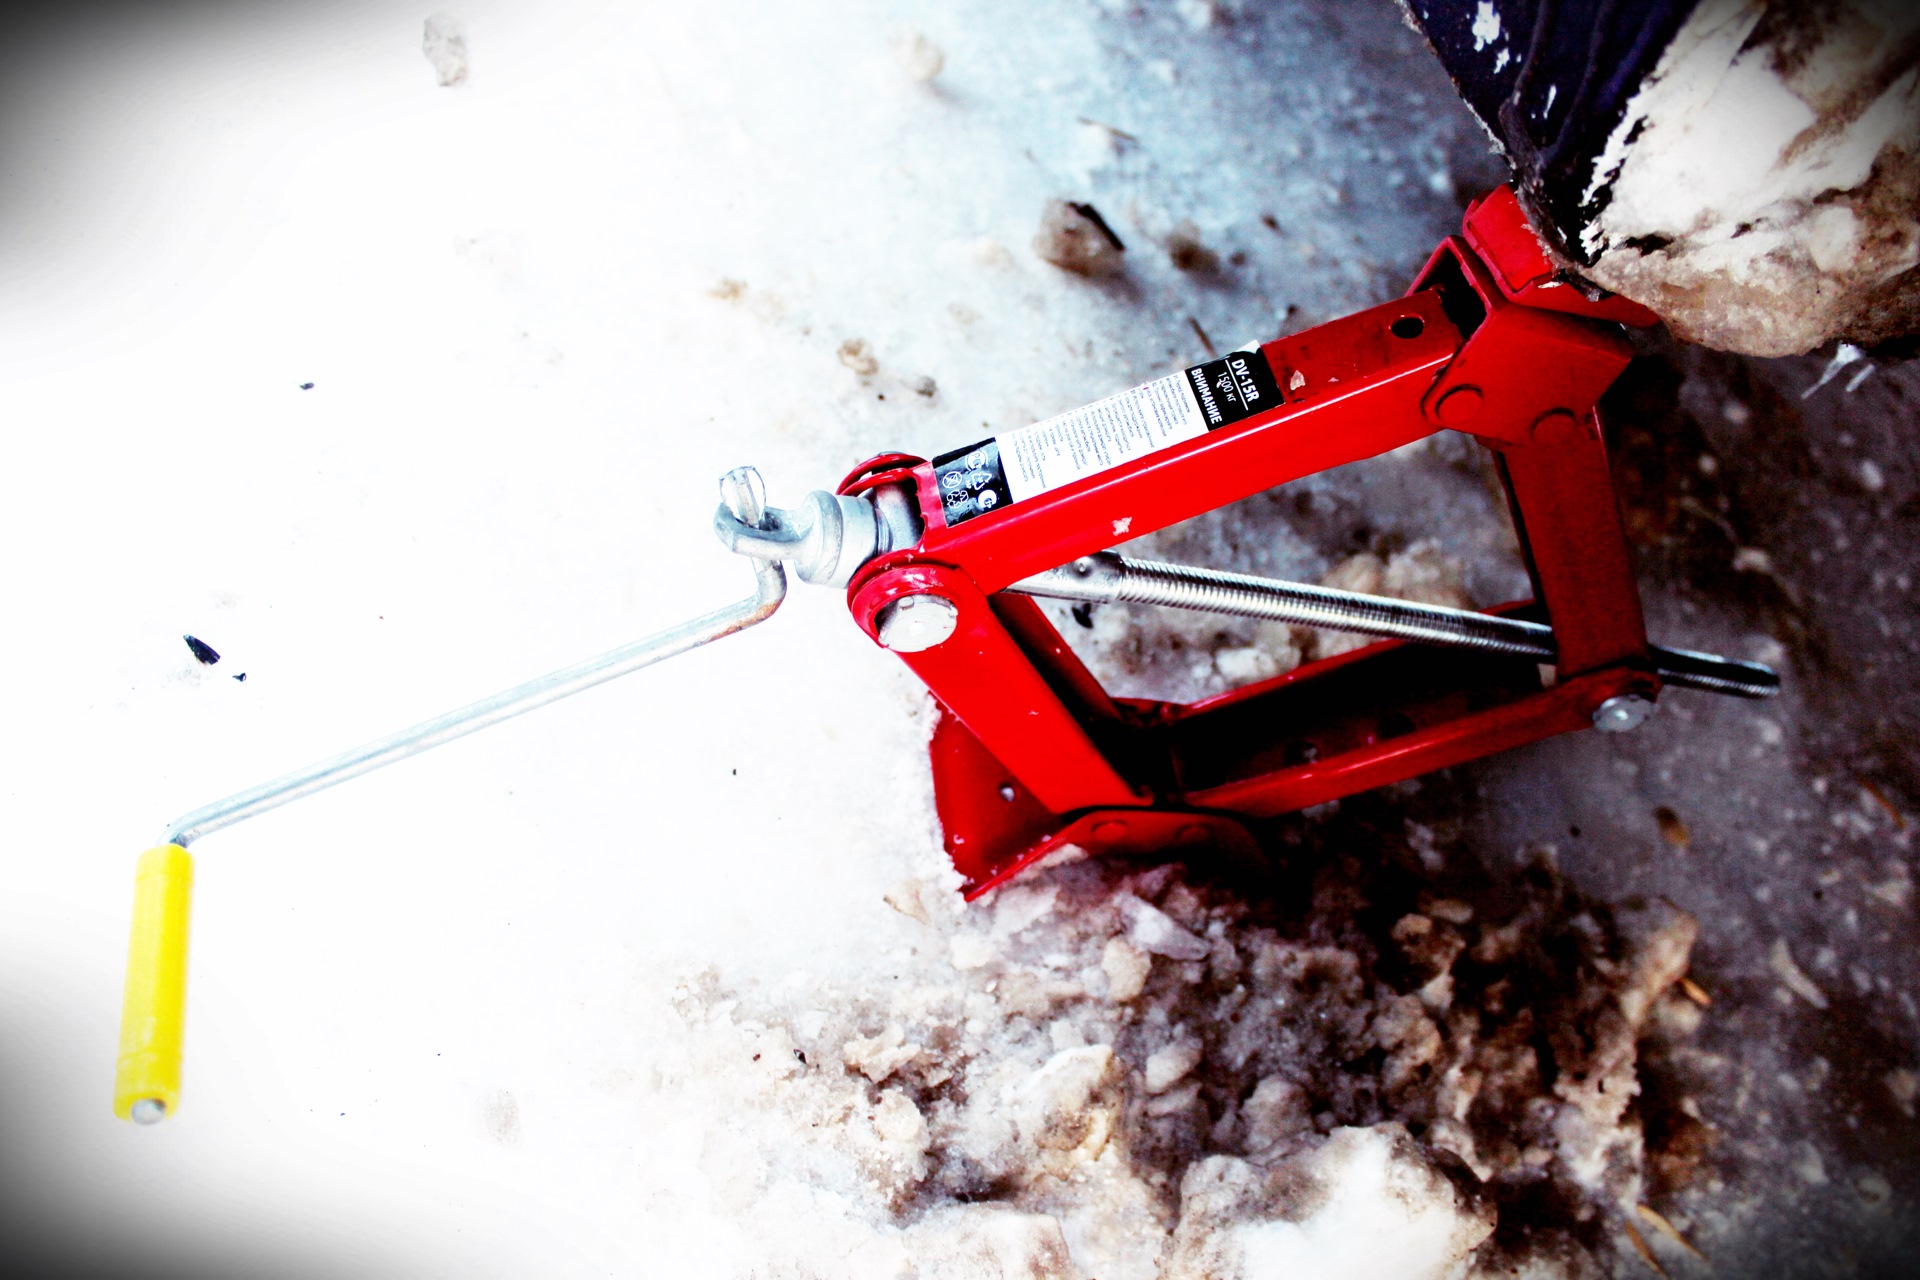
на следующий день прокачка тормозов. блин, каааак я запарился крутить этот домкрат, ещё и на холоде и на ветру страшном просто. хотя у самого 2 гидравлических домкрата, но вожу я с собой именно этот — он занимает мало места и очень компактный, но приходится конечно маленько поработать с ним физически, чтобы поднять автомобиль)
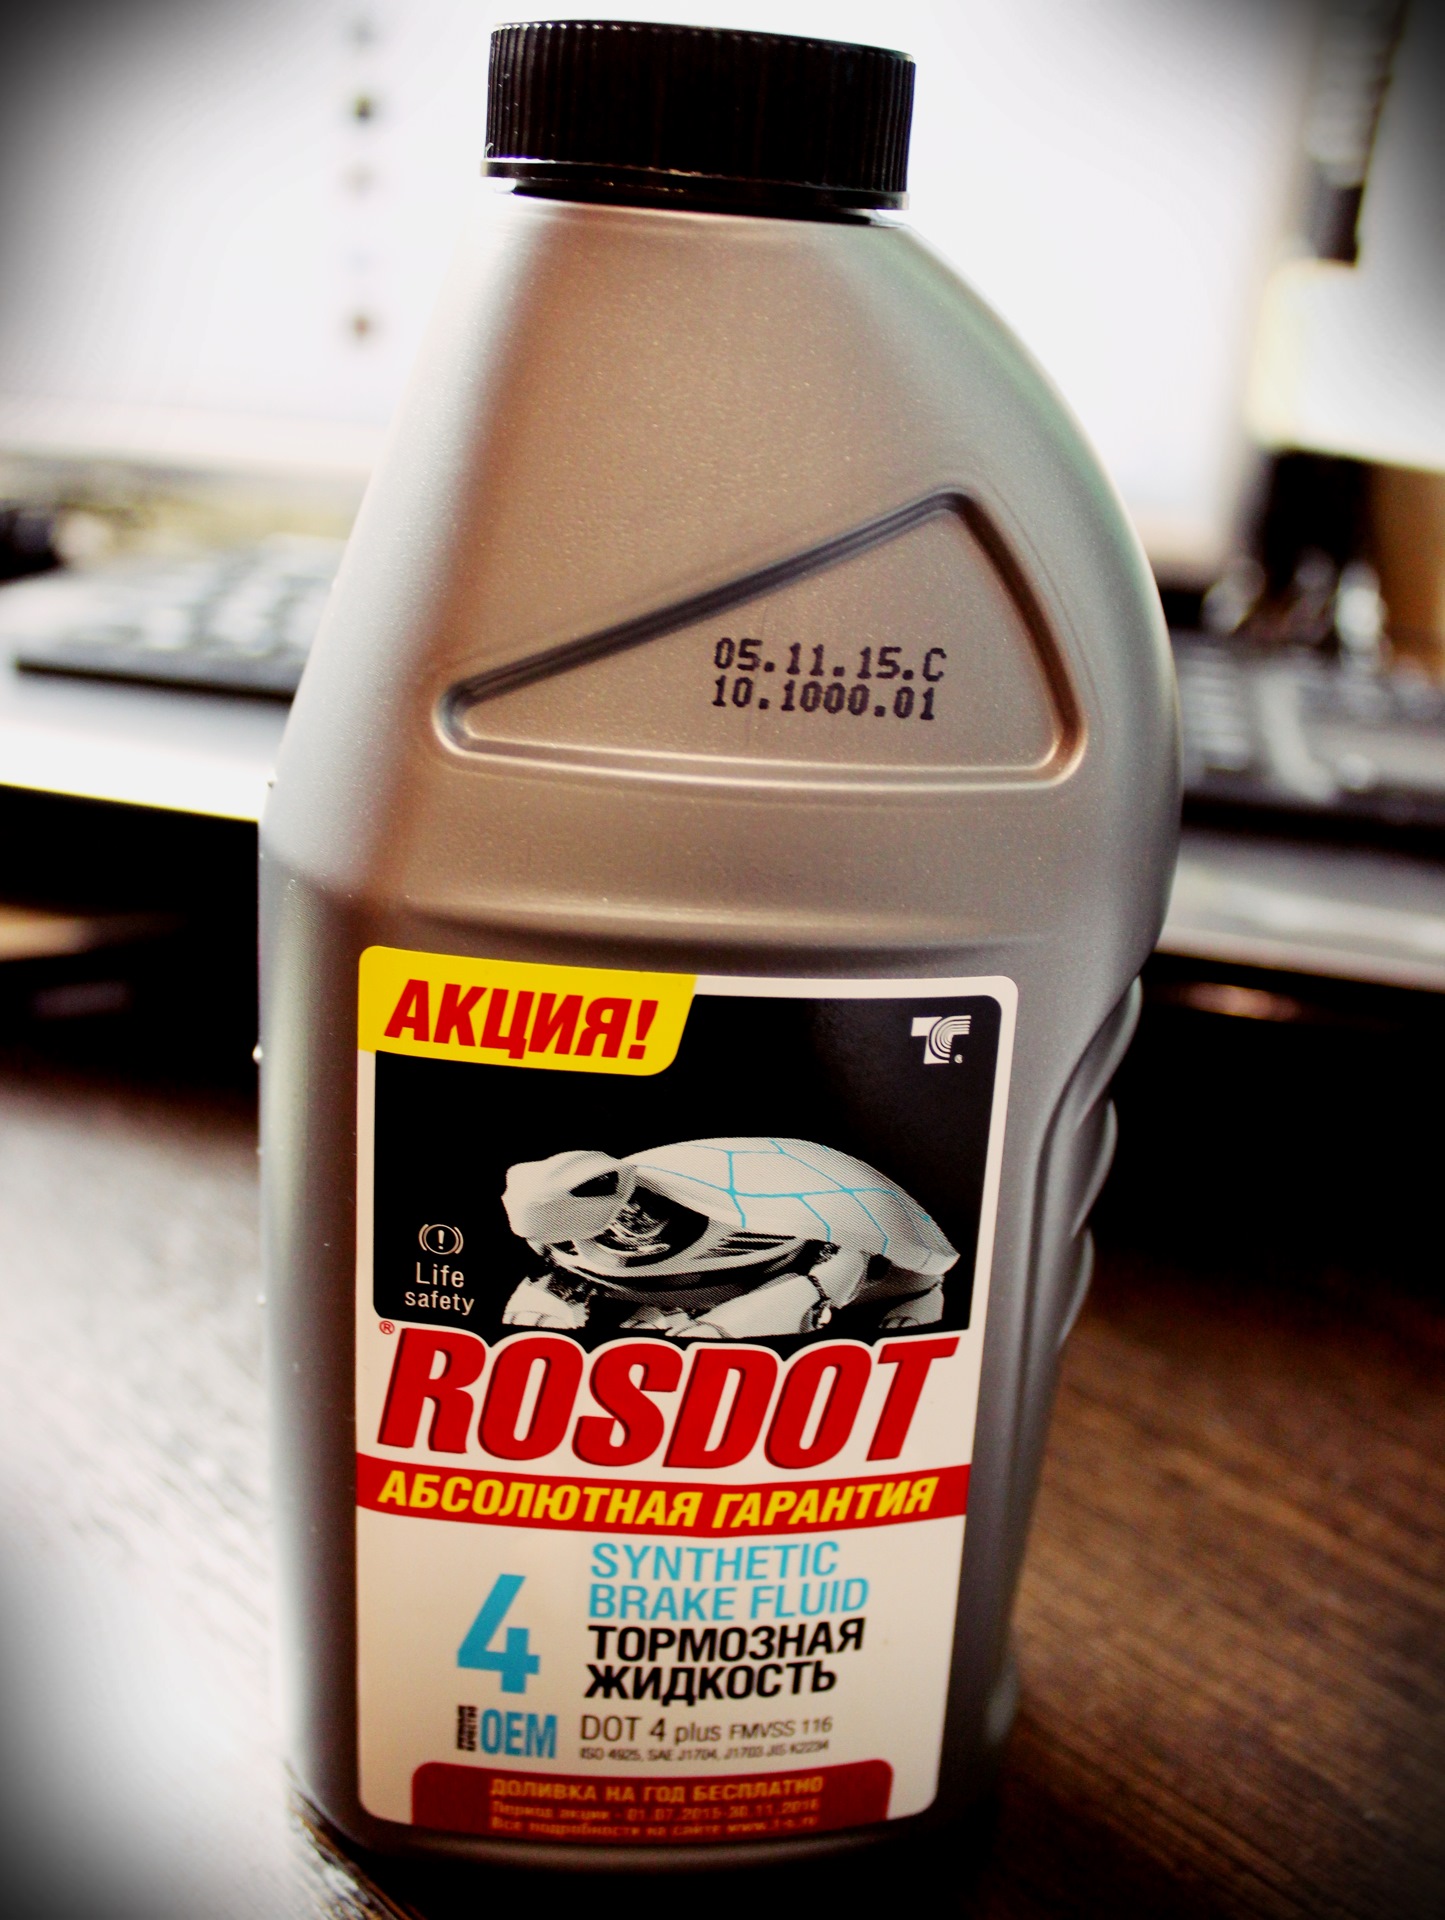
мне понадобились 2 таких банки ROSDOT4 для полной прокачки тормозов, прогонки новой тормозухи по всей системе. старую тормозуху выгнал, слил в пустую банку и утилизировал.
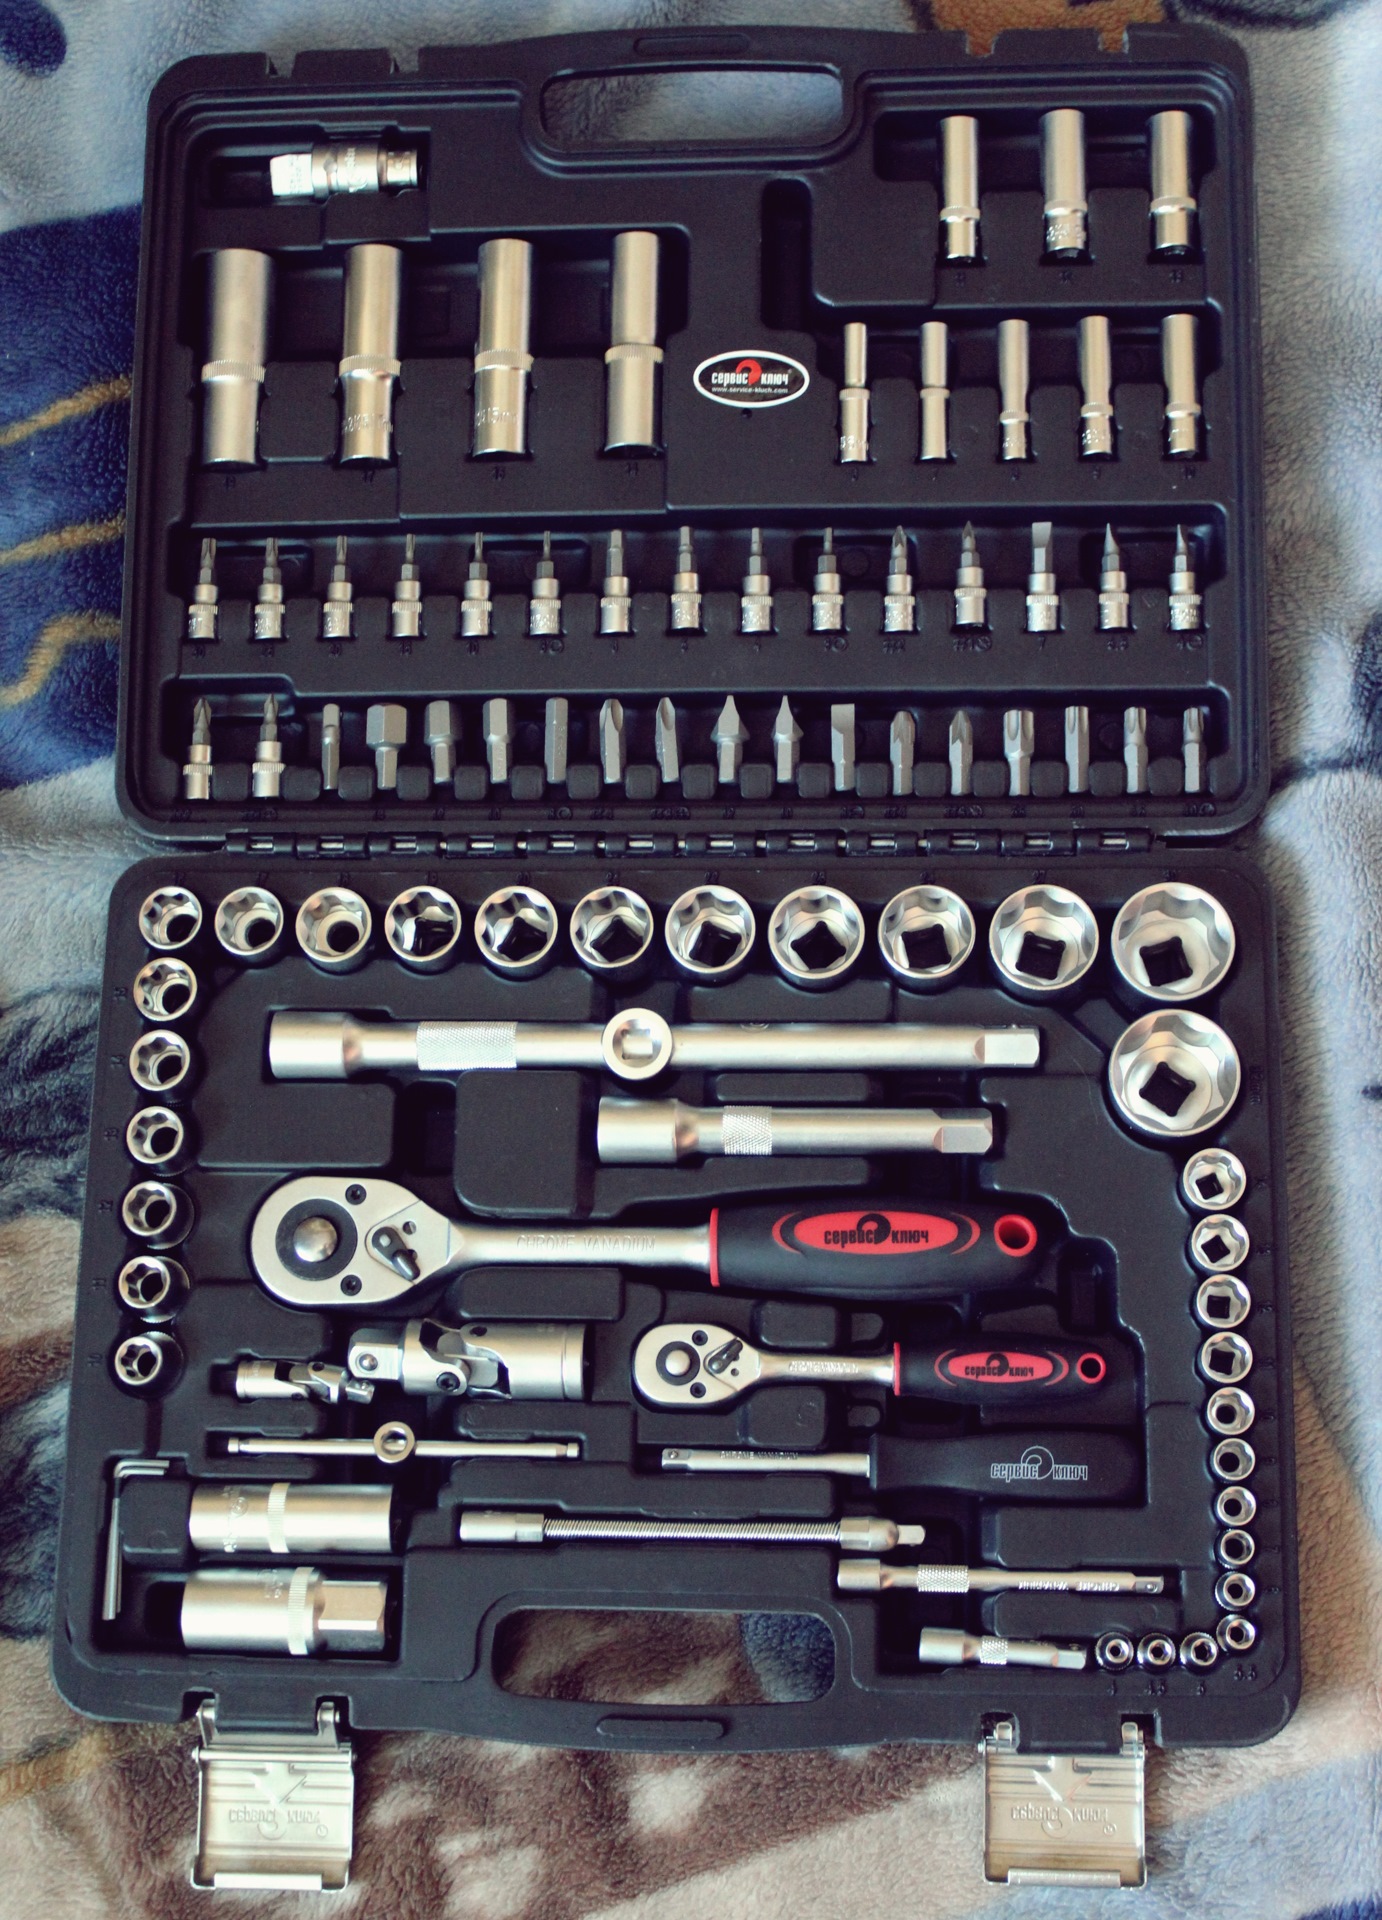
а вот, кстати, и мой рабочий набор)) безумно рад что купил его ещё год назад, с тех пор он не раз выручал и не только меня)) стараюсь все инструменты покупать себе исключительно только фирмы СЕРВИС-КЛЮЧ, на личном опыте убеждён в качестве, с которым они выпускают свою продукцию. рекомендую всем брать себе не хуже такого набора)) 108 редметов
Комментарии
Пока нет одобренных комментариев.