═════════════════Frequently Asked Question═════════════════
Автор: YURIY-GX71
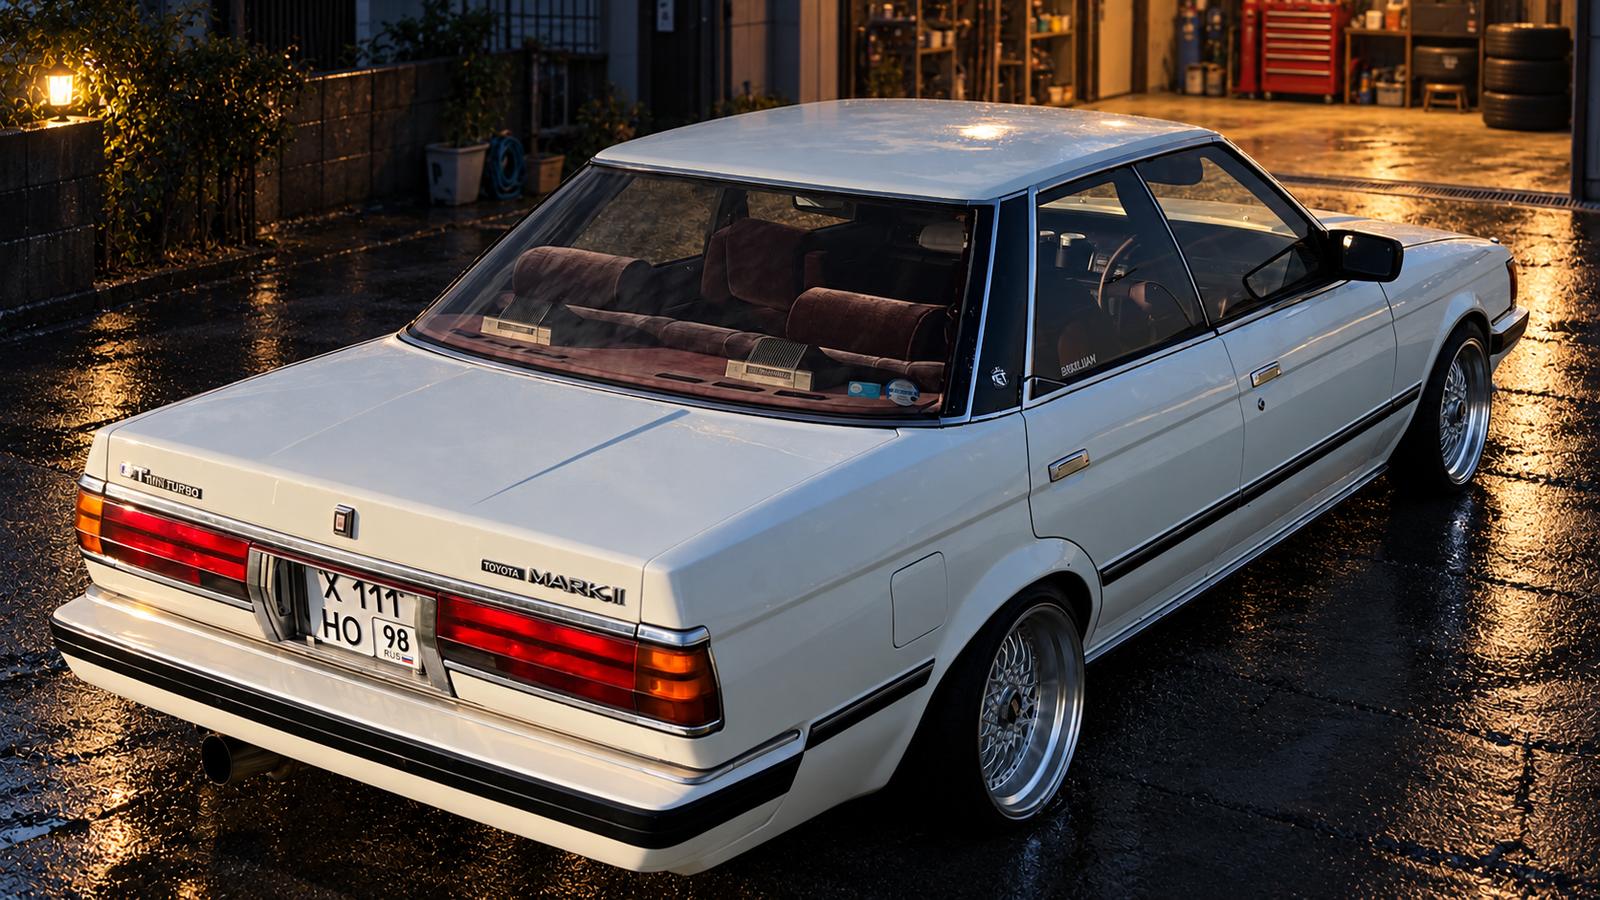
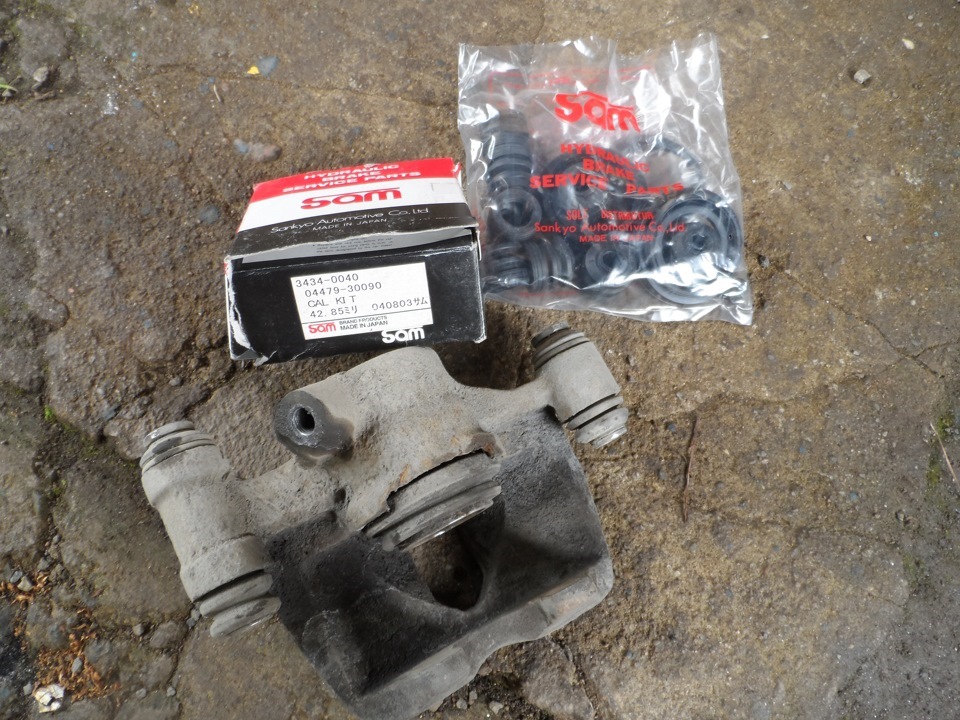
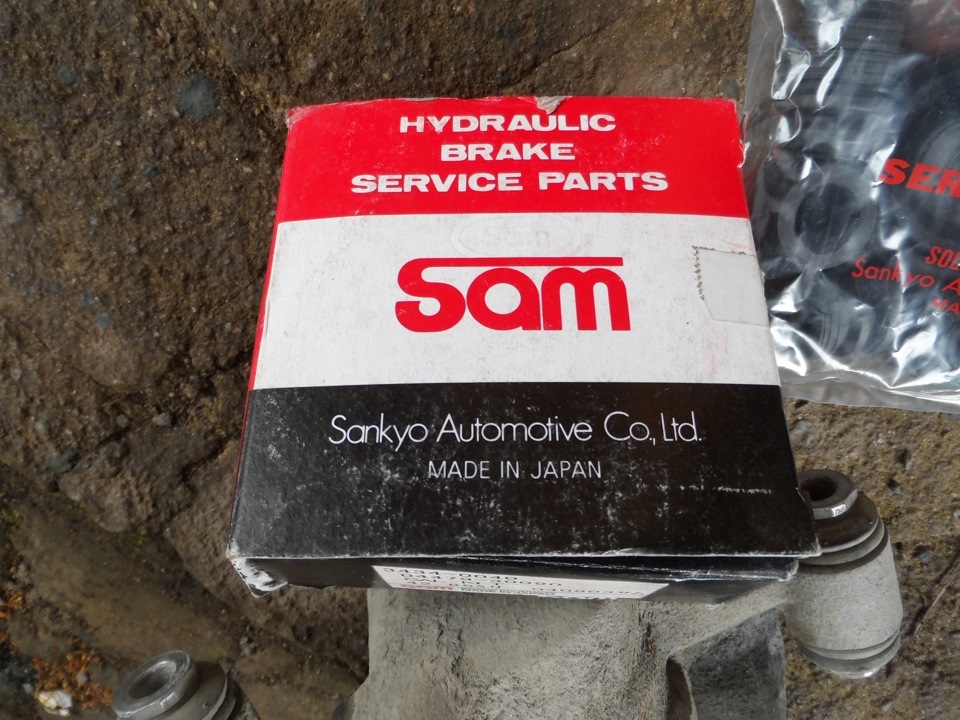
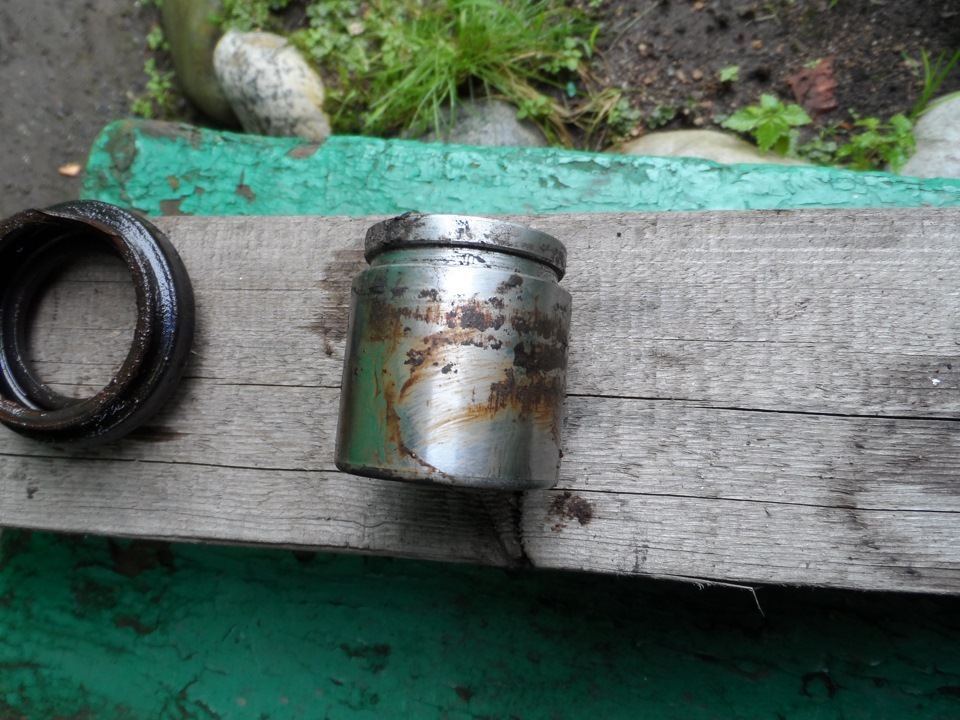
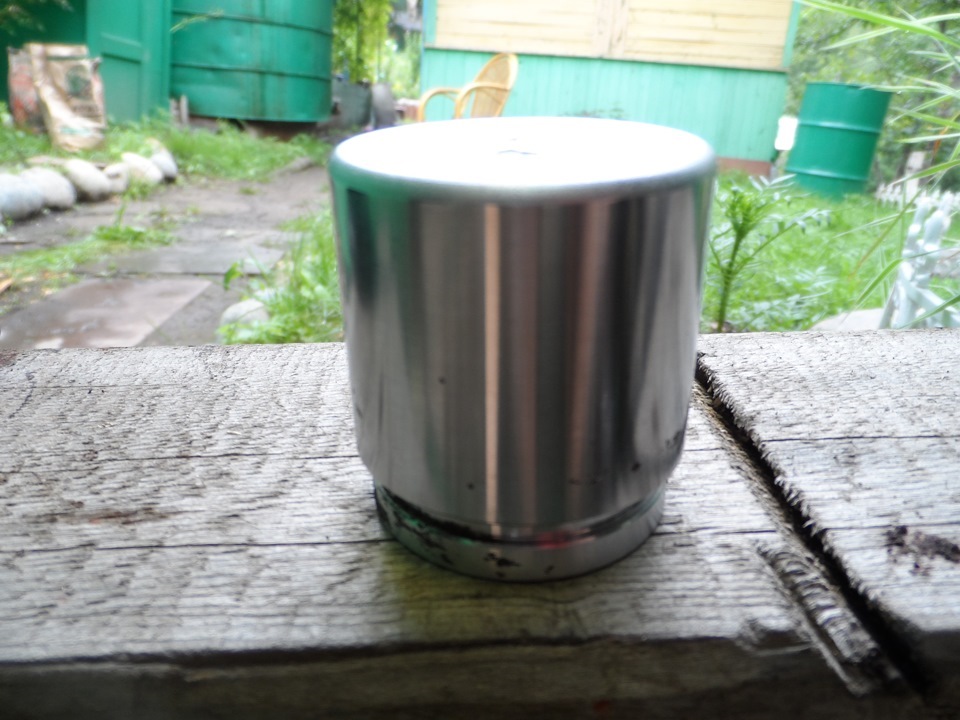
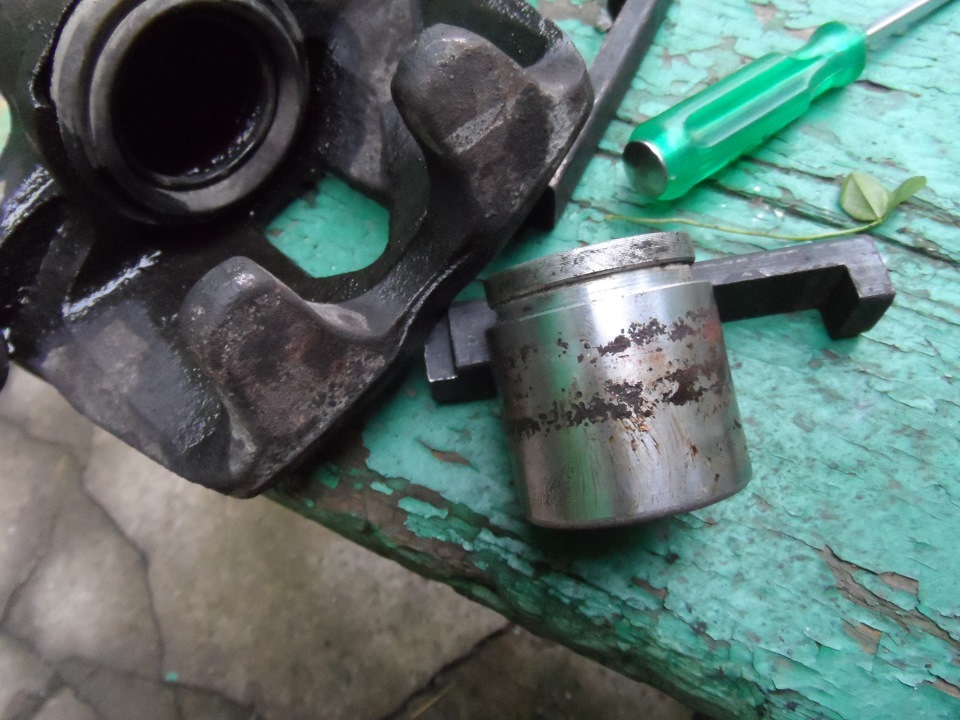
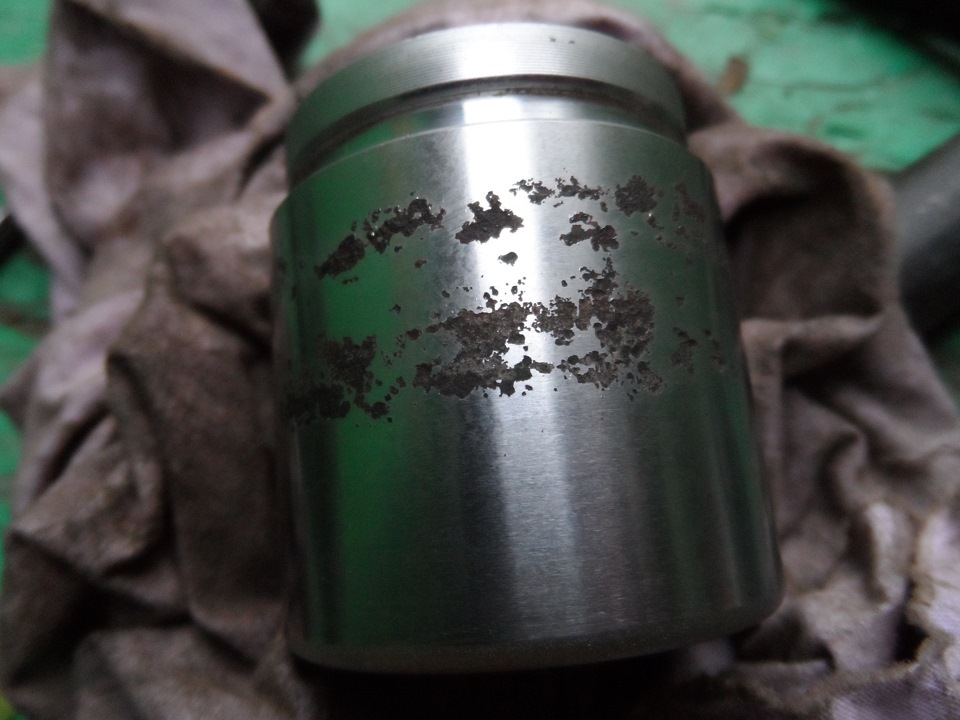
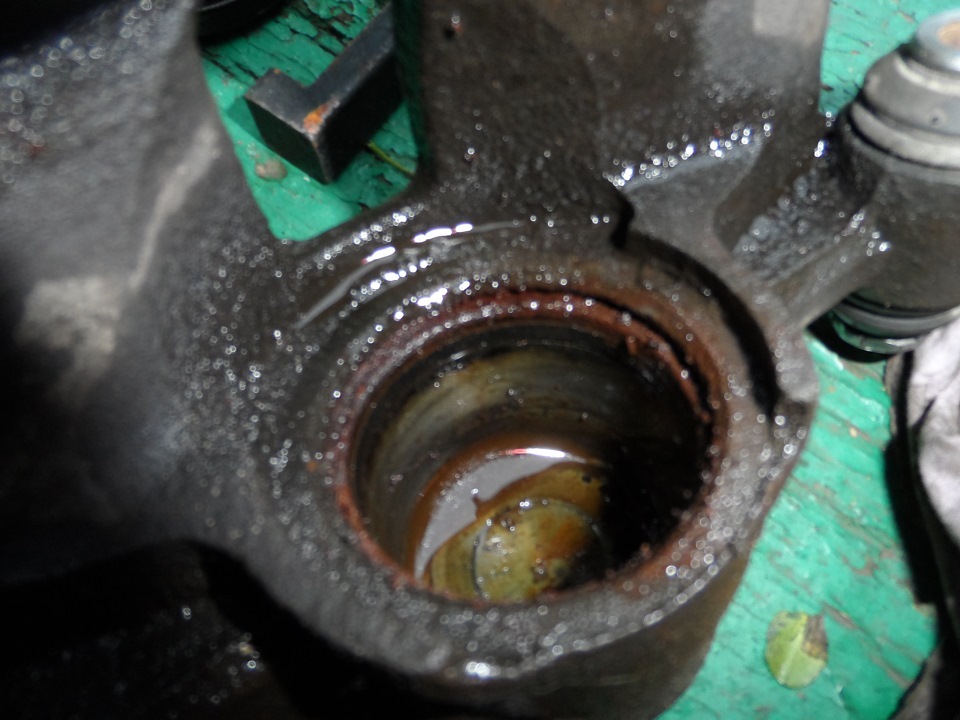
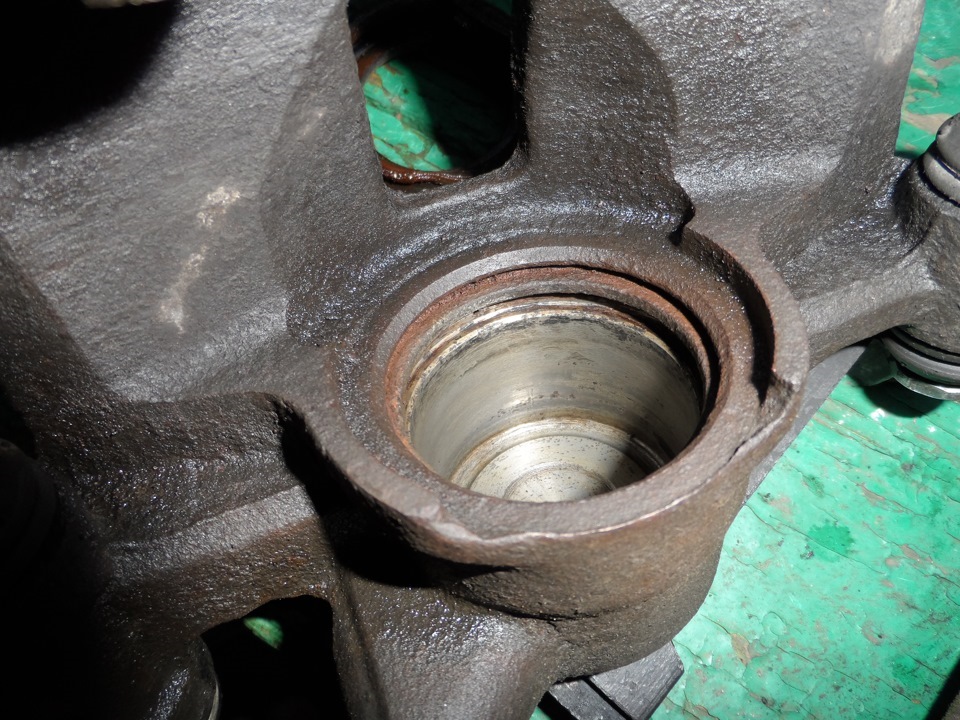
Итак, ещё одни выходные провёл с пользой для Марчка. На переборку суппортов сподвиг тот факт, что с нашим «хорошим» дождливым Приморским летом на дорогах потоп)) и при попадании в суппорта тормоза на Марчке стали подклинивать и сильно греть тормозные диски. Оригинальные рем.комплекты на суппорта довольно-таки дороговаты и ждать их долго, поэтому разыскал на авто-рынке аналоговые по оригинальному номеру (04479-22010 – задний, 04479-30090 – передний) рем.комплекты некой компании SAM и ждал выходных. Каждый рем.комплект обошёлся по 600 руб. При переборке увидел в каком печальном состоянии были внутренности суппортов, особенно тормозные цилиндры и поршни. На передних суппортах пыльники поршней были беспощадно порваны. Поршни оказались слегка поедены ржавчиной, но я к этому готов не был и под рукой новых поршней не было, поэтому почистил и поставил на место старые. Что касается аналоговых рем.комплектов – всё подошло замечательно как оригинал. По сколько ремонтом данной части автомобиля занимался впервые, вывел особенности в правильности последовательности, которую постараюсь вам изложить. Итак.
Очерёдность переборки задних суппортов:
1. открутить два болта поршневого корпуса (фундамент суппорта откручивать не надо);
2. снять корпус не откручивая от него тормозной шланчик;
3. прокачать педалью тормоза до момента пока поршень не выскочит из цилиндра (потому как в ручную поршень вытащить не получится, я пробовал)) );
4. открутить тормозной шланчик от корпуса и заткнуть его к примеру деревянным чёпиком;
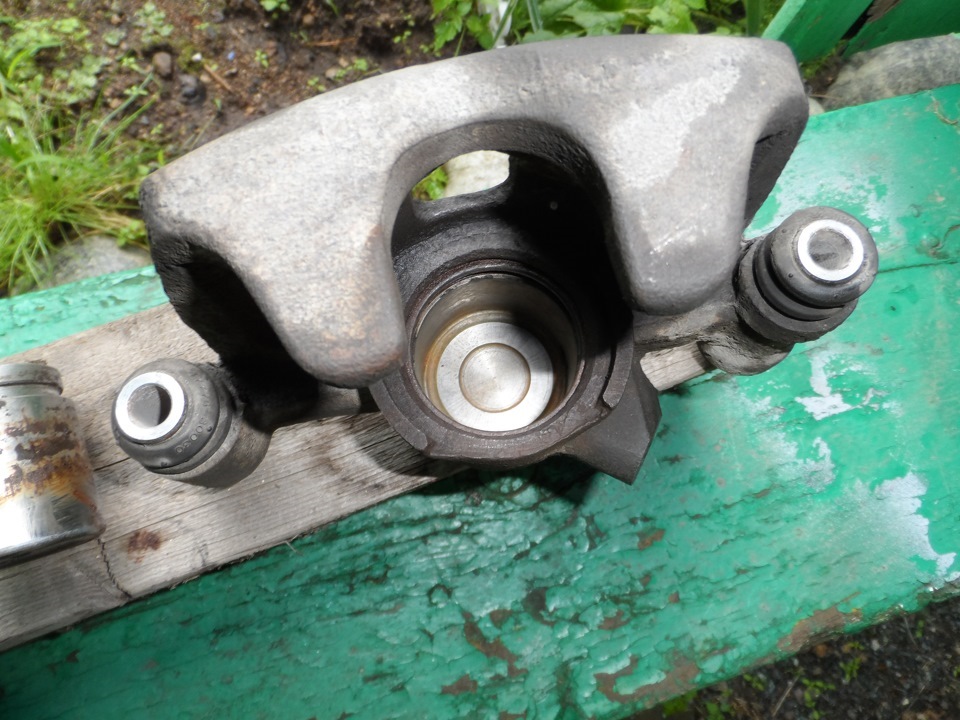
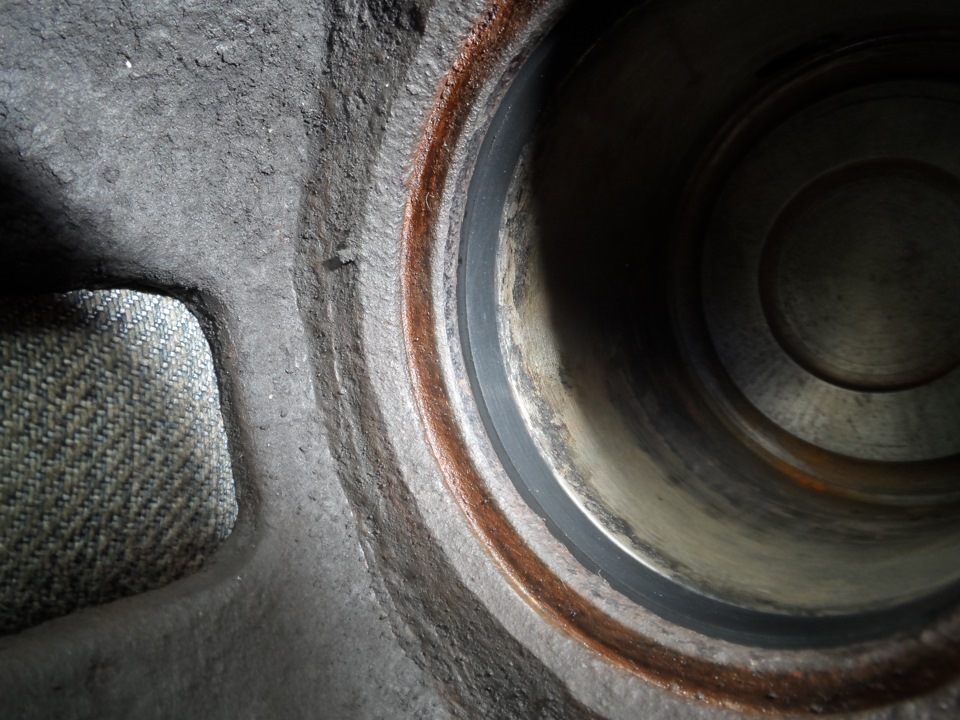
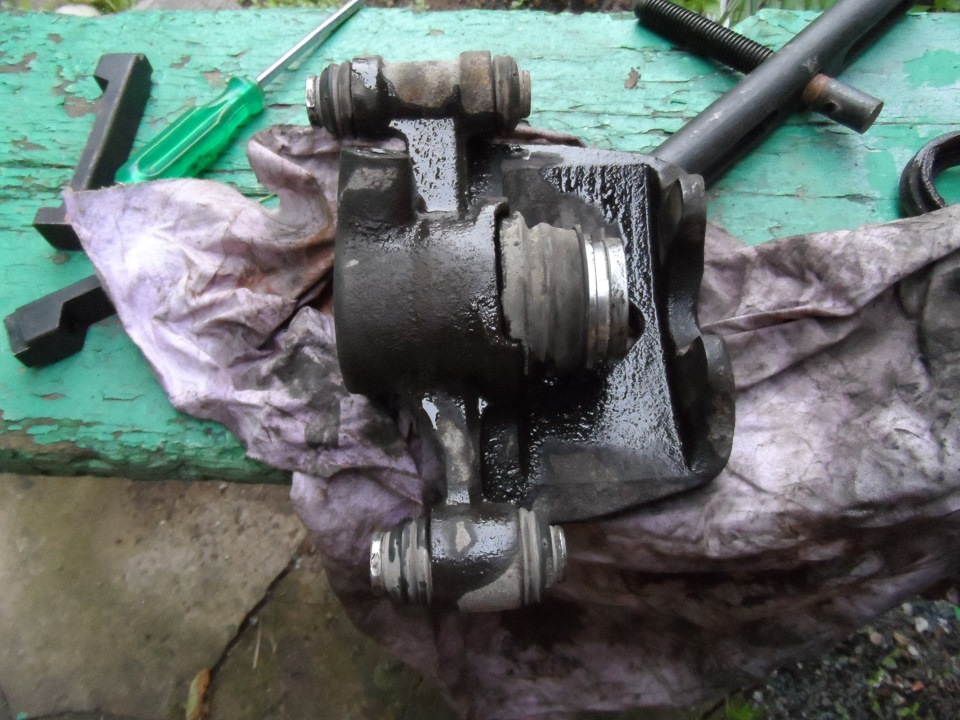
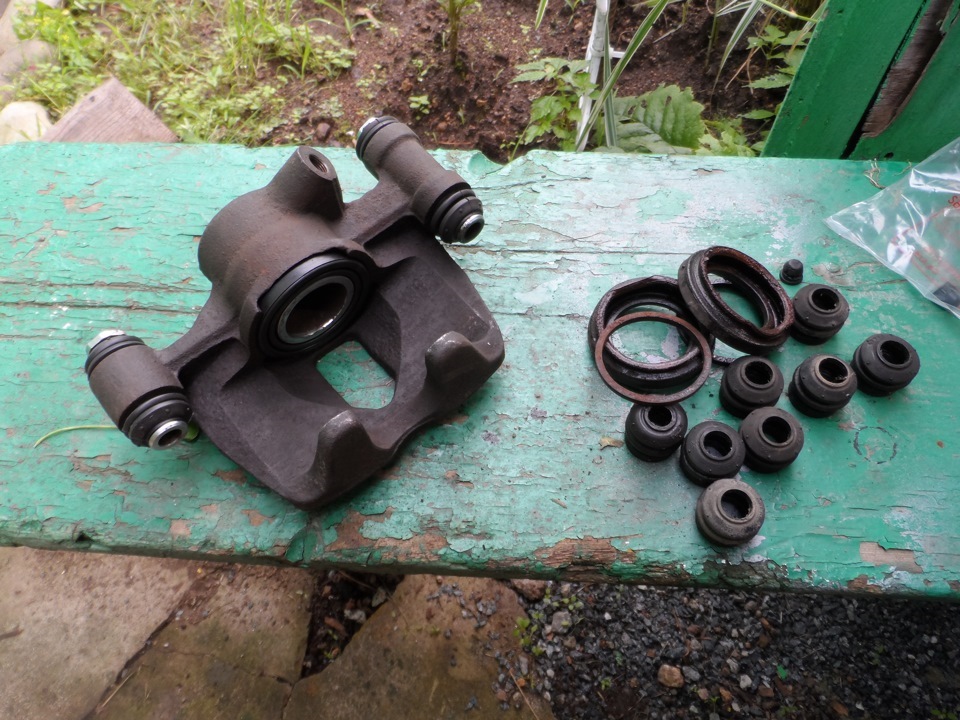
5. разобрать поршневую корпуса, почистить поршневую и цилиндр от всякой гадости, зачистить посадочные места сальникого уплотнителя и пыльника;
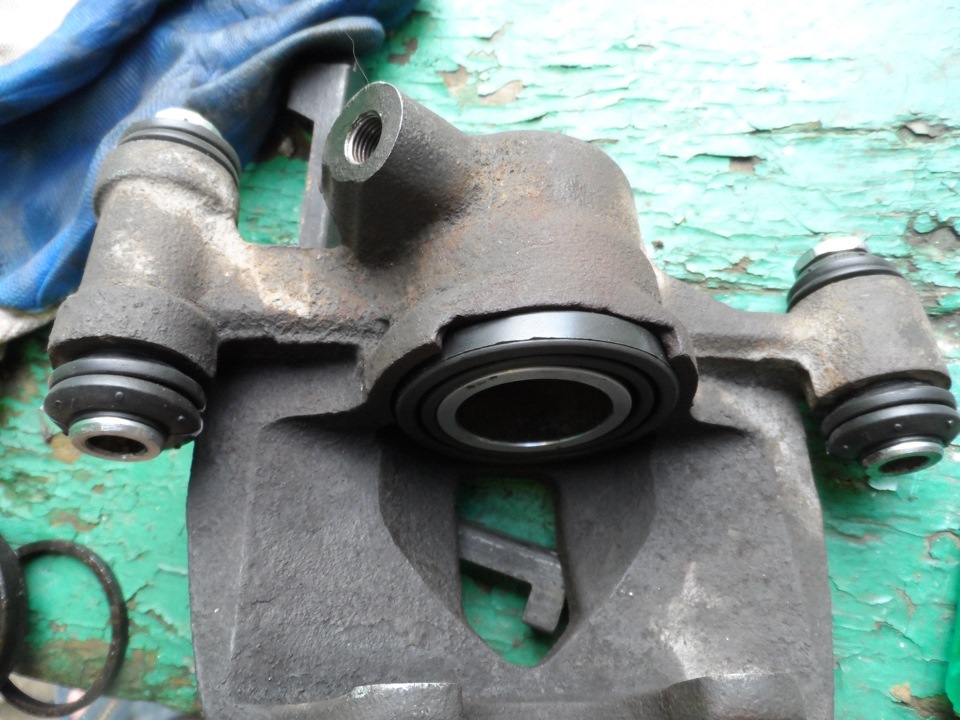
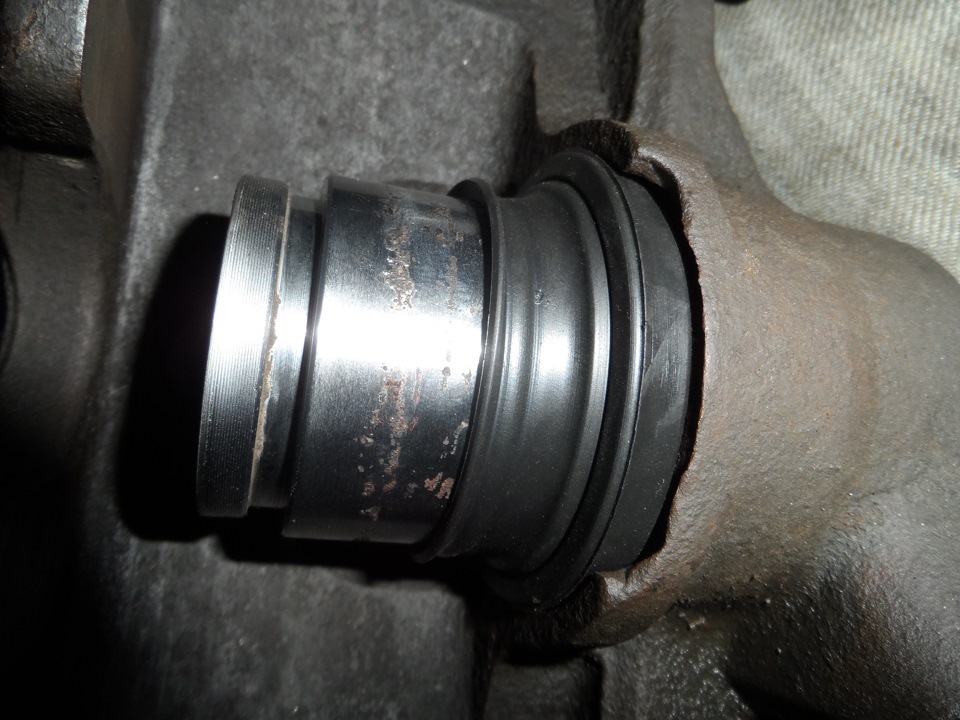
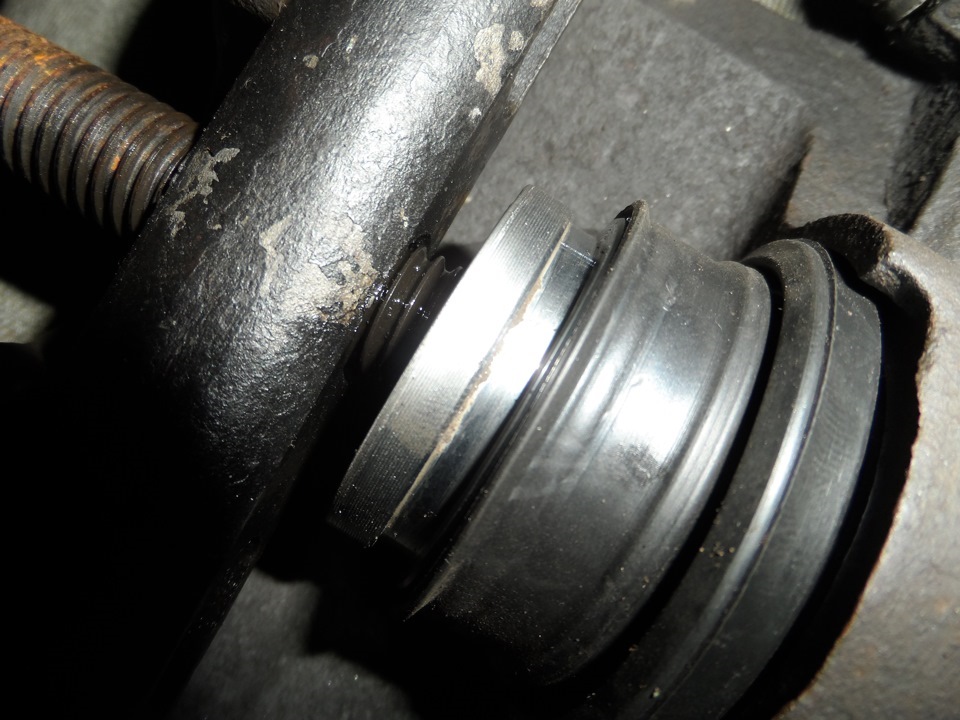
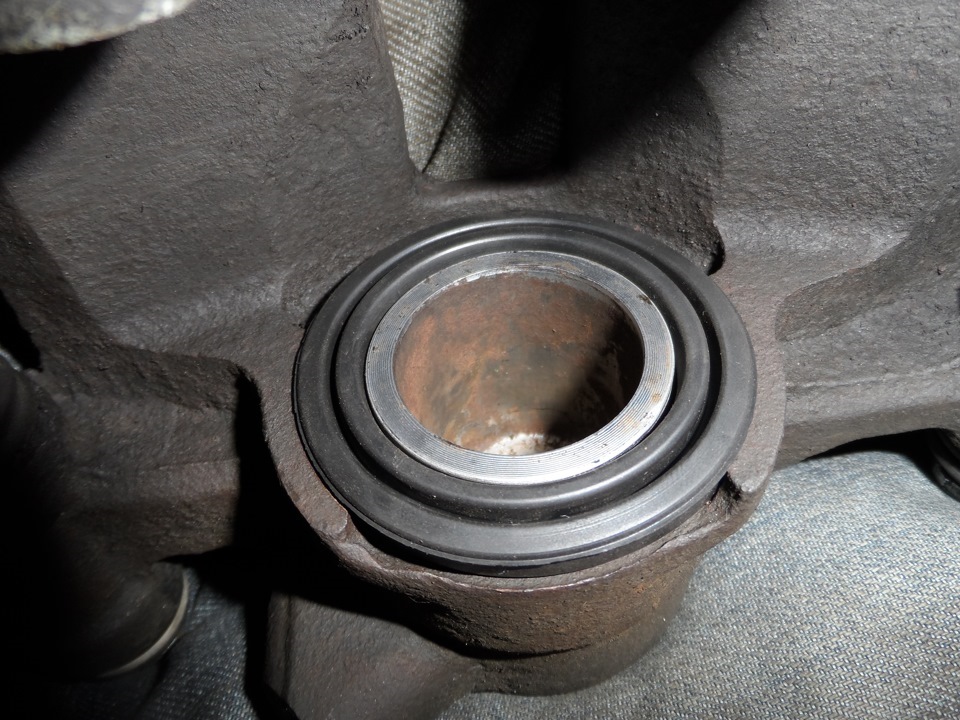
6. Поставить сальник и поршень с пыльником, но тоже в последовательности, которая видна на фото:
а) установить сальник;
б) надеть пыльник верхним ободком на поршень оставив нижний ободок в свободном положении;
в) вставить нижний ободок в посадочное место и только потом заводить поршень в цилиндр;
г) медленно задавить поршень в цилиндр, применив к примеру маленький съёмник шкивов, до конца для того чтоб оставить как можно меньше воздуха в цилиндре и было удобно монтировать корпус на ступицу.
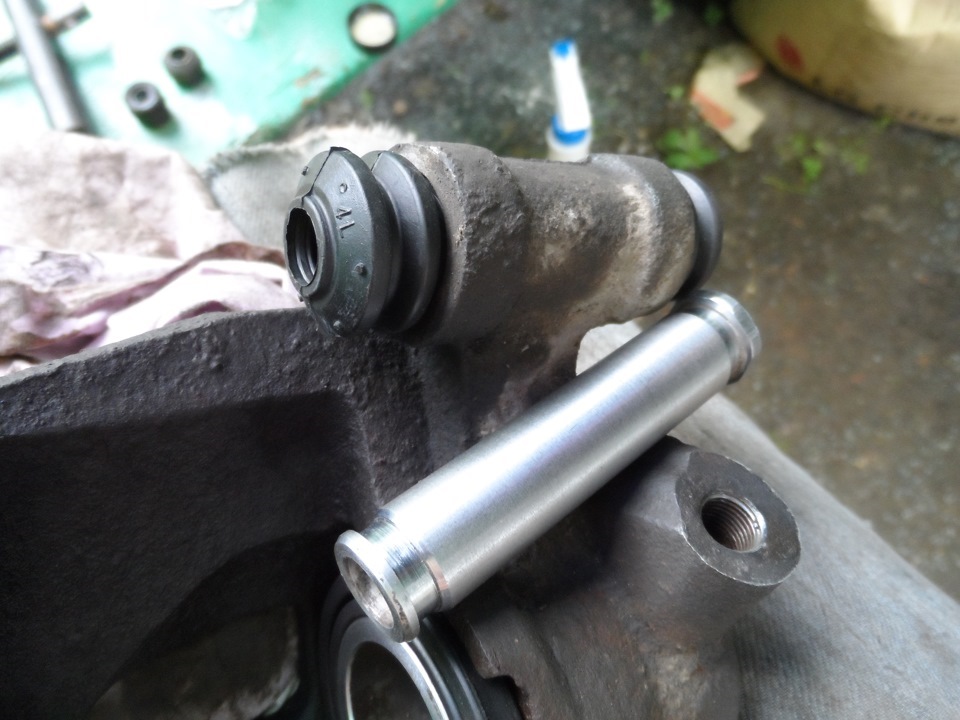
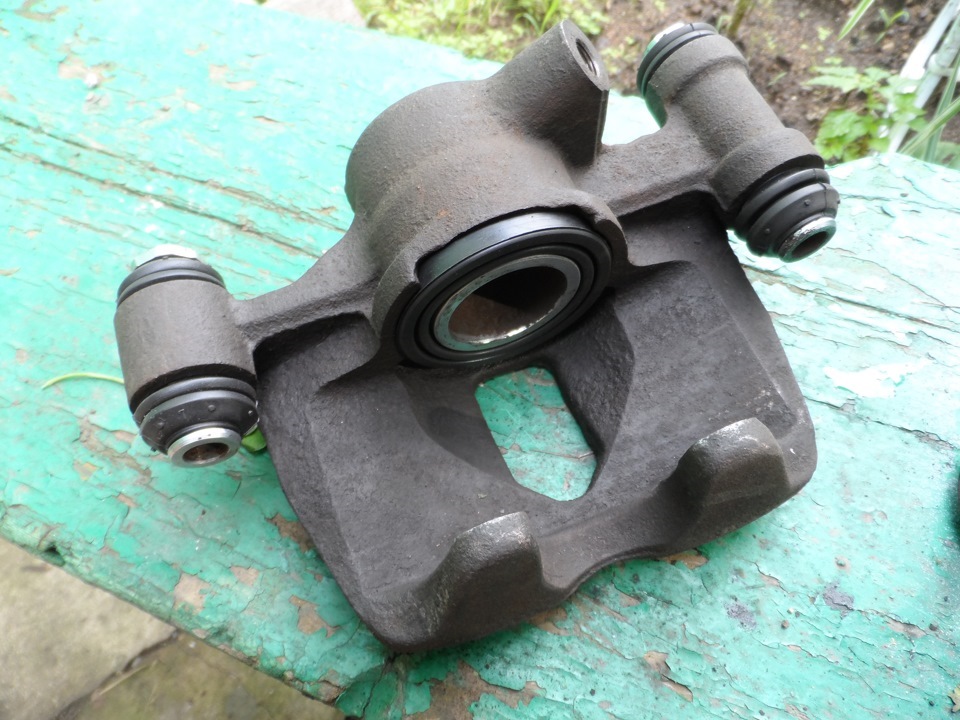
7. заменить пыльники на втулках, при чем процедура заводки втулок с пыльником в корпус такая же как с поршнем;
8. установить готовый корпус на ступицу, прикрутить тормозной шланчик, прокачать тормоза с выпуском воздуха. Усё!
Очерёдность переборки передних тормозов в принципе такая же, но есть нюансы:
1. открутить сначала два болта (верхний ослабить (полностью открутить не получится из-за тормозного шланчика), нижний выкрутить полностью) поршневого корпуса (фундамент суппорта пока откручивать не надо);
2. откинуть корпус не откручивая от него тормозной шланчик;
3. прокачать педалью тормоза до момента пока поршень не выскочит из цилиндра;
4. открутить тормозной шланчик от корпуса и заткнуть его к примеру деревянным чёпиком;
5. снять корпус и фундамент суппорта;
6. заменить сальник и пыльник поршневой в той же последовательности, что и на заднем суппорте;
7. заменить пыльники на фундаменте;
8. установить готовый фундамент и корпус суппорта на ступицу, прикрутить тормозной шланчик, прокачать тормоза с выпуском воздуха. Усё!
Вот как-то так. Заодно, поскольку ещё с прошлого года в гараже лежали, пришедшие с экзиста, оригинальные тормозные шланчики на переднюю ось заменил и их (родные уже потрескались). Надеюсь, что кому-нибудь моё описание этой процедуры пригодится.
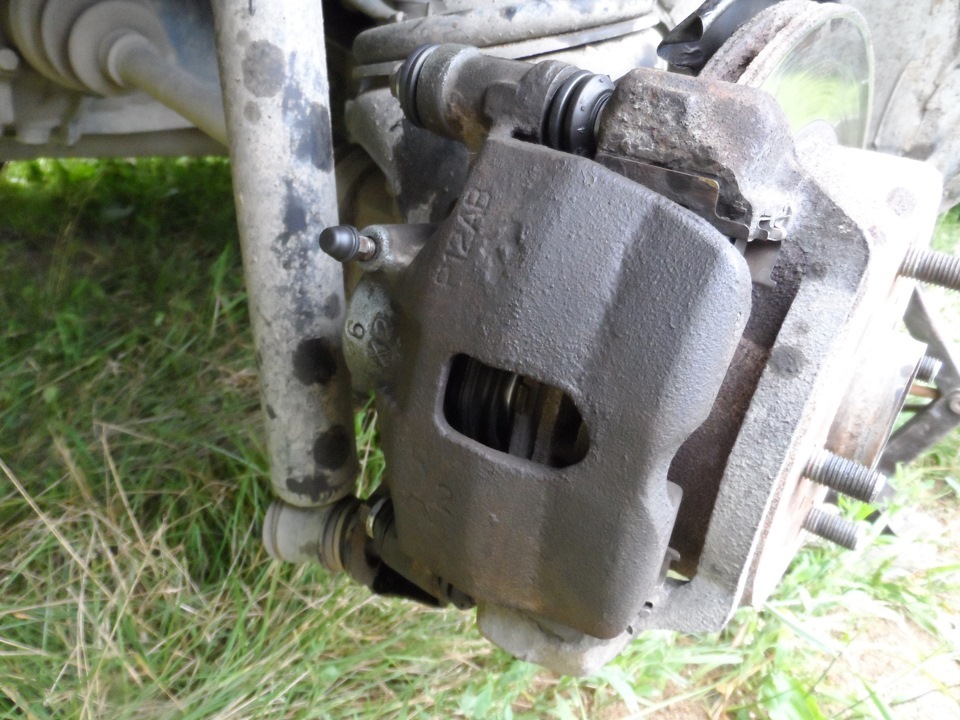
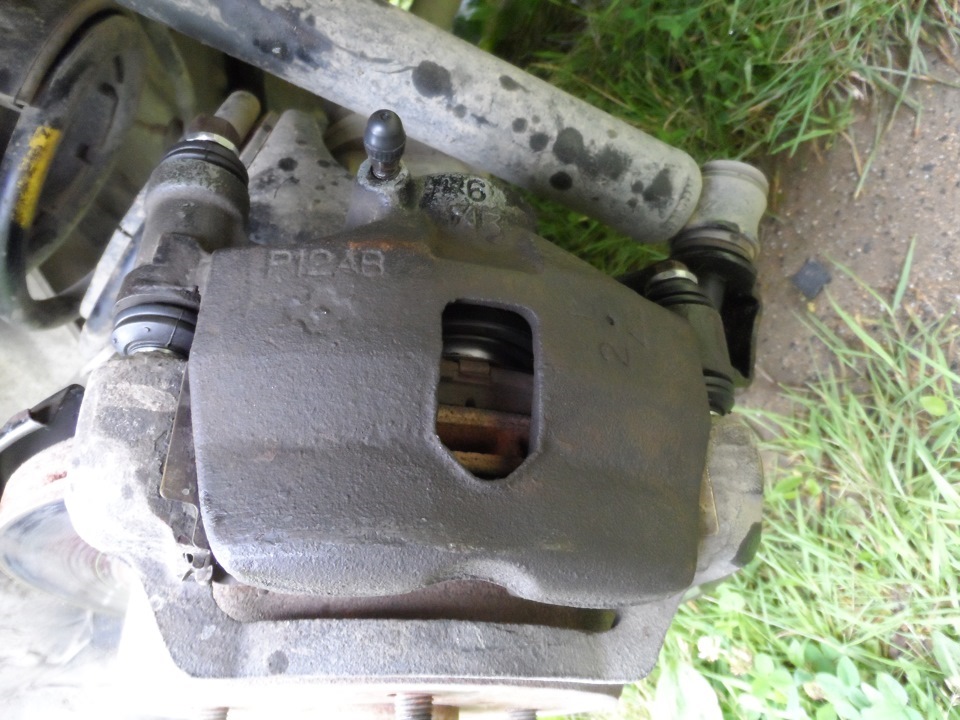
Фото по этой процедуре прилагаю, но разобью на две записи, чтоб все фото выложить! Сначала фото по переборке задних суппортов.
Комментарии
Пока нет одобренных комментариев.