═════════════════Frequently Asked Question═════════════════
Автор: IGSW
Источник: www.drive2.ru/l/288230376151824439/
Основание: тема
Раскажу свою историю про койловеры. Кто не знает, это по сути теже стойки только с более прогрессивными х-ками и возможностью регулировок по высоте, по сжатию-отбою, по развалу, кастору.
Вот и мне пришла пора обзавестись такими штуками. Из за отсутствия на яхе живых экземпляров с адекватным ценником решил попробовать сделать сам, ибо конструктивно не сложно, важно только знать некоторые основные параметры от которых отталкиваться
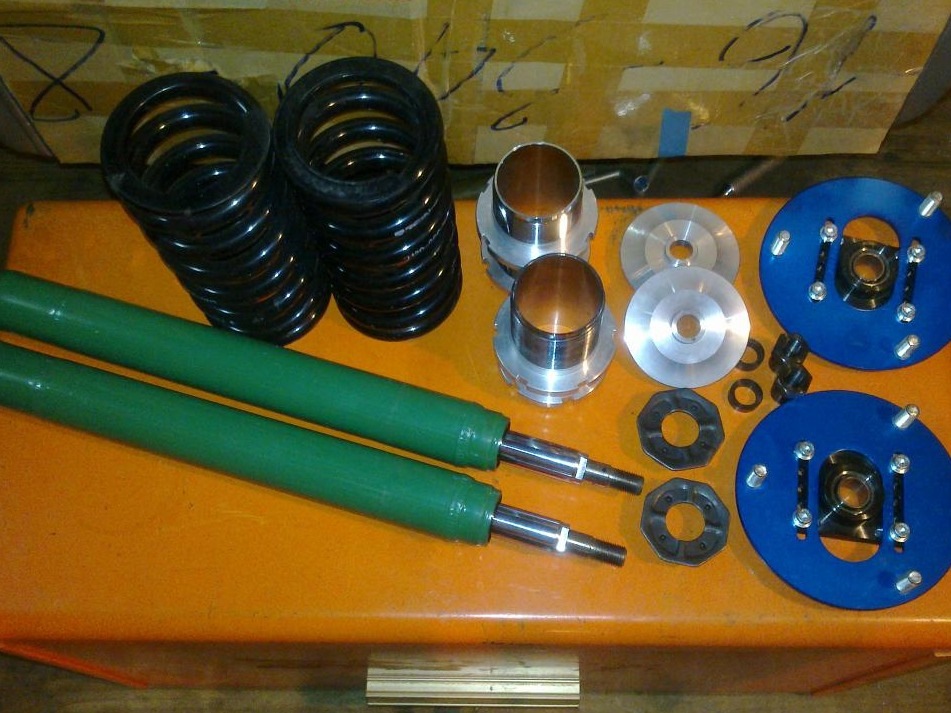
Для начала железо которое понадобилось:
Картриджи TRD — 48511-TA001
Пружины TEIN — L120-GCC
Винтовой набор для регулировки высоты
Опоры стоек Cusco + шайбы
Ну и сами стойки с гайками
Точных цифр из рецепта на 71 ни где ненашел, зато нашел на хачироку) …прикинул…
В дополнение к этому сделал несколько своих замеров чтобы окончательно прояснить картинку…
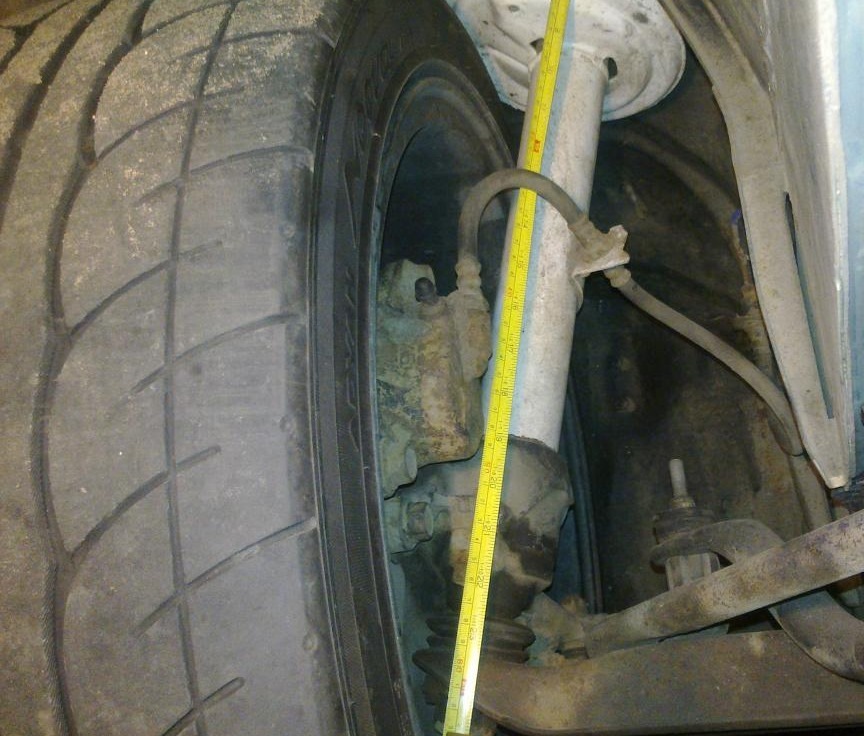
Длина стоковой стойки в сжатом состоянии с занижением машины — 530мм
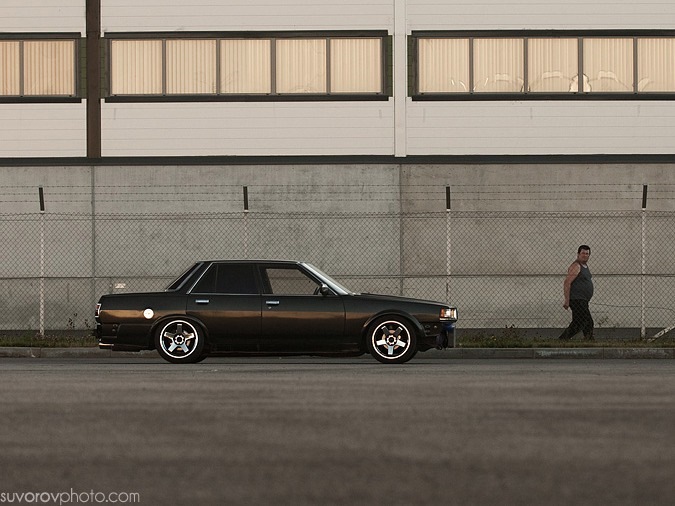
Клиренс 120мм. от земли до выемки под домкрат
Эти цифры запомним, едем дальше…
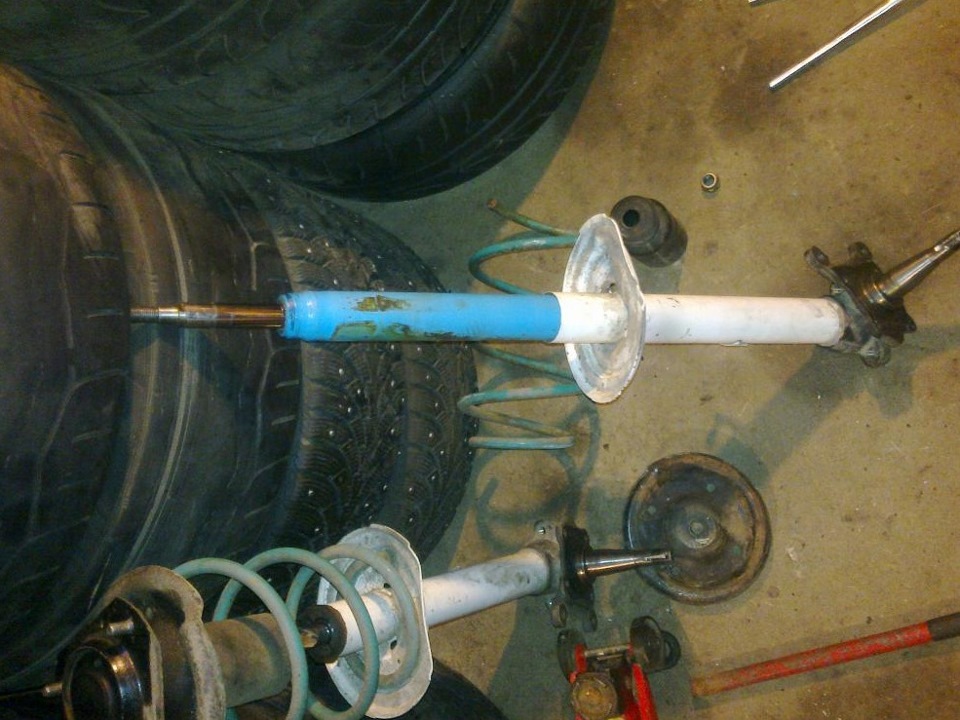
Снимаем стойки, разбираем…
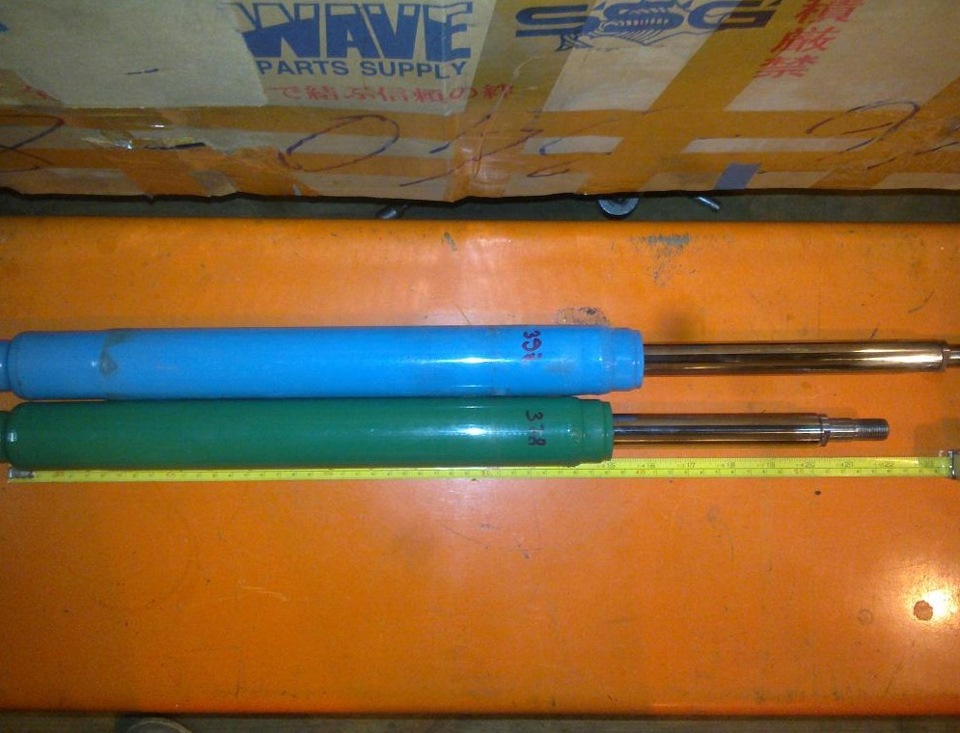
Замеряем картриджи…
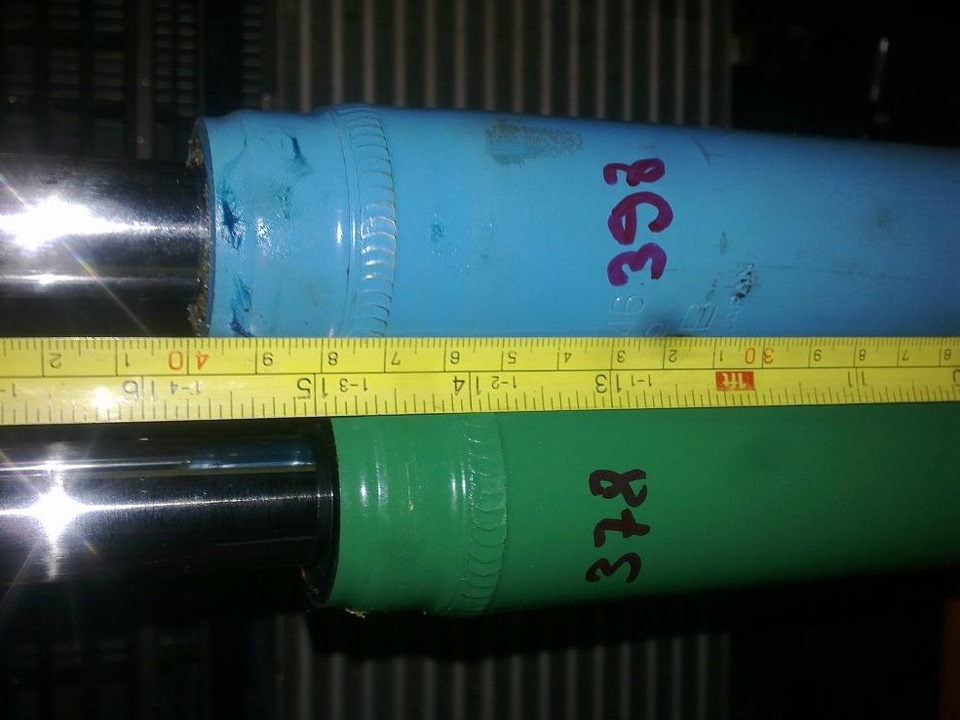
При выборе картриджей я пользовался каталогом www.trd-parts.ru/list_shock-cartridge.html
Тут есть все необходимые параметры, чтобы представлять на сколько нужно укорачивать стойку под конкретный картридж и укорачивать ли вообще, возможно стоит всего лишь поставить проставку
Новый ТРД короче стока на 20мм. В моем случае решено укорачивать стойку под короткий картридж на эти же 20мм.
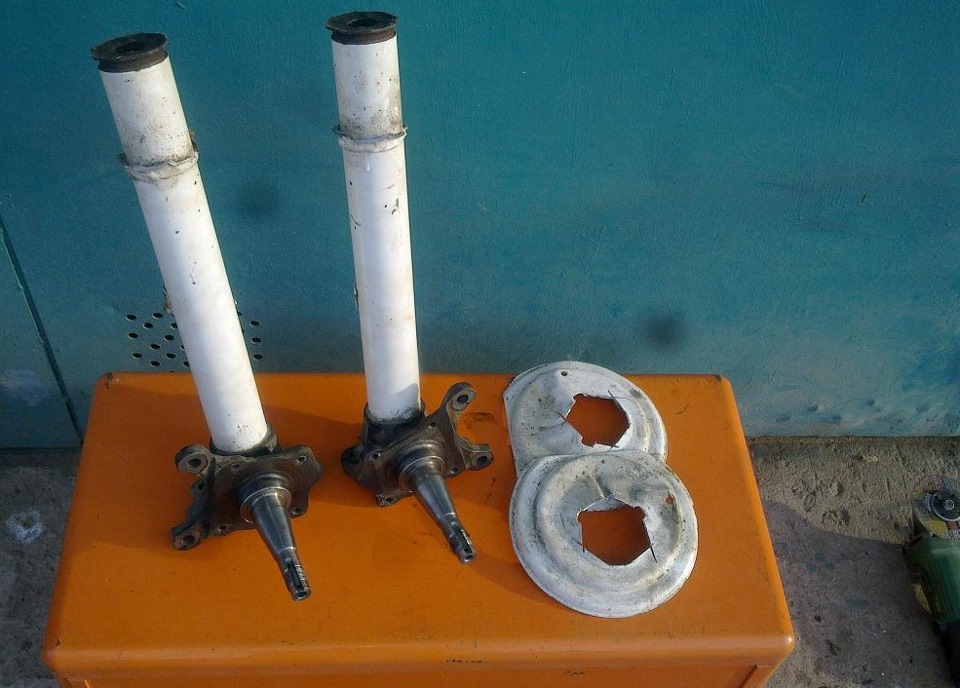
Отрезаем чашки, замеряем длину стойки — 420мм в стоке
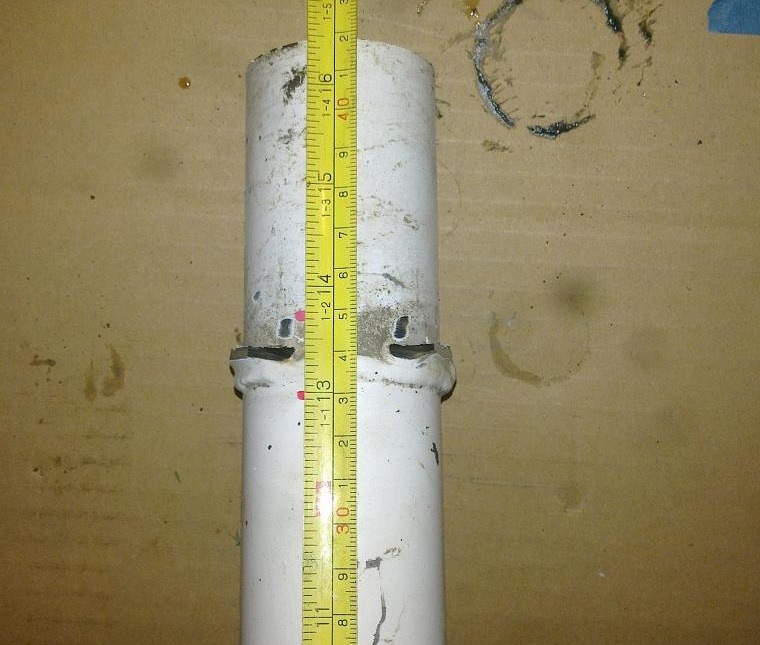
Отмеряем сегмент в месте старой чашки 20мм. а лучше 19мм. чтобы гайку затянуть на несколько витков больше
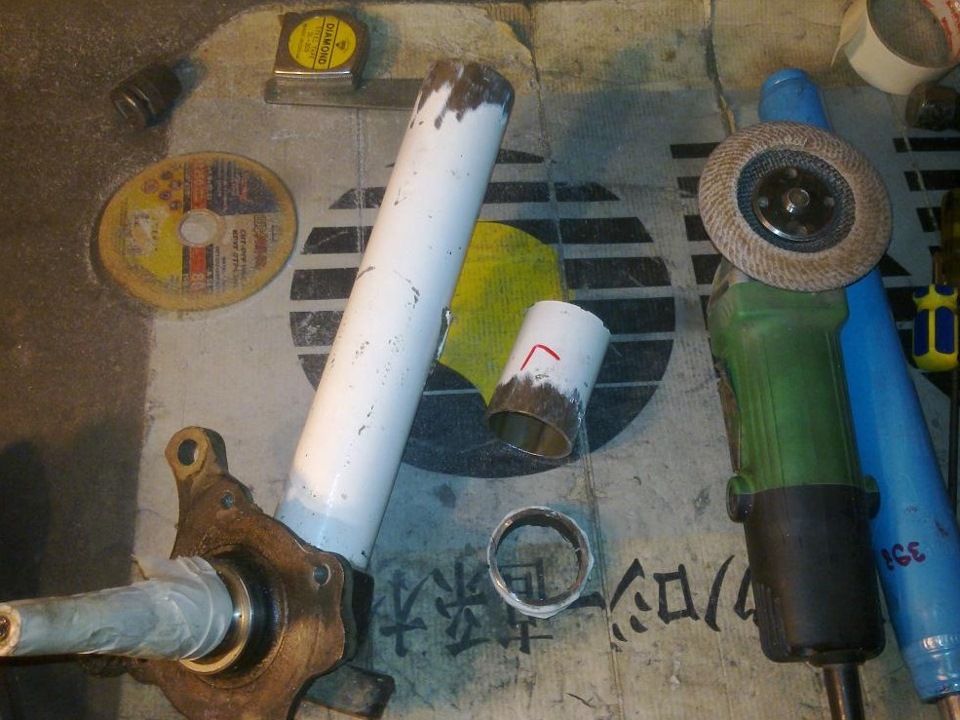
Вырезаем кусочек
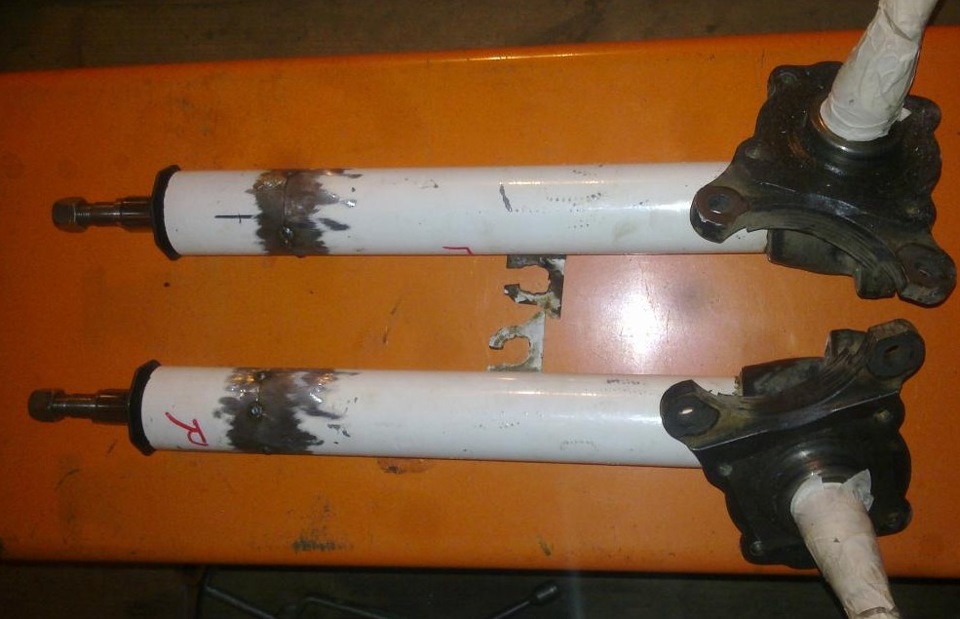
Вставив старые картриджи как оцентровку, прихватываем обе части стойки на точки и пробуем вставить новые картриджи
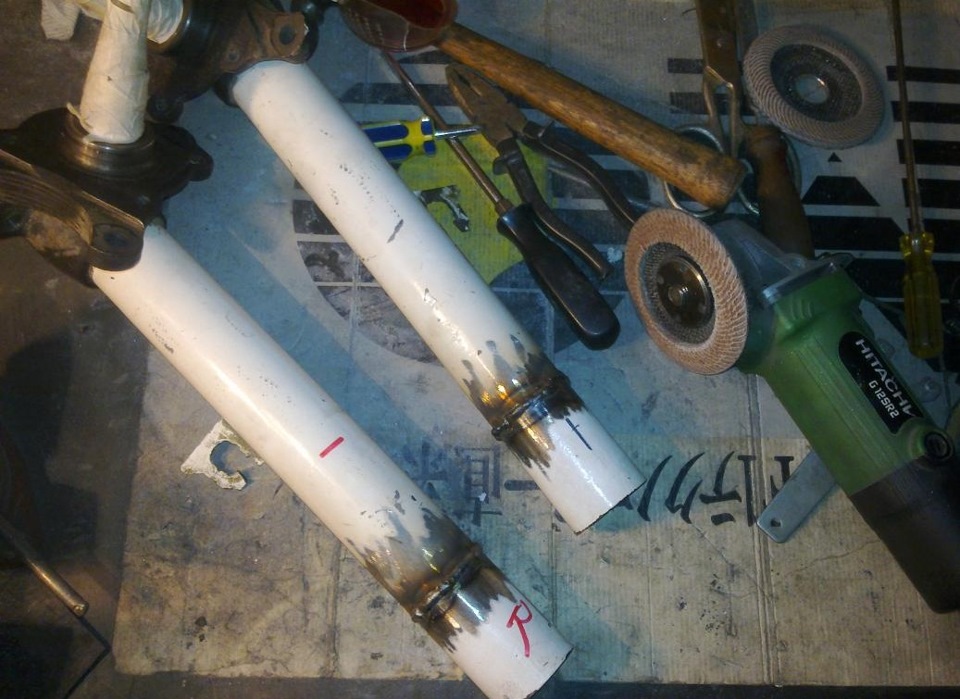
Если все ровно и закручивается без перекосов, обвариваем окончательно и зачищаем
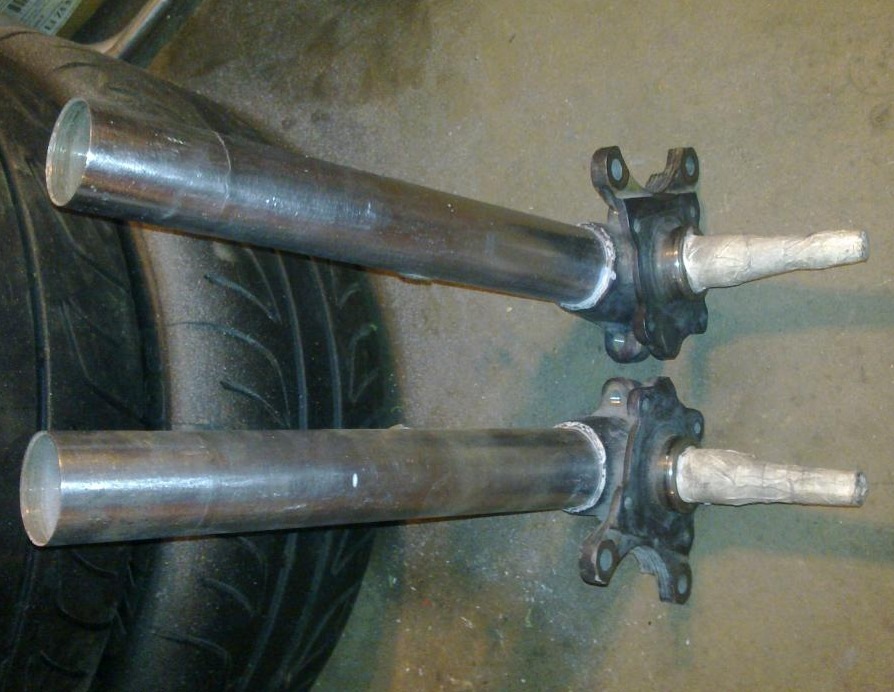
В итоге имеем укороченую заготовку длиной 400мм
Со стойками все понятно, пока отложим их в сторонку и замерим оставшиеся железки
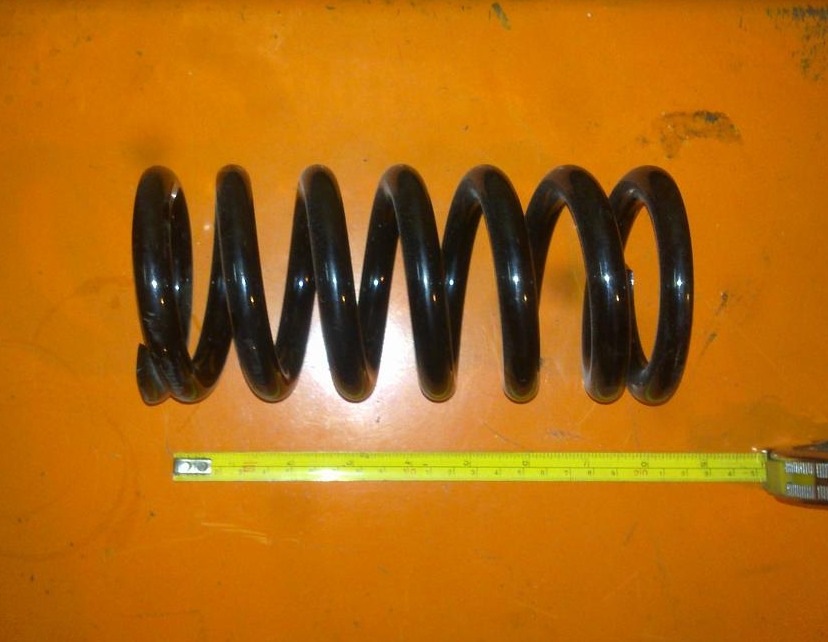
Длина пружины 200мм. Жесткость 12кг. Тут понятно что с такой жесткостью ход подвески(пружины) будет не больше 20-25-30мм., этот момент тоже учтем
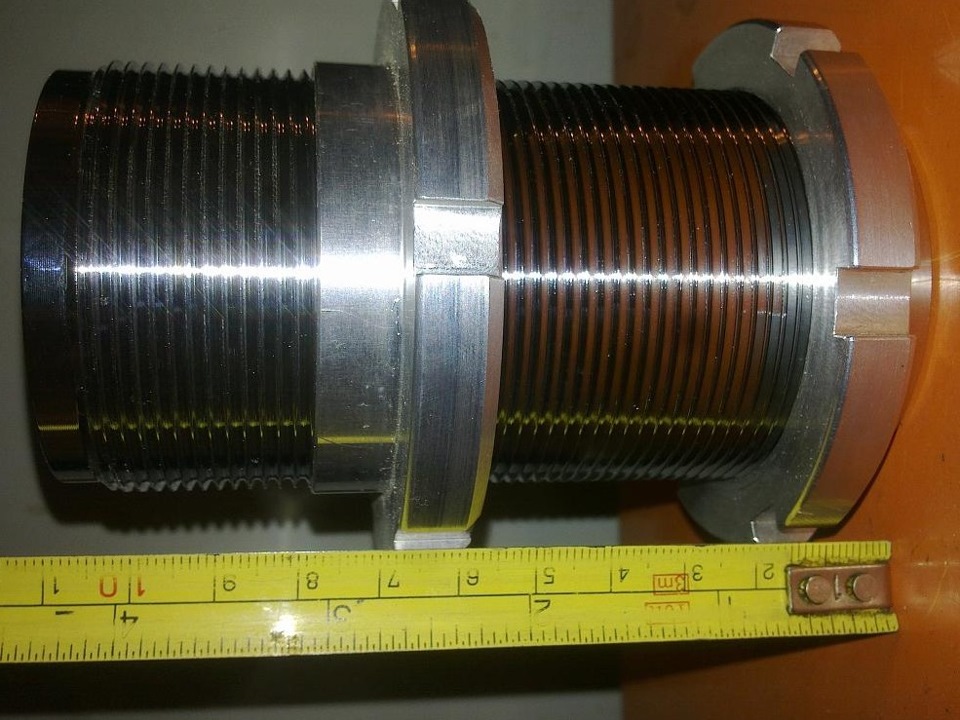
Длина этой штуки 110мм, диаметр 50.8мм.(тойота)
Исключая бортики и гайки, рабочая длина для регулировки составляет около 70мм.
Временно собираем конструкцию…
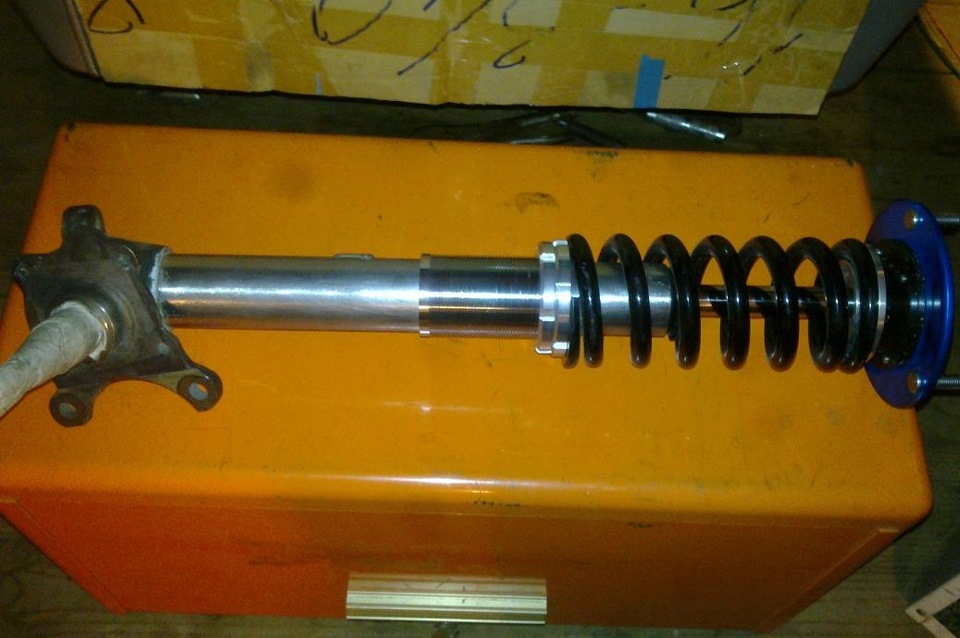
Теперь нарисую цифры к которым пришел пощупав и покрутив стоечки так сказать вживую
Длина стойки с вырезанным кусочком 400мм + длина штока 120мм + высота(толщина) верхней опоры примерно 30мм = 550мм., что уже выше нашего стокового заниженного показателя на 20мм.,
плюс учтем то что пружина просядет под весом машины на 15-20мм, выходит те же 530мм как и на заниженном стоке.
И это в максимально поднятом положении, т.е. можно будет еще опустить примерно на 70мм и получить 460мм на стойке и 5см на клиренсе
Такие цифери меня вполне устраивают, поэтому отмеряем от нижней части стойки 230мм. и варим…
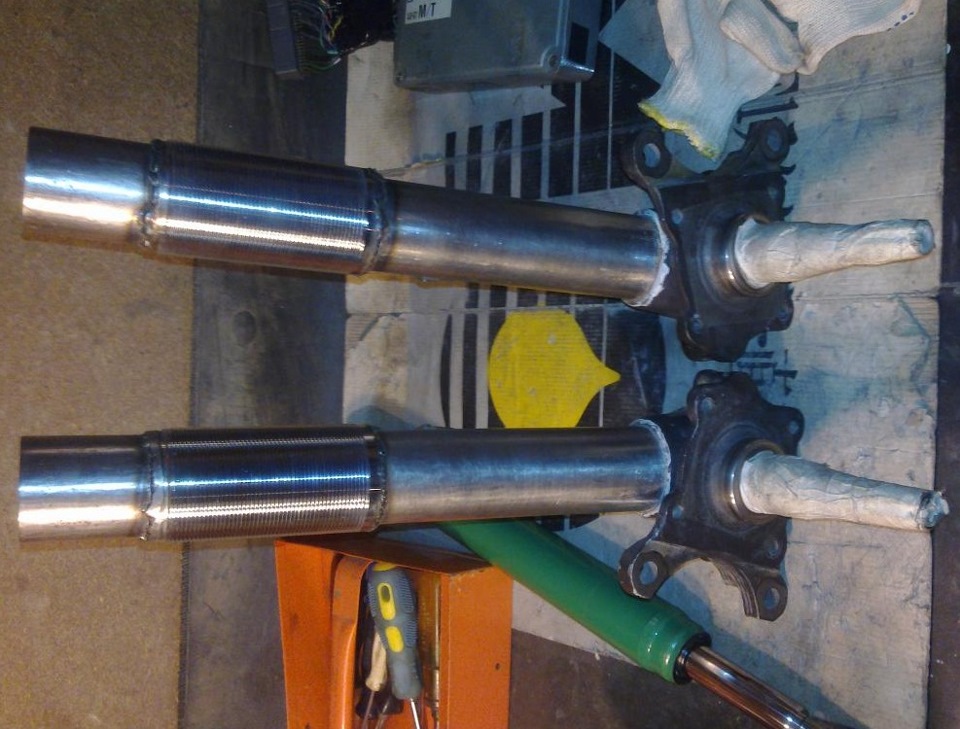
Из нескольких вариантов как закрепить стакан с резьбой, я выбрал самый надежный. Варим и сверху и снизу. Варим полуавтоматом с газом, не забыв защитить резьбу
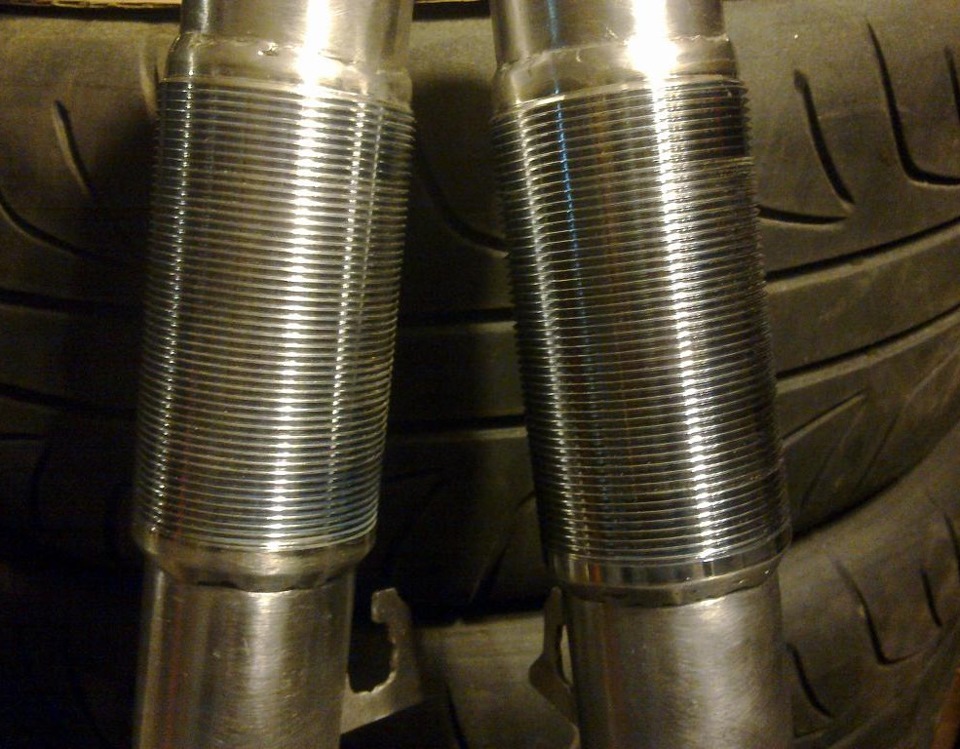
Хорошо зачищаем сварные швы, чтобы гайки нормально закручивались. Опять же не забыть замотать чемнибудь резьбу
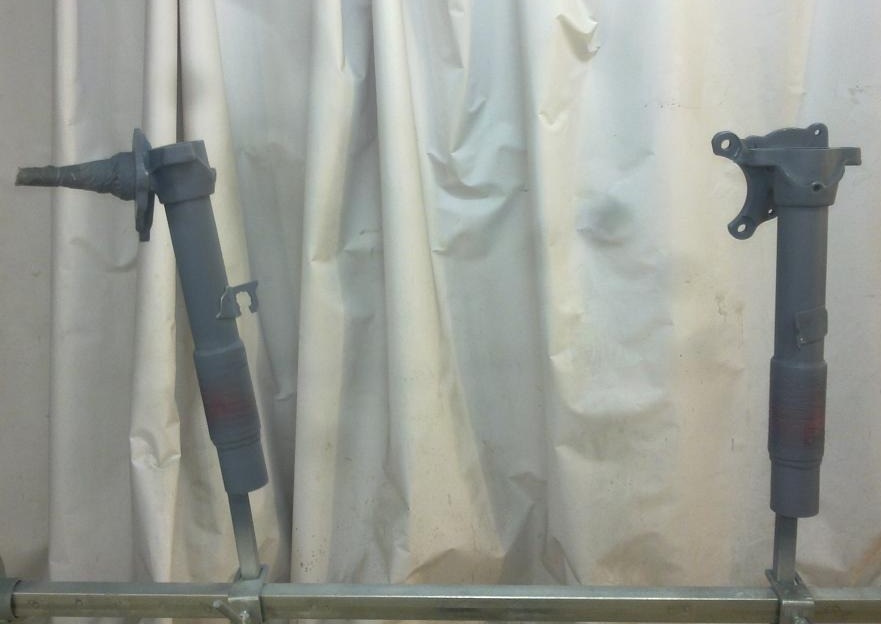
Теперь нужно все это дело покрасить
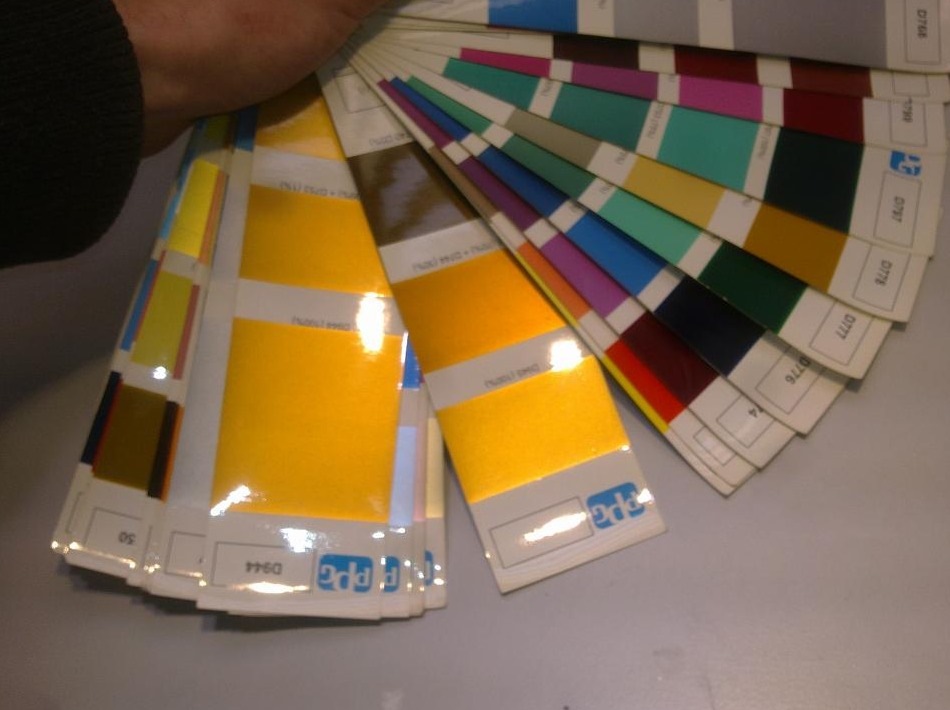
большой респект хозяину краски, без него никуда 8))
Фоток больше 20 не лезет, поэтому результат этой затеи выложу во второй части)
Комментарии
Пока нет одобренных комментариев.