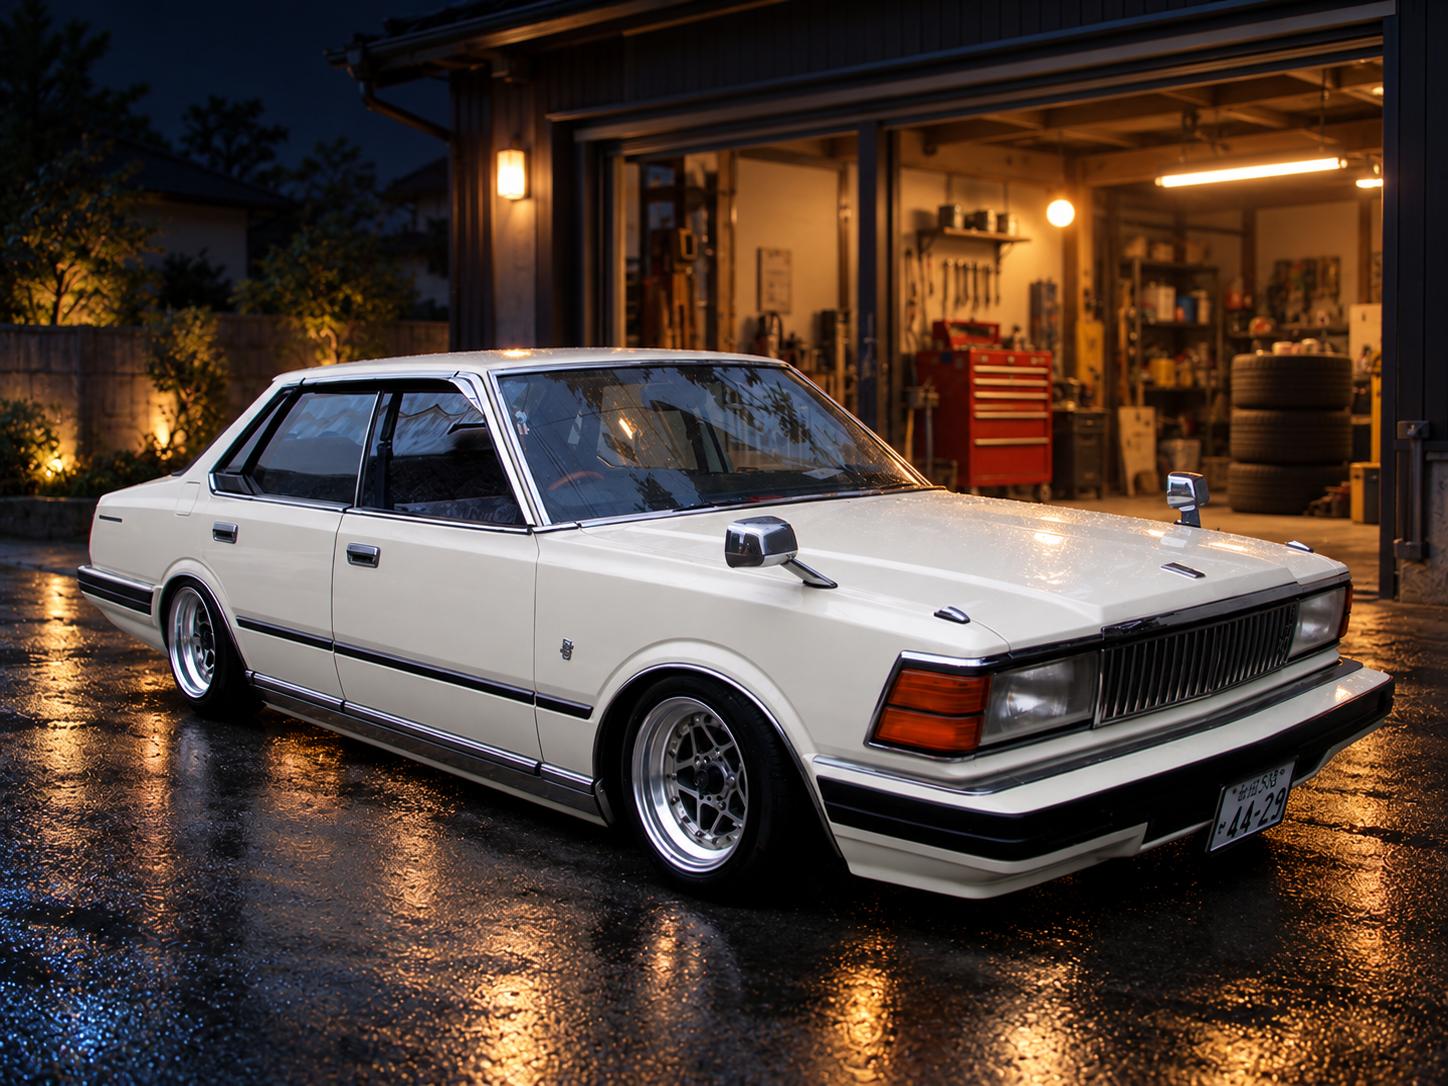
Сегодня я опишу то, как выглядят симптомы вышедшего из строя подшипника задней полуоси и расскажу как это лечится. Также немного затрону тему замены колодок стояночного тормоза.
Итак, начнёмс.
При езде стал слышен шуршащий звук в задней части автомобиля. Сразу не очень понятно, это трение о корпус, камешек под тормозной колодкой или что-то другое. Спустя 500 км езды звук из едва слышимого превратился в ощутимый громкий гул — пора ехать к друзьям в WorksGarage !
Подняли жопу на домкратах — пришли к выводу, что умер правый подшипник задней полуоси.
Вот как это слышится
Хвала инженерам Ниссана — вынуть полуось несложно, вся свистопляска начинается при поиске запчастей.
Вот список партнамберов запчастей, которые нам необходимо приобрести:
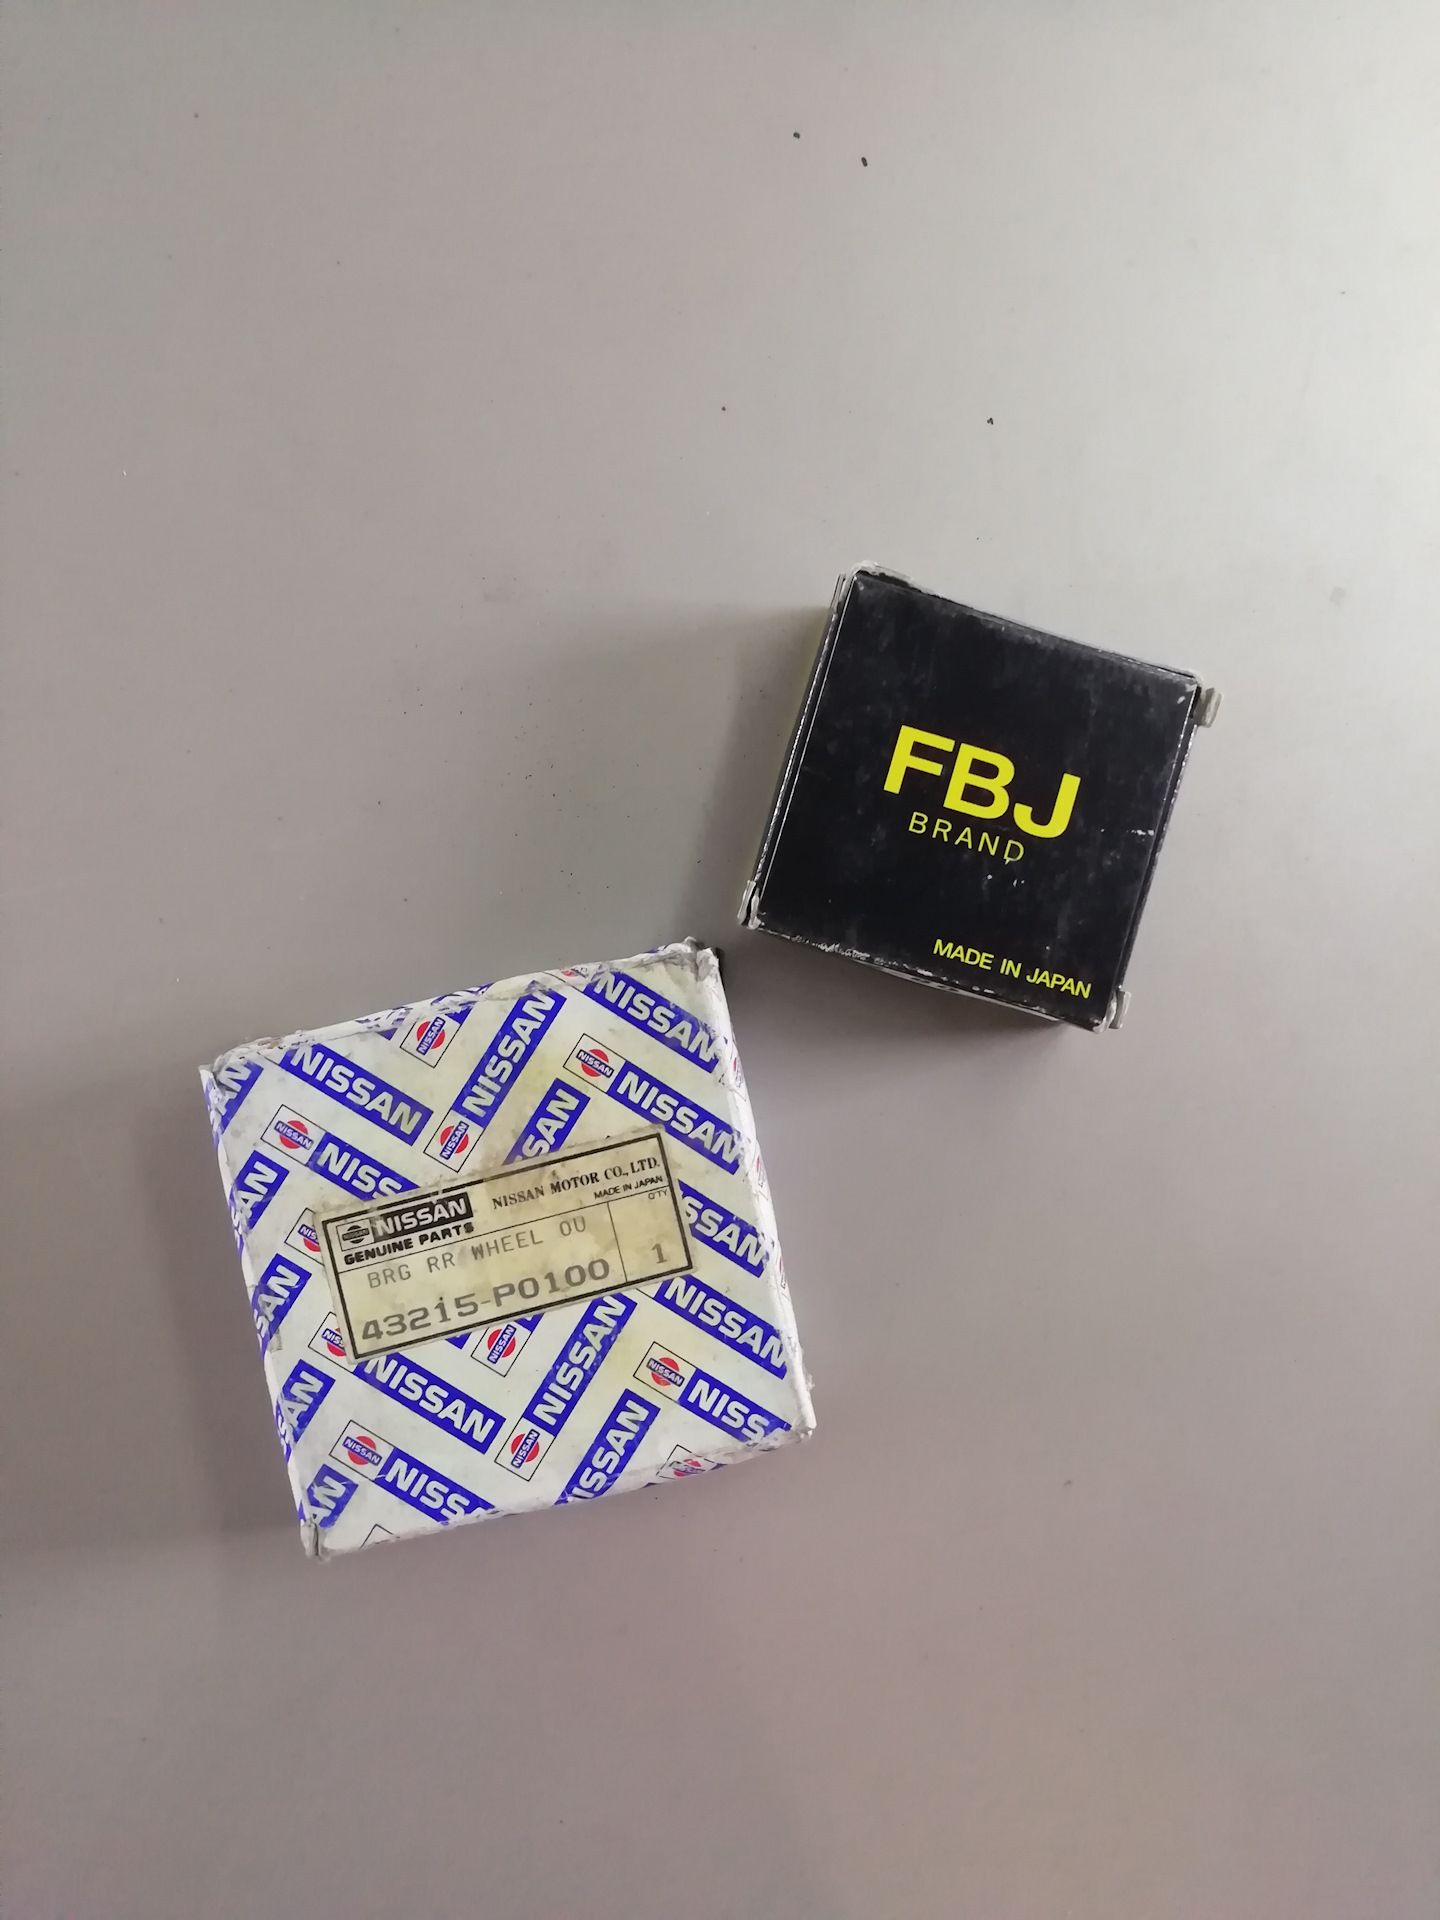
— 43215-P0100 — подшипник полуоси
— 43232-P4500 — сальник
— 43084-61001 — запорное кольцо подшипника
Исходя из информации на сайтах запчастей, вычисляем, что нужный нам подшипник ставился на Цедрики с 80го года по 99ый, поэтому найти подходящий не составит сложности — полно как оригиналов, так и заменителей за приемлемую цену, НО
НИ В КОЕМ СЛУЧАЕ не ведитесь и не покупайте готовый ремкомплект от OPTIMAL за номером 962684 — его старательно пытаются предложить на сайтах, но этот комплект нам не подходит (в комплекте подшипник и запорное кольцо меньшего диаметра). Из-за этой дезы я потерял день!

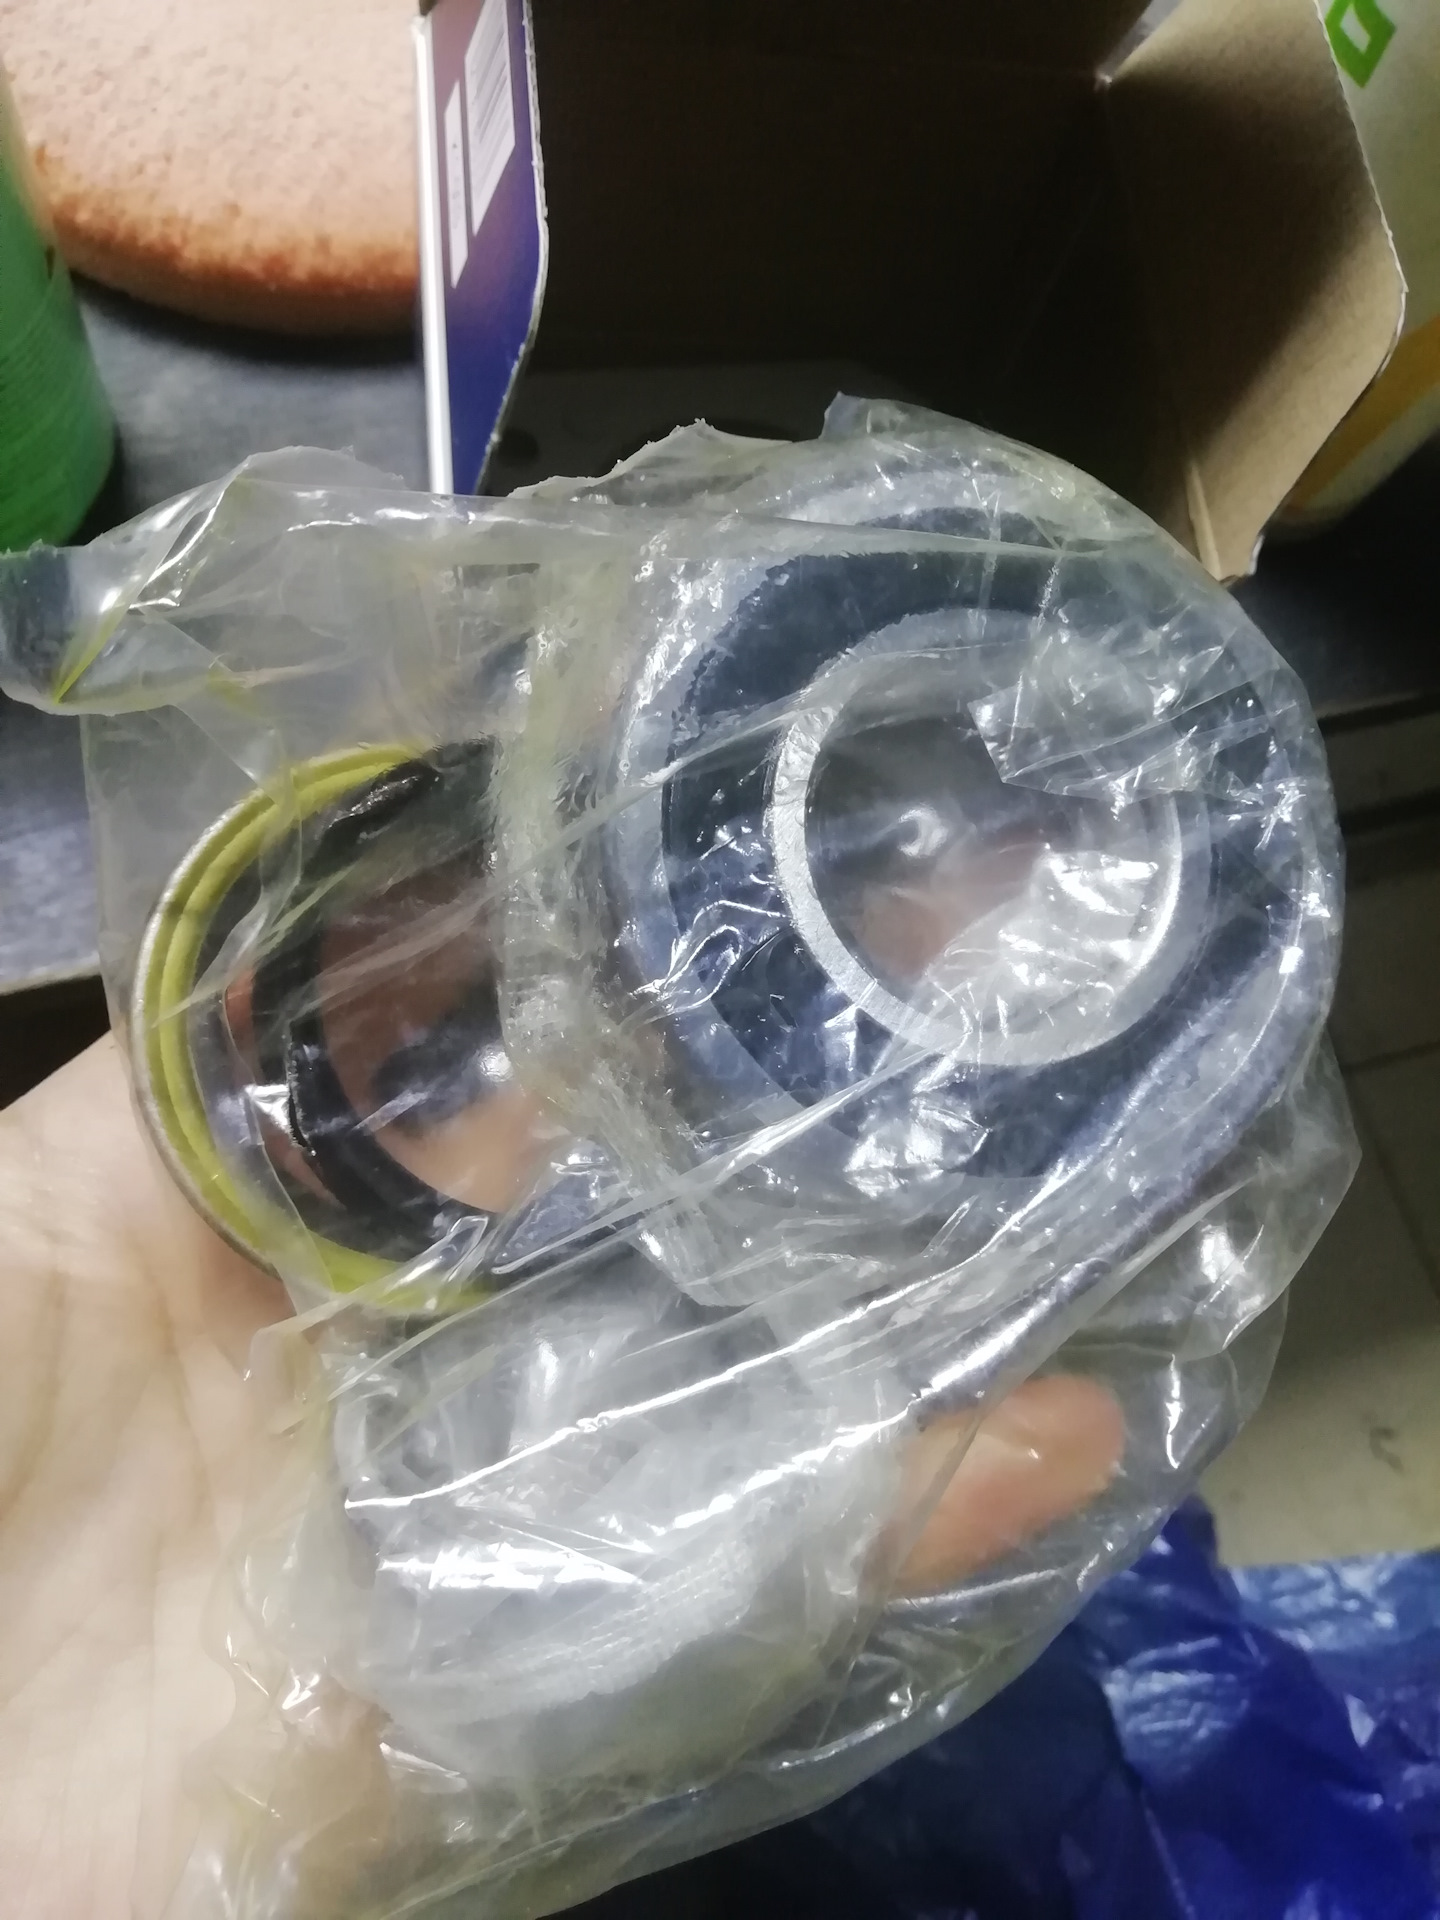
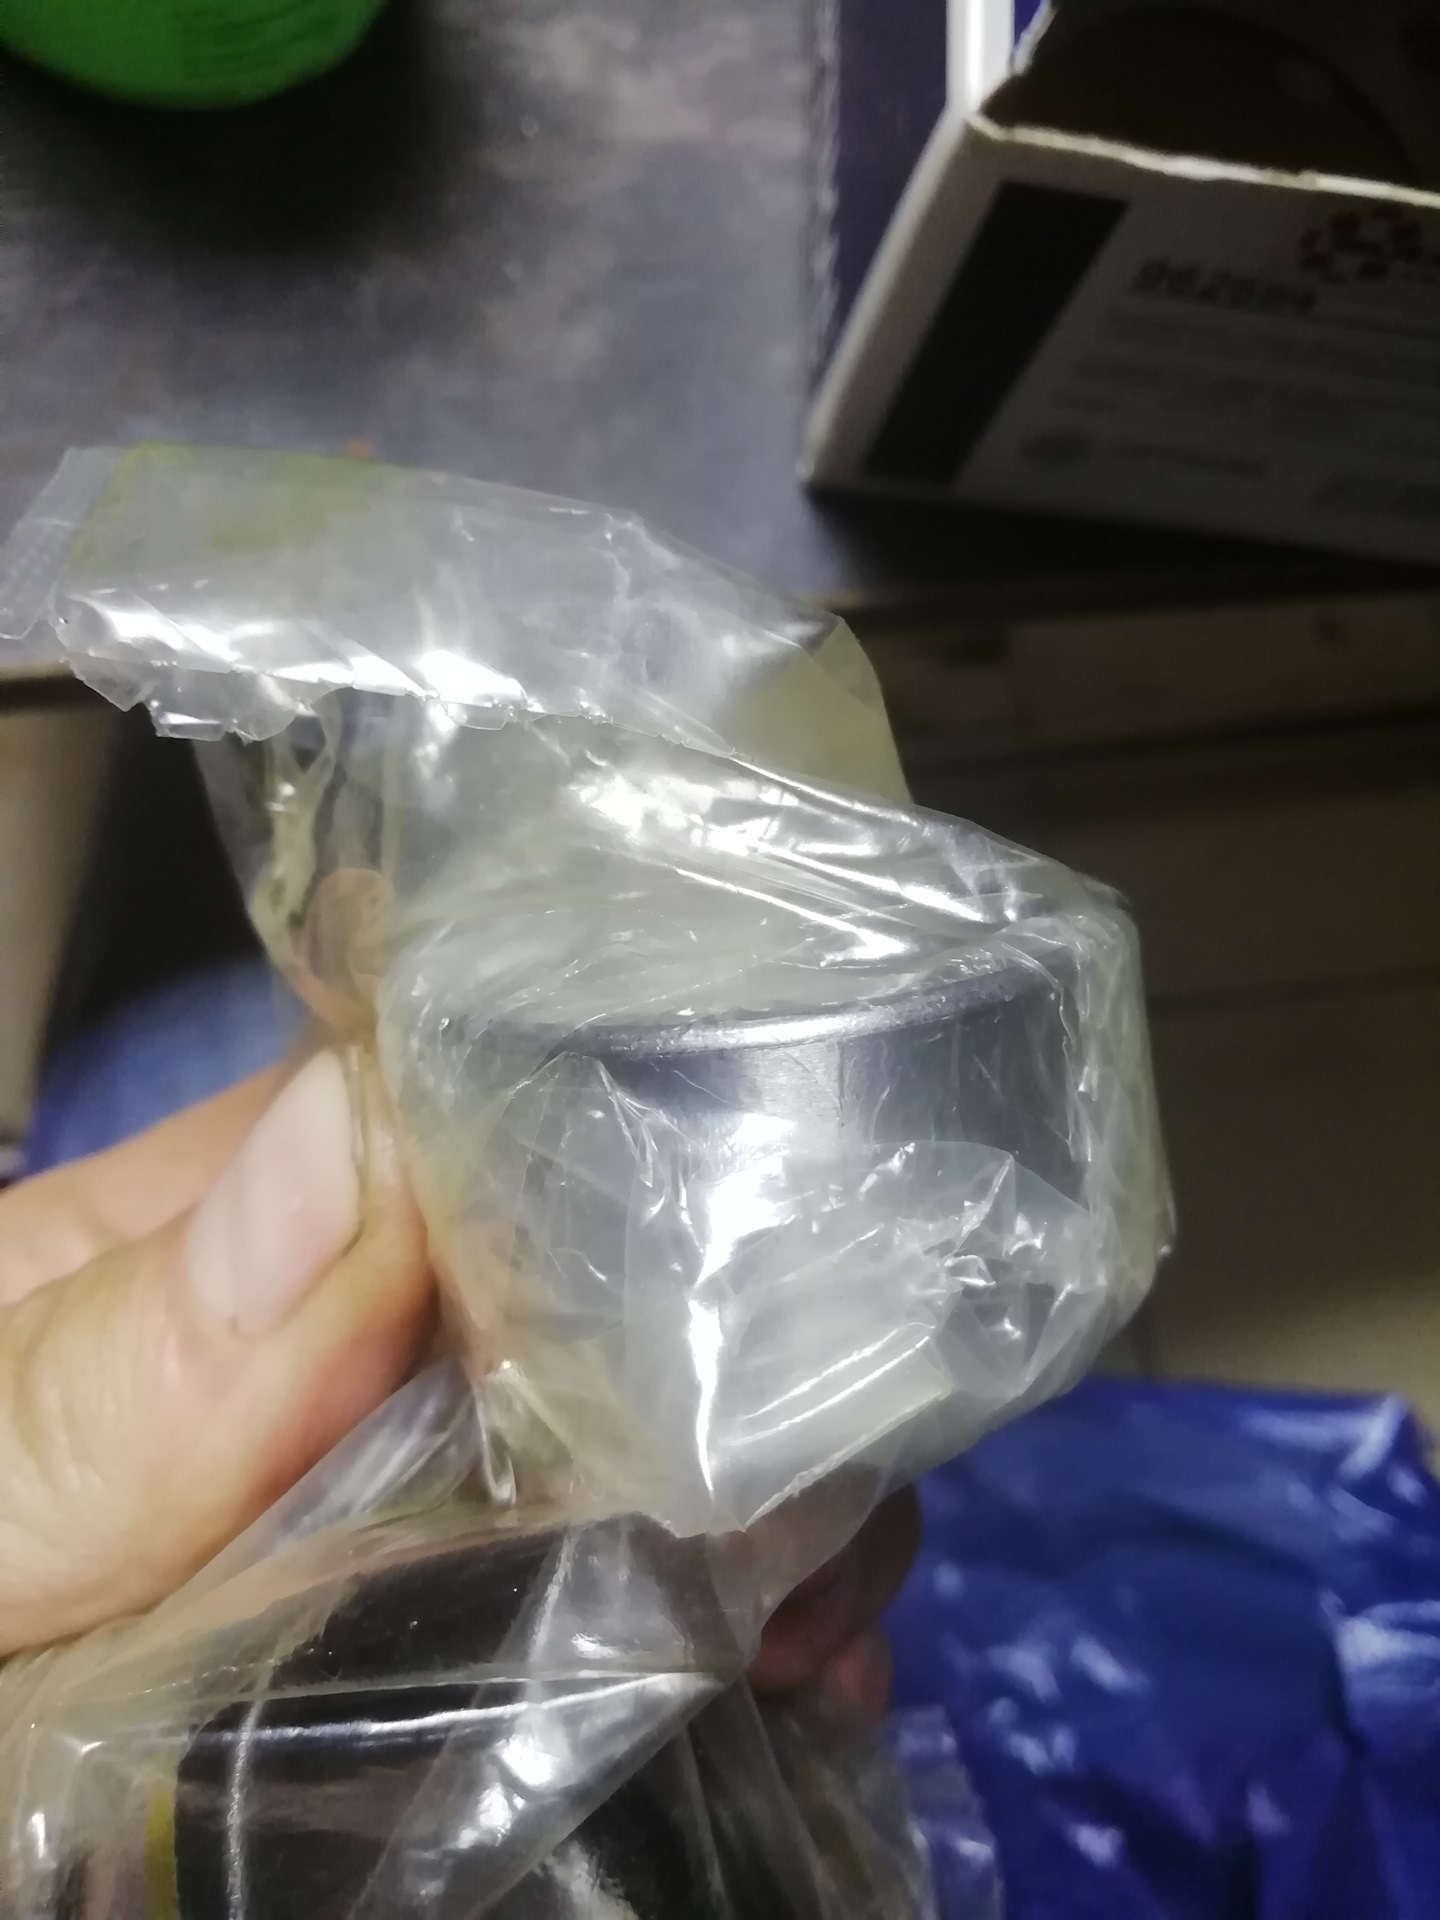
В итоге я взял оригинальный подшипник Nissan (партнамбер выше).
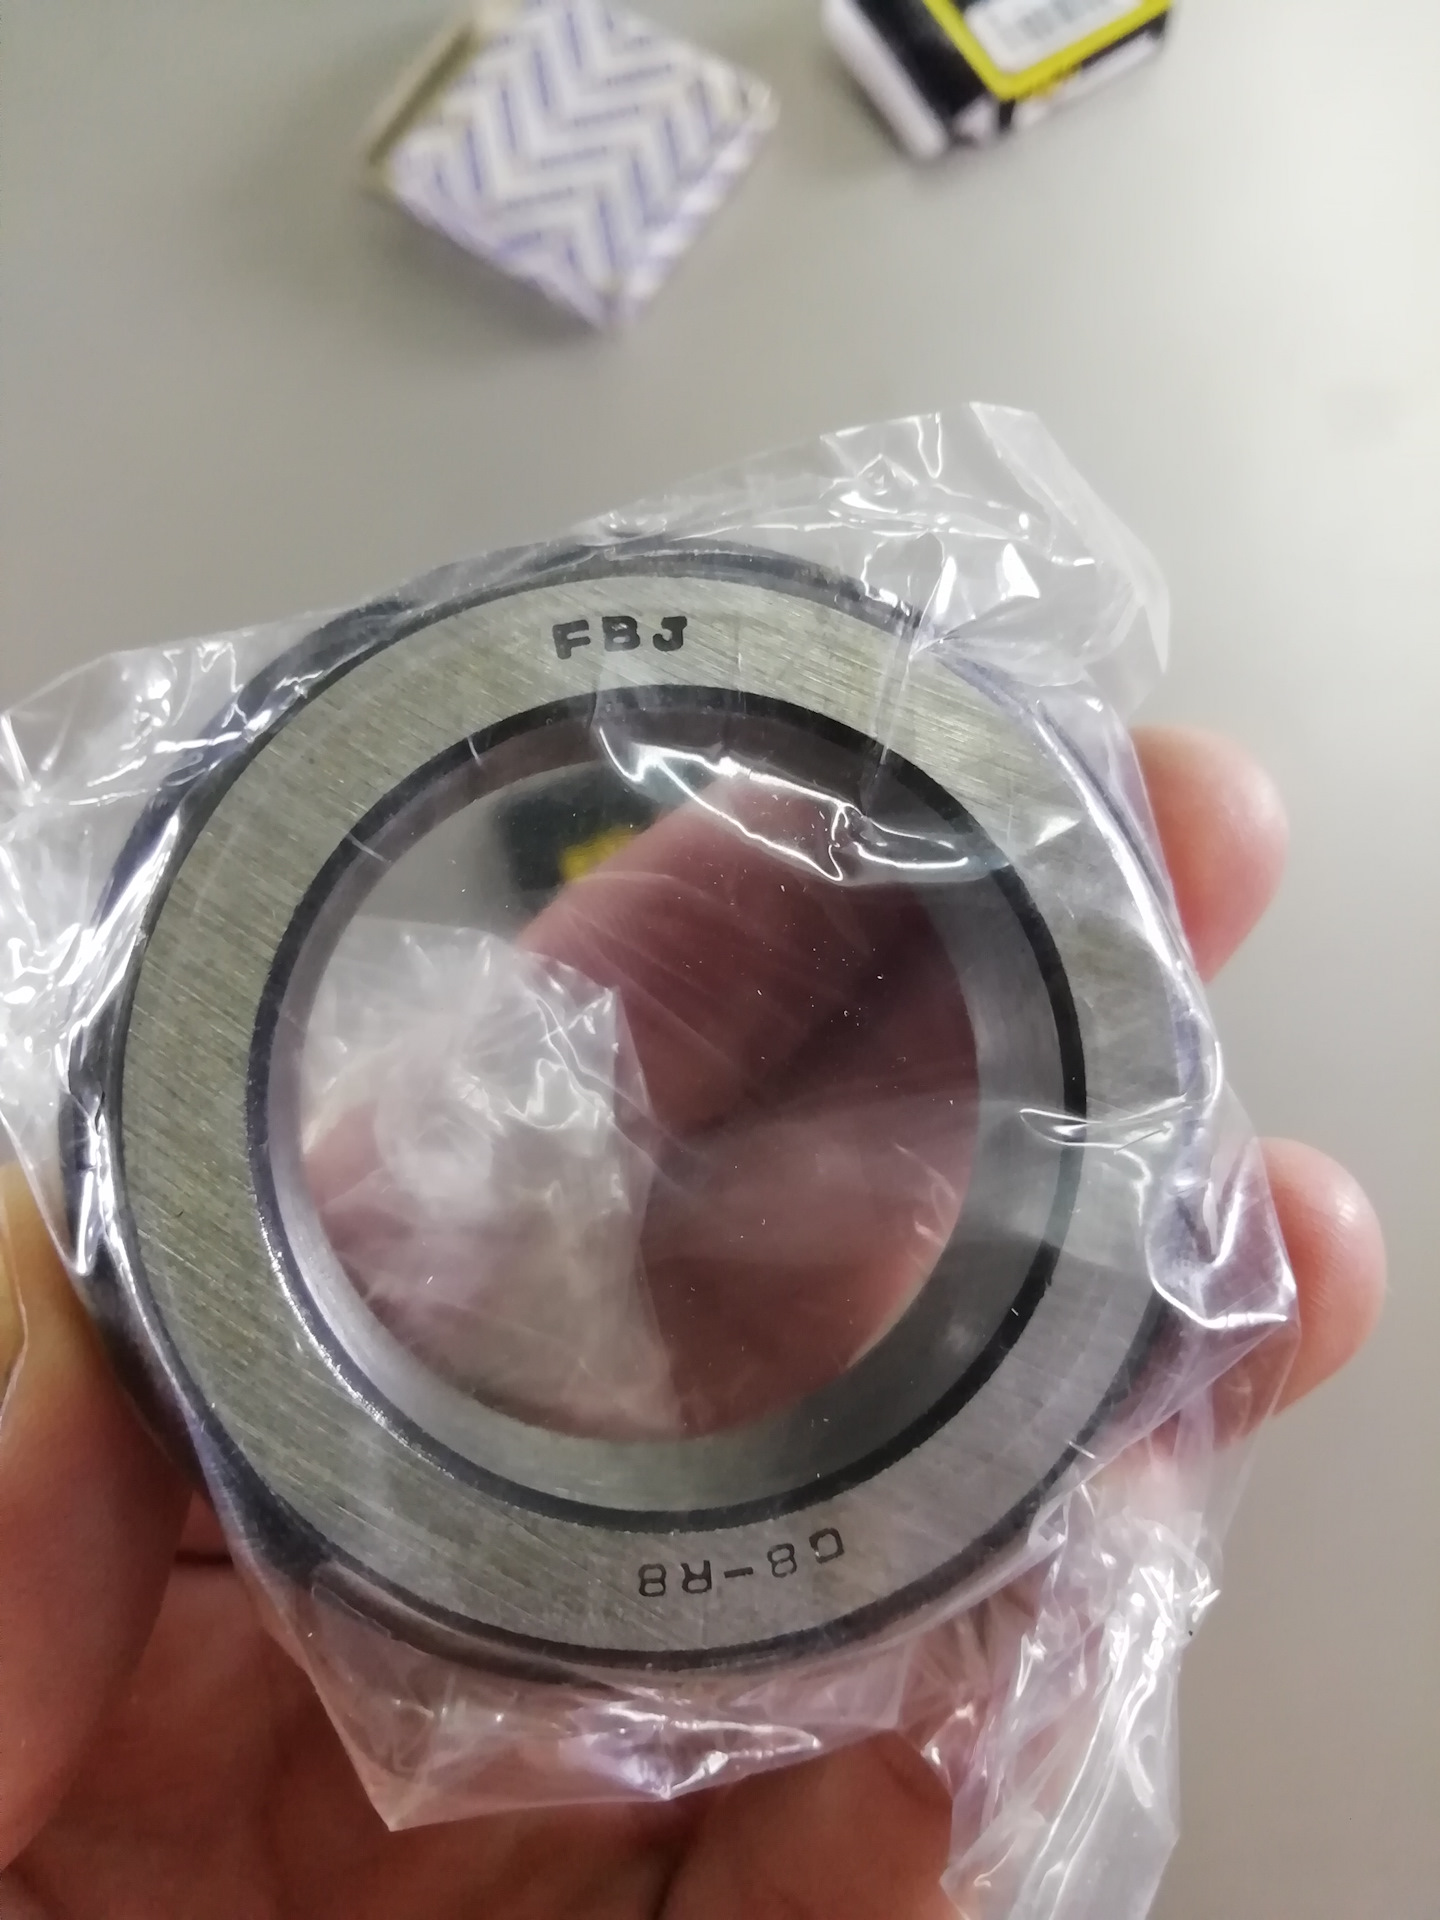
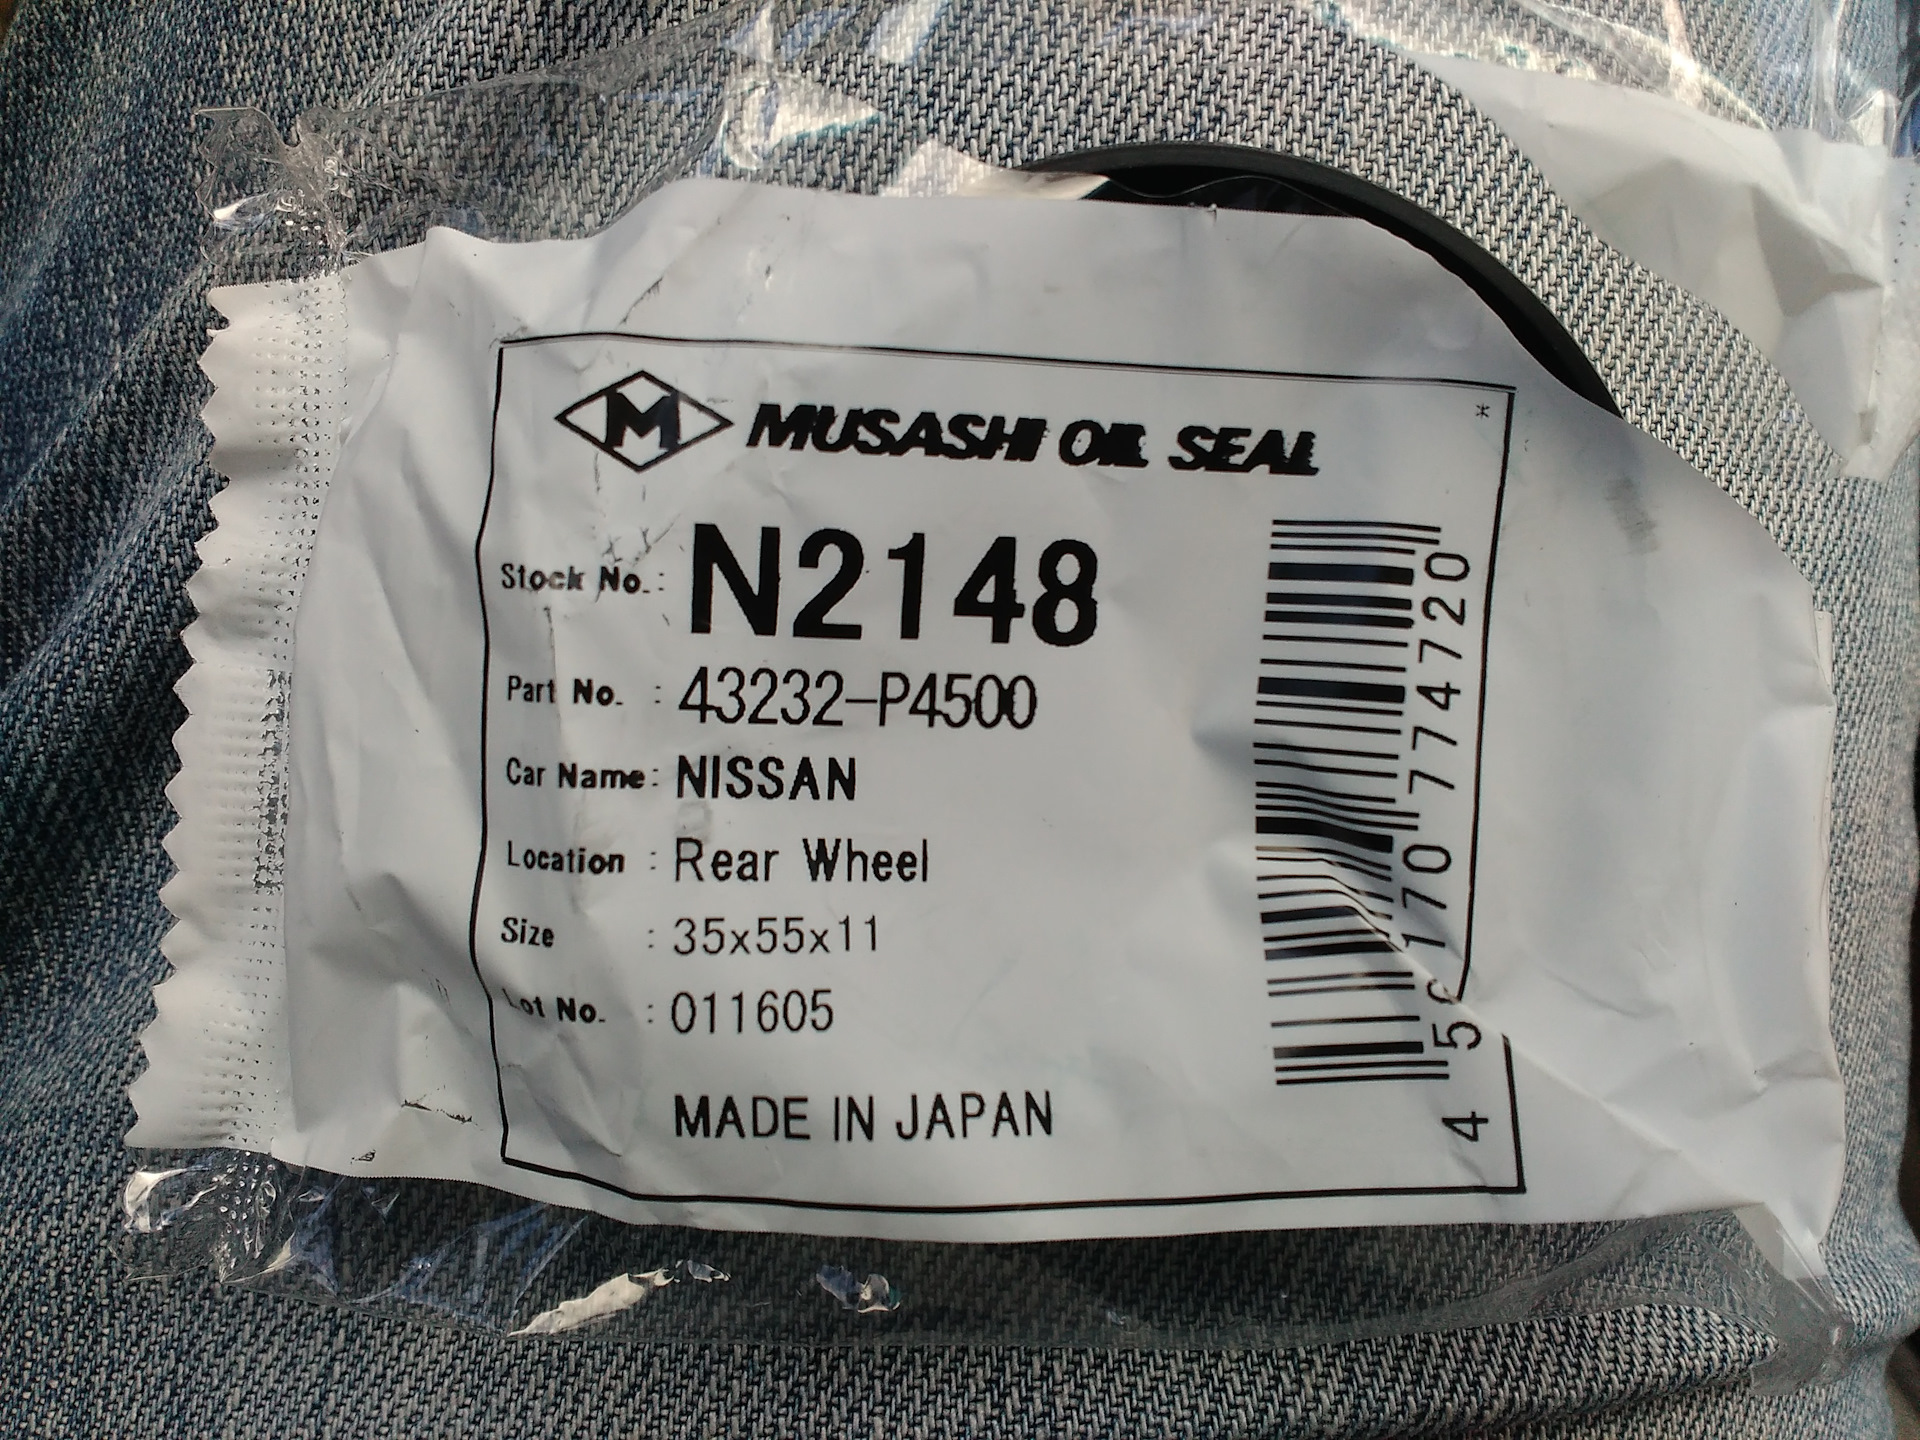
Сальник и запорное кольцо также можно взять оригиналы, но их придётся ждать от недели и более — у меня такого количества времени не было, поэтому я нашел заменители:
— 08R8 — запорное кольцо от фирмы FBJ
— N2148 — сальник фирмы Musashi
Процесс разборки следующий:
1. Домкратим тачку.
2. Снимаем колесо.
3. Откручиваем два болта, которые держат тормозной суппорт (ключ на 17).
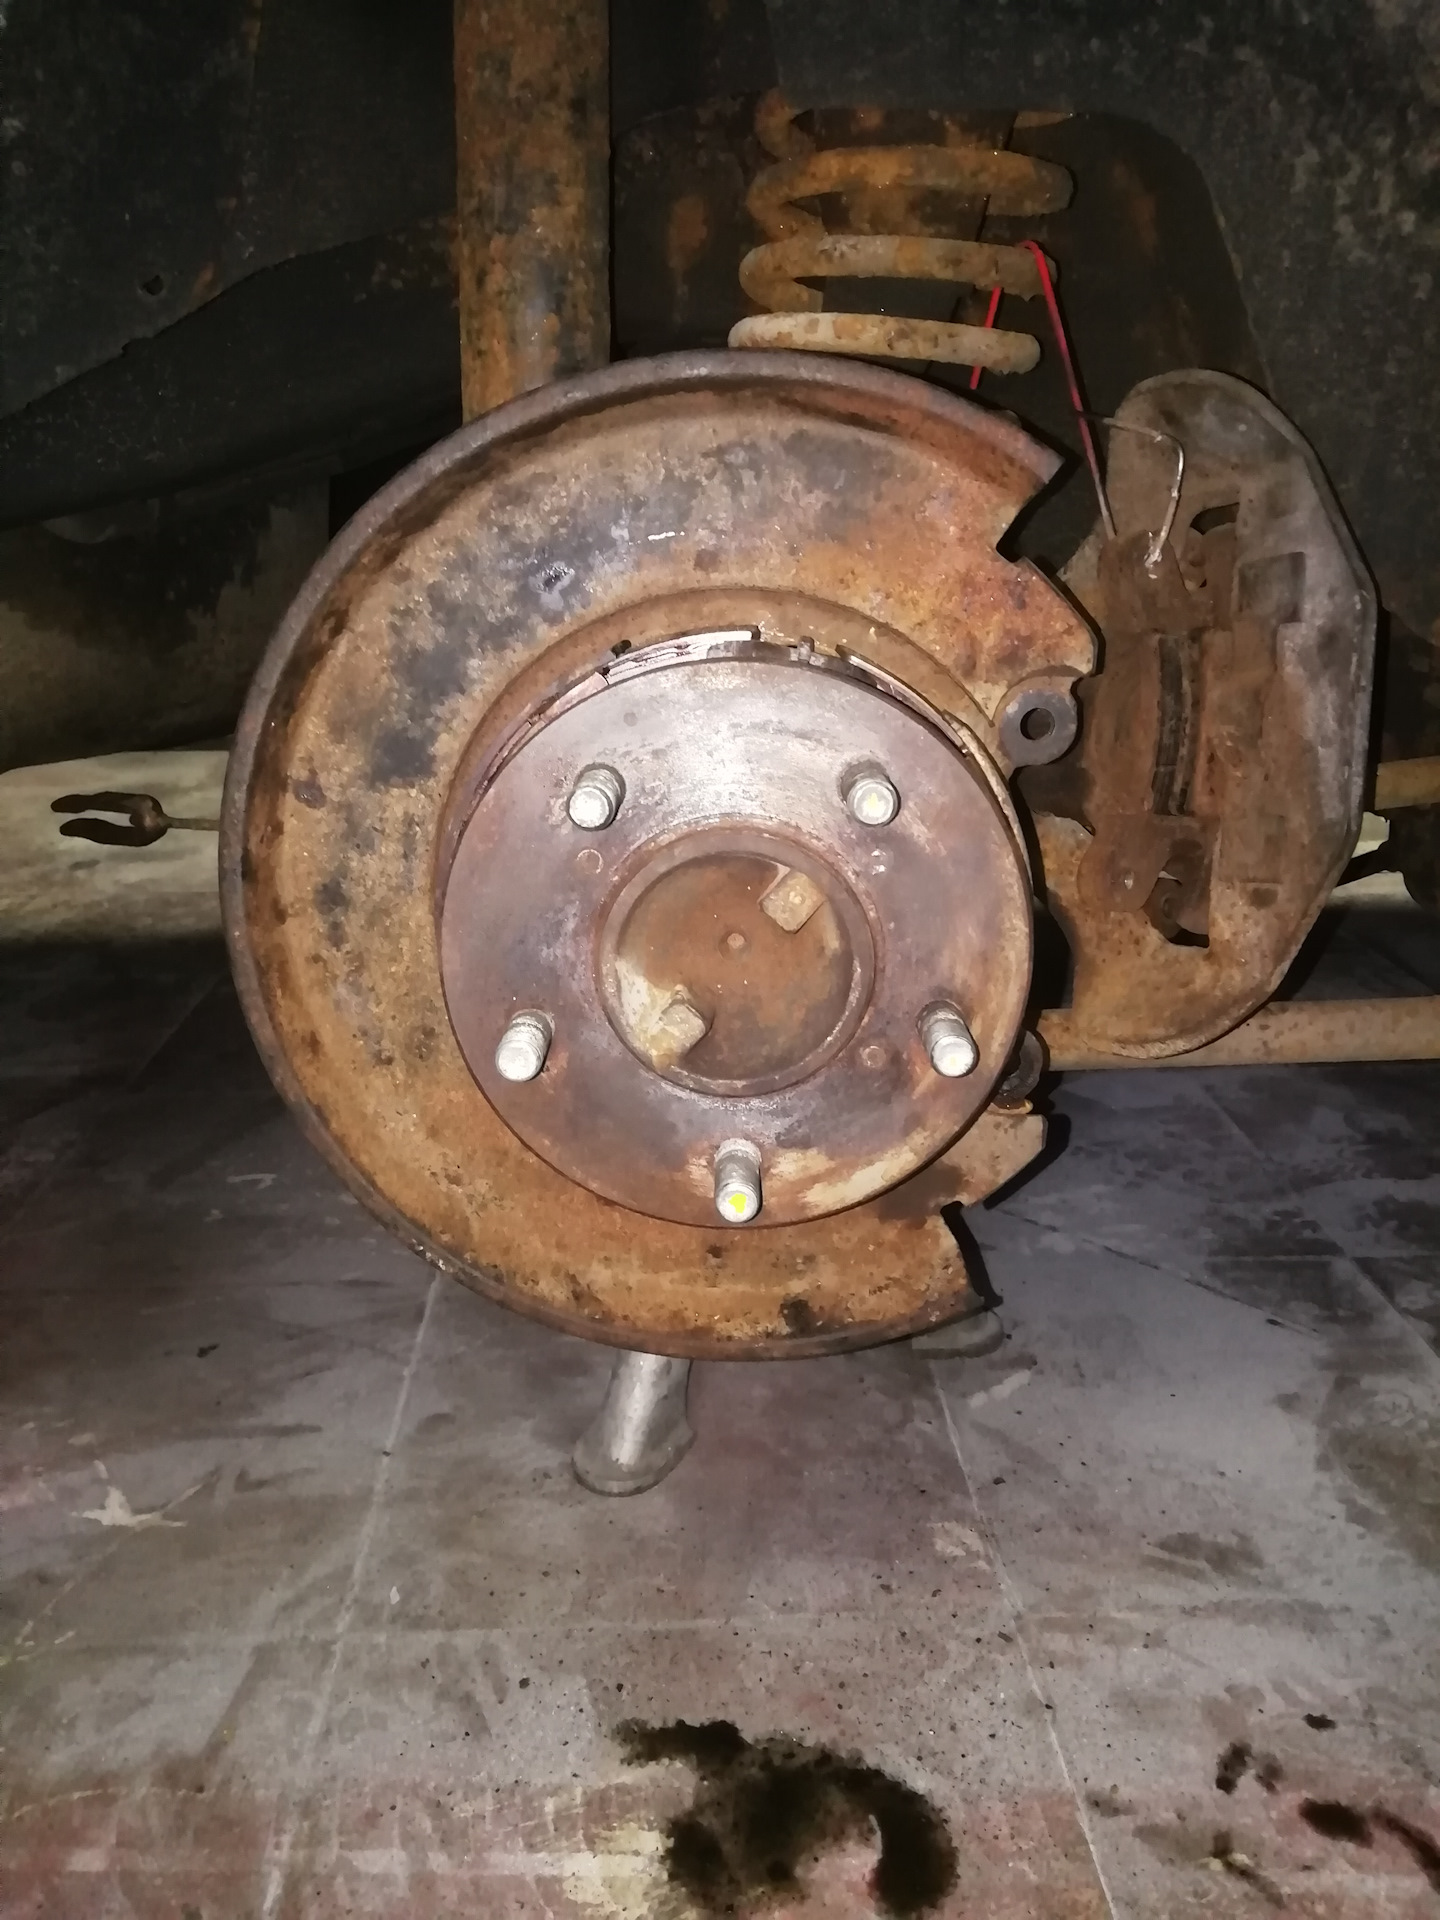
4. Снимаем тормозной диск. Если снять руками не получается, используем специальные отверстия на диске и, вкручивая в них болты (находим самостоятельно подходящие), выдавливаем диск наружу — главное не переусердствовать, вкручивать по чуть-чуть и равномерно, чтобы не сорвать башню у болтов.
5. Отстёгиваем тягу стояночного тормоза и снимаем пружину.
6. Откручиваем четыре болта, которые держат ступицу/барабанный тормозной механизм (ключ на 14).
7. Аккуратно вынимаем полуось.
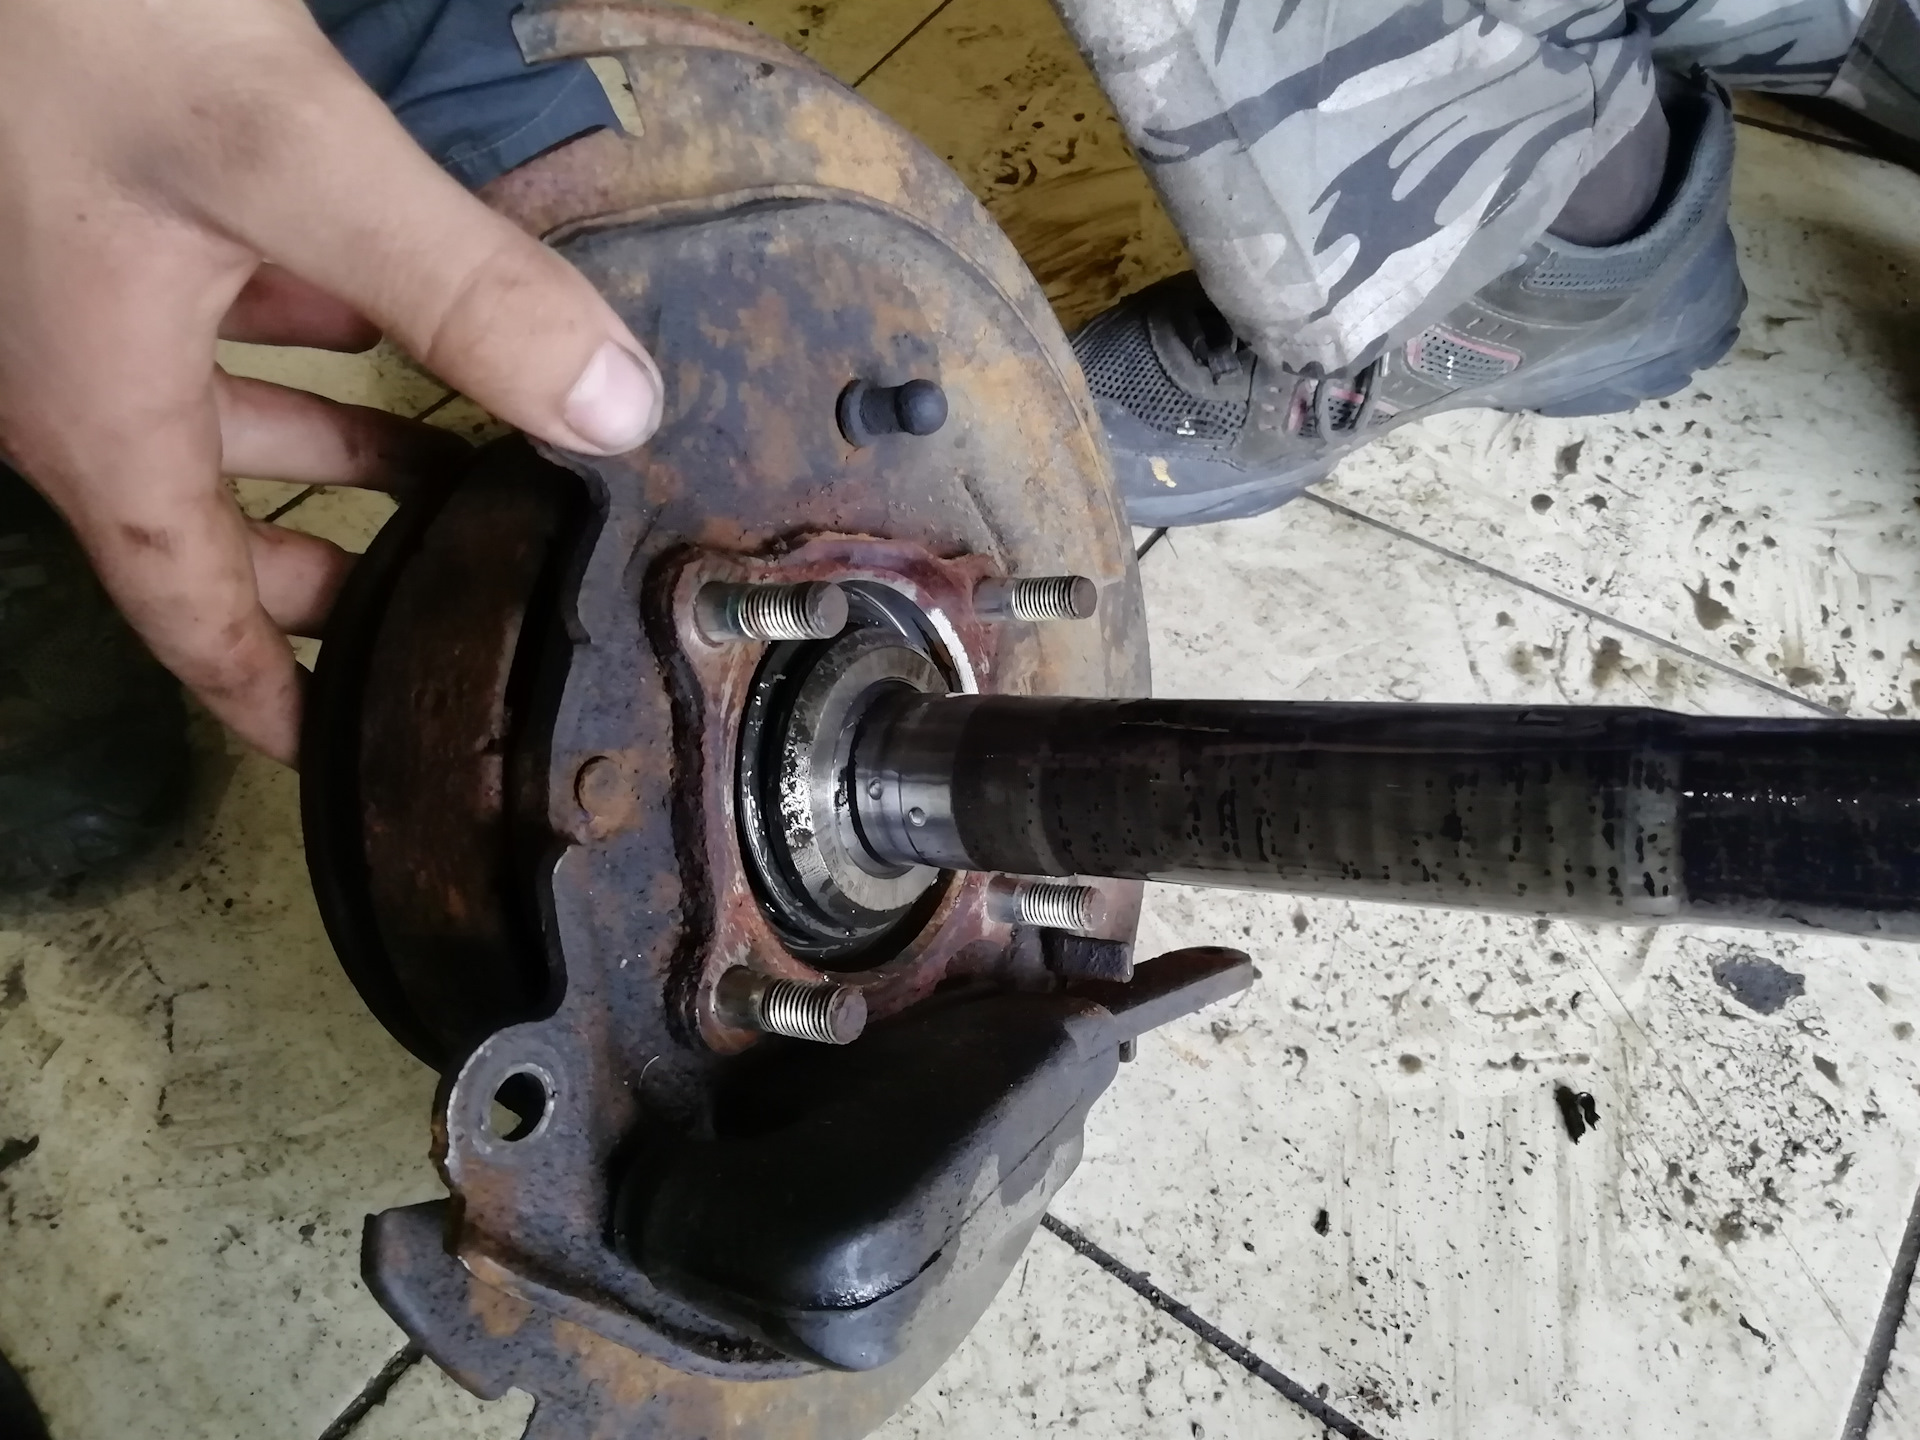
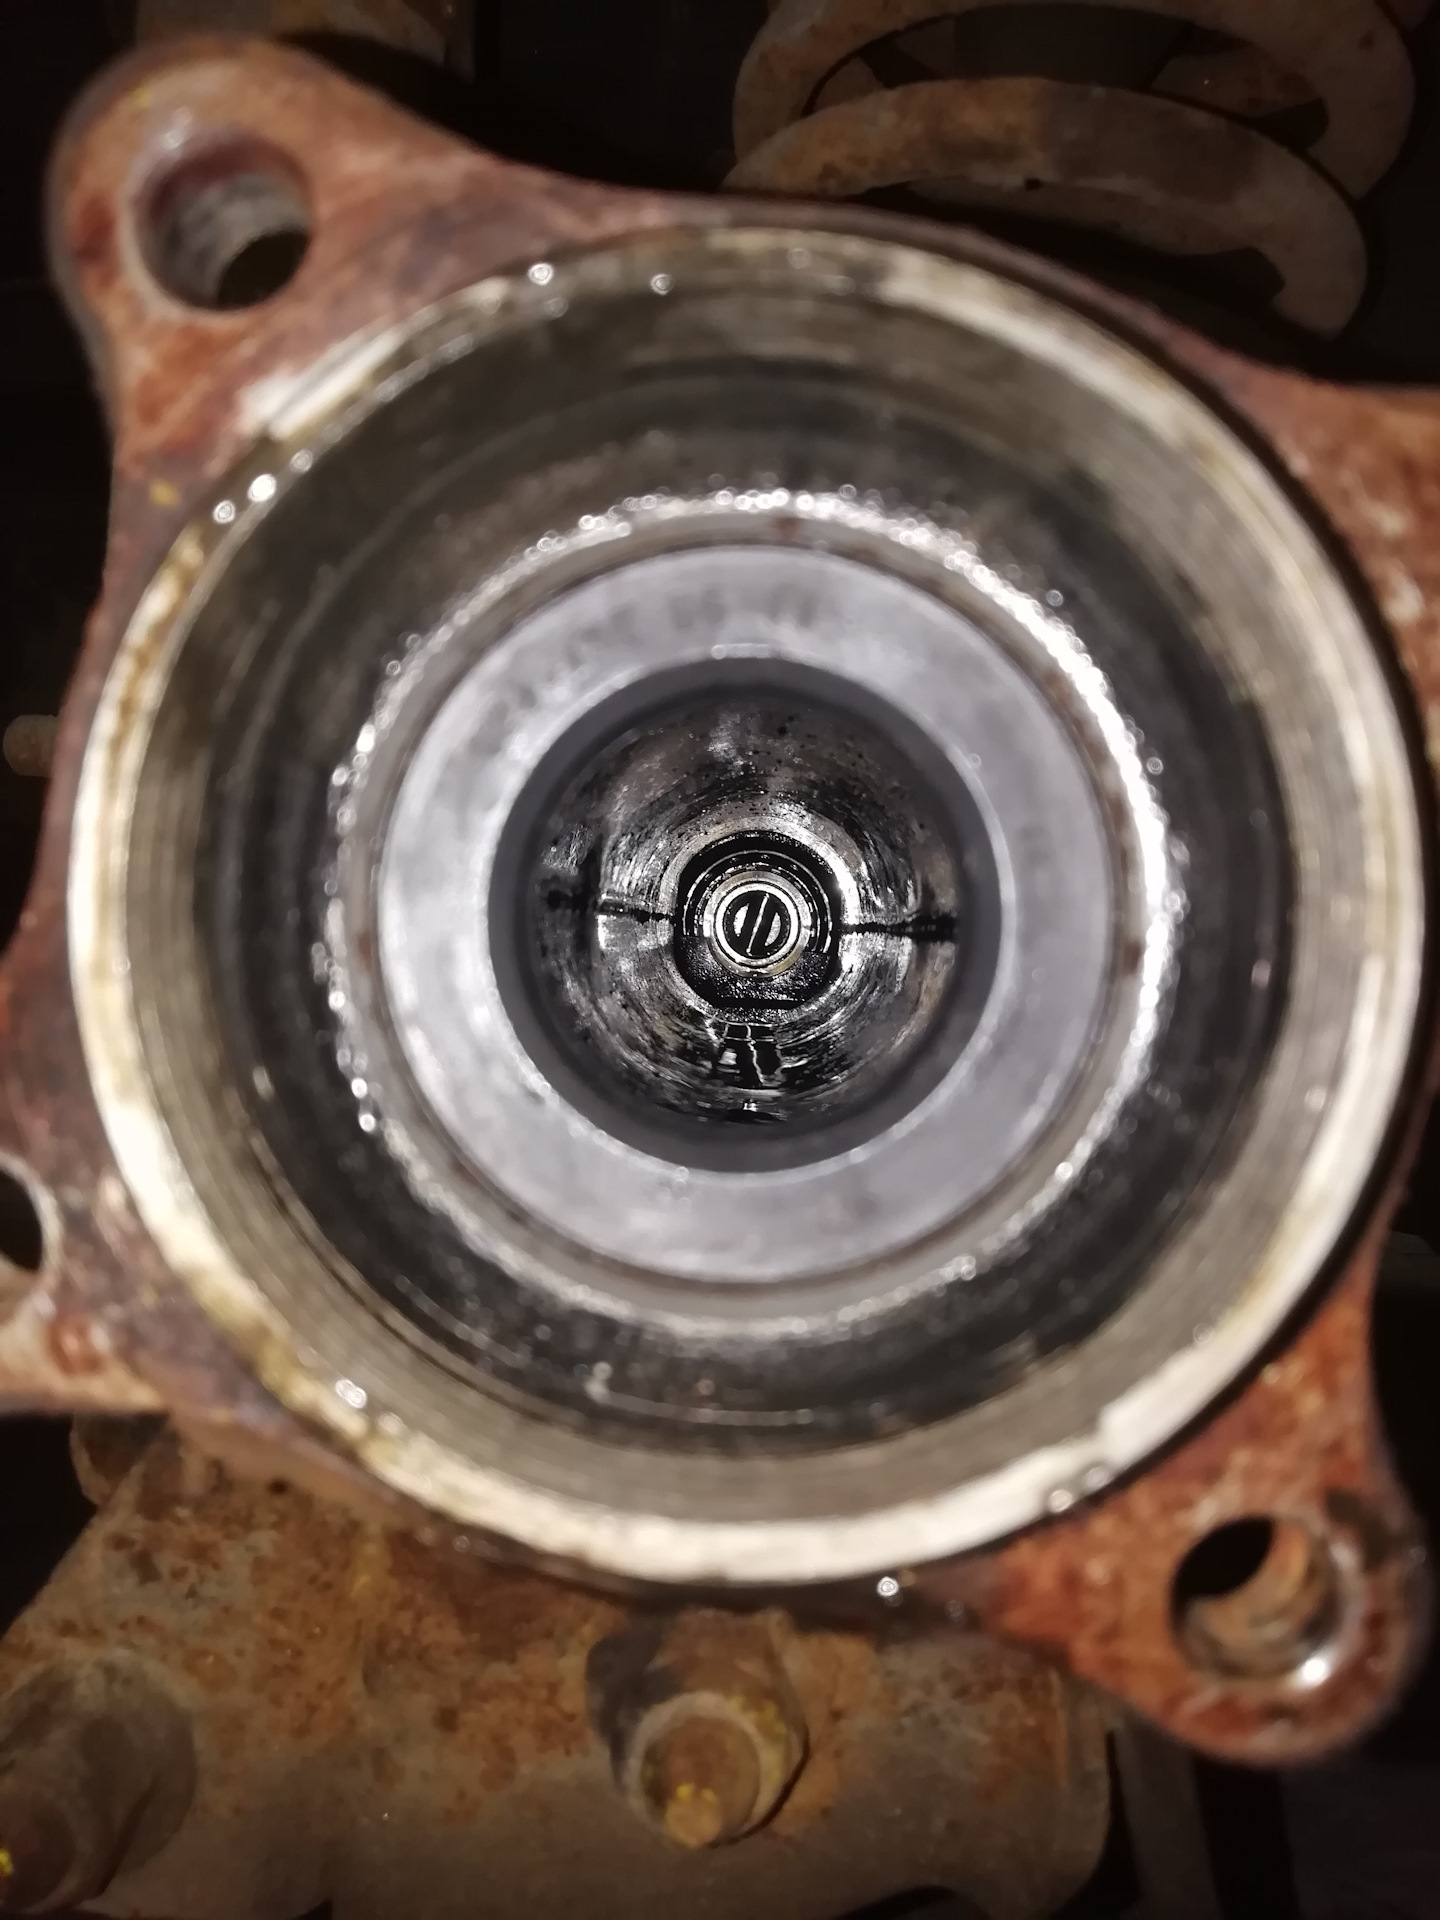
Процесс замены подшипника:
1. Используем шлифовальную машинку aka "болгарку" и надрезаем стопорное кольцо и снимаем его.
2. Вынимаем подшипник. У меня подшипник был достаточно сильно разбит, поэтому вынимать его пришлось по кускам. Если подшипник в лучшем состоянии — придется помучиться: использовать съемник или выдолбить подшипник.
3. Ставим новый подшипник на место старого, использую оправку и молоток — делаем всё ооочень нЭжно.
4. Весь изюм в установке стопорного кольца. Его необходимо очень сильно нагреть (метал при нагревании расширяется) и после этого посадить на ось. Когда стопор остынет (метал при остывании сужается), он будет намертво сидеть на оси. Не забываем дать ему остыть.
5. Вынимаем сальник из моста и меняем его на новый. Не забываем смазать внутреннюю часть сальника маслом, чтобы при первом запуске не сорвать его к епеням!
6. Не профукиваем прокладку ступицы и ставим её на место, после чего собираем всё в обратном порядке!
В моём случае после снятия тормозного диска, я обнаружил, что тормозные колодки стояночного тормоза (барабанный механизм) у меня развалились — от башмака отвалилась подошва.
Поэтому пришлось еще прикупить колодки для барабанов, мне повезло и я наткнулся на оригинальный комплект за очень приемлемую цену!
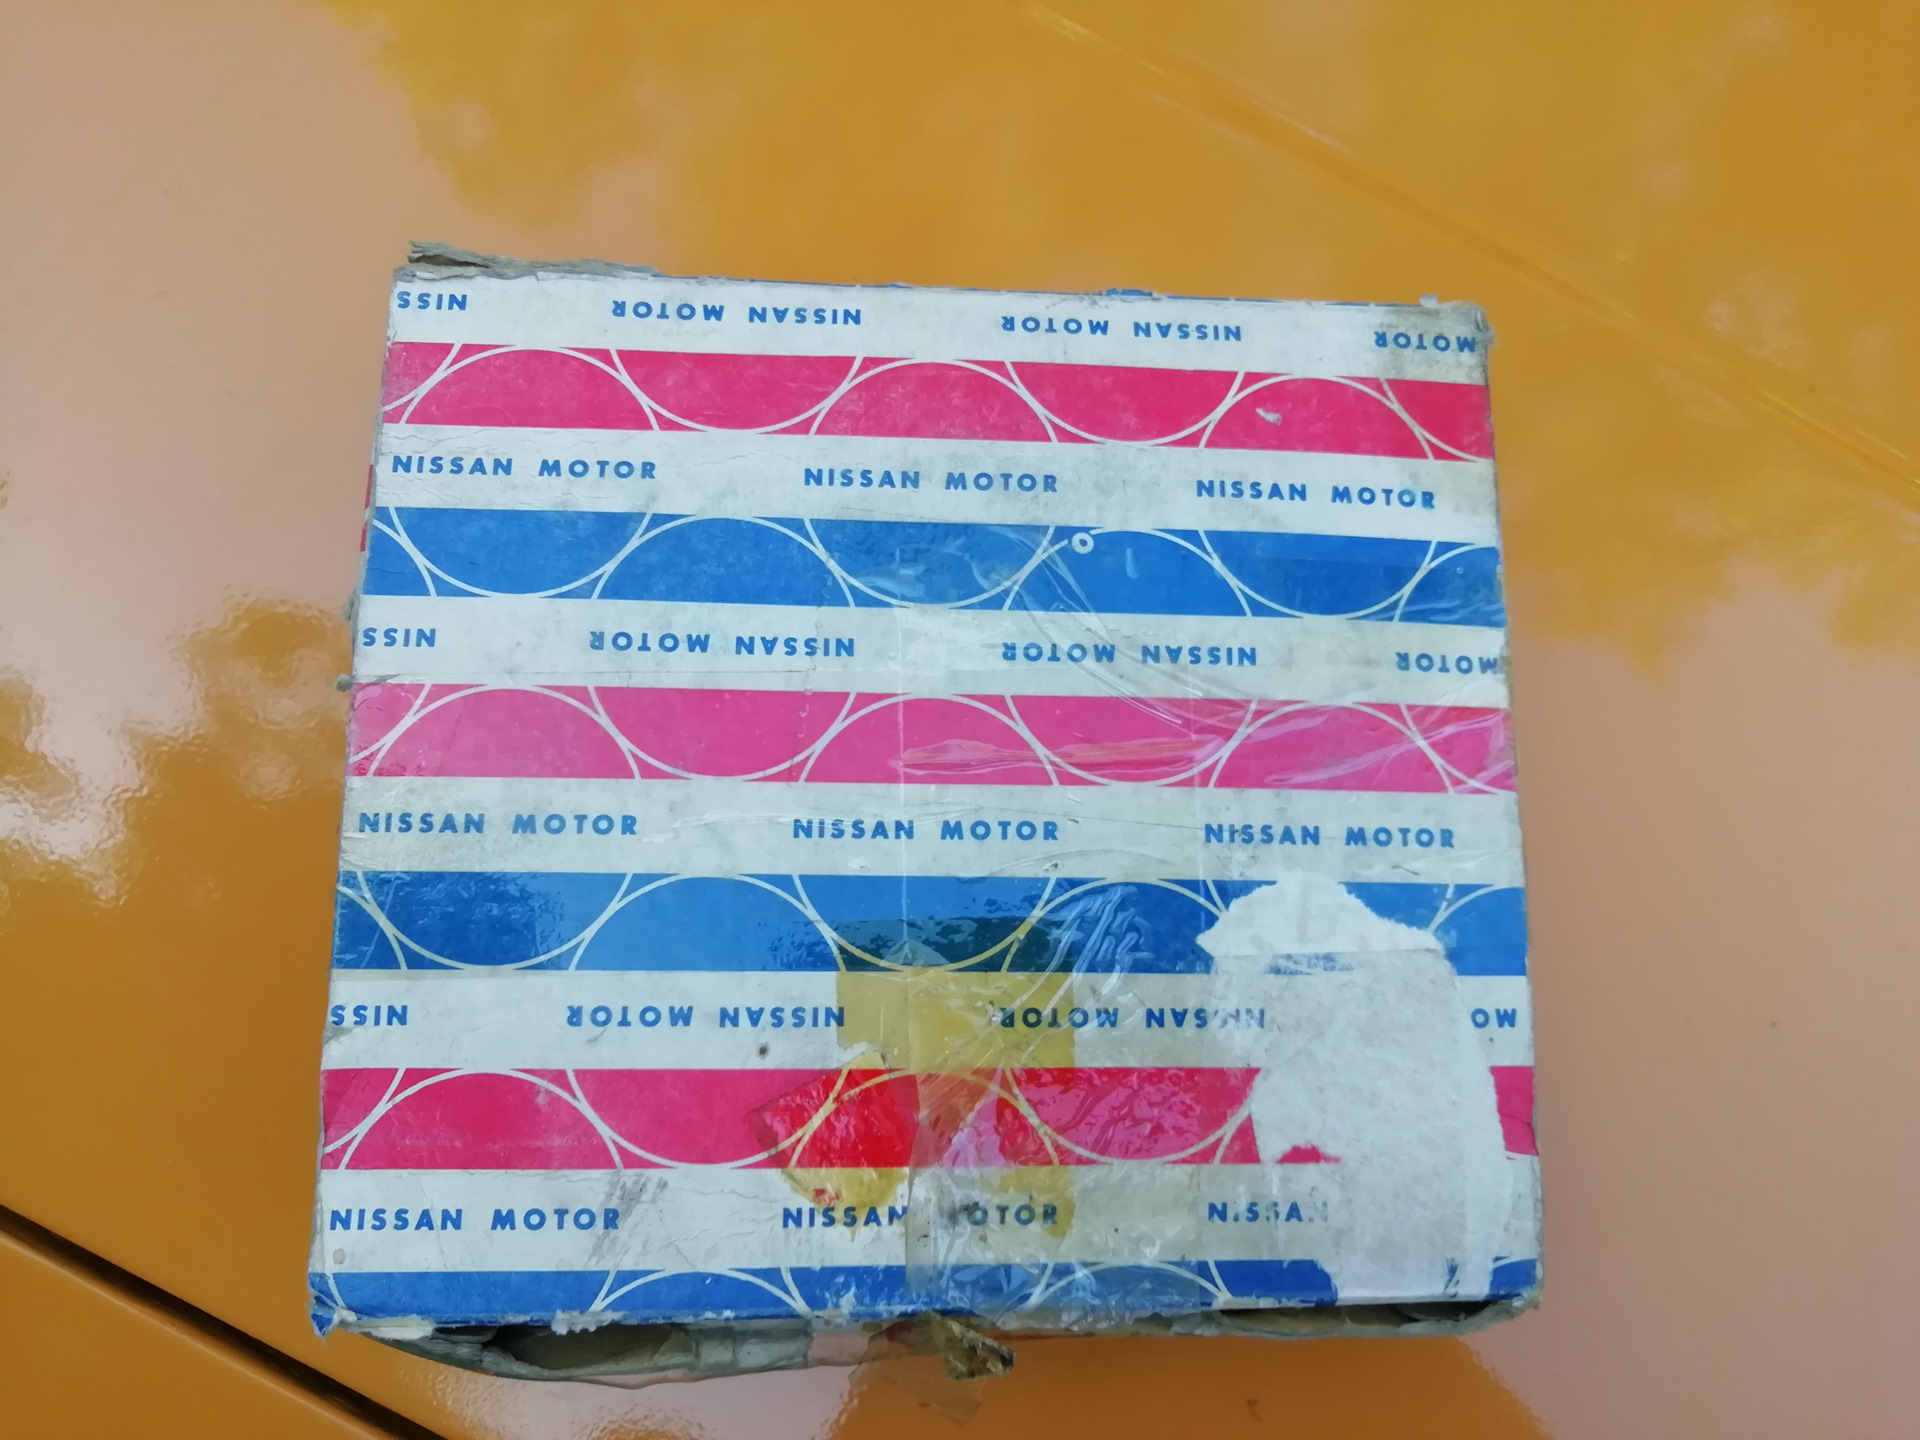
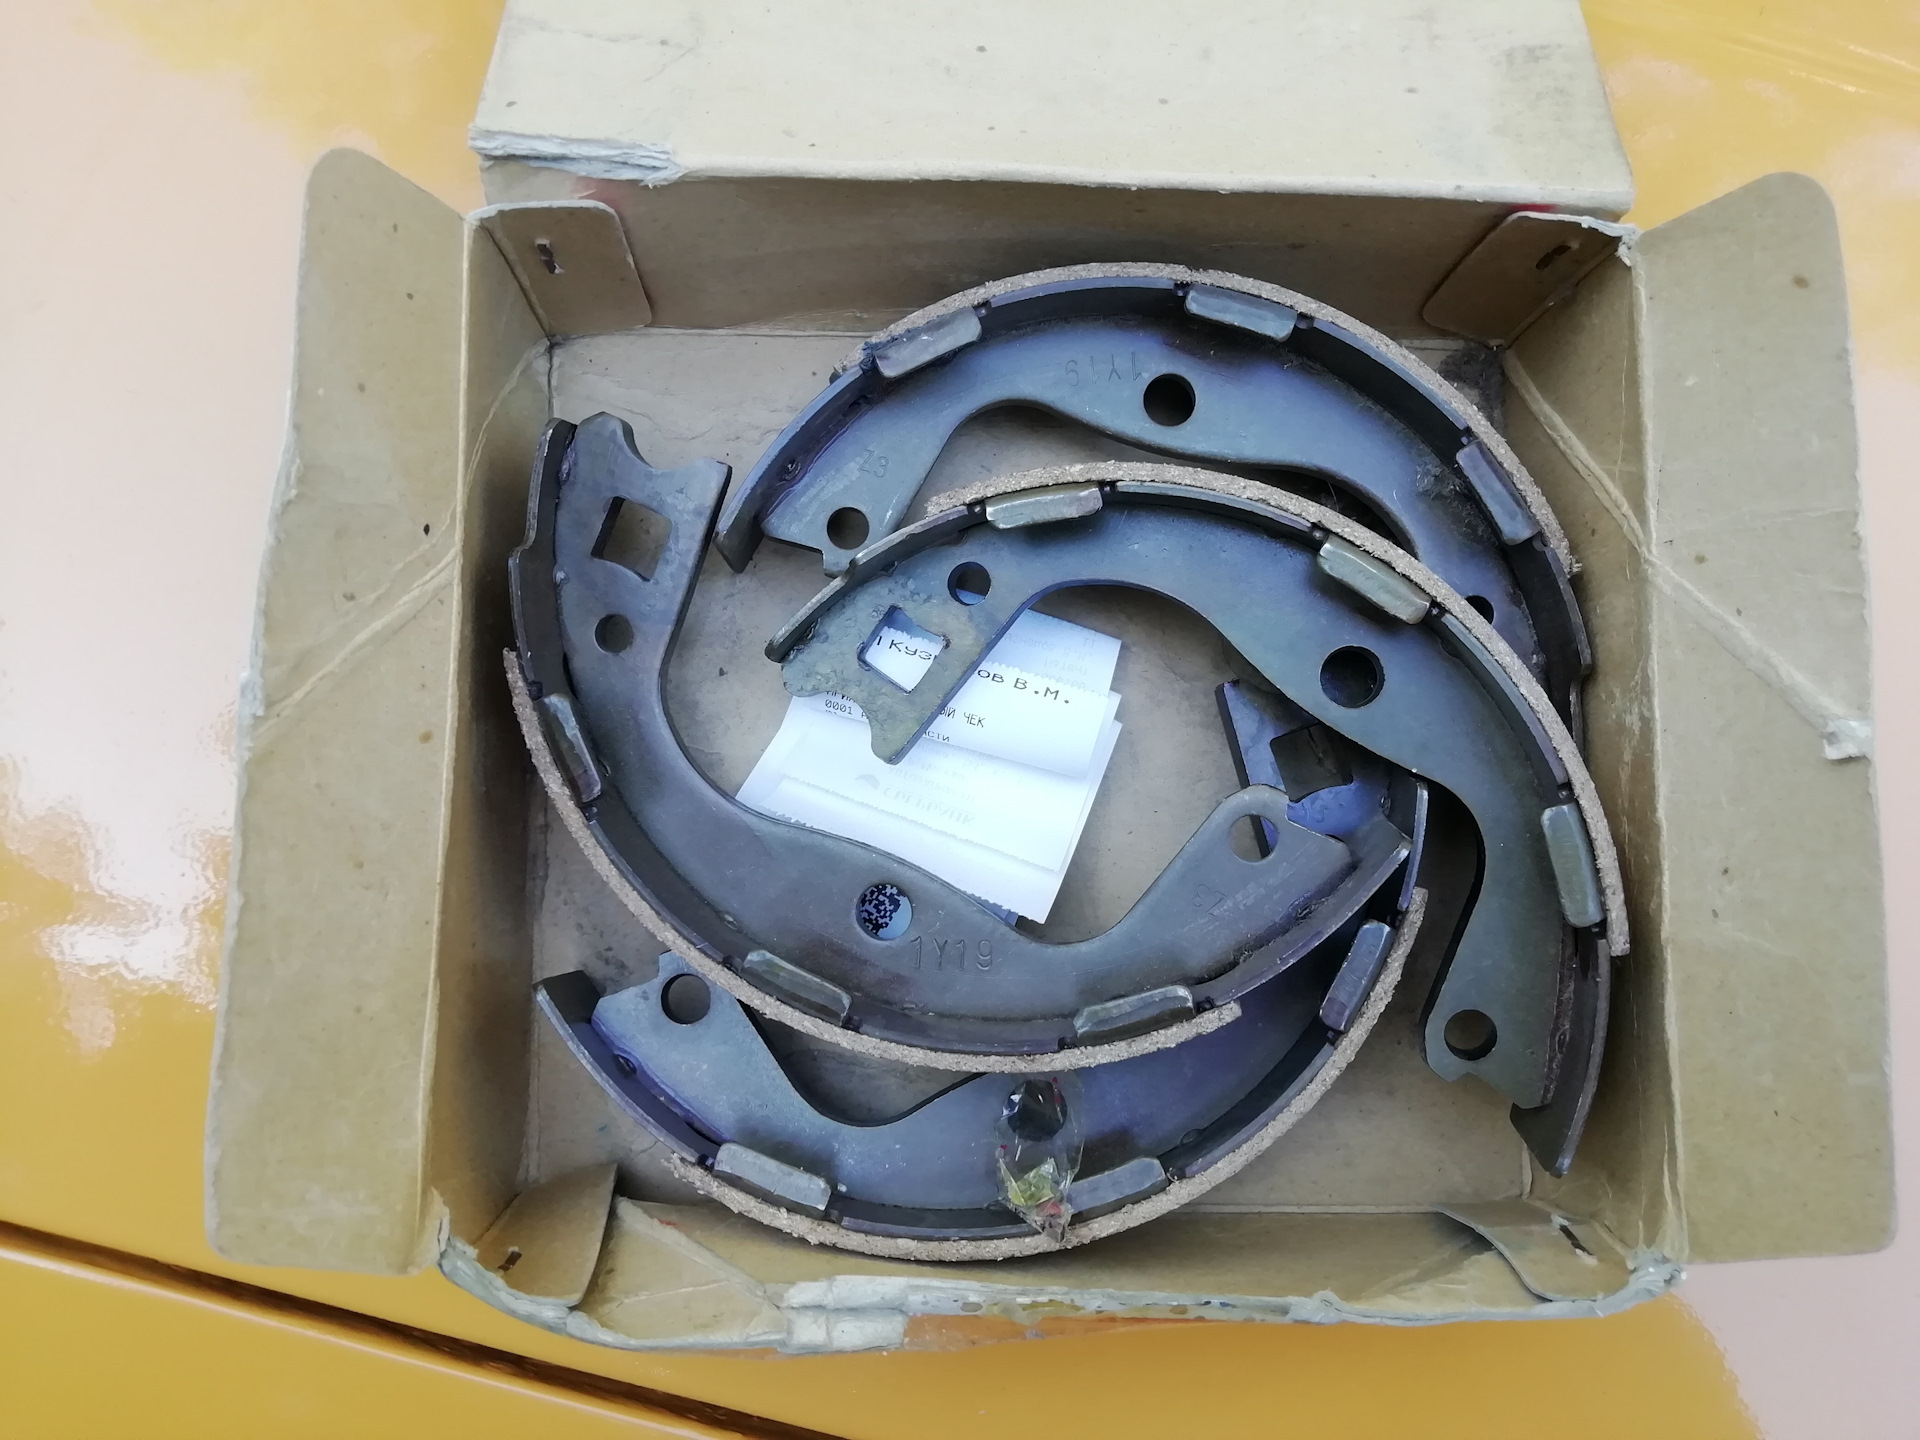
Партнамбер тормозных колодок стояночного тормоза — 44060-V0329 (в комплекте четыре колодки на обе стороны).
Про процесс разборки я писал выше, сейчас остановлюсь на том, как разбирать барабанный механизм и менять колодки:
1. Находим снизу между колодками прямоугольную шайбу и снимаем её, вынув стопор шлицевой отверткой.
2. Снимаем нижнюю пружину с помощью отвертки.
3. Снимаем прижимные механизмы по центру колодок (справа и слева по одному). Для этого надавливаем на пружину и поворачиваем её пока верхняя шайба не соскочит с "солдатика".
4. Снимаем верхнюю пружину и центральный преднатяжитель.
5. Меняем колодки на новые и собираем в обратном порядке.
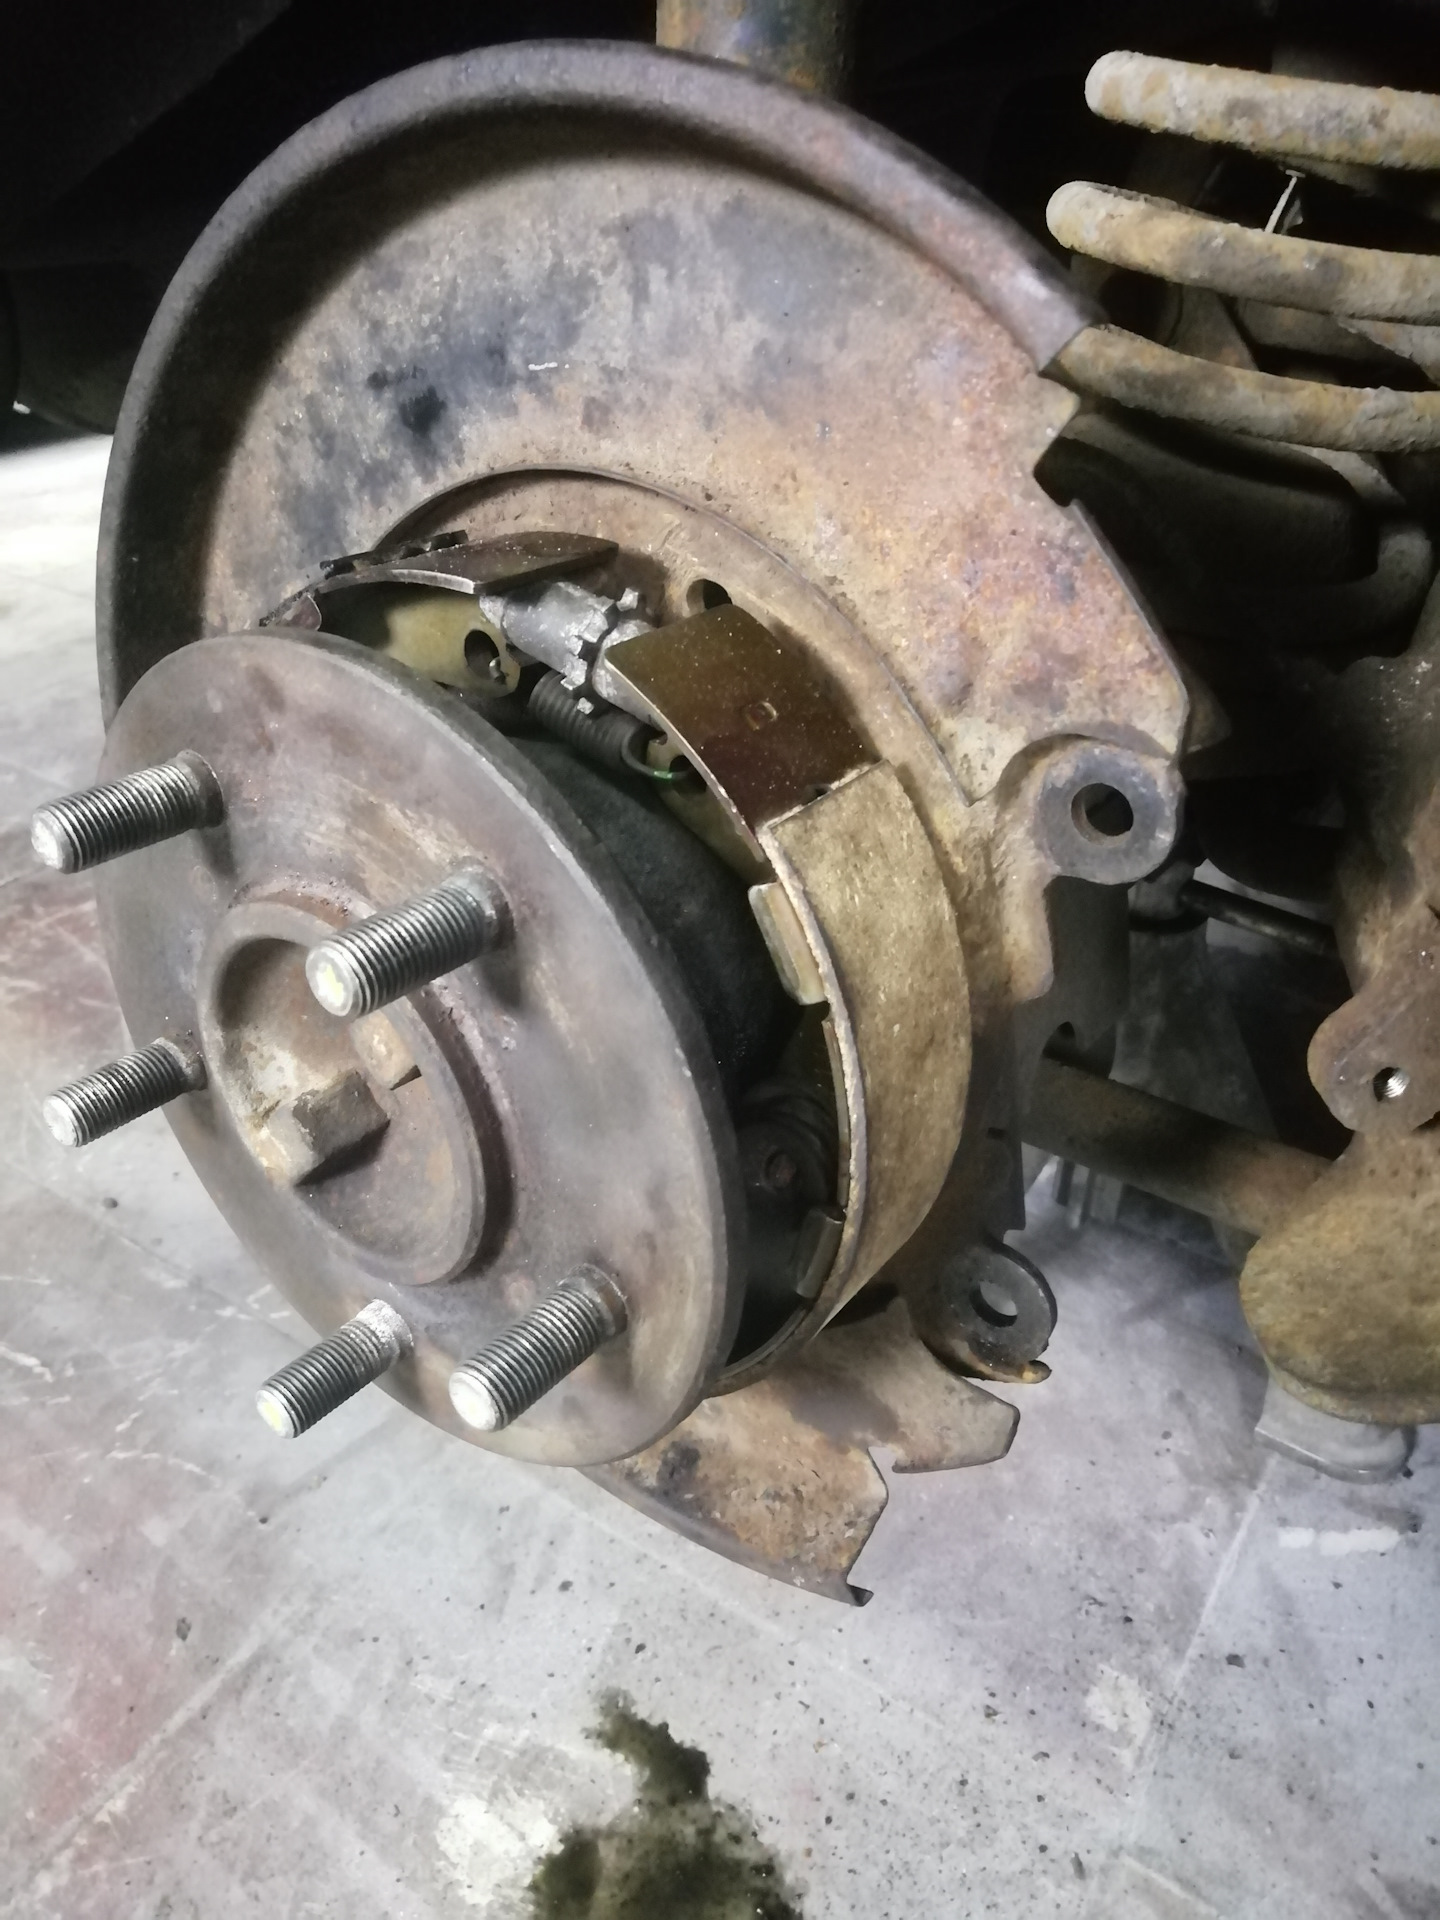
Пару советов, чтобы облегчить вам жизнь:
— Начните замену колодок с установки нижней пружины и прямоугольный шайбы
— Вторым этапом установите прижимные механизмы
— Преднатяжитель ставьте после установки верхней пружины
— Не забудьте отрегулировать преднатяжение после установки тормозного диска. Для этого вынимаем резиновую затычку сзади барабанного механизма и использую короткую шлицевую отвертку, вращаем преднатяжитель.
Комментарии
Пока нет одобренных комментариев.