
Автор — Pim25
Купить оси дверных шарниров со втулками Mark II X30/40
Все вы, наверное, замечали, как со временем провисают двери на наших авто. Особенно это актуально на двухдверных машинах, где нагрузка на петли очень высока. Тянешь за ручку, открываешь дверь – а она соскакивает со скобы замка и ощутимо падает вниз. Причина – разбалтываются и перестают поддаваться регулировке дверные петли. Причём в самой петле зазор не такой уж и большой – доли миллиметра, однако на двери в районе замка за счёт почти метрового плеча это уже больше пол-сантиметра.
Отрегулировать смещением петель такую дверь уже не удаётся. Некоторым выходом может являться раззенковка крепёжных отверстий петель и последующая регулировка чёткости закрытия, но такой способ скорее временный и не спасает о общей «разболтанности» в этом узле.
Чтобы вернуть петли в стоковое состояние, я поступил следующим образом.
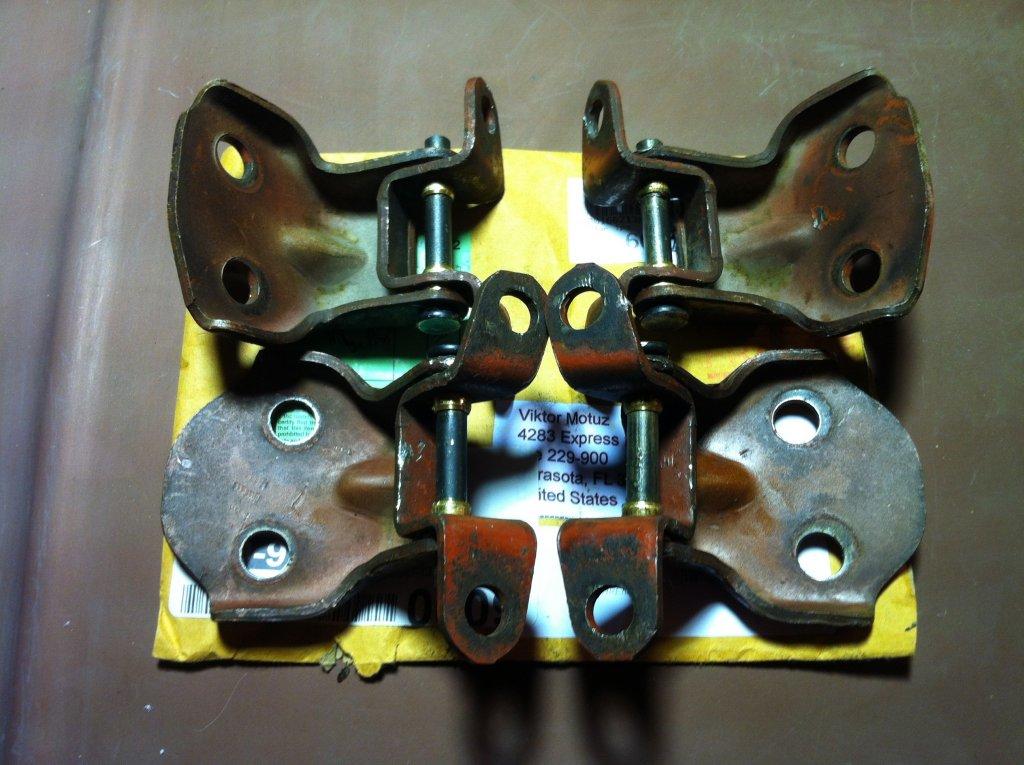
На известном всем E-Bay нашёл в продаже сменный комплект осей и втулок на «Короллу-1979» и рискнул его купить, справедливо рассудив, что петли у машин тех лет не должны сильно отличаться.
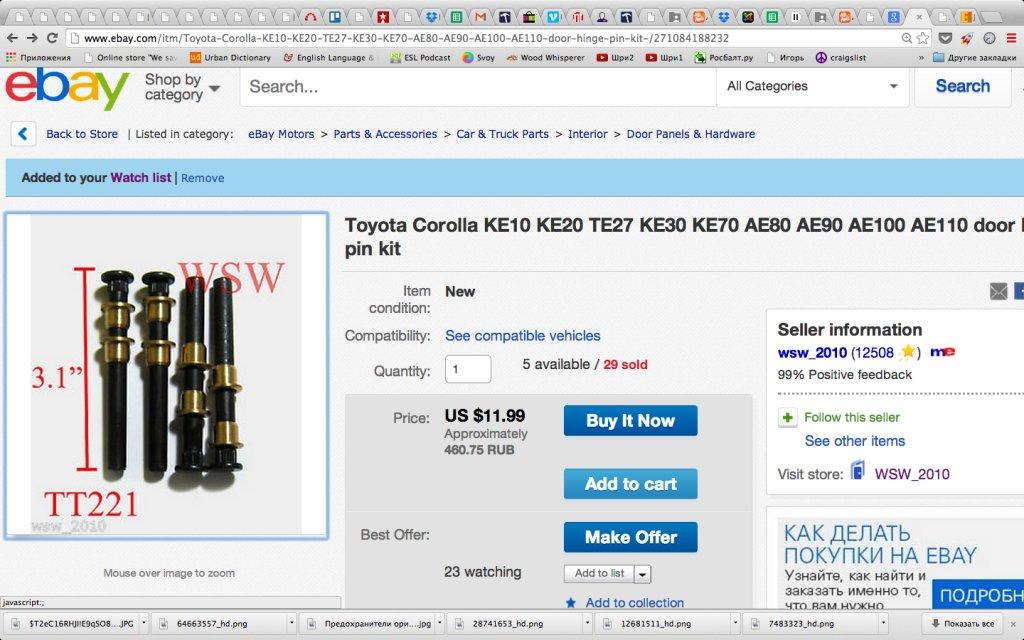
У продавца есть возможность отправлять этот товар письмом (!) прямо в Россию, и вместе со стоимостью отправки такой комплект даже с сегодняшним стремительно взлетающим баксом обойдётся вам в сумму никак не более 1 т.р.
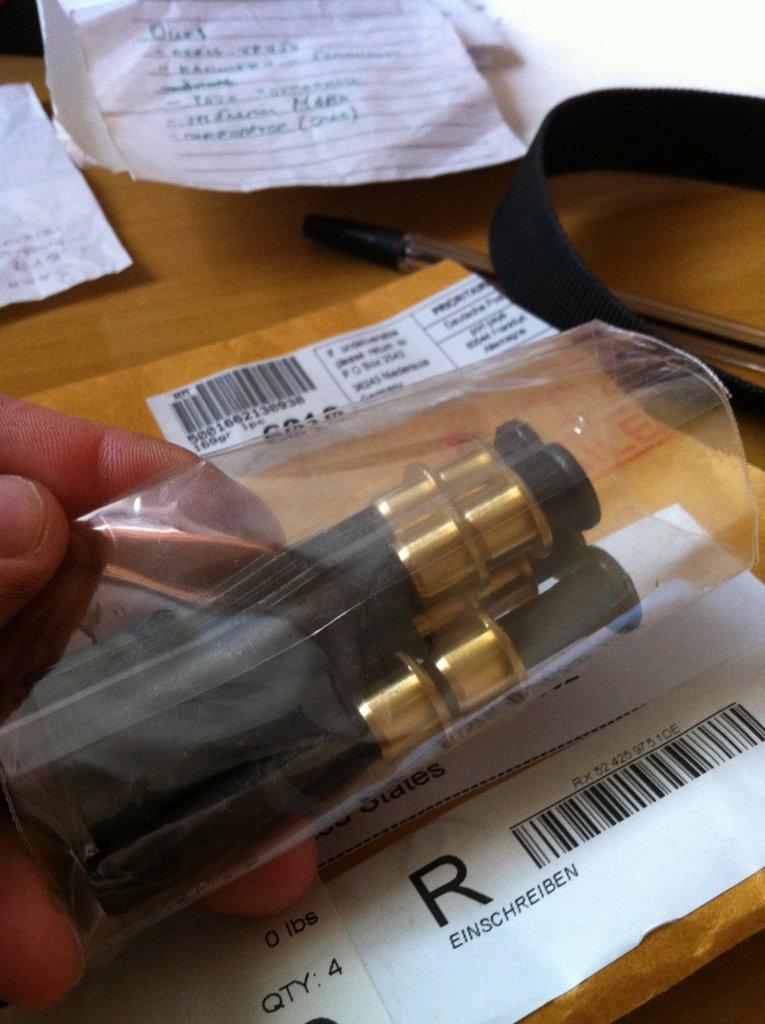
Мои предположения оказались верными — замер и сравнение диаметров осей купленного ремкомплекта и родных петель показал их идентичность – одинаково 8 мм. Длина же у новых была чуть больше – но это скорее плюс, чем минус – дальше я расскажу, почему.
Пару слов о процессе ремонта. Сначала демонтируем петли с авто для ремонта. Тут лучше воспользоваться хитростью: снять переднее крыло, а дверь закрыть. Затем последовательно по одной ремонтировать и менять петли, не открывая дверь. Это позволит вам не поднимать и не держать дверь на весу – то есть выполнить все работы «в одного», а затем произвести регулировку петель и в конце поставить крыло на место.
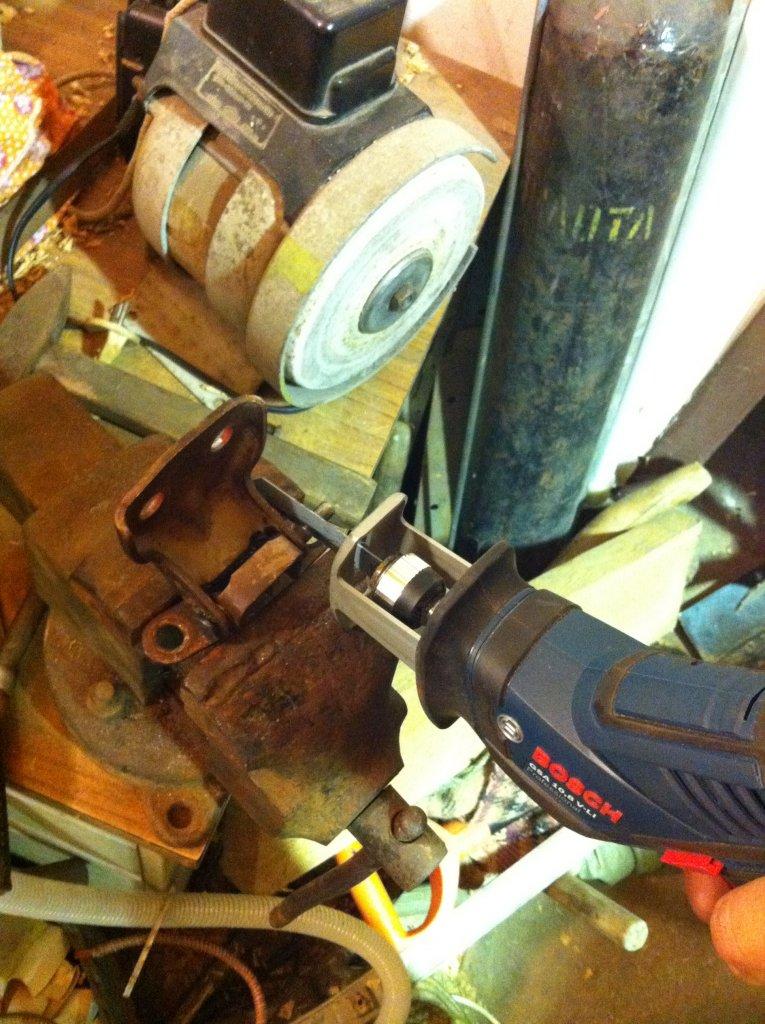
Итак, фиксируем снятую петлю и выпиливаем кусок оси по центру для облегчения демонтажа.
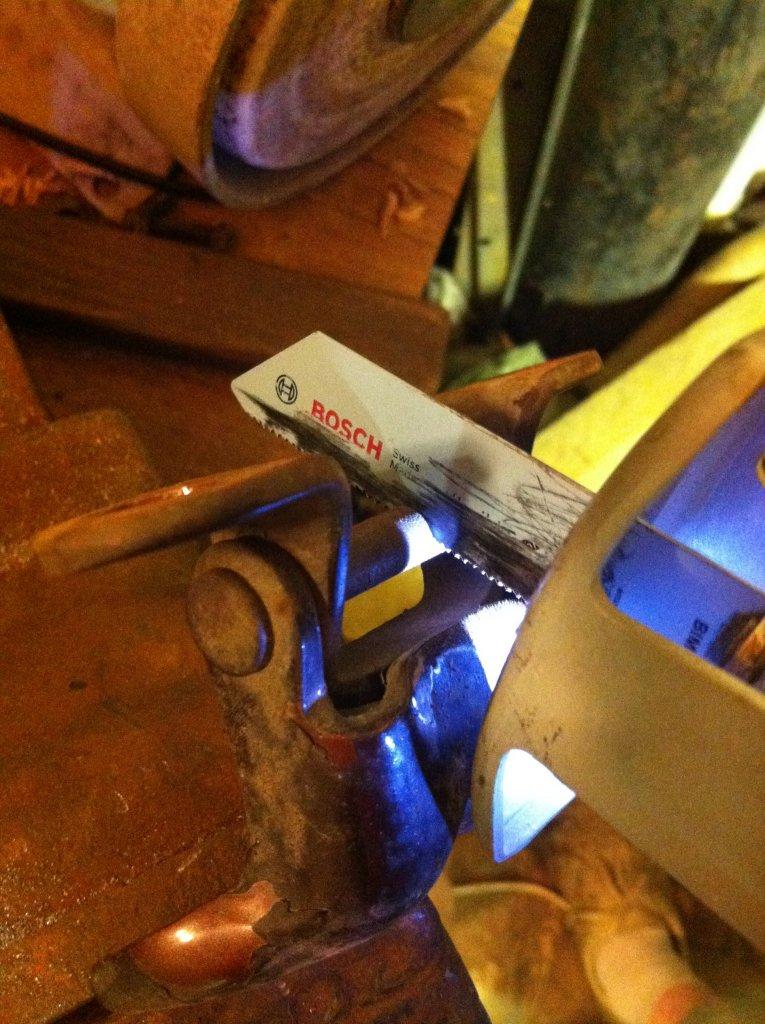
Остатки оси выбиваем изнутри. Сразу замечу, что держатся они хорошо, и нужно стараться не погнуть саму петлю – она сделана из довольно мягкого металла. Впрочем, именно это позволяет без проблем выправить её обратно – если всё же погнули.
Теперь нужно вставить новую ось со втулками в «освобождённую» петлю. Смачиваем всё WD-40.
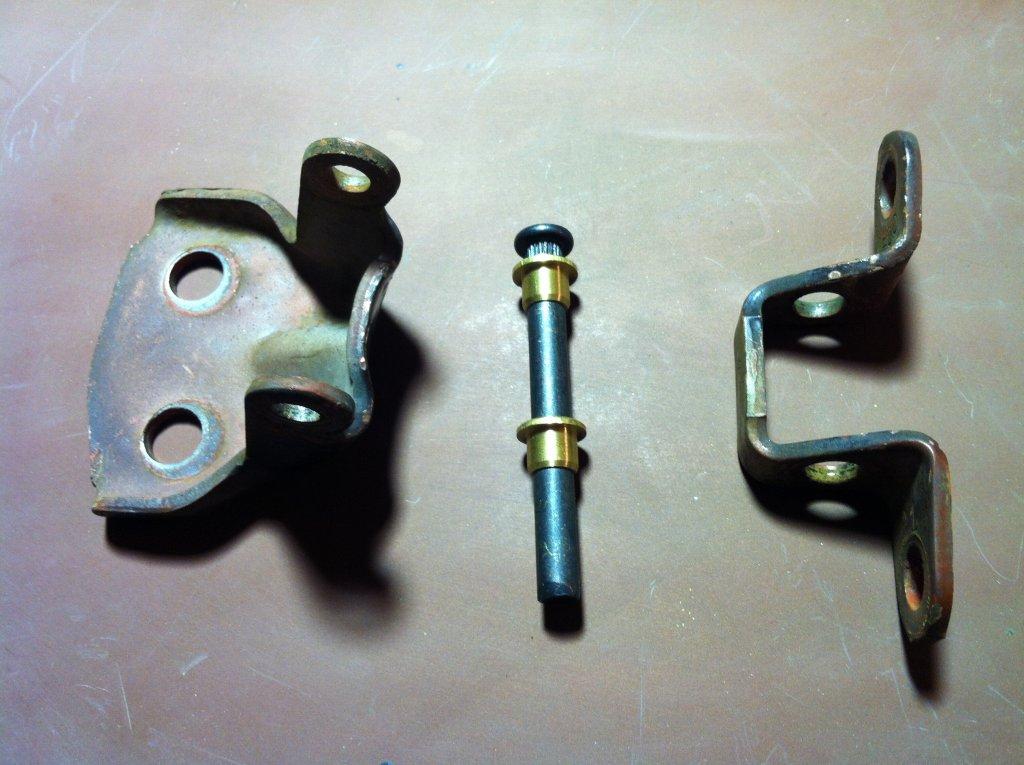
Сразу скажу, что с самого начала я опасался, что мои петли износились настолько, что ремкомплект им уже не поможет. Однако после разборки я с радостью обнаружил, что сносились только бронзовые (латунные?) втулки – как самая мягкая часть в паре «металл-металл», а само железо петель осталось без изменений.
Вот для примера сравнение старой и новой втулок:
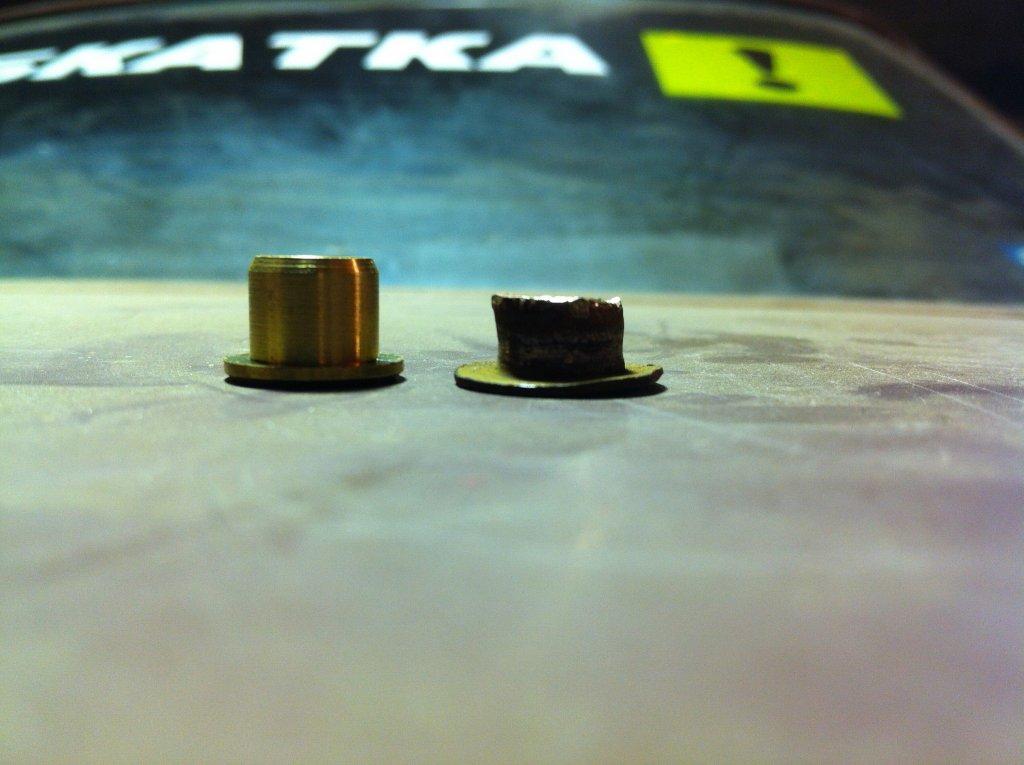
Поэтому новые втулки (внешний диам. 10 мм) входили «впритирочку»:
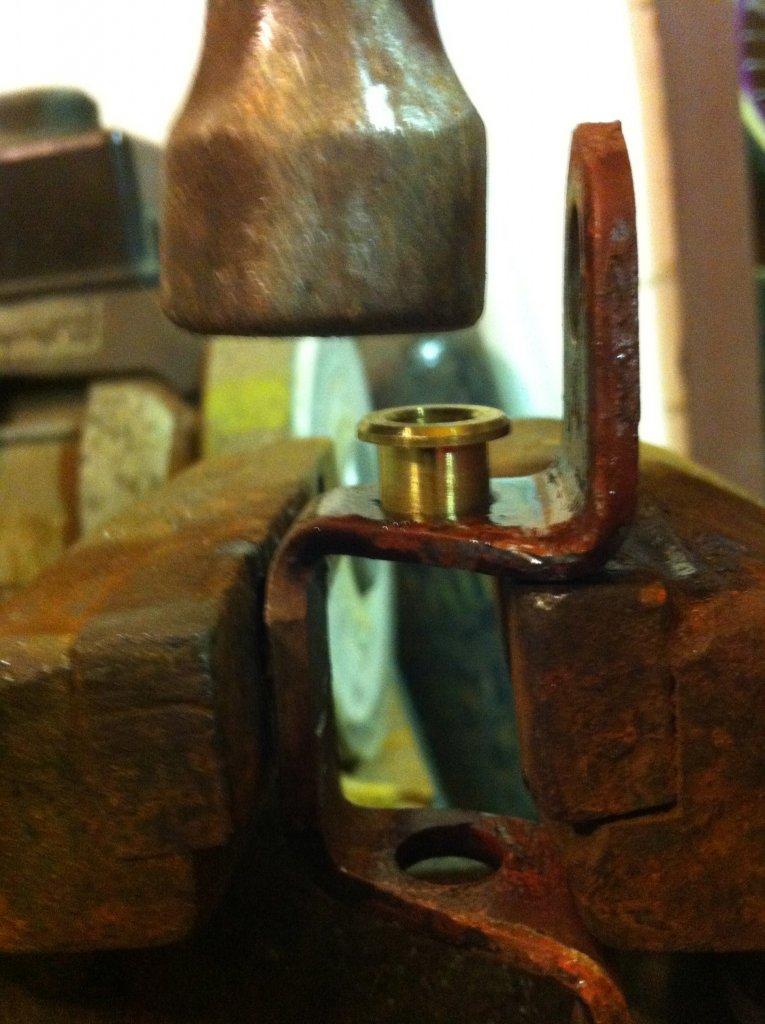
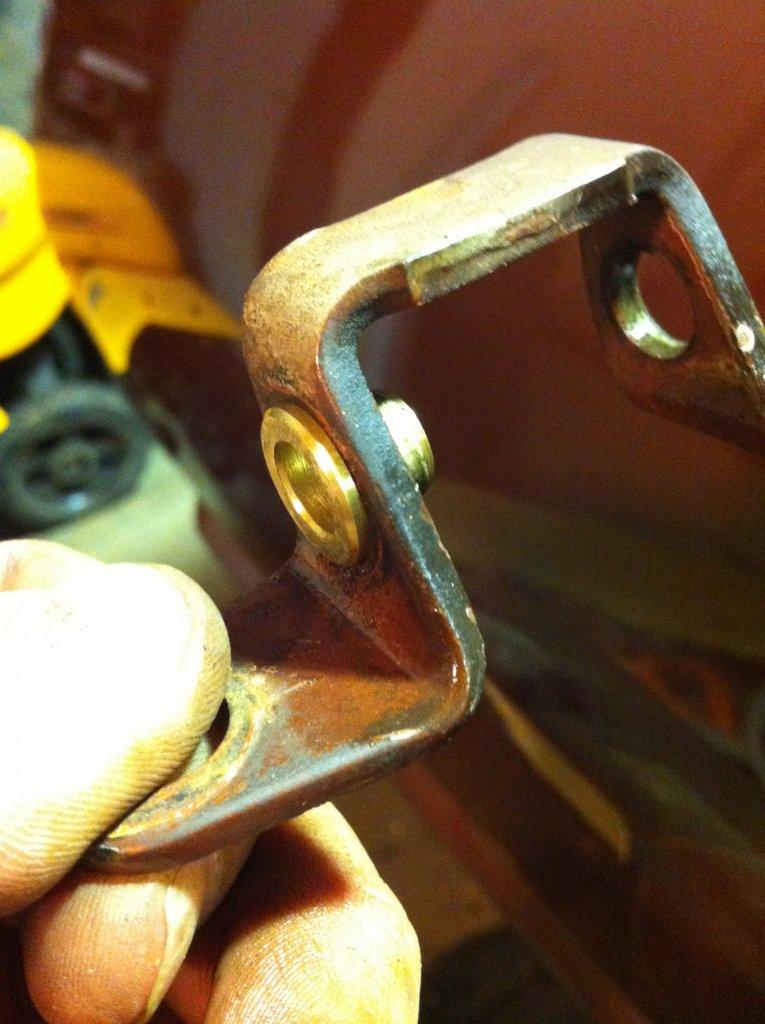
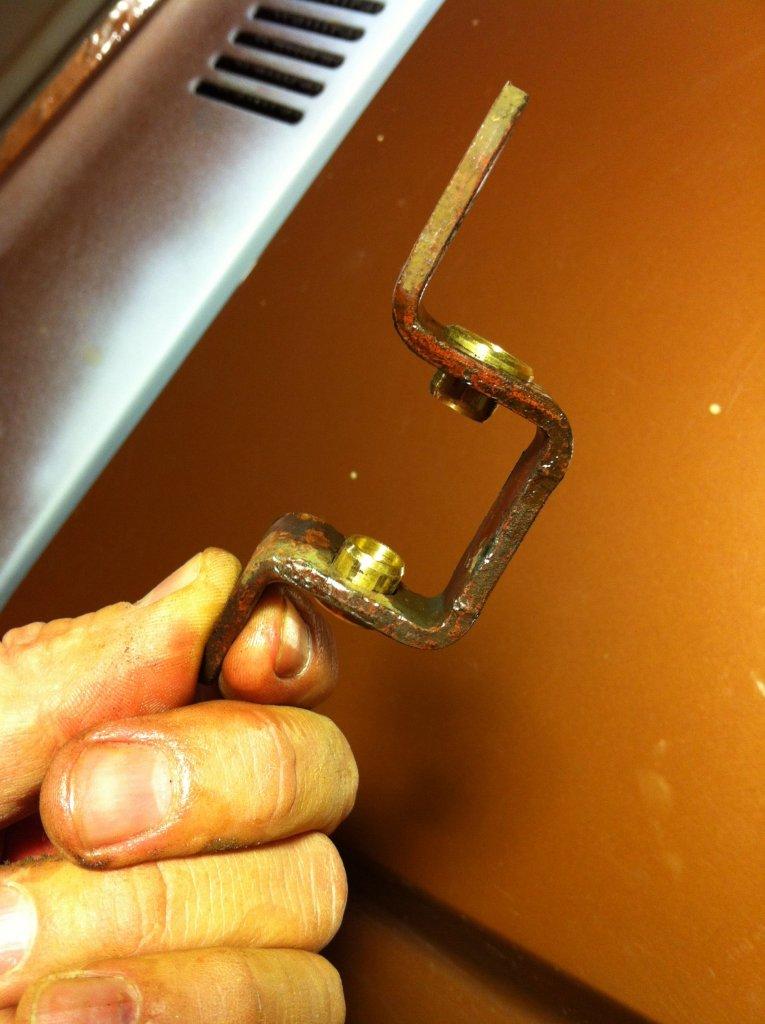
Затем, слегка сняв фаску конца оси и обильно смазав втулки густой смазкой, аккуратно вставляем (лёгким молоточком) ось на место. Здесь можно заметить, что ось в верхней части возле шляпки имеет шлицы, которые при эксплуатации удерживают её от проворачивания. С какой стороны петли они должны быть – это ваш выбор: можно поставить так же, как и на старых осях, а можно попытаться сориентировать так, чтобы шляпка после установки петли на машину стояла сверху.
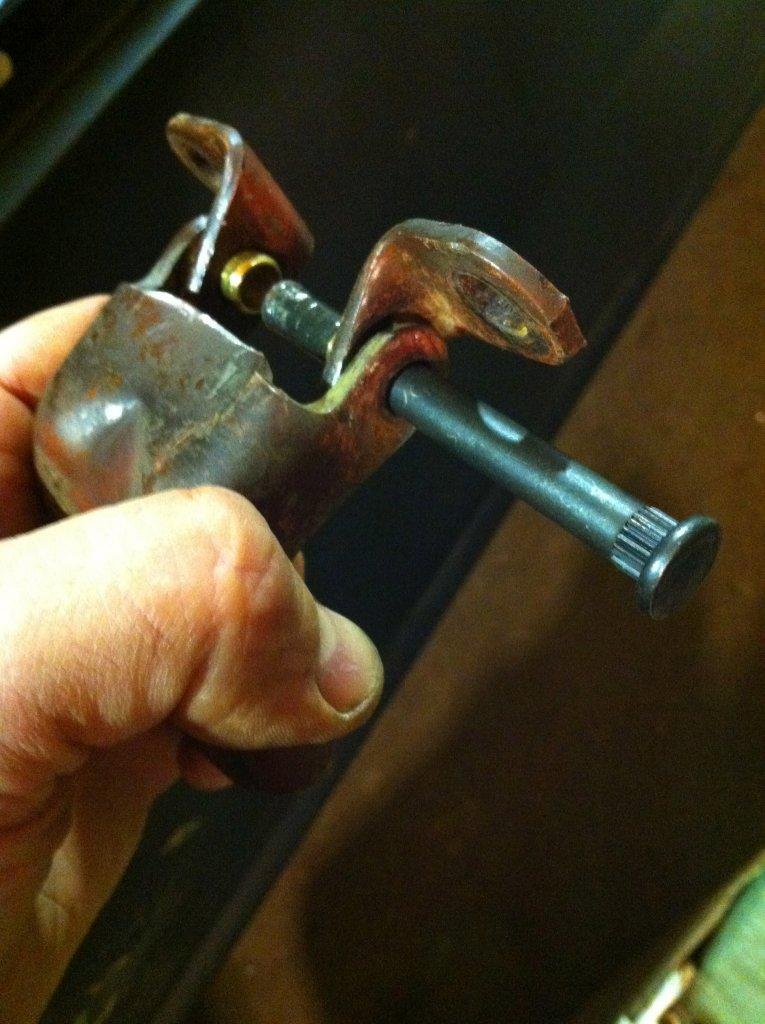
Важно! Не следует забивать ось до самого конца – шляпка оси не должна касаться металла петли и отстоять от неё примерно на 1-1.5 мм! В противном случае шлицы «впиваются» во втулку, жёстко посаженную во внутреннюю часть петли и препятствуют нормальному проворачиванию этой части.
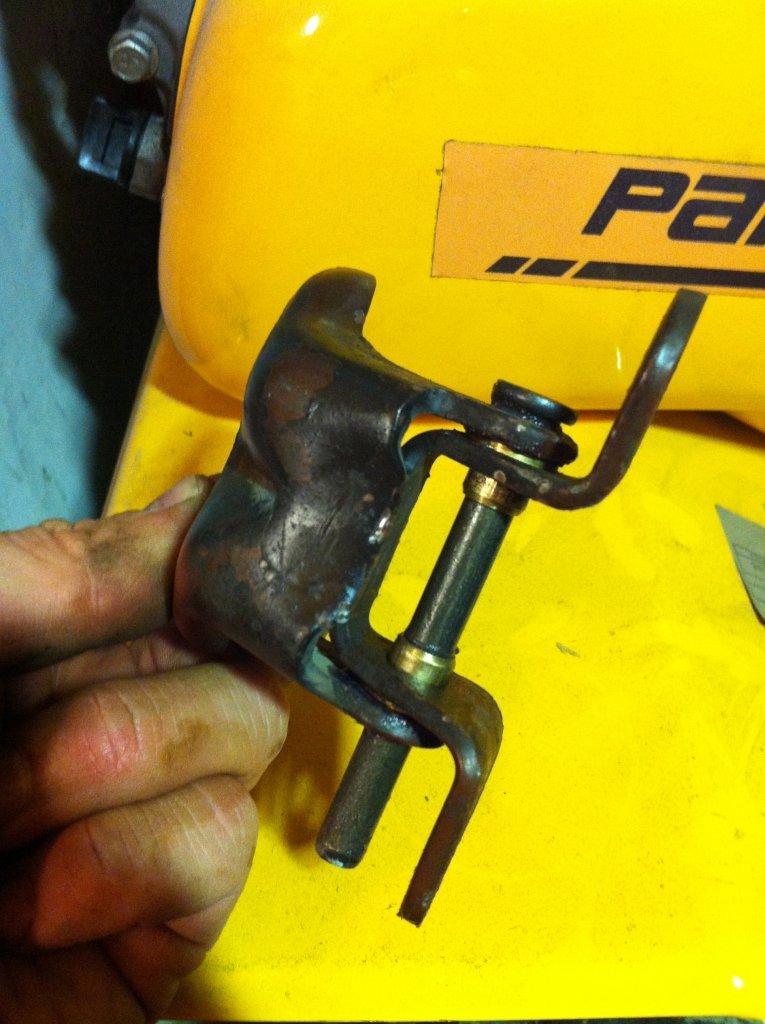
Далее я оставил выступающую часть оси около 0,5 см, а остальное отпилил.
После этих операций мы уже имеем одну новую петлю, которая от руки вращается очень плотно и туго – подобно новой шаровой.
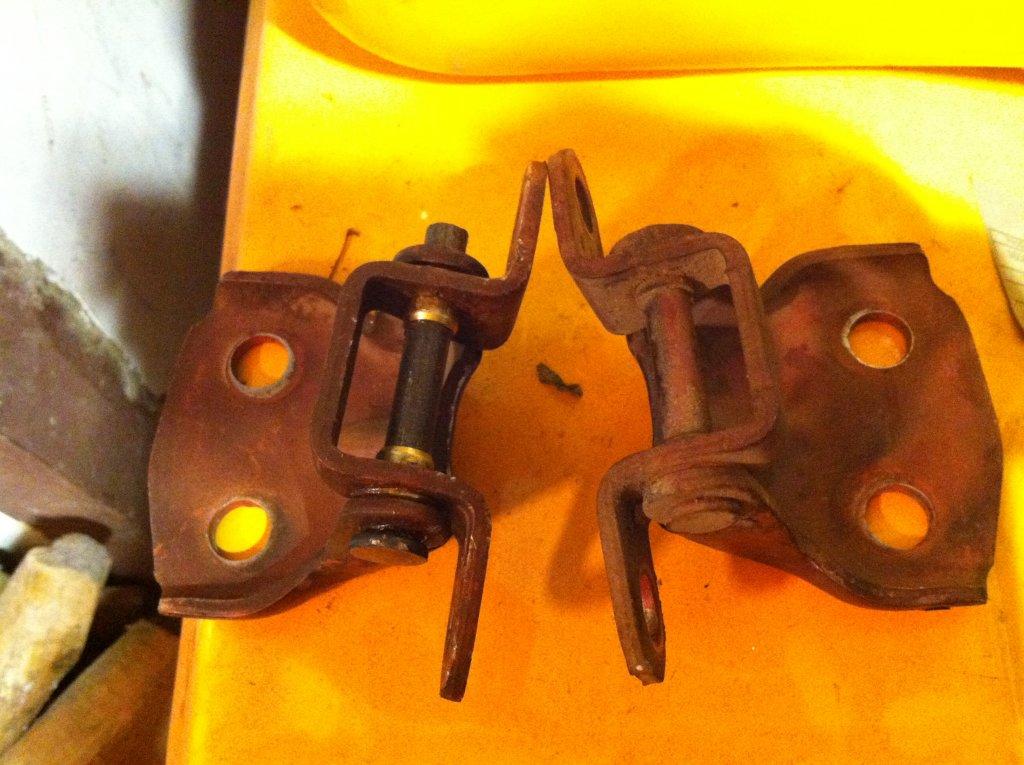
Так как я работал с запасными петлями, после двух вечеров работ я уже имел отремонтированный комплект на замену.
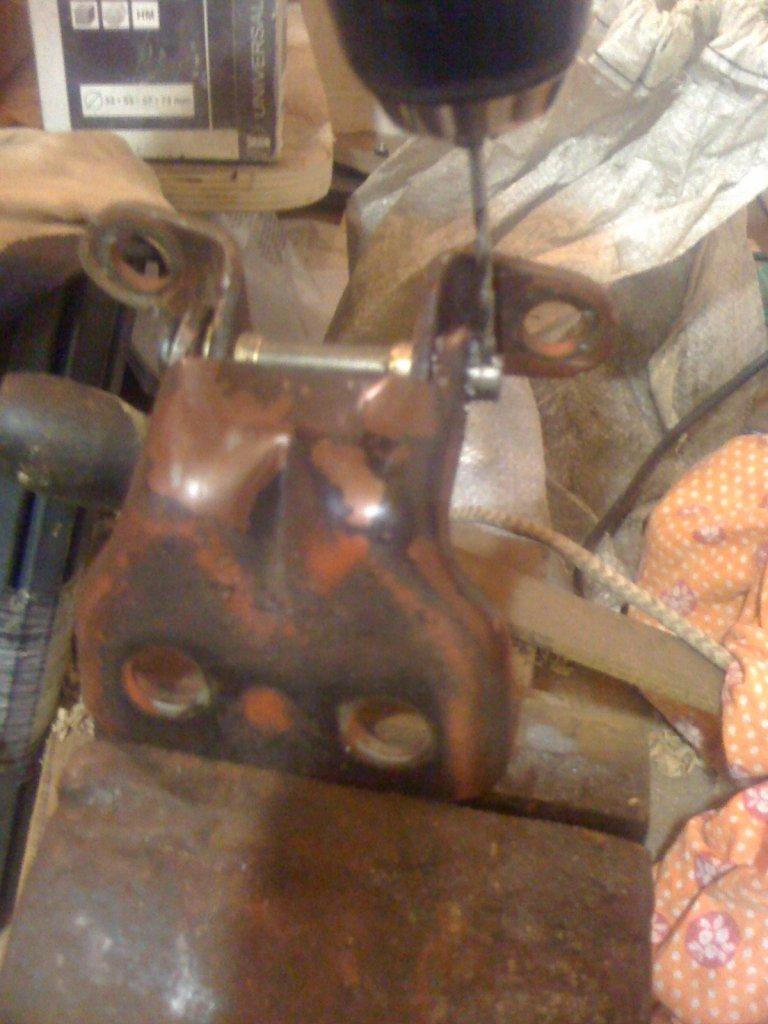
Да, ещё один момент. Для предотвращения возможного выхода оси из петли (у меня две оси после установки оказываются шляпками вниз) я просверлил выступающий конец оси сверлом 2 мм и зашплинтовал её.
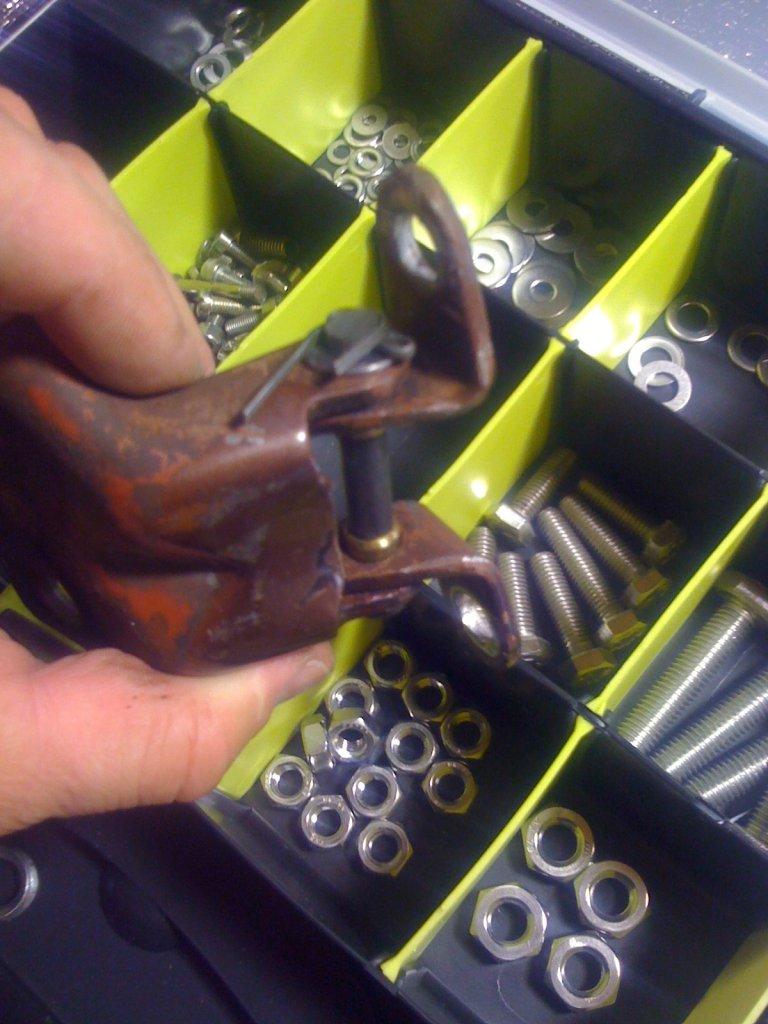
После установки петель на машину я получил идеальную навеску без зазоров и люфта, а отрегулированные двери теперь закрываются и открываются очень легко.
Из инструмента для работы использовались тиски, ножовка по металлу, дрель, молоток, пассатижи и другая мелочёвка. Да, ещё здорово помогает фен — для нагревания петель при демонтаже старых осей.
Буду рад, если мой отчёт окажется кому-то полезным 🙂
Комментарии
Пока нет одобренных комментариев.