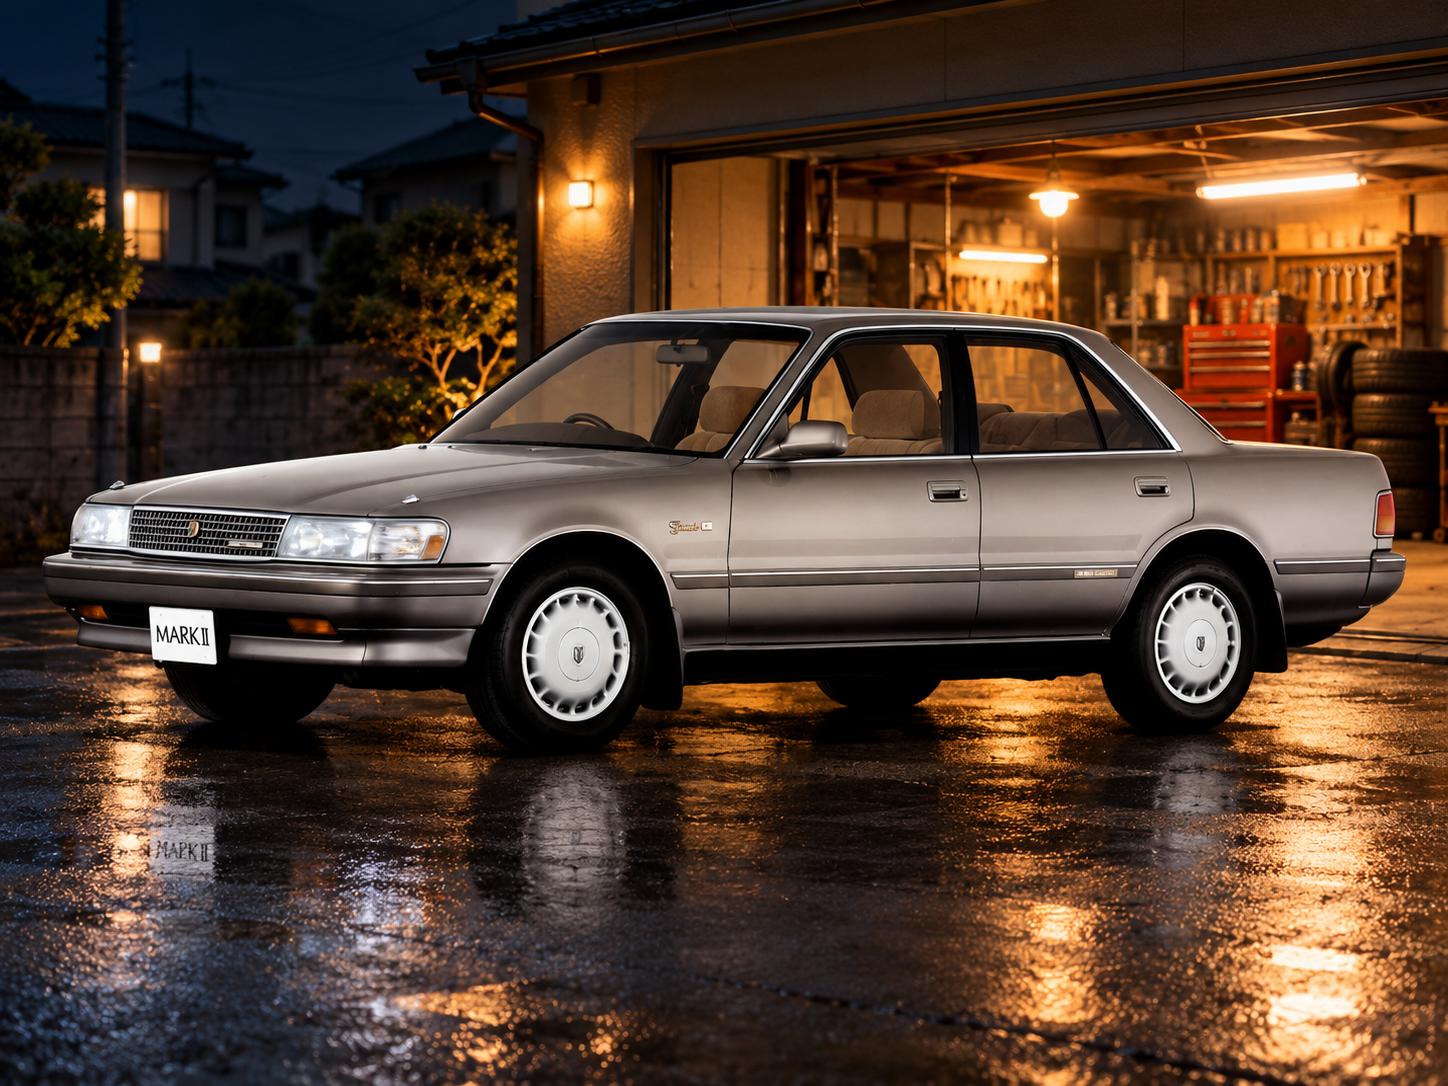
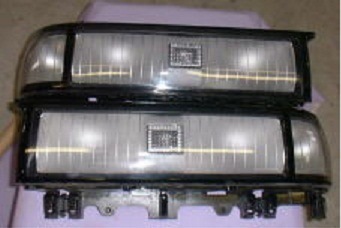
Надкнулся на пост про тюнинг стапы на драйве и вспомнил. Что я сам лично делал себе такие стопы еще когда у меня был мой 1й 81й марк давно давно))) Ничего не читал не смотрел все придумал сам когда увидел такой стоп в разбитом состоянии. И именно это толкнуло меня замутить такую замутку)) У меня даже круче чем на фото были слегка черное стекло. Потом в итоге я их заменял с другим марком на сток.
В общем нужен строительный фен, двух комфор. эл.плитка, толстое орг стекло, герметик, чуток шпаклевки, краска черный мат, скотч, полотно по металу, пластиковые хомутики, 2 чурки и все. Ну я еще использовал жидкую тонировку и свето диодную ленту. И у меня стопы были до рестаил они внутри красивее сделаны там 2 белых квадрата на стопы не как тут сплошной!
1)Берем фару и фен. Греем кантики стекла и очень очень окуратно снемаем стекло. Если чуток на излом пойдет сразу лопнет 100% очень хрупкая пластмасска. Я одну сломал))
2)Как только сняли стекло перед вами будет почти такая же картина как на фото не будет хватать только прозрачного стекла вместо родного красного. (Я лично снимал эти пластмасски белые и красил их жидкой тонировкой на глухо черным и вставлял во внутрь по кантику светодиоды на габариты было 4 квадрата вместо стока смотрелось клево)
3)Изготавливаем прозрачное стекло!(Самая сложная часть я парился с ней долго)
Берем орг стекло и сток стекло ложем отмеряем на орг стекле по 15см по всем краям от стока. После берем загатовку скотчем приматываем к чуркам. Между чурками ставим эл. плиту включаем и ждем (От нагрева орг стекло становится тягучим) также чтоб ускорить процесс греем строительным феном с другой стороны но не перестарайтесь. Когда орг стекло нагреется то начнет провалиться (тянуться) Как только заметили это уберете плитку. Быстро берете красное стоковое стекло и окунаем в орг стекло(Я для этого использовал 2 присоски чтоб держать стекло из нутри). Ждем пока застынет (это произойдет быстро) и все стекло почти готово.
Совет: Чтоб потренироваться по нагревайте маленькие кусочки и попробуйте для начала сделать повторитель поворота например ну или любую другую безделушку чтоб лучше понимать технологию изготовления.
Я лично испортил 1.5 квадратного метра орг стекла прежде чем сделал)) Вот так!
4)Кстати чтоб стекло было легче вытащить я смазывал его тонким слоем масла(красное стоковое)
5)Вытаскиваем стекло обрезаем по форме полотном по металу, зачишяем шкуркой и все стекло готово!
6)Канавку на фаре между стопами и повороткой забиваем шпаклей шкурим красим в черный мат.
7)На фаре красим кантик чтоб небыло видно герметик.
8)В канавку на фаре заливаем герметик(я использовал прозрачный для окон) и приклеиваем фару. Чтоб плотно прижать берем 2-3 маленьких брусочка ставим на стекло и стягиваем пластиковыми хомутами. Даем высохнуть день.
ВСЕ ТЮНИНГ ОПТИКА ГОТОВА! АПЛОДИСМЕНТЫ! )))
В том посте написано что они стоят 27.000р. Я обалдел)))
Жаль что никаких фото у меня не схоронилось(( Они канули в небытие когда сгорел хард на компе(( Мои смотрелись на мнооого круче!))
P.S — У кого вознут вопросы спрашивайте.
Комментарии
Пока нет одобренных комментариев.