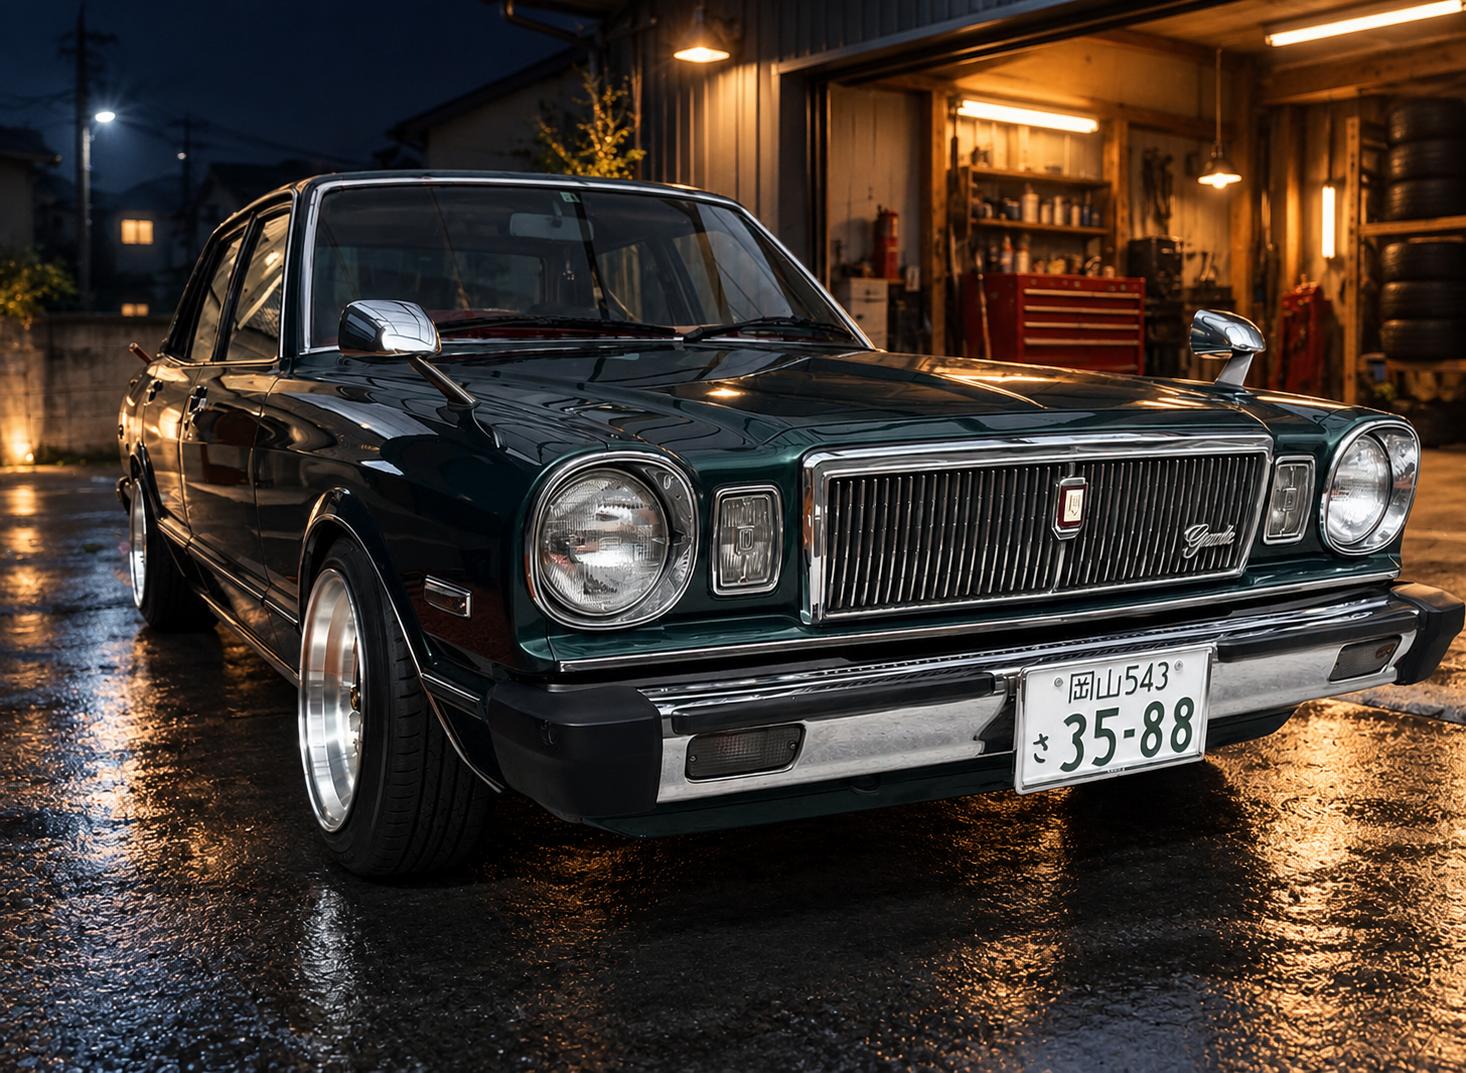
Всем привет)
Будет много фото и надеюсь кому-то полезно и интересно
Процесс свапа я обдумывал не один год, и для упрощения работы и исключения лишних перегонов машины начать решил с топливной системы, та и вообще всего что касается работы по днищу. Во первых это можно делать уже, меня ничего не ограничивает, а во вторых потом когда будет стоять двигатель я боялся что уже не будет сил на нормальную качественную работу))
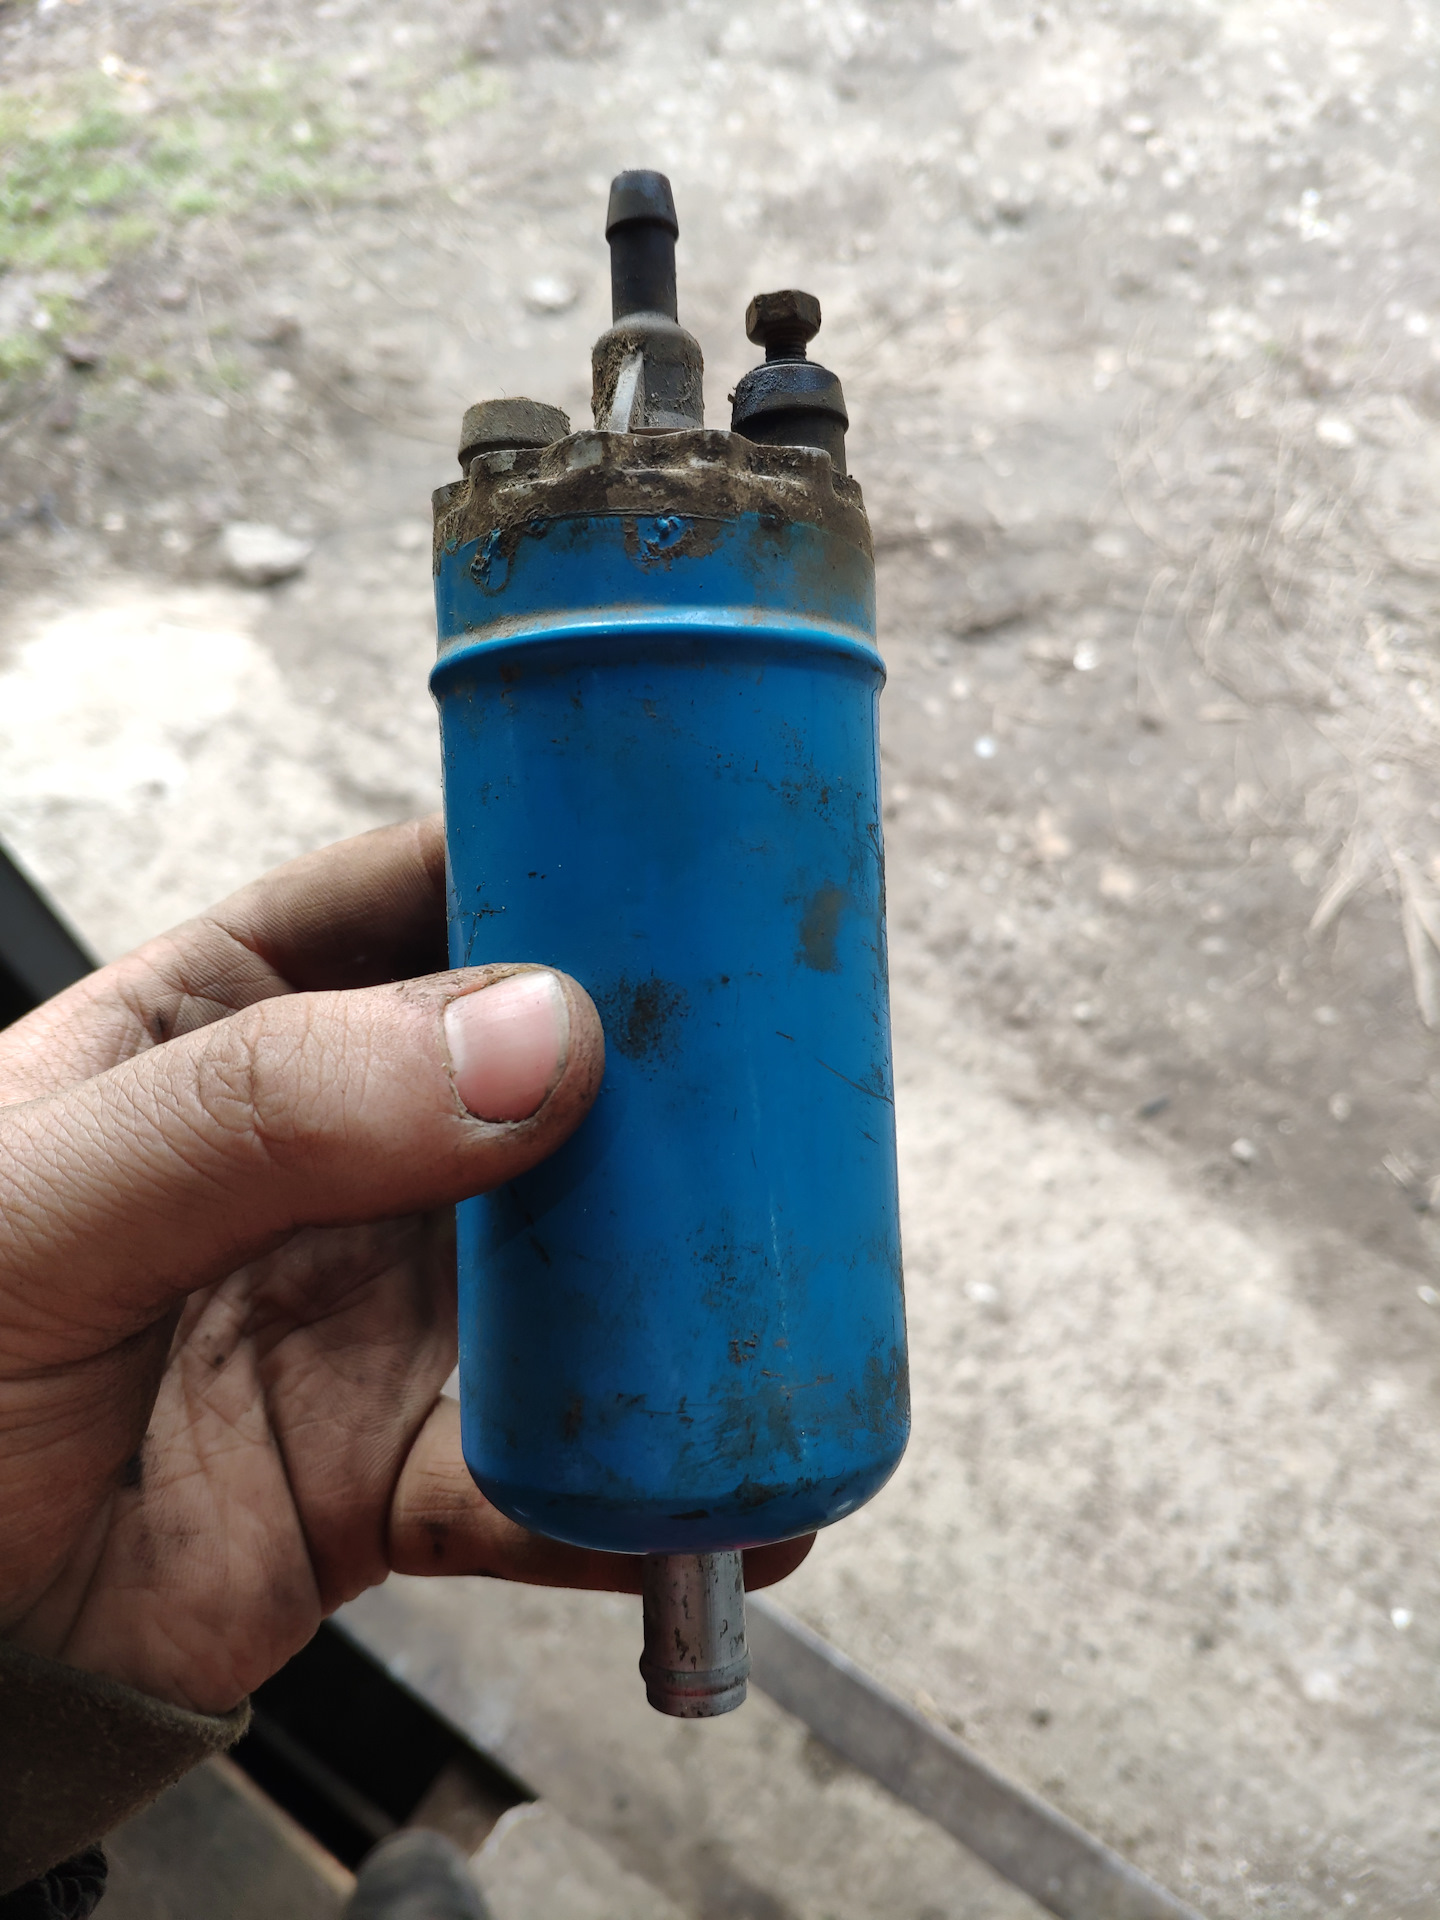
Итак, такой вид имел бак раньше. Видно старый топливный насос, который мне создавал много дискомфорта
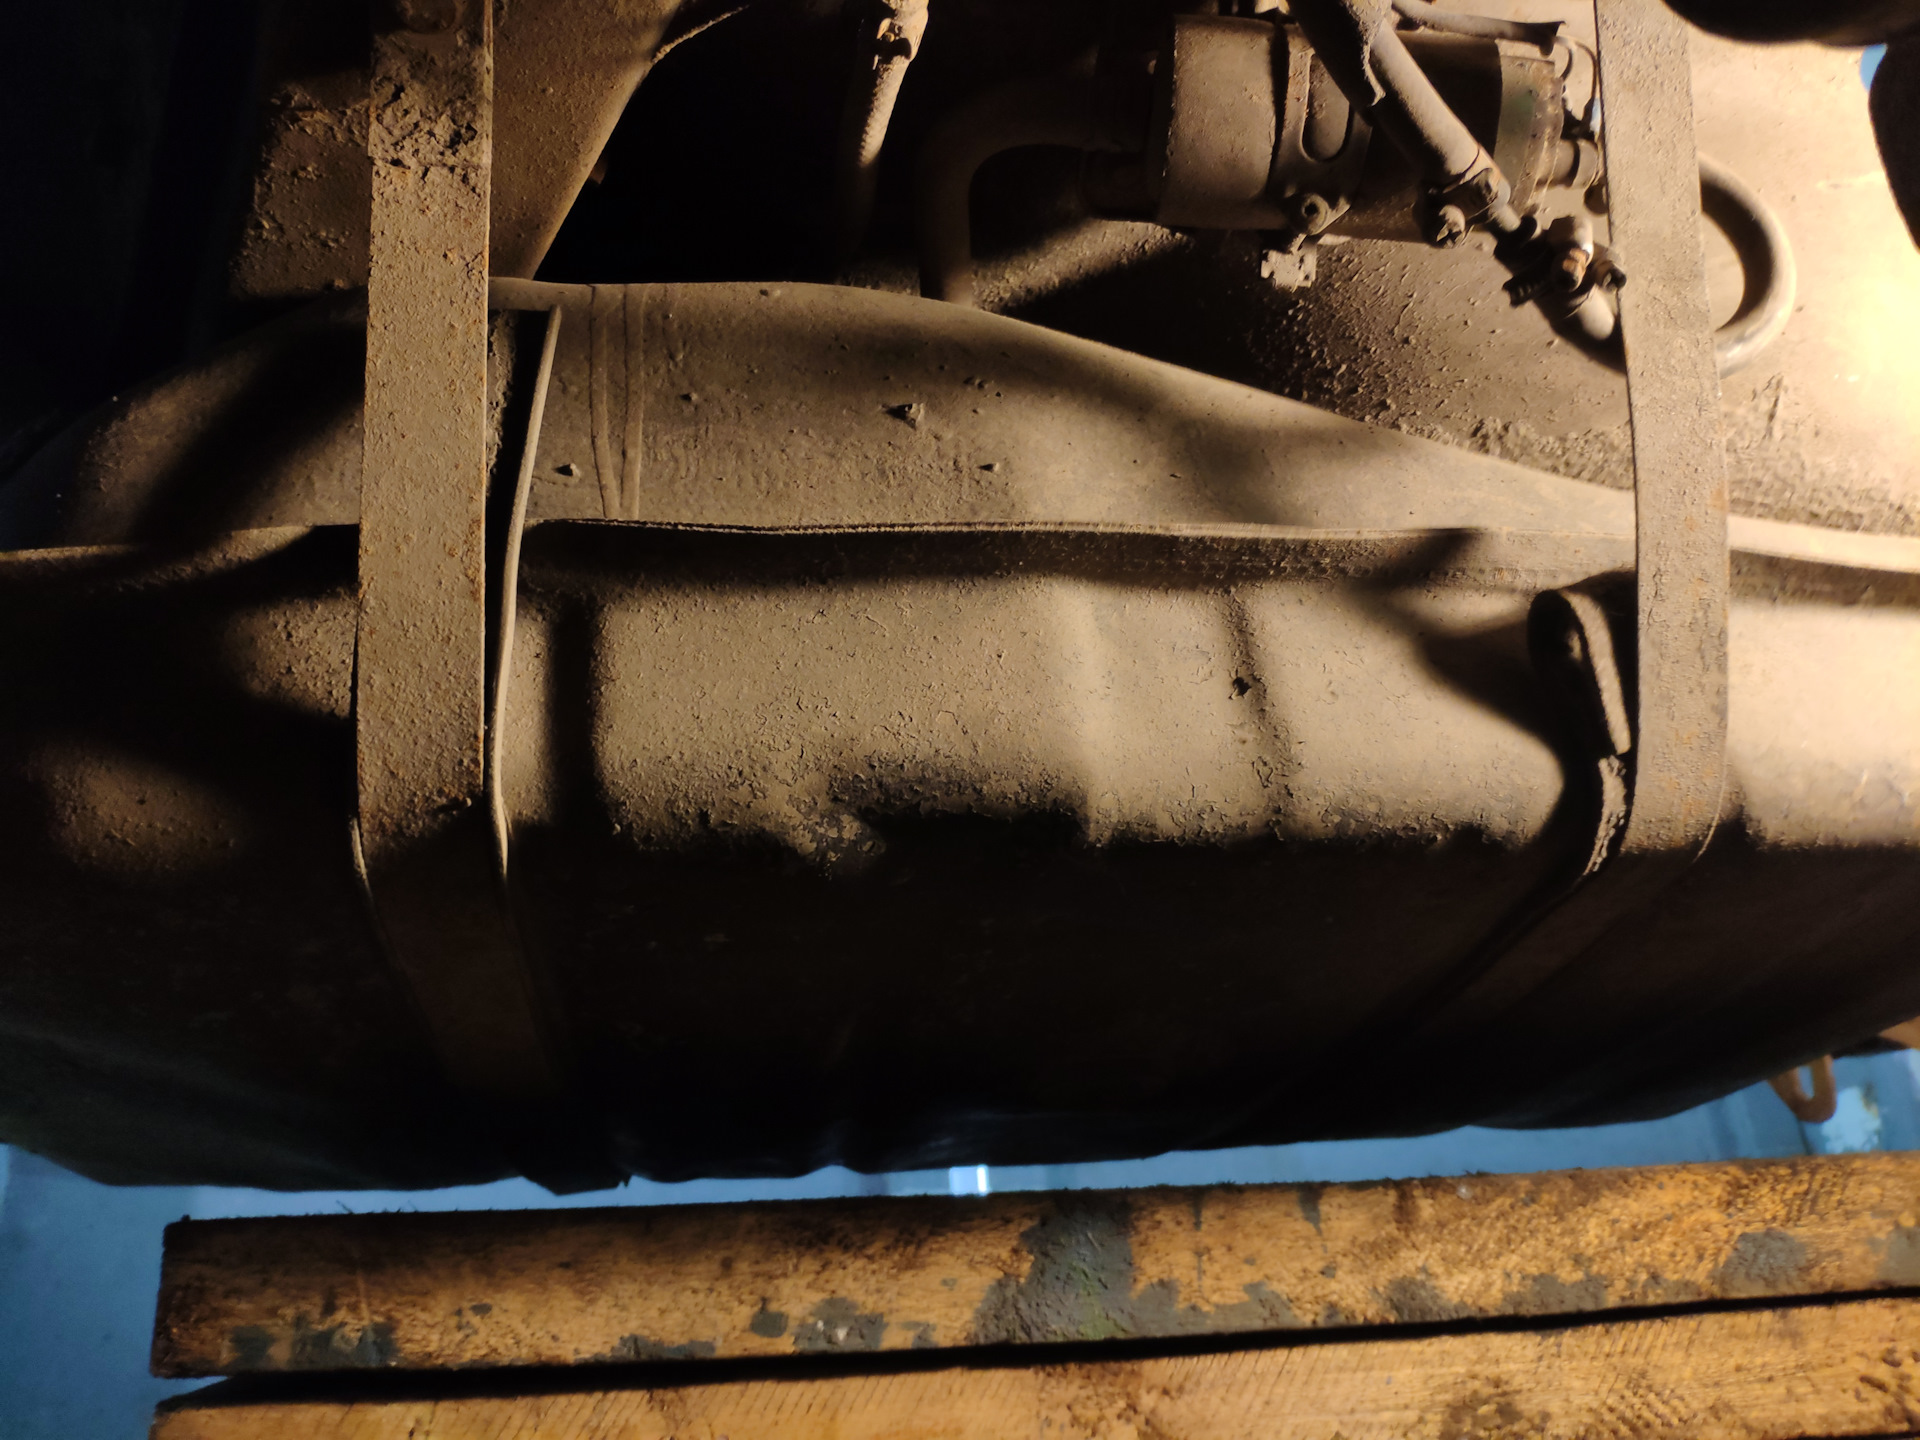
Бак снял, бензин слил
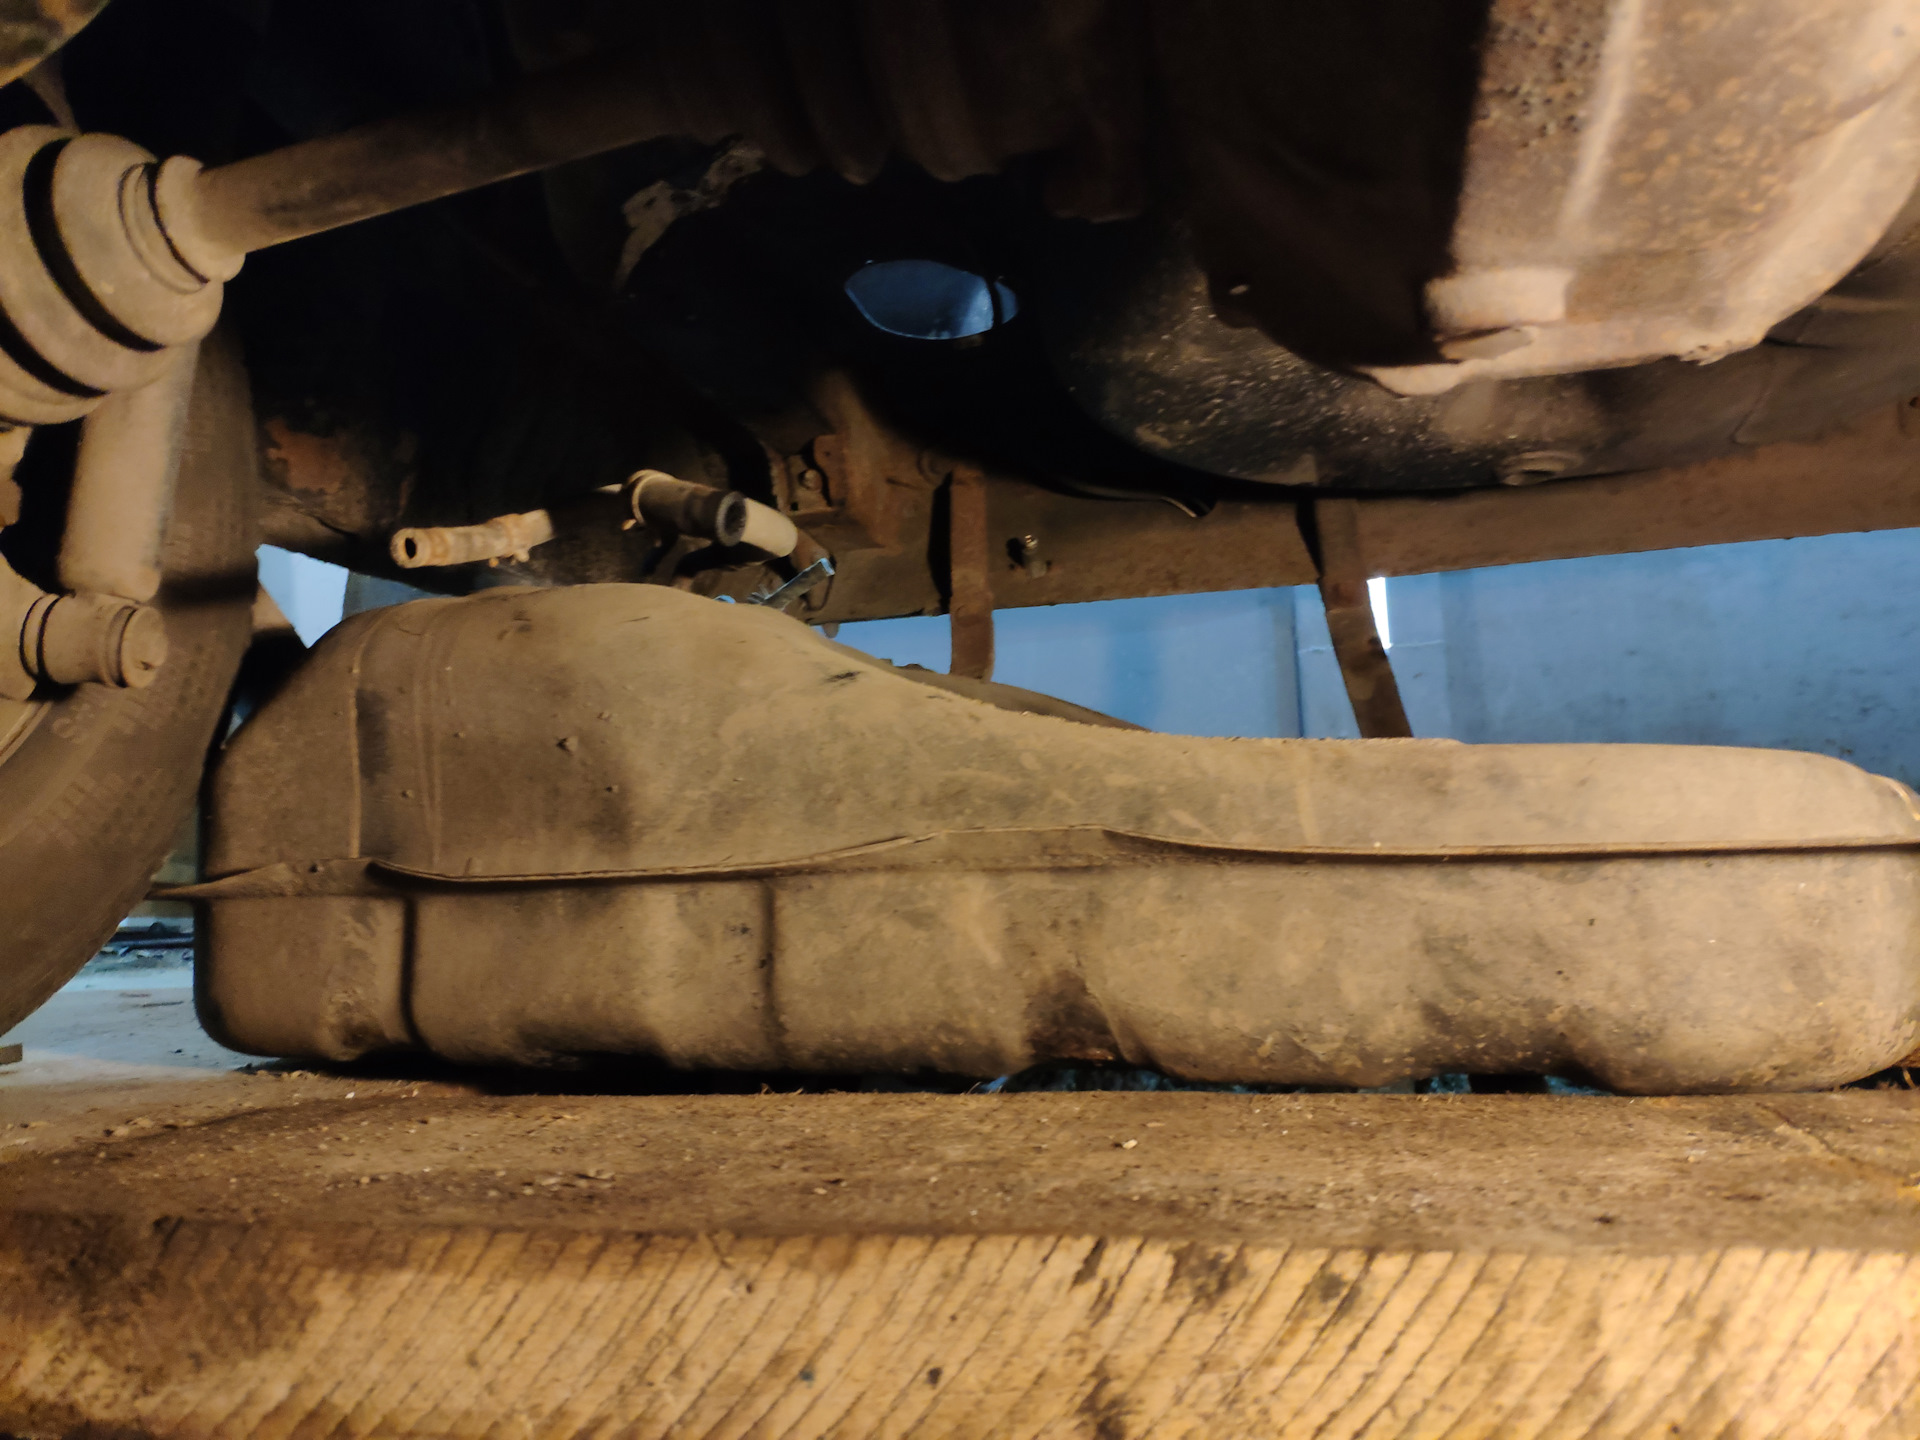
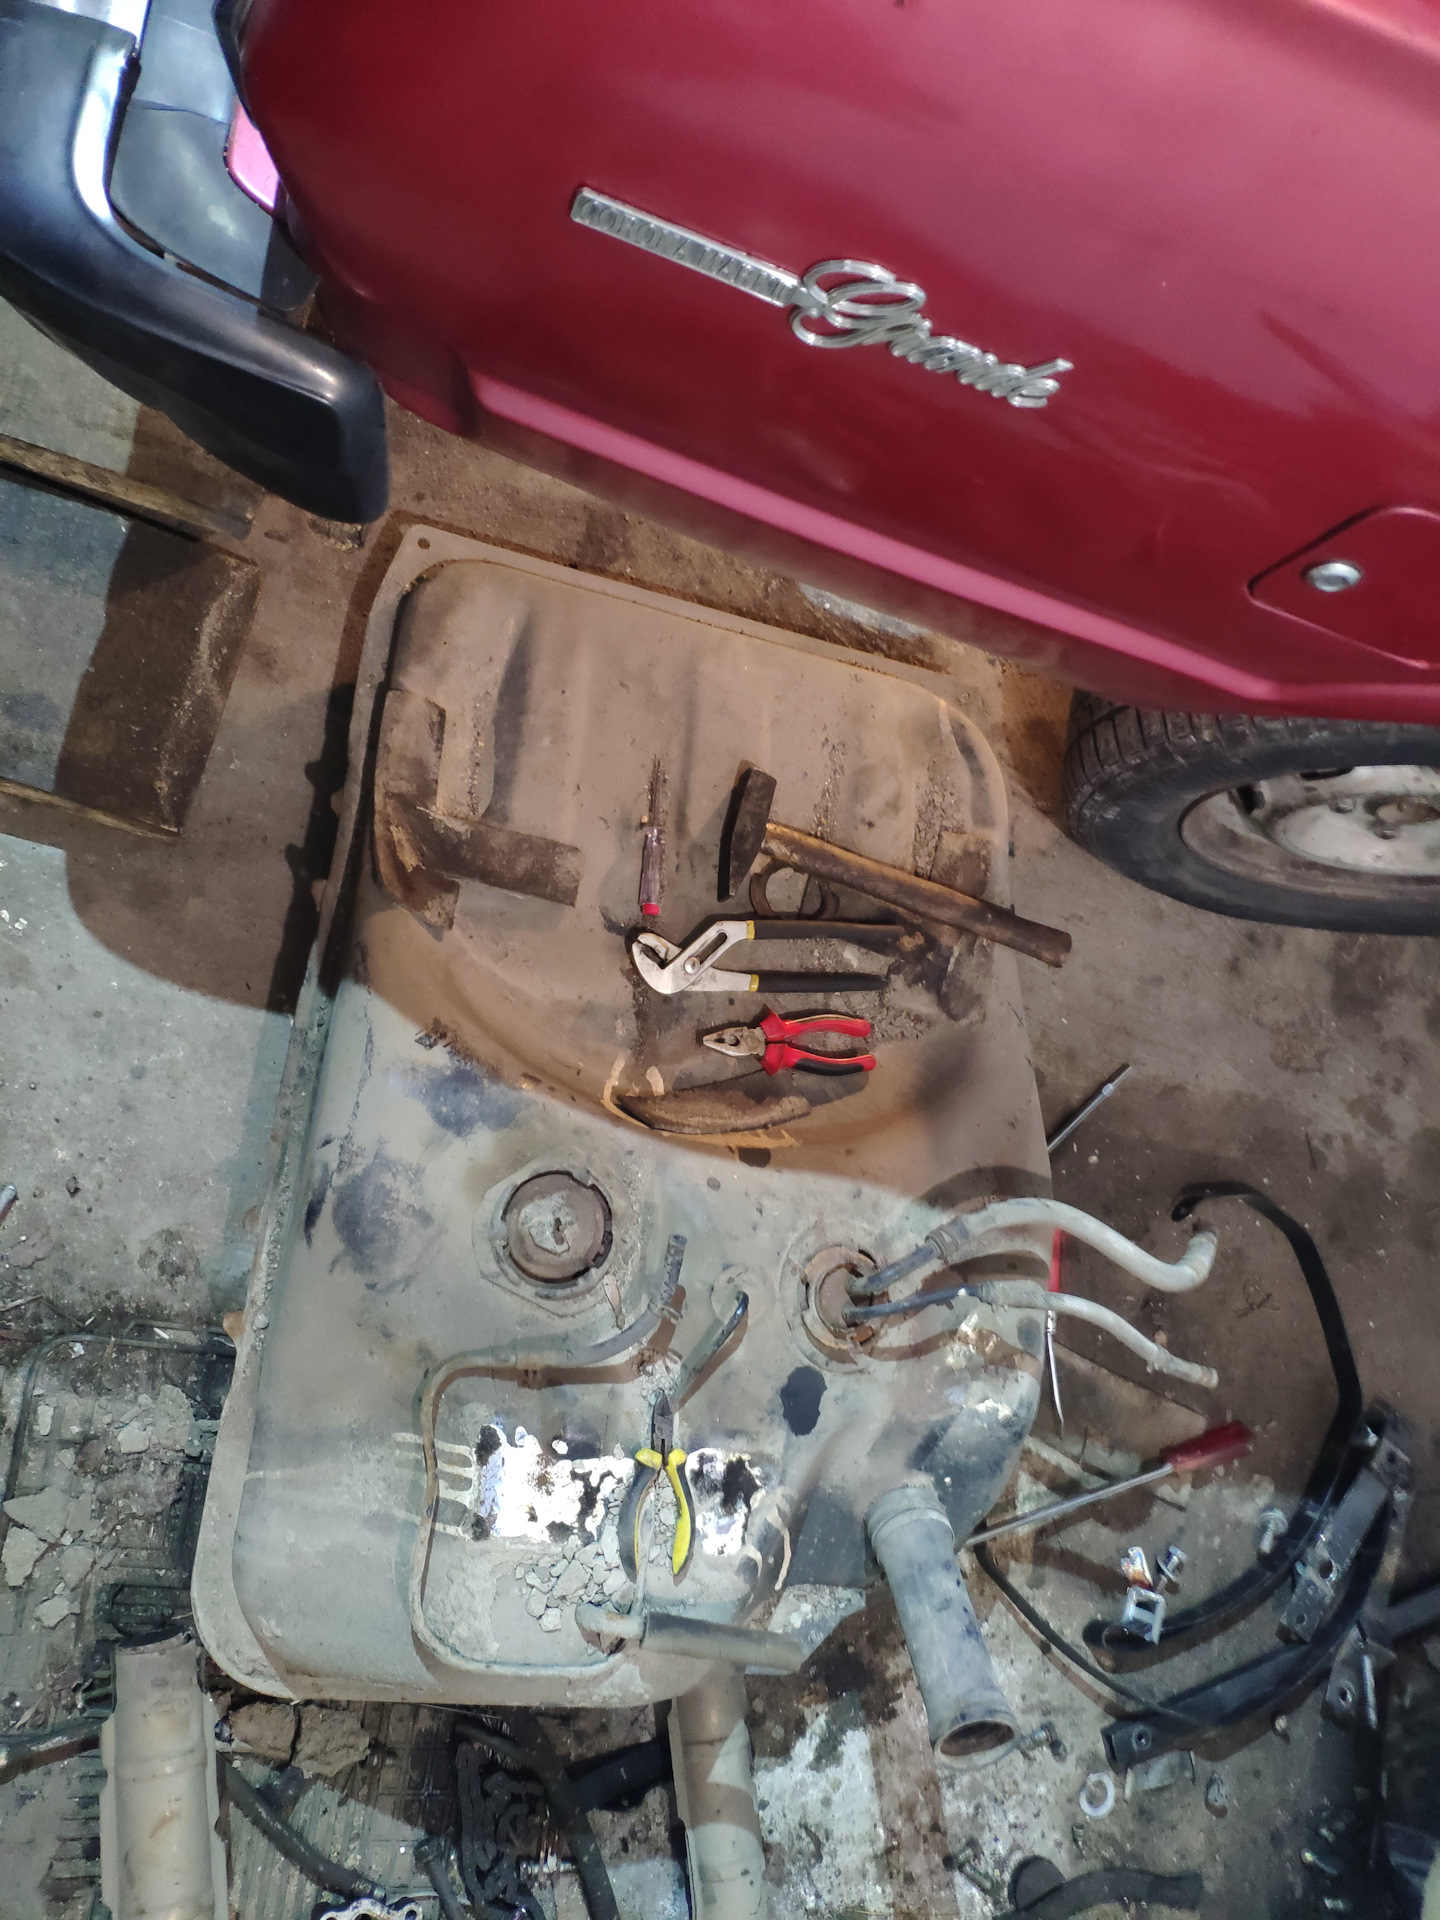
Старый топливный насос в мусор. Он ужасно сильно гудел, особенно на холостых. А когда включал поворотник то его гул менялся в такт поворотника)) друзья узнали в нем волговский насос)
Бак снят, теперь надо извлечь трубки забора топлива и заодно датчик уровня топлива
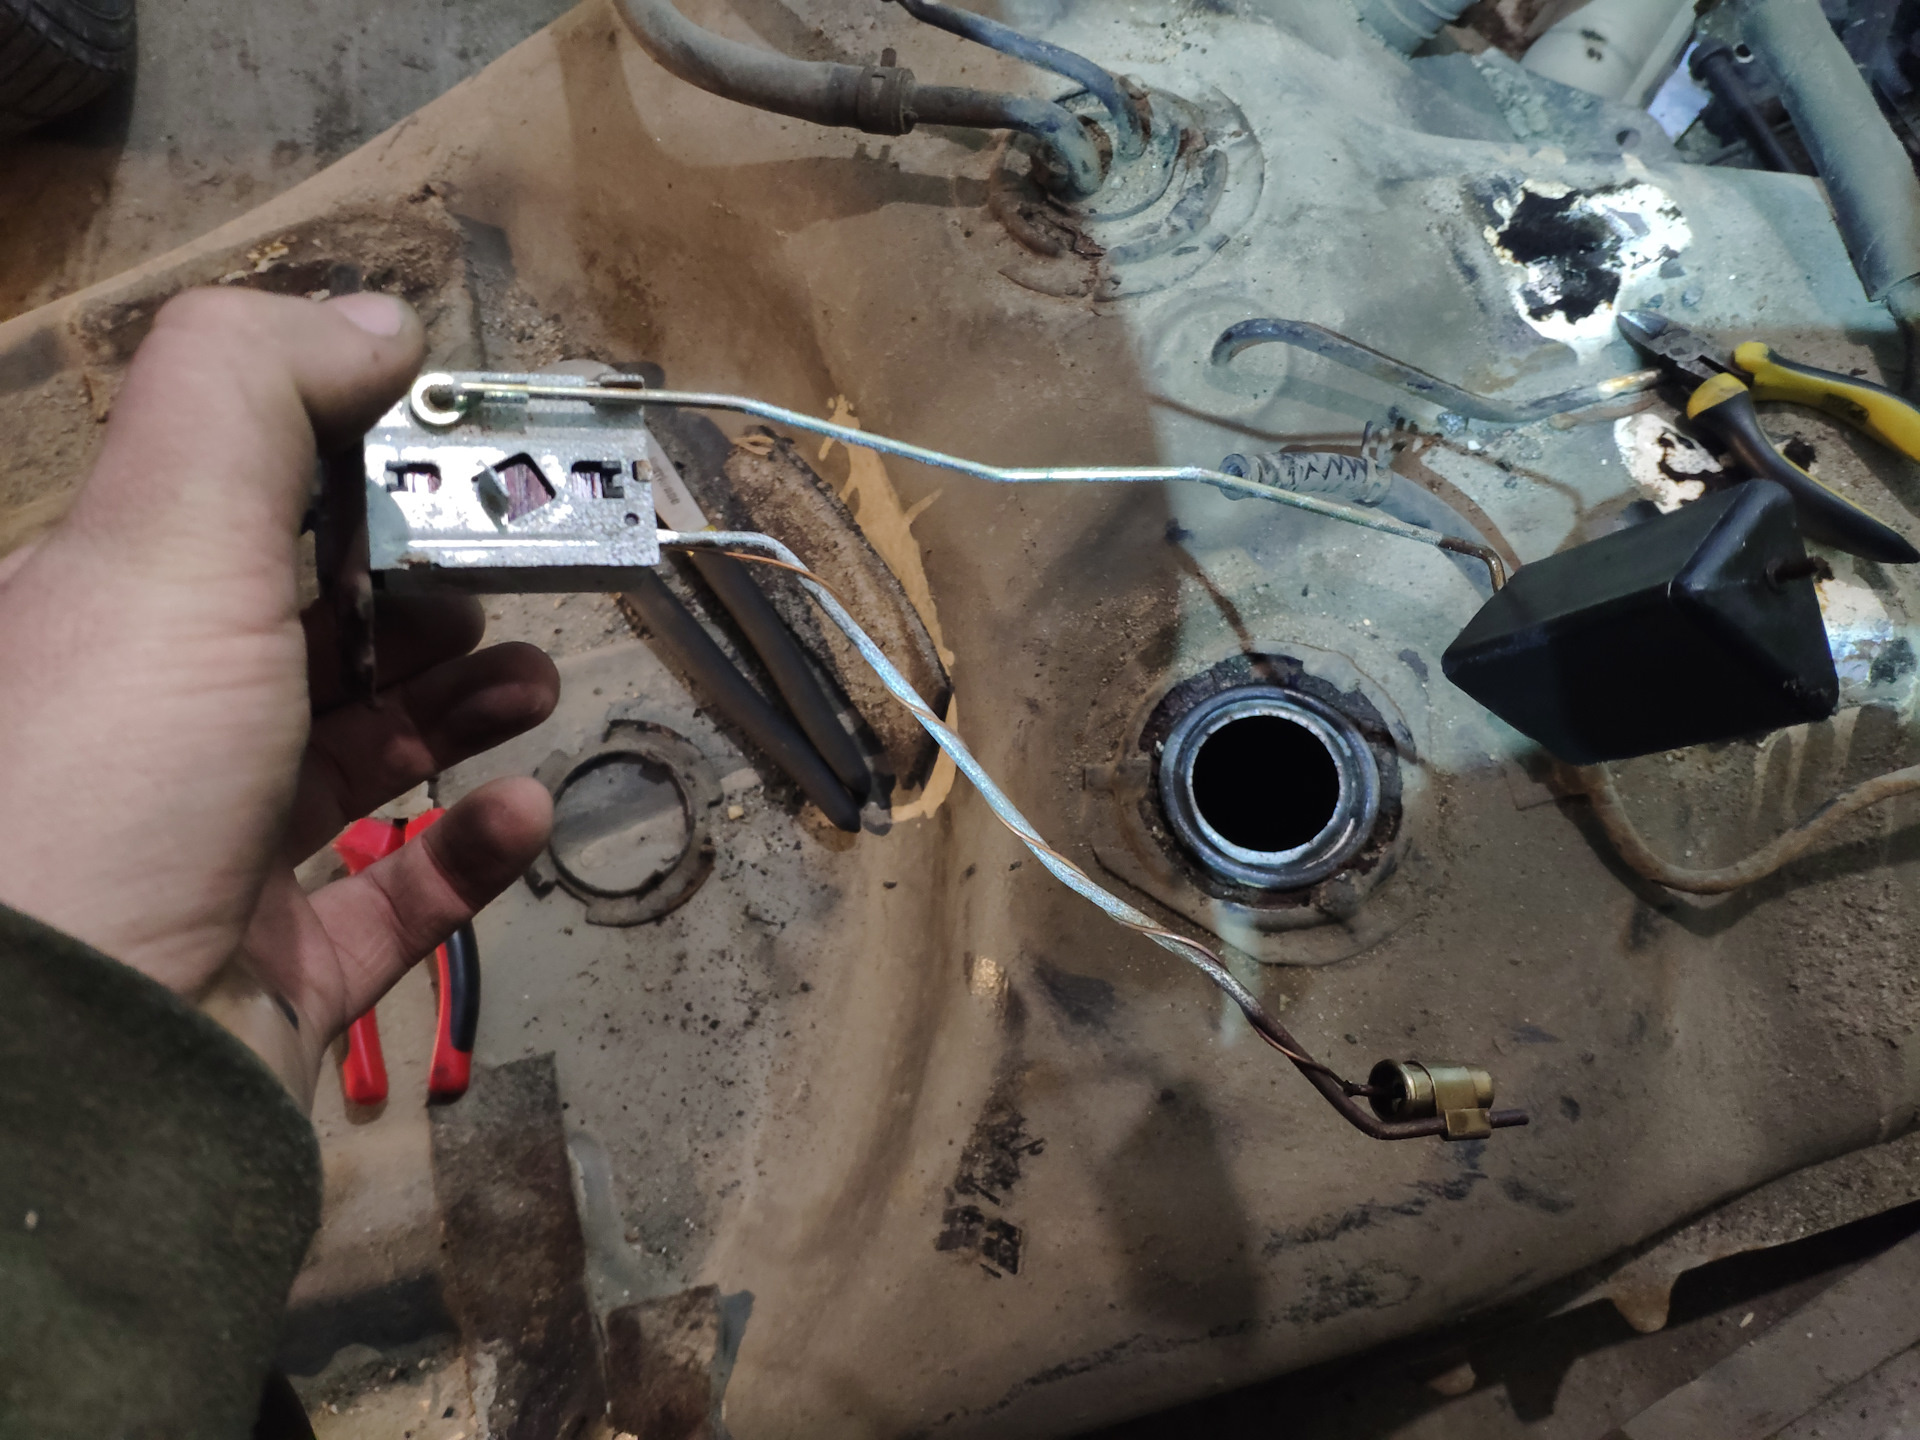
У меня не загоралась лампочка низкого уровня в баке, я долго не мог понять в чем дело. Та в принципе до этого момента мне даже в голову не приходило что это отдельная система на стрелку и лампочку. Вот так оно выглядит
А причина не работающей лампочки банальна, обломан контакт
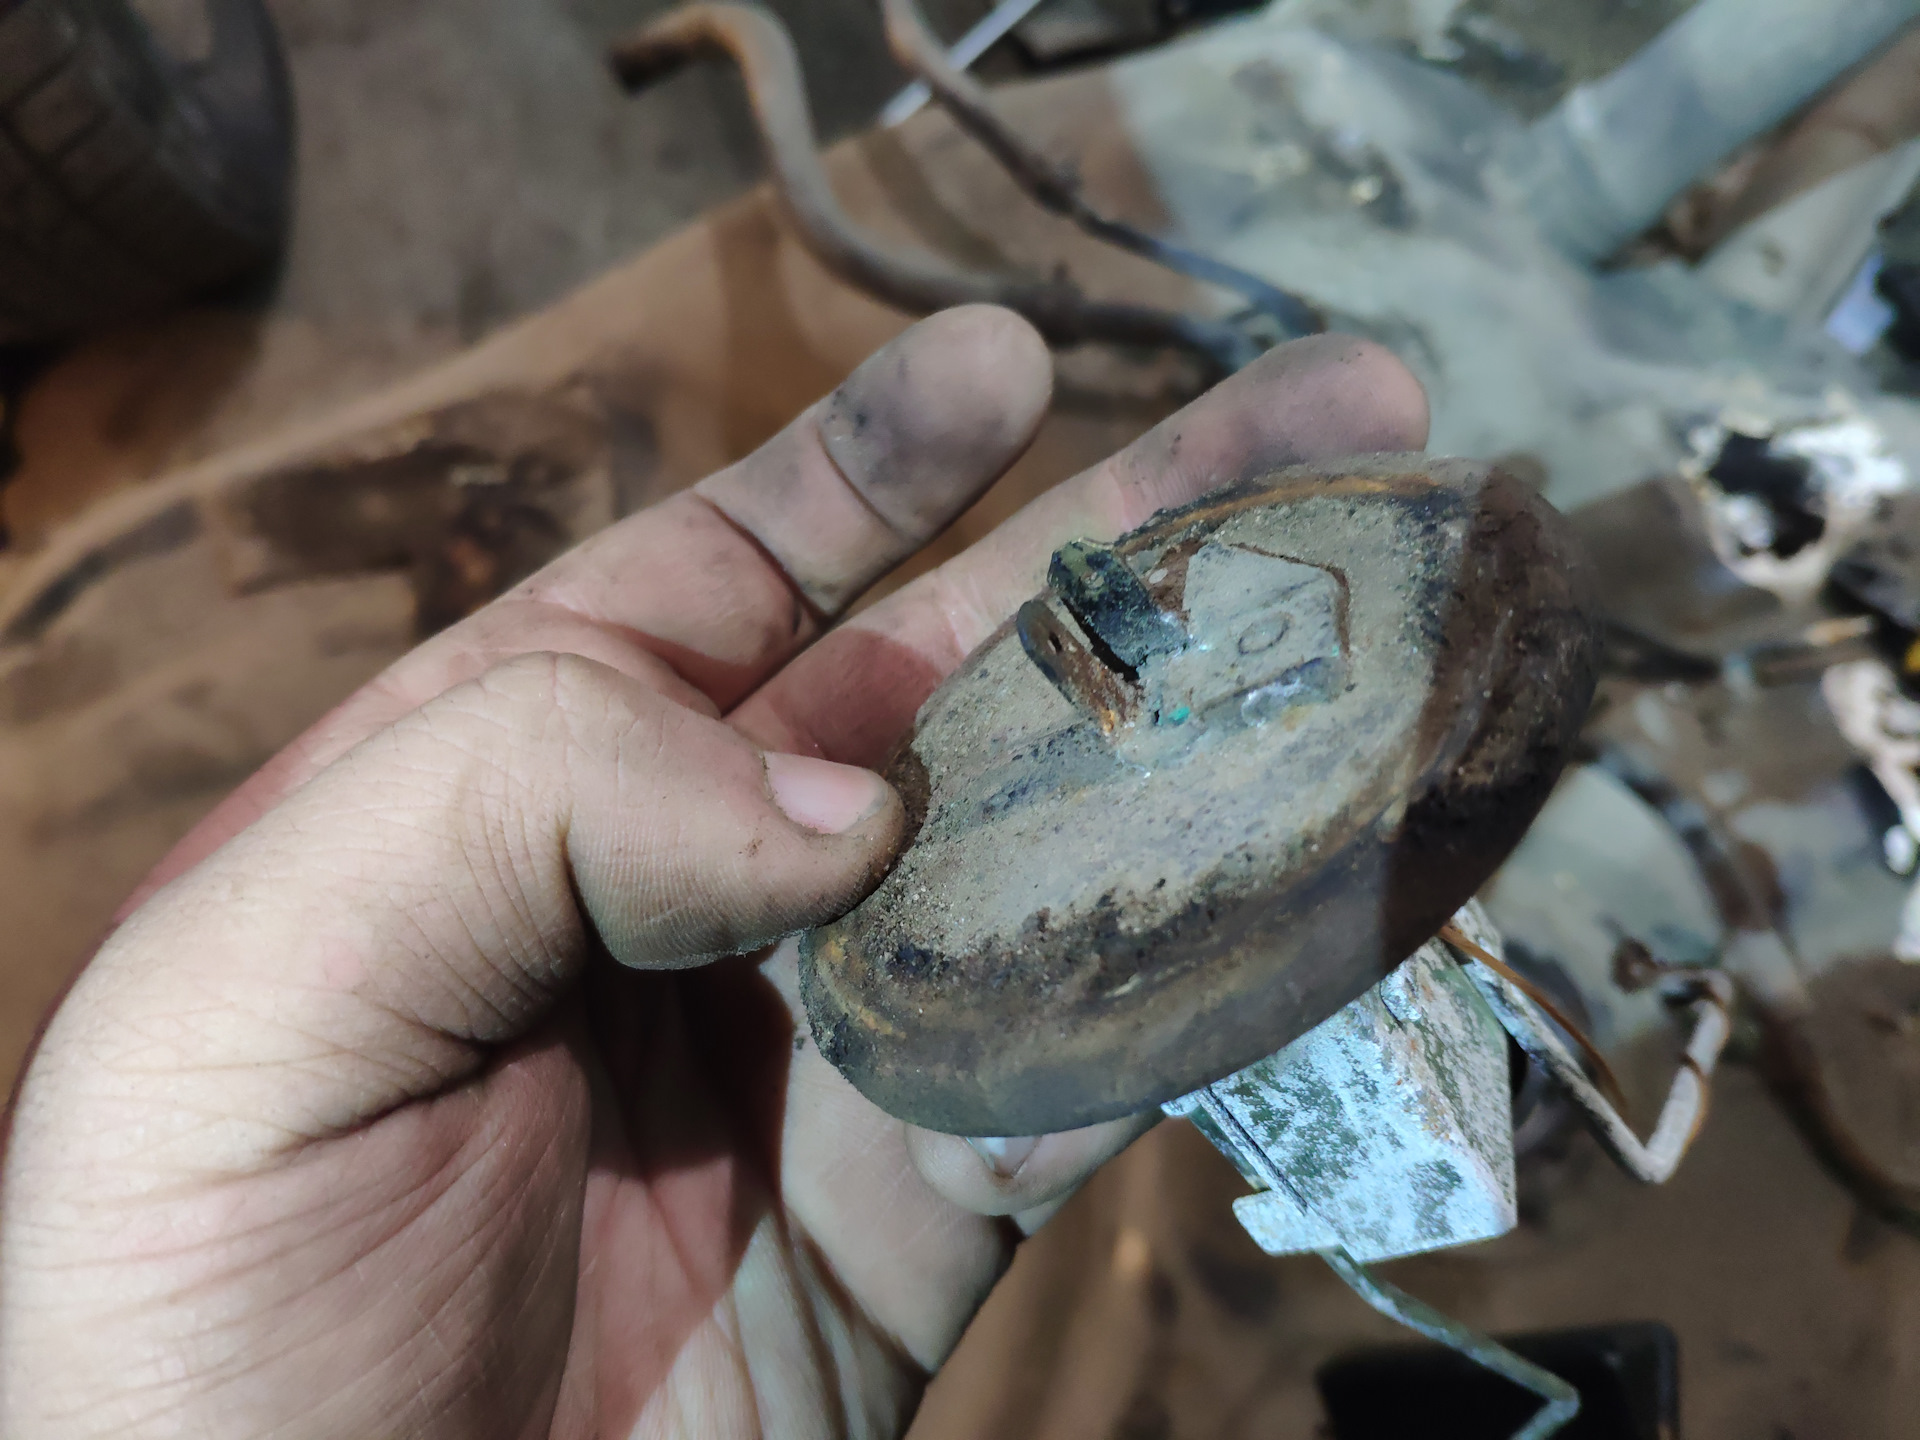
два на уровень топлива и один на лампочку низкого уровня
После долгих попыток припаять новый контакт у меня вроде бы получилось. Выглядит не очень, зато держится)
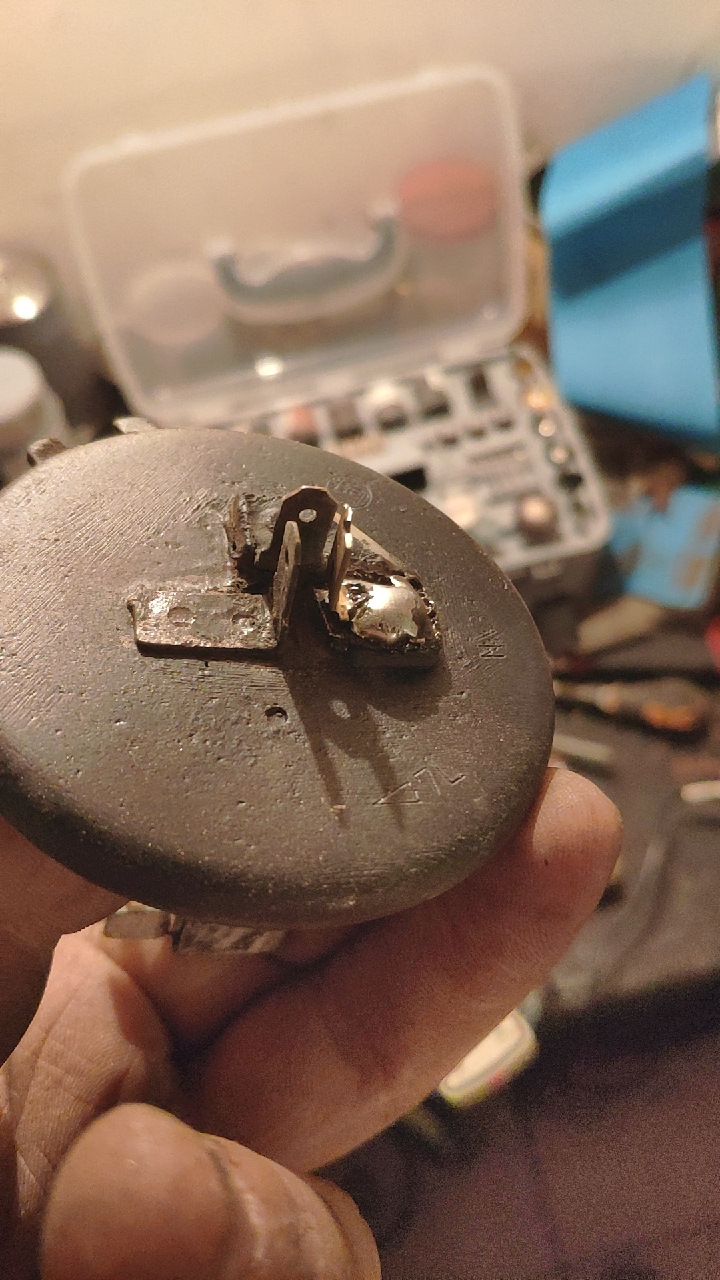
для надёжности залил ещё эпоксидкой
Перехожу к трубки забора топлива. У меня в марке стоял инжекторный m-eu родной двигатель. В нем регулятор давления топлива на рампе, и значит есть обратка. А для 3uz регулятор давления топлива находится сразу после насоса, и обратки соответственно нет. Есть три варианта: поставить регулятор под капотом и оставить родную обратку, поставить регулятор в баке и заварить трубку обратки и поставить регулятор сразу после бака. Третий вариант самый простой, его и выбрал.
Так выглядела конструкция забора топлива раньше
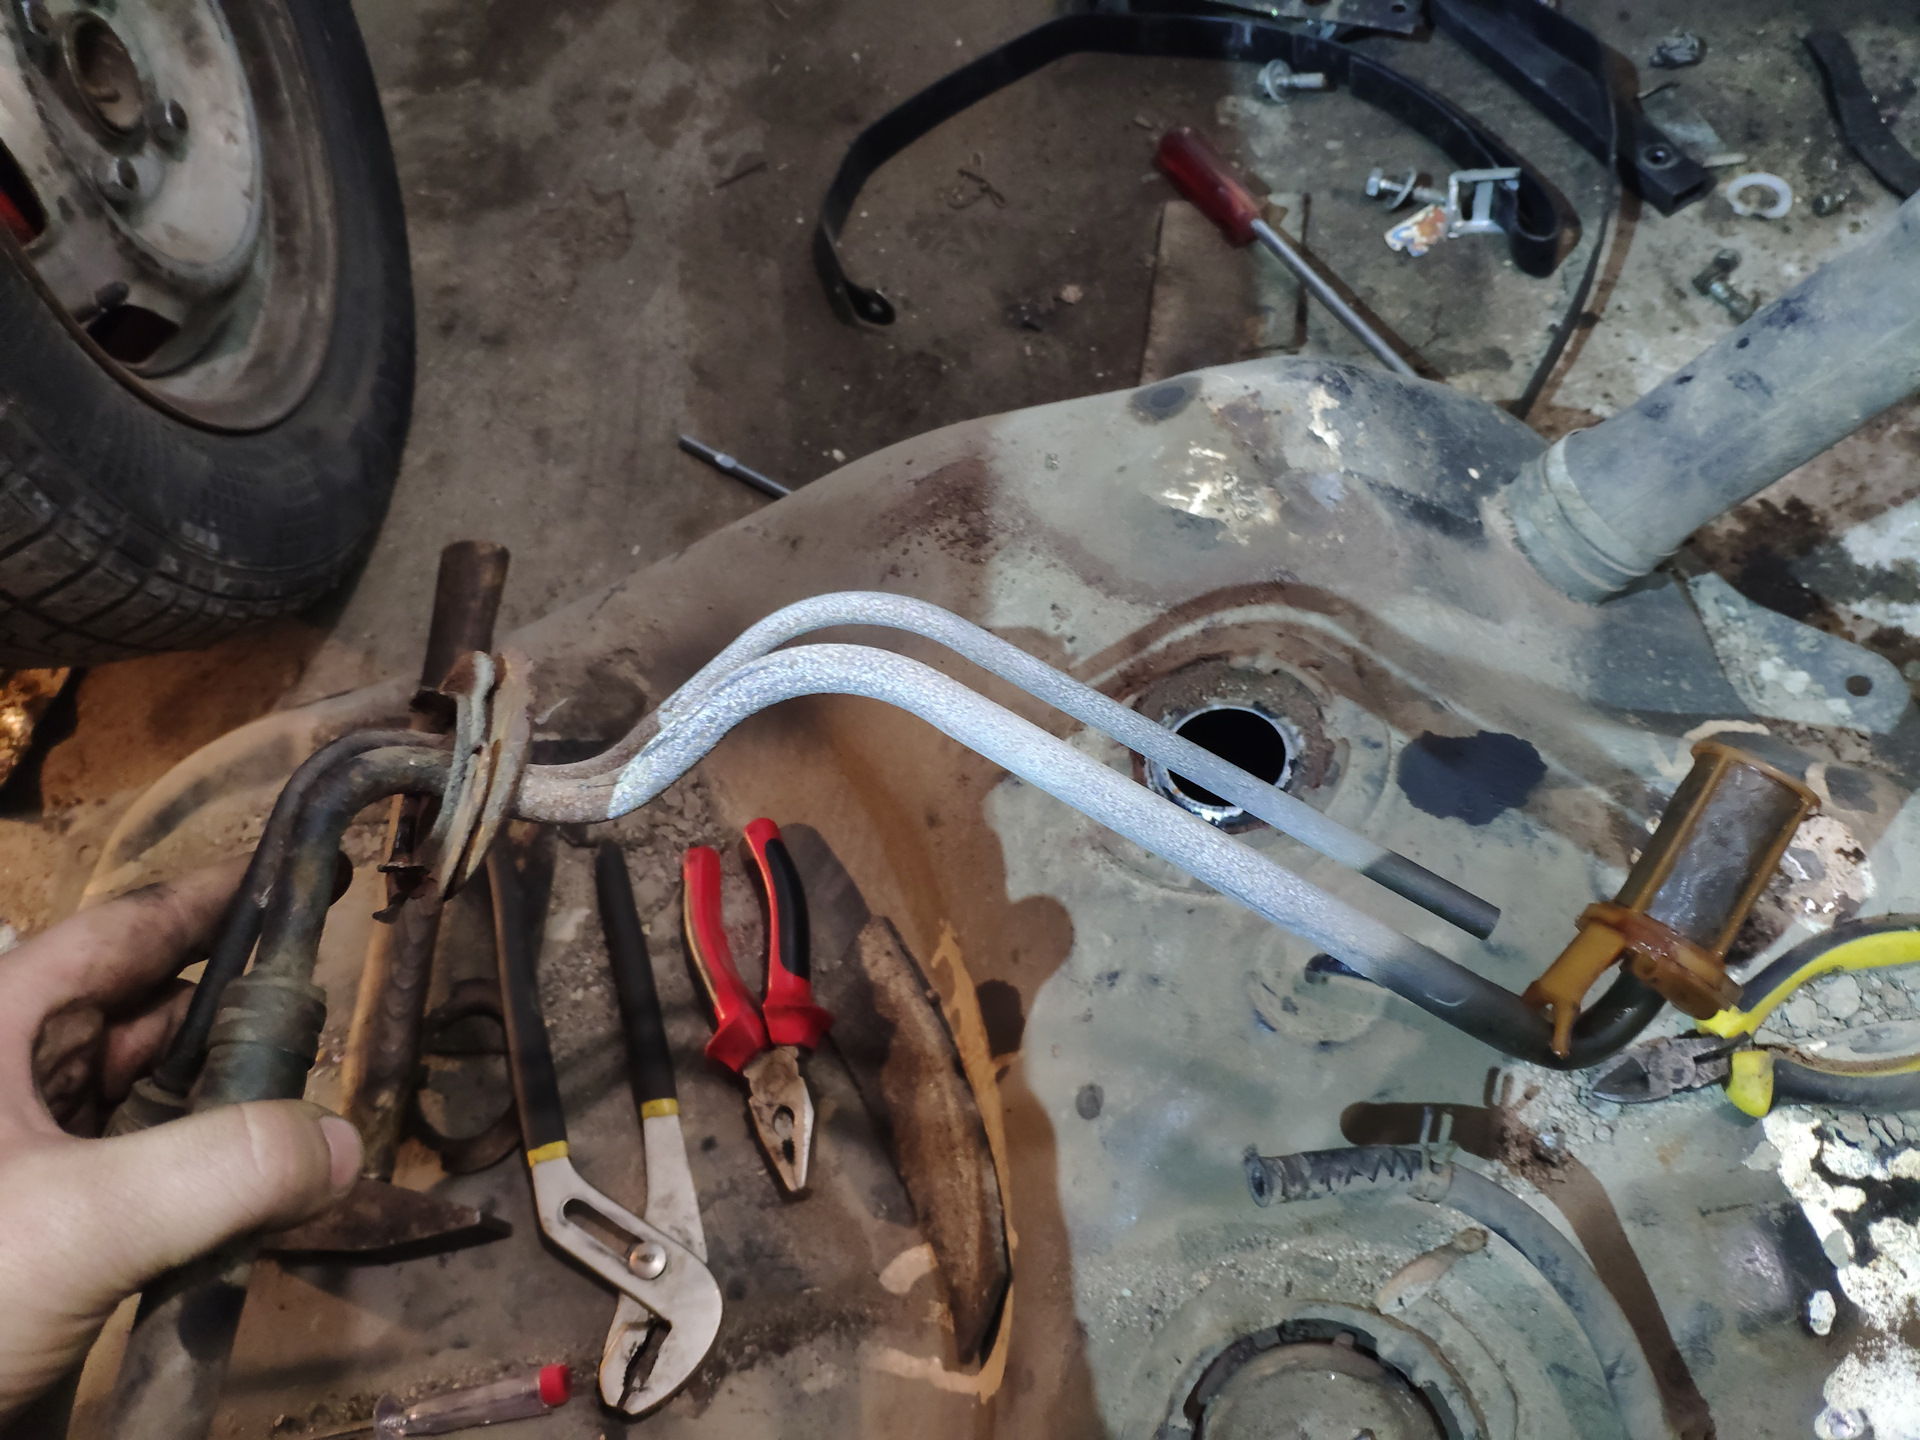
Примеряю как поставлю насос
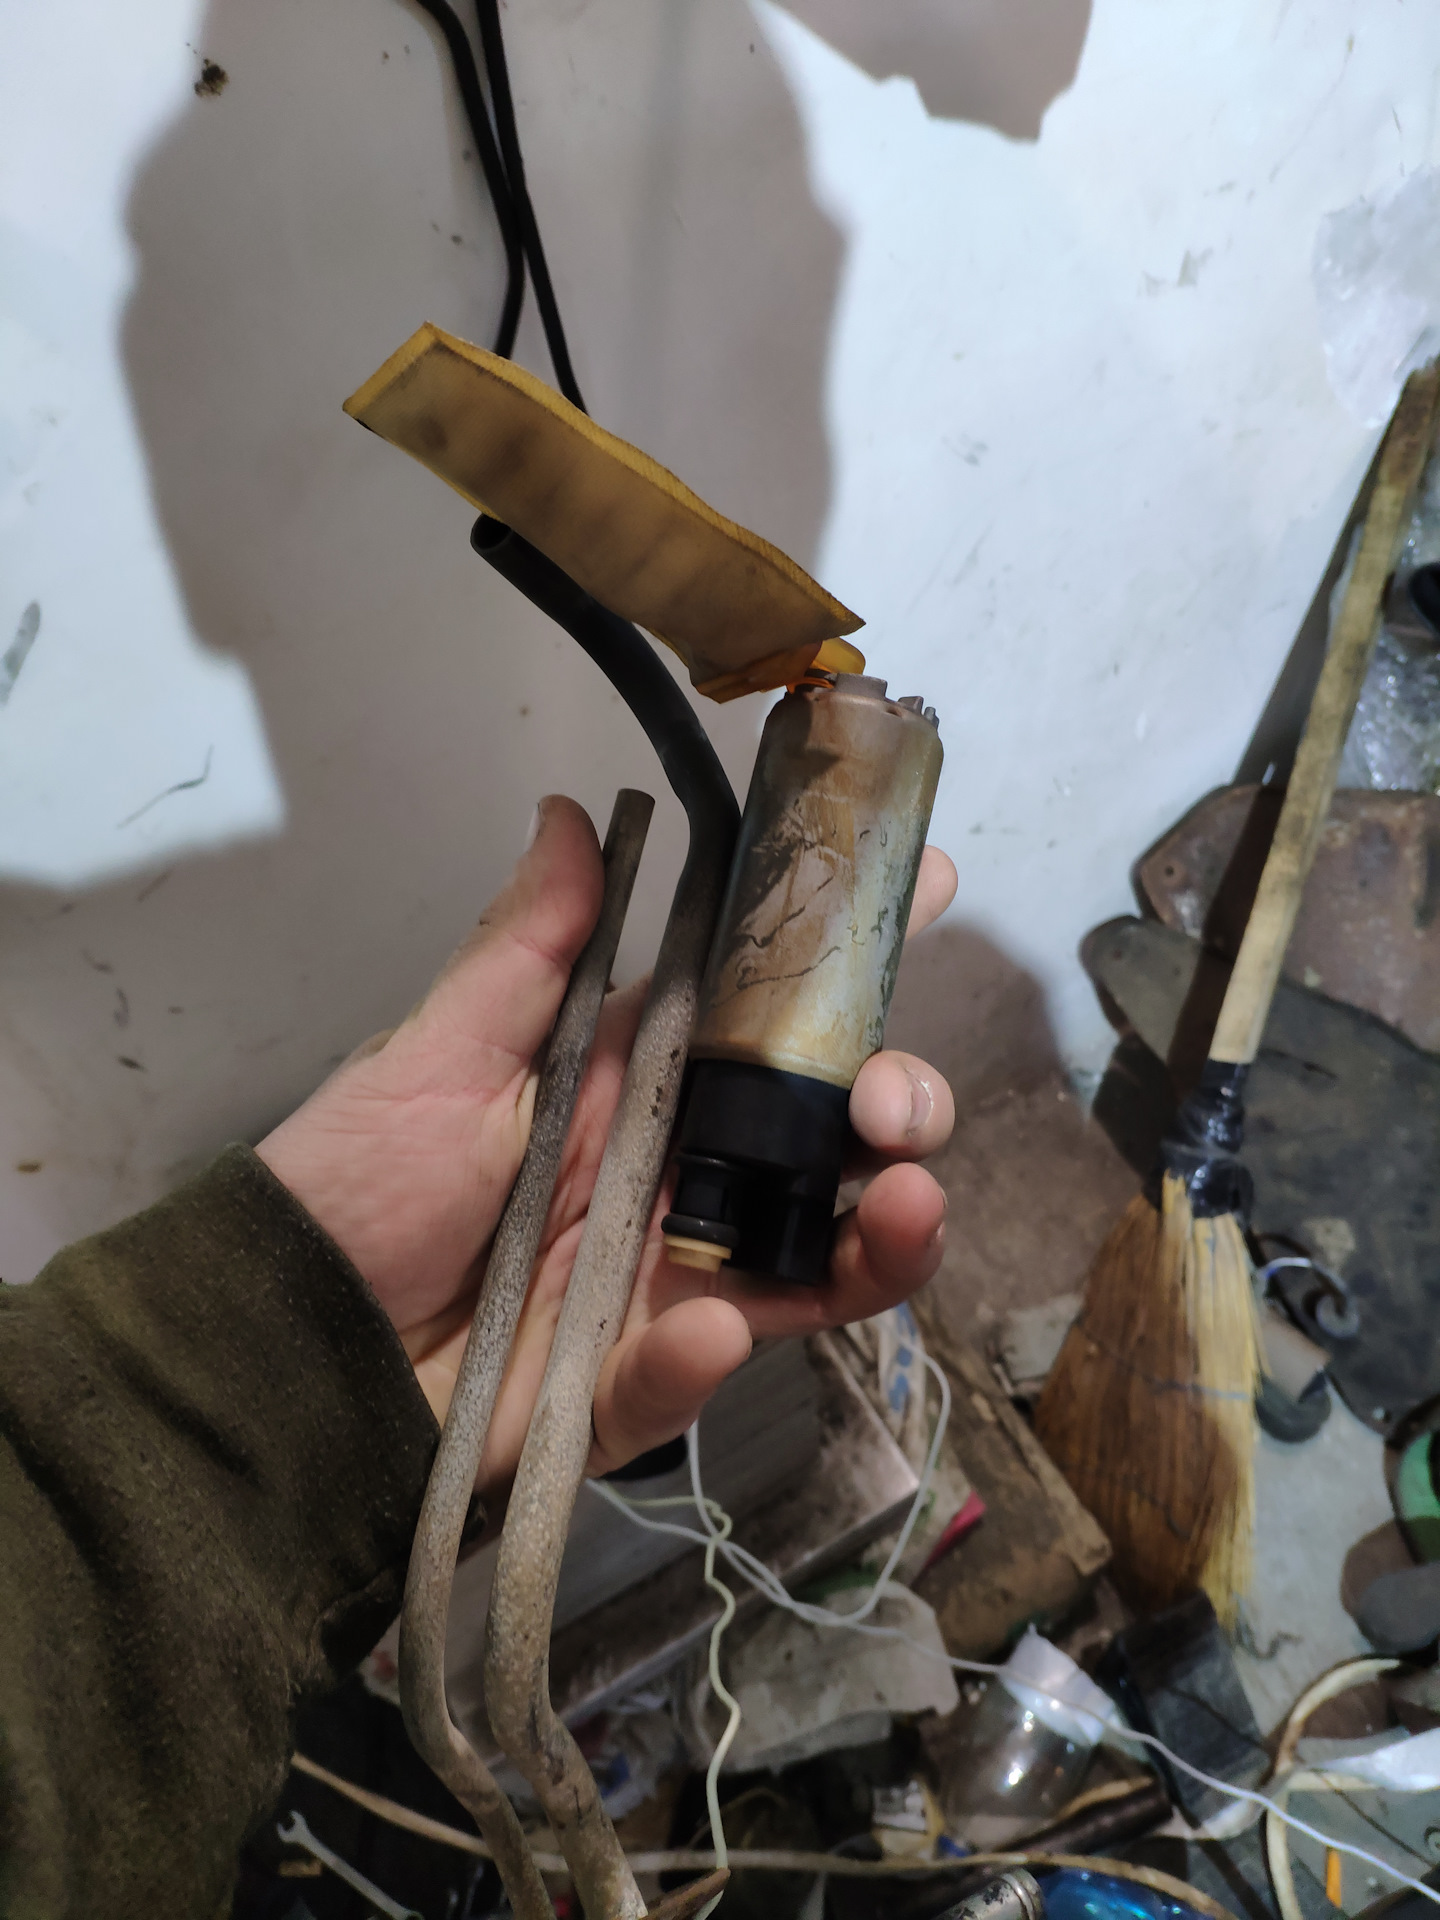
Пилю лишнее и ставлю, используя бензостойкий шланг и хомуты из нержавейки
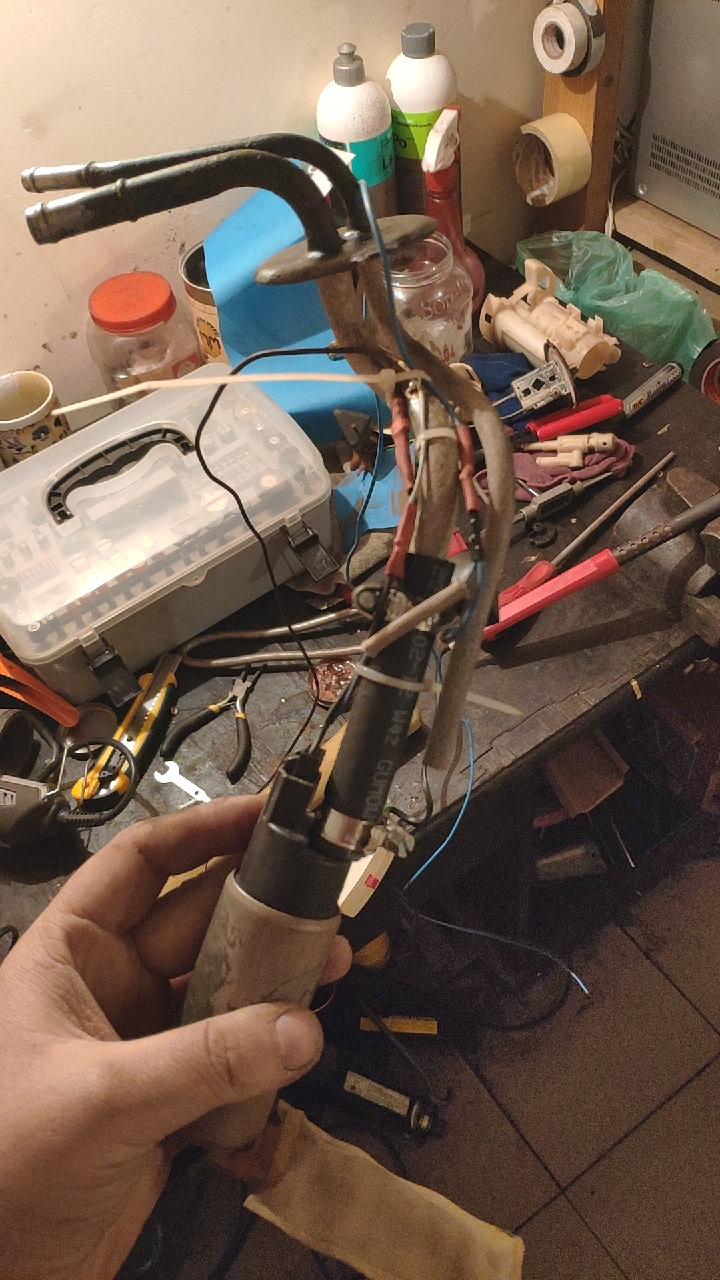
Крайне важно не ошибиться с положением насоса. Его сеточка должна лежать на дне для лучшего забора топлива.
Несколько прикидок, установок, и идеальный угол найден.
По электрике: можно просто подключить плюс к плюсу и минус к минусу. Но по заводу к этому насосу у двигателя 3uz идёт конденсатор
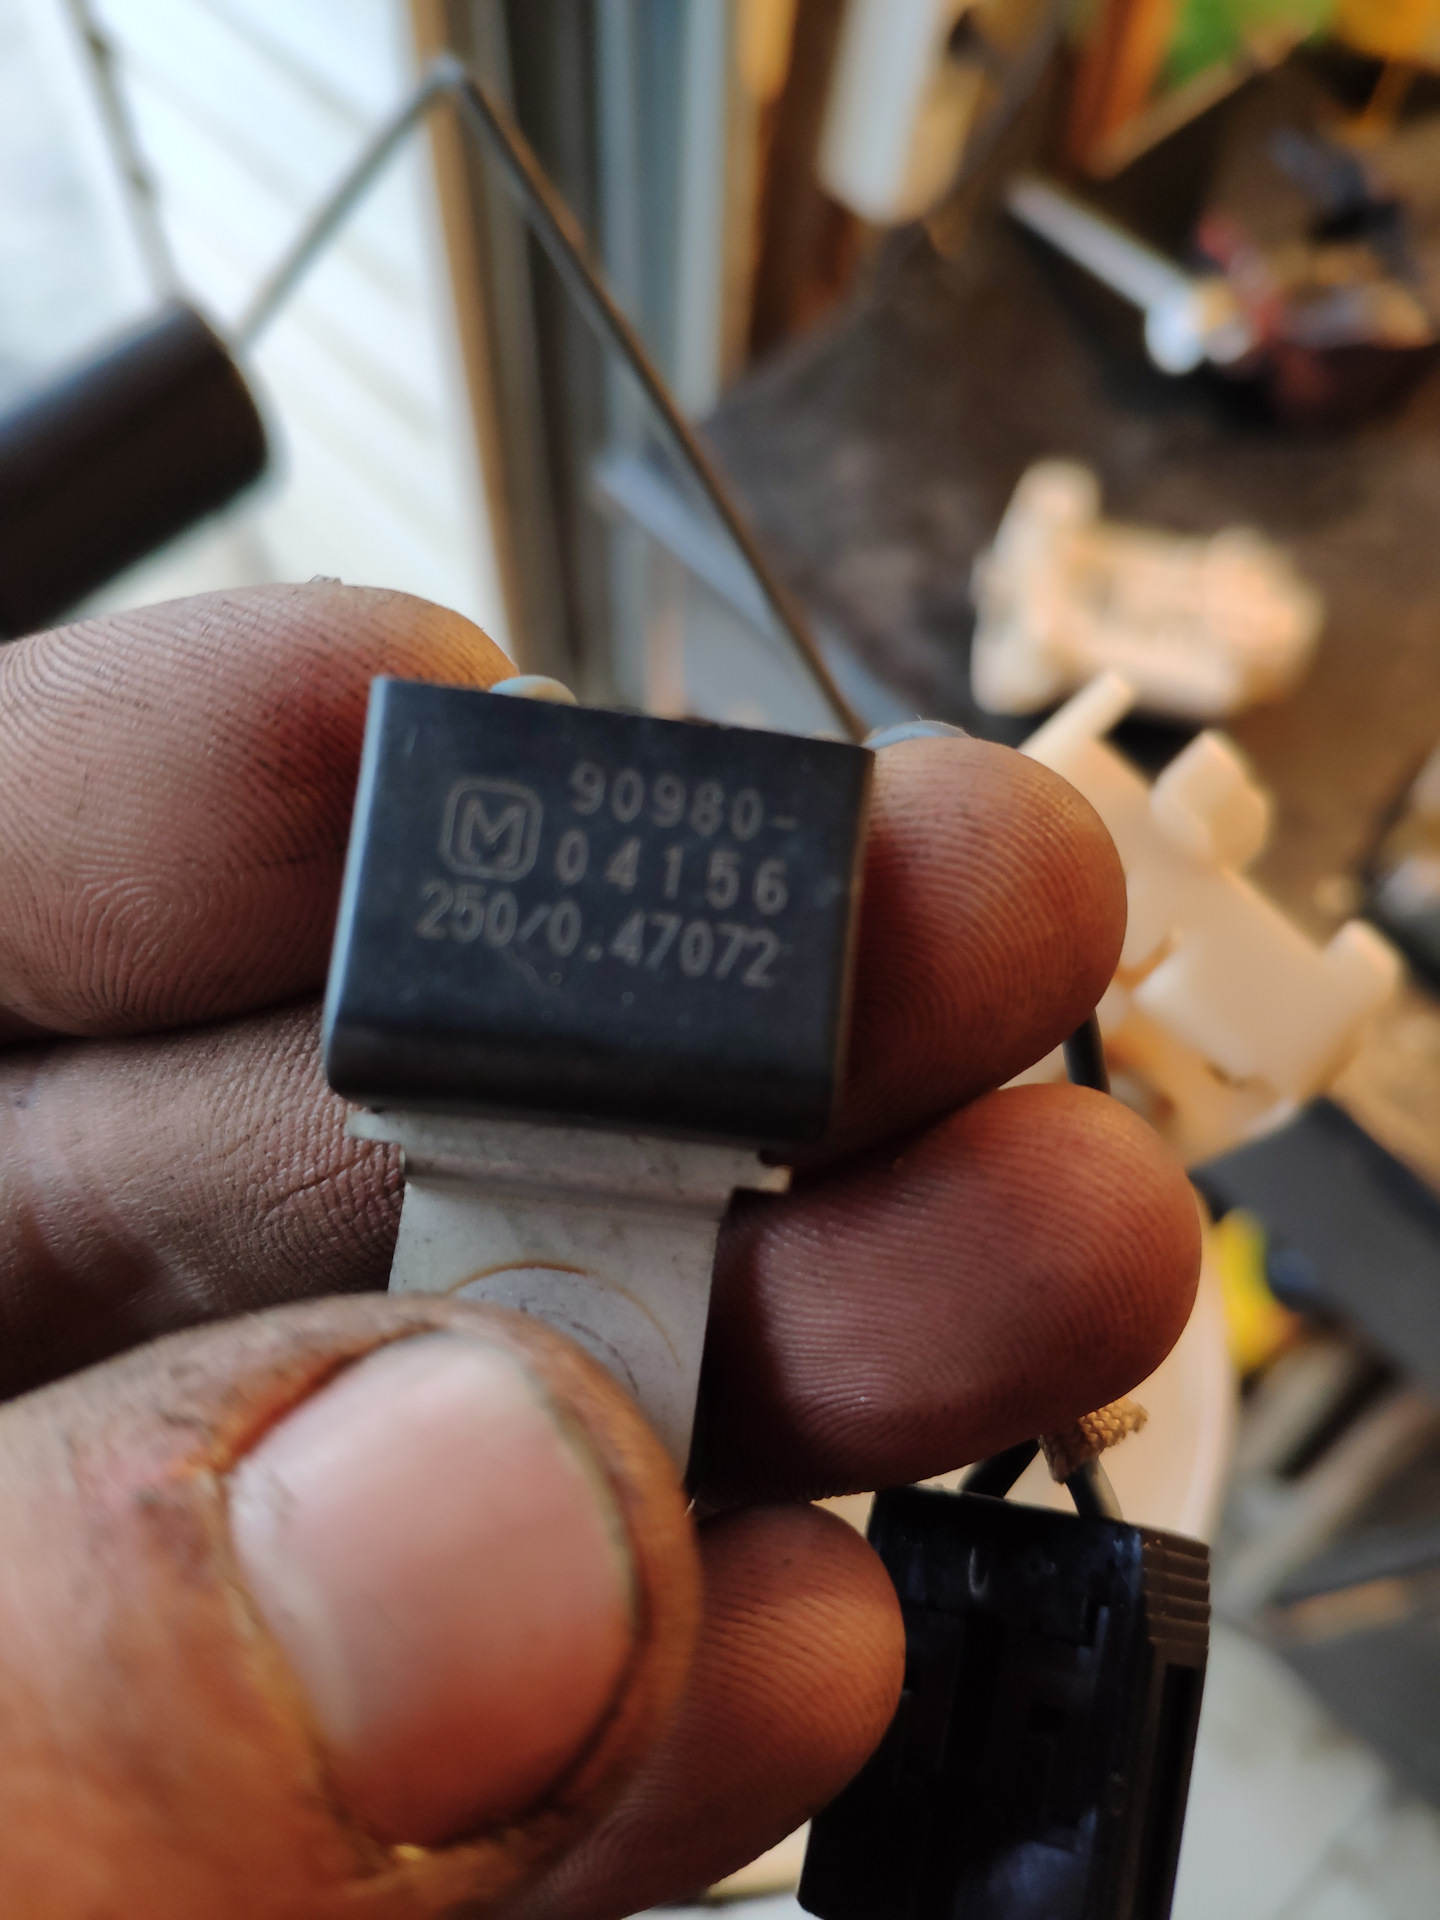
Его можно и не ставить, но лучше поставить. Он убирает наводки в автомагнитоле (по крайней мере с ним их точно от насоса не будет), возможно делает плавность запуска (хотя я думаю он тут точно не ради этого стоит) и самое главное с ним насос меньше гудит. Вот это реально очень полезная вещь. После того гудения что у меня было, я даже не представляю как это круто ездить в тишине)
В общем такая конструкция получилась
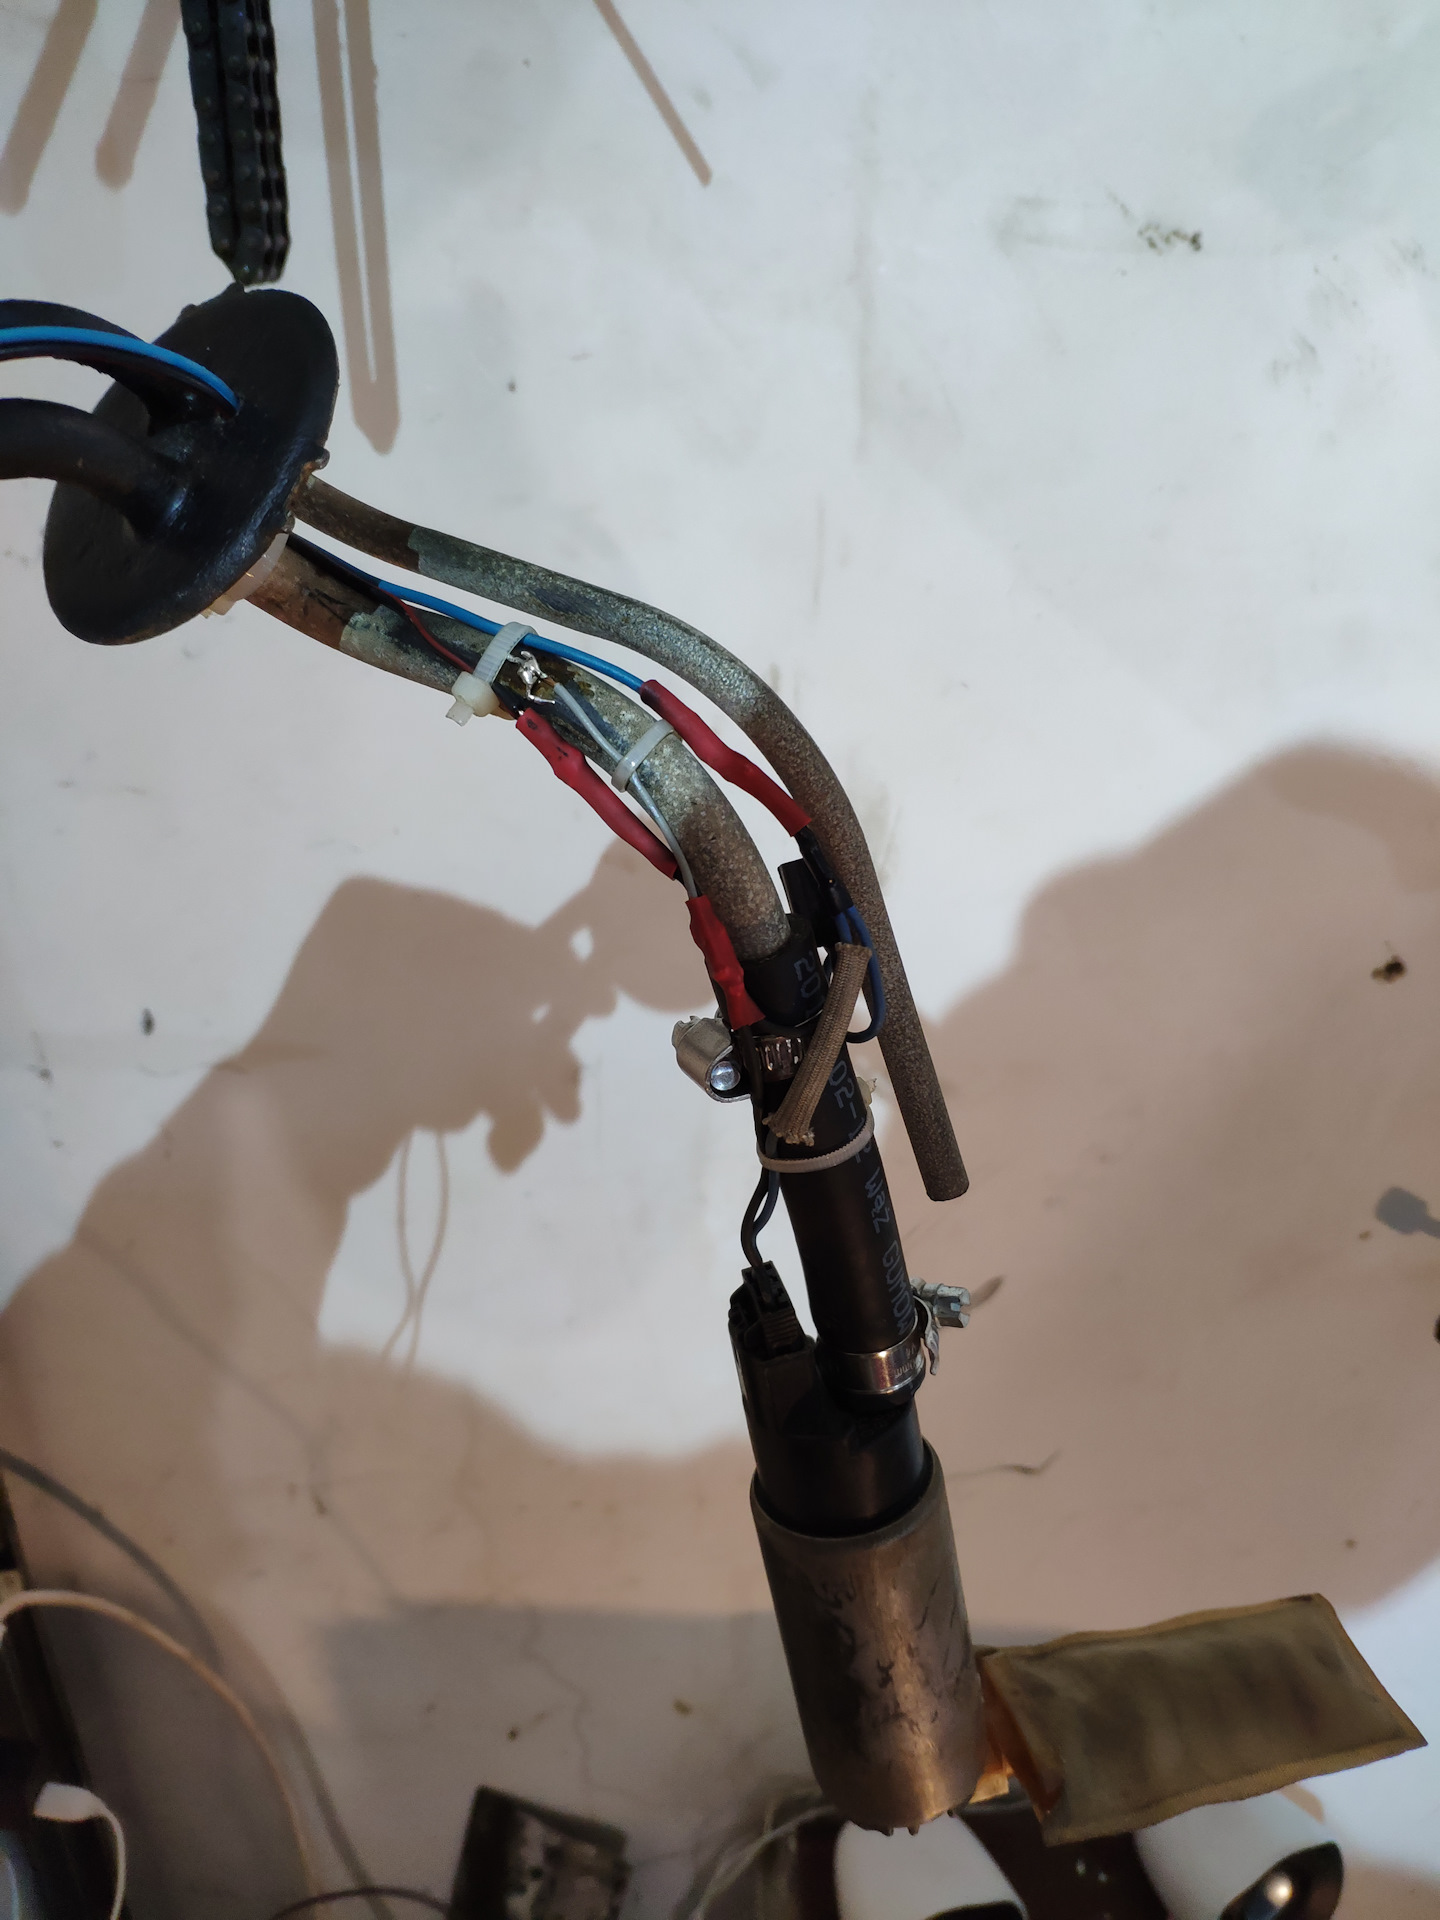
Ну и решил потратить лишнюю минуту и минус кинуть на все металлические детали, а именно трубку и сам бак
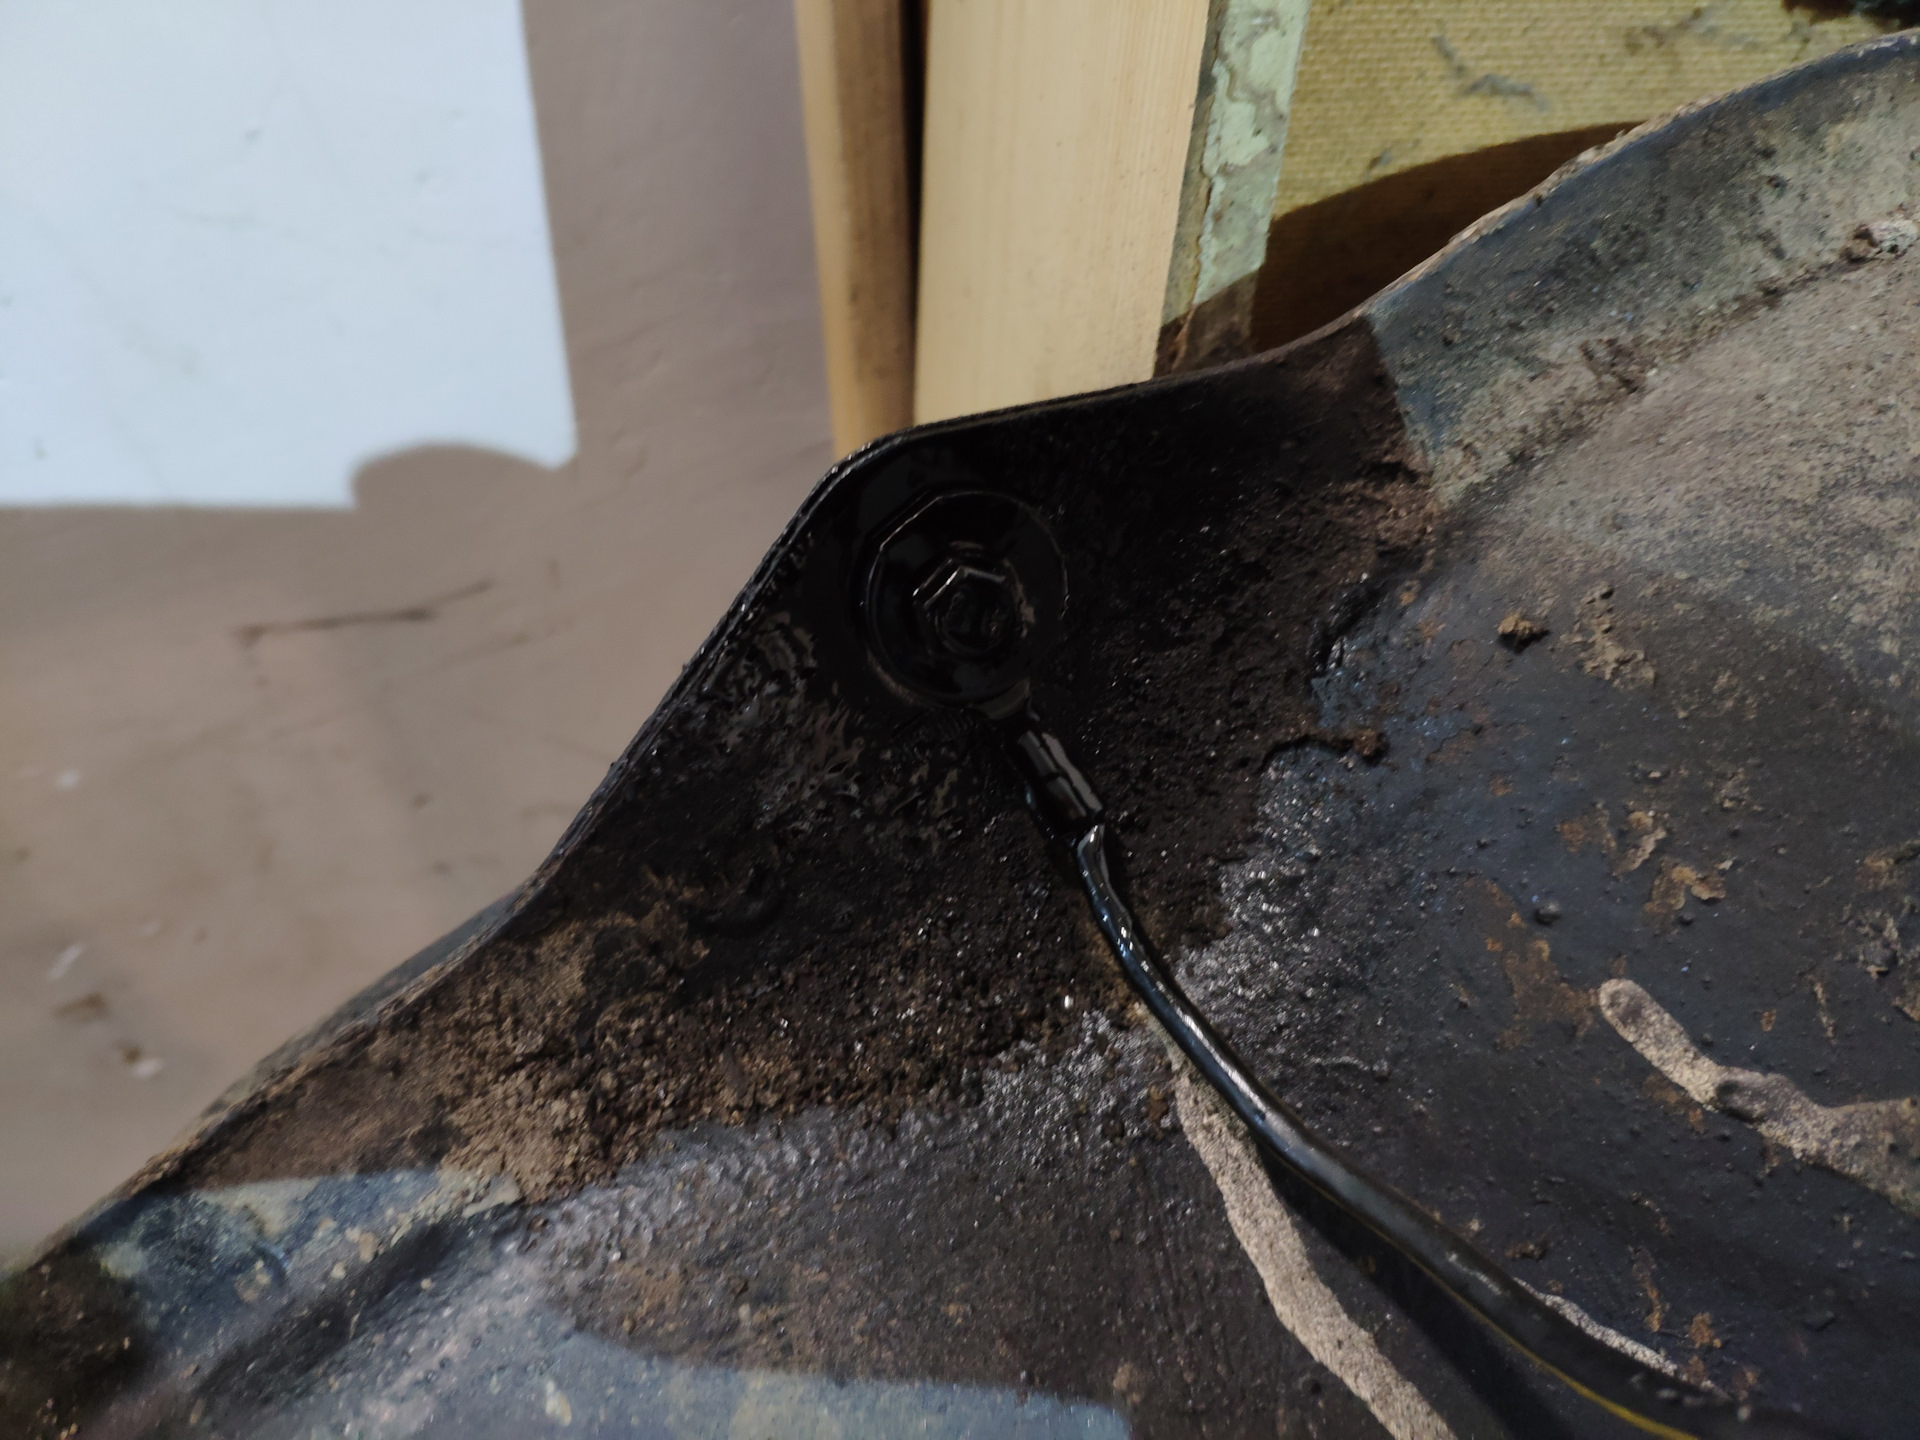
Не зря же это делают на новых машинах, а там где имеют дело с взрывоопасными вещества в больших количествах обязательно заземляют все что из металла, и даже каждый фланец перемычкой из провода соединяют. Статическое электричество большое зло…
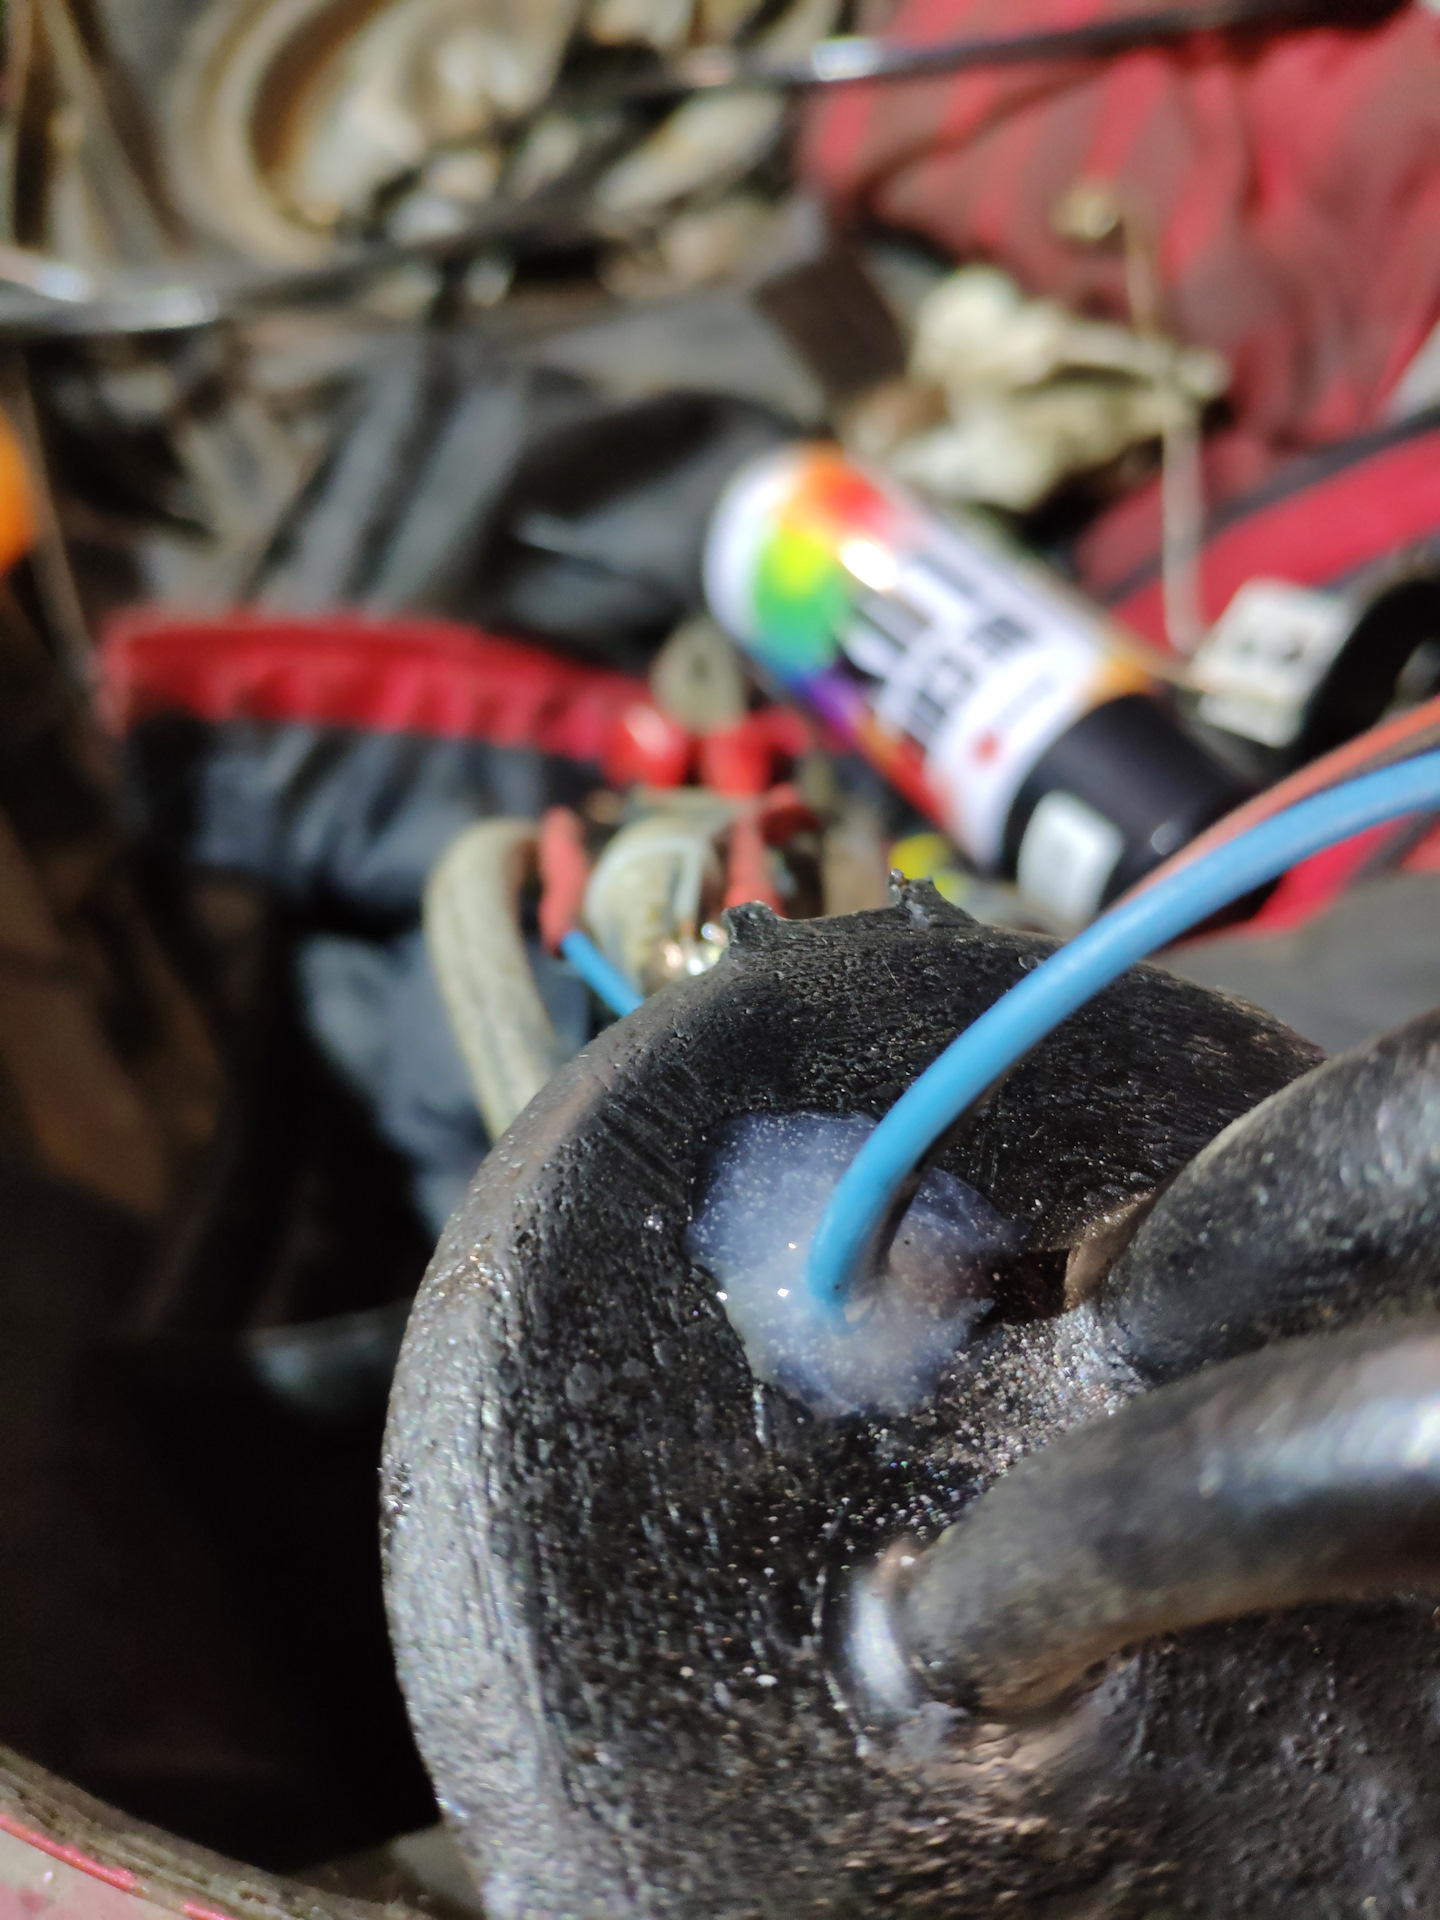
Вывод провода из бака залил эпоксидкой. На ней написано бензостойкая, надеюсь так и есть
Ну и такая конструкция получилась
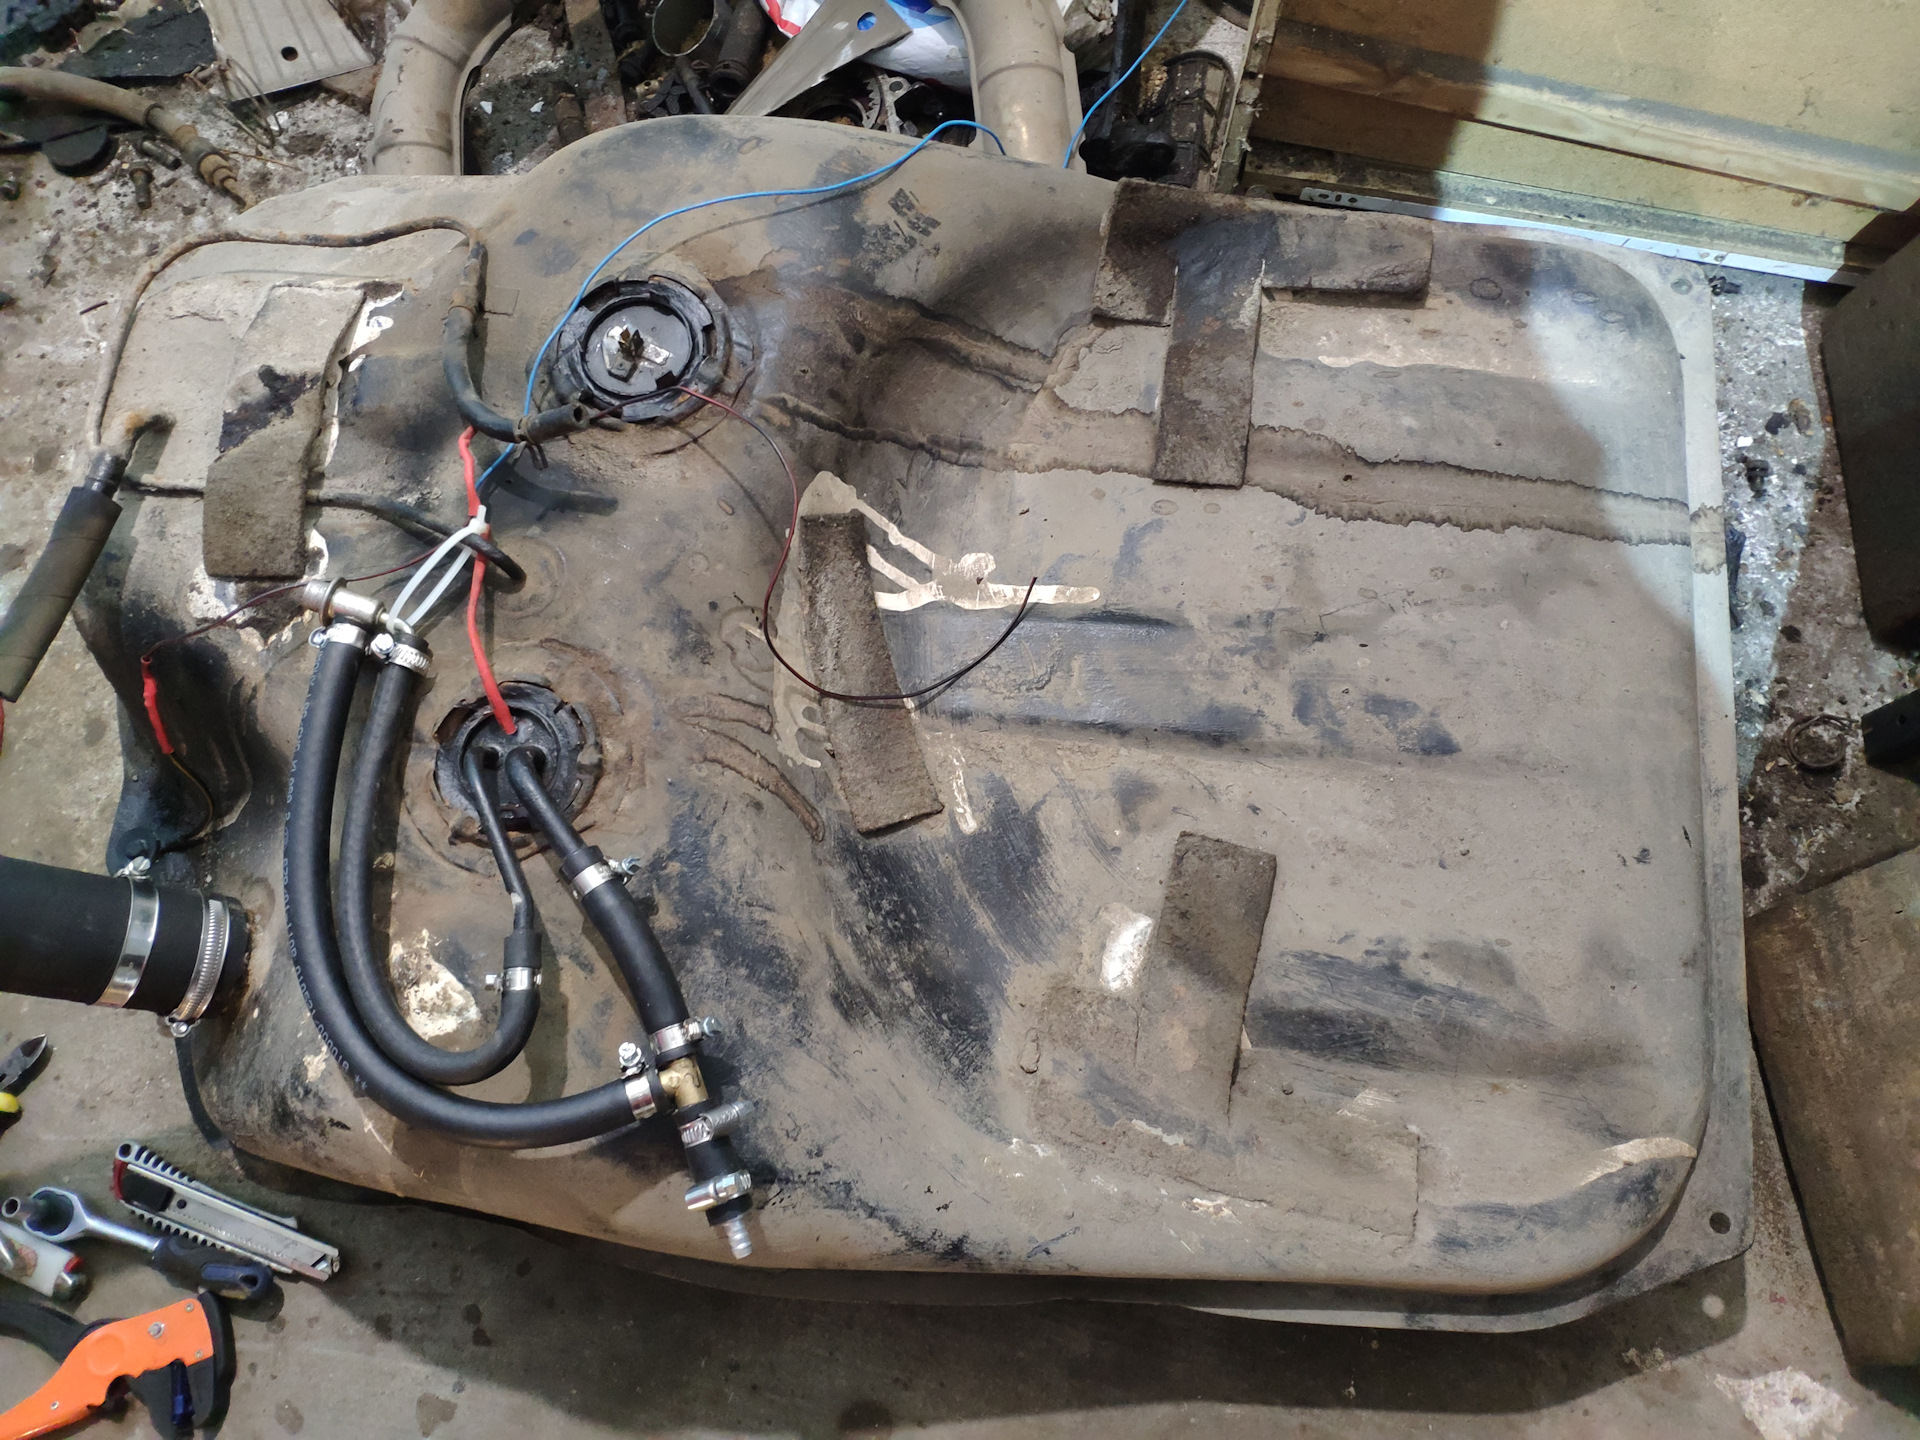
Как видите топливо выходит из бака под давлением. Часть идёт к двигателю, а другая часть через тройник к регулятору давления топлива. Когда оно превышает 3бара, пружинка поднимается и стравливает лишнее через штатный шланг обратки. А к двигателю под днищем идёт одна единственная трубка
Только вот проблема, моя совсем печальная на вид. Пришлось купить медную трубку 8мм и проложить новую магистраль
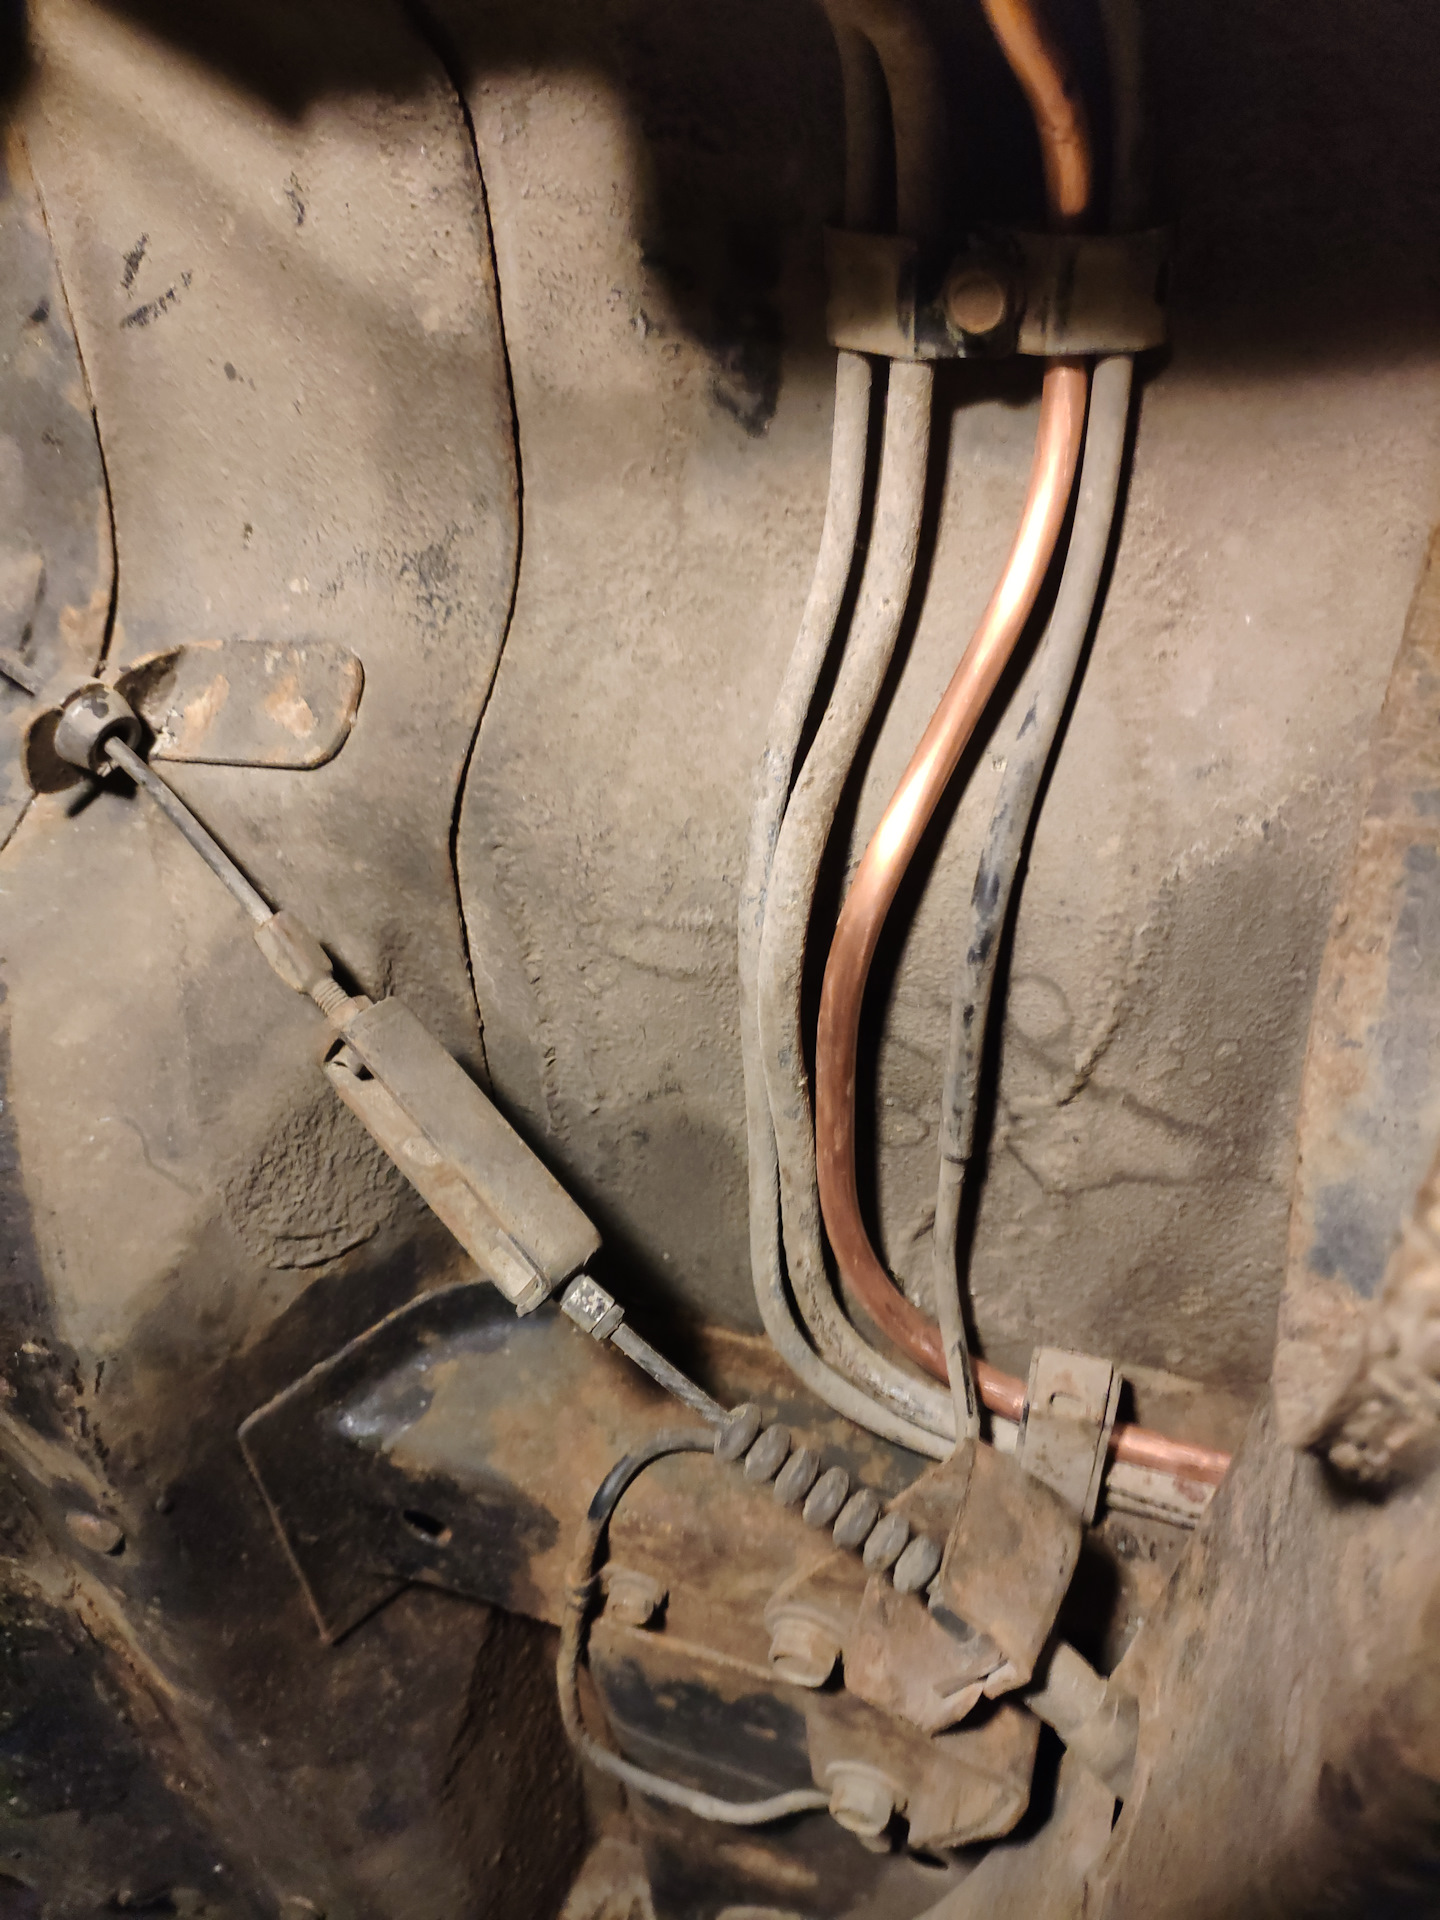
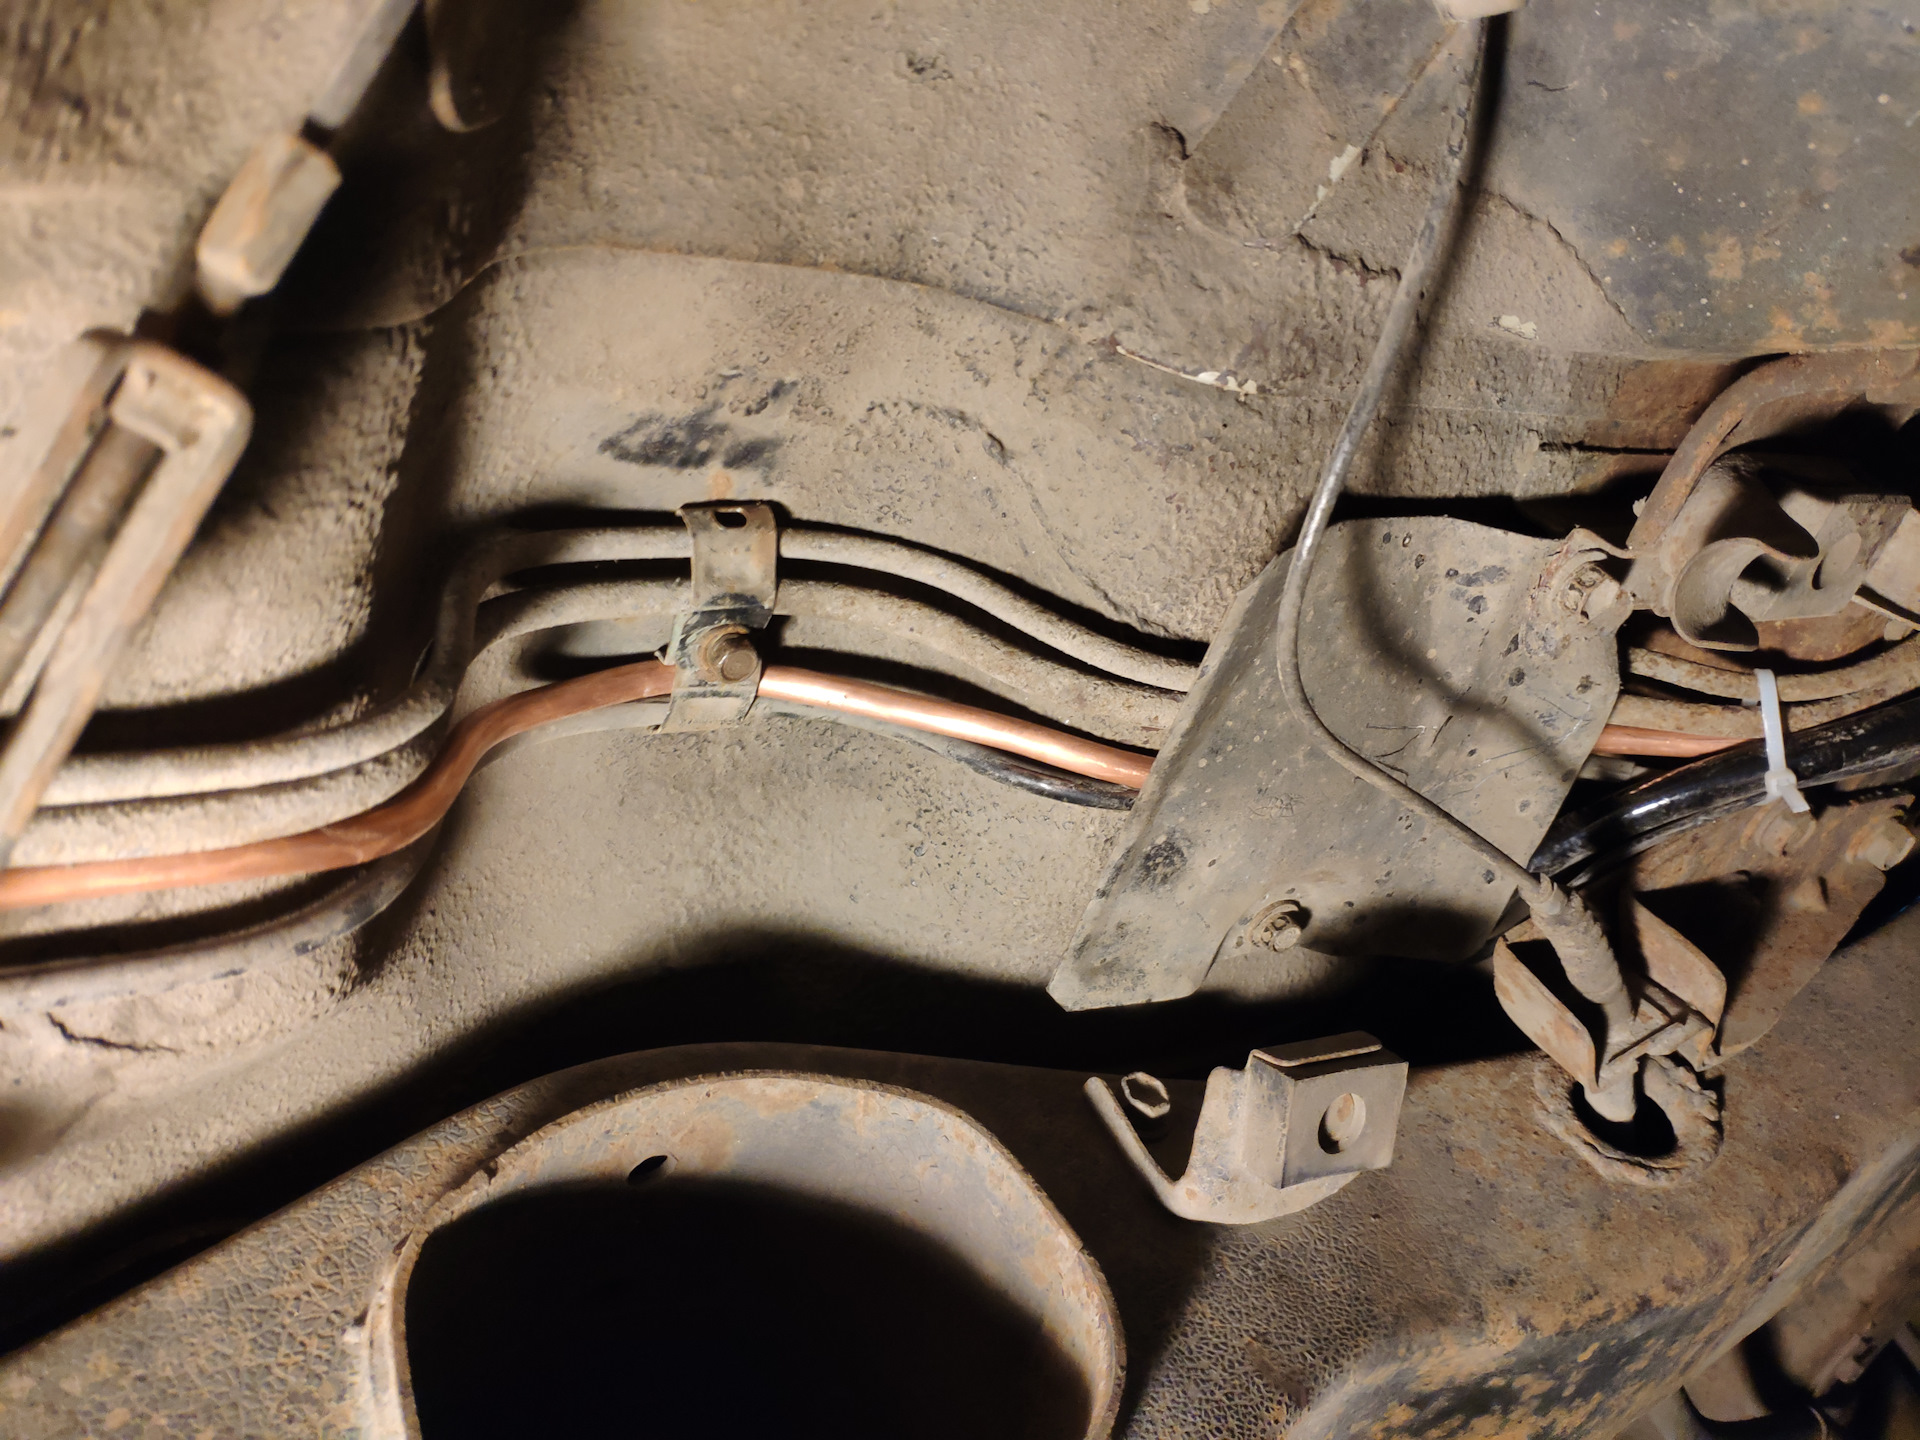
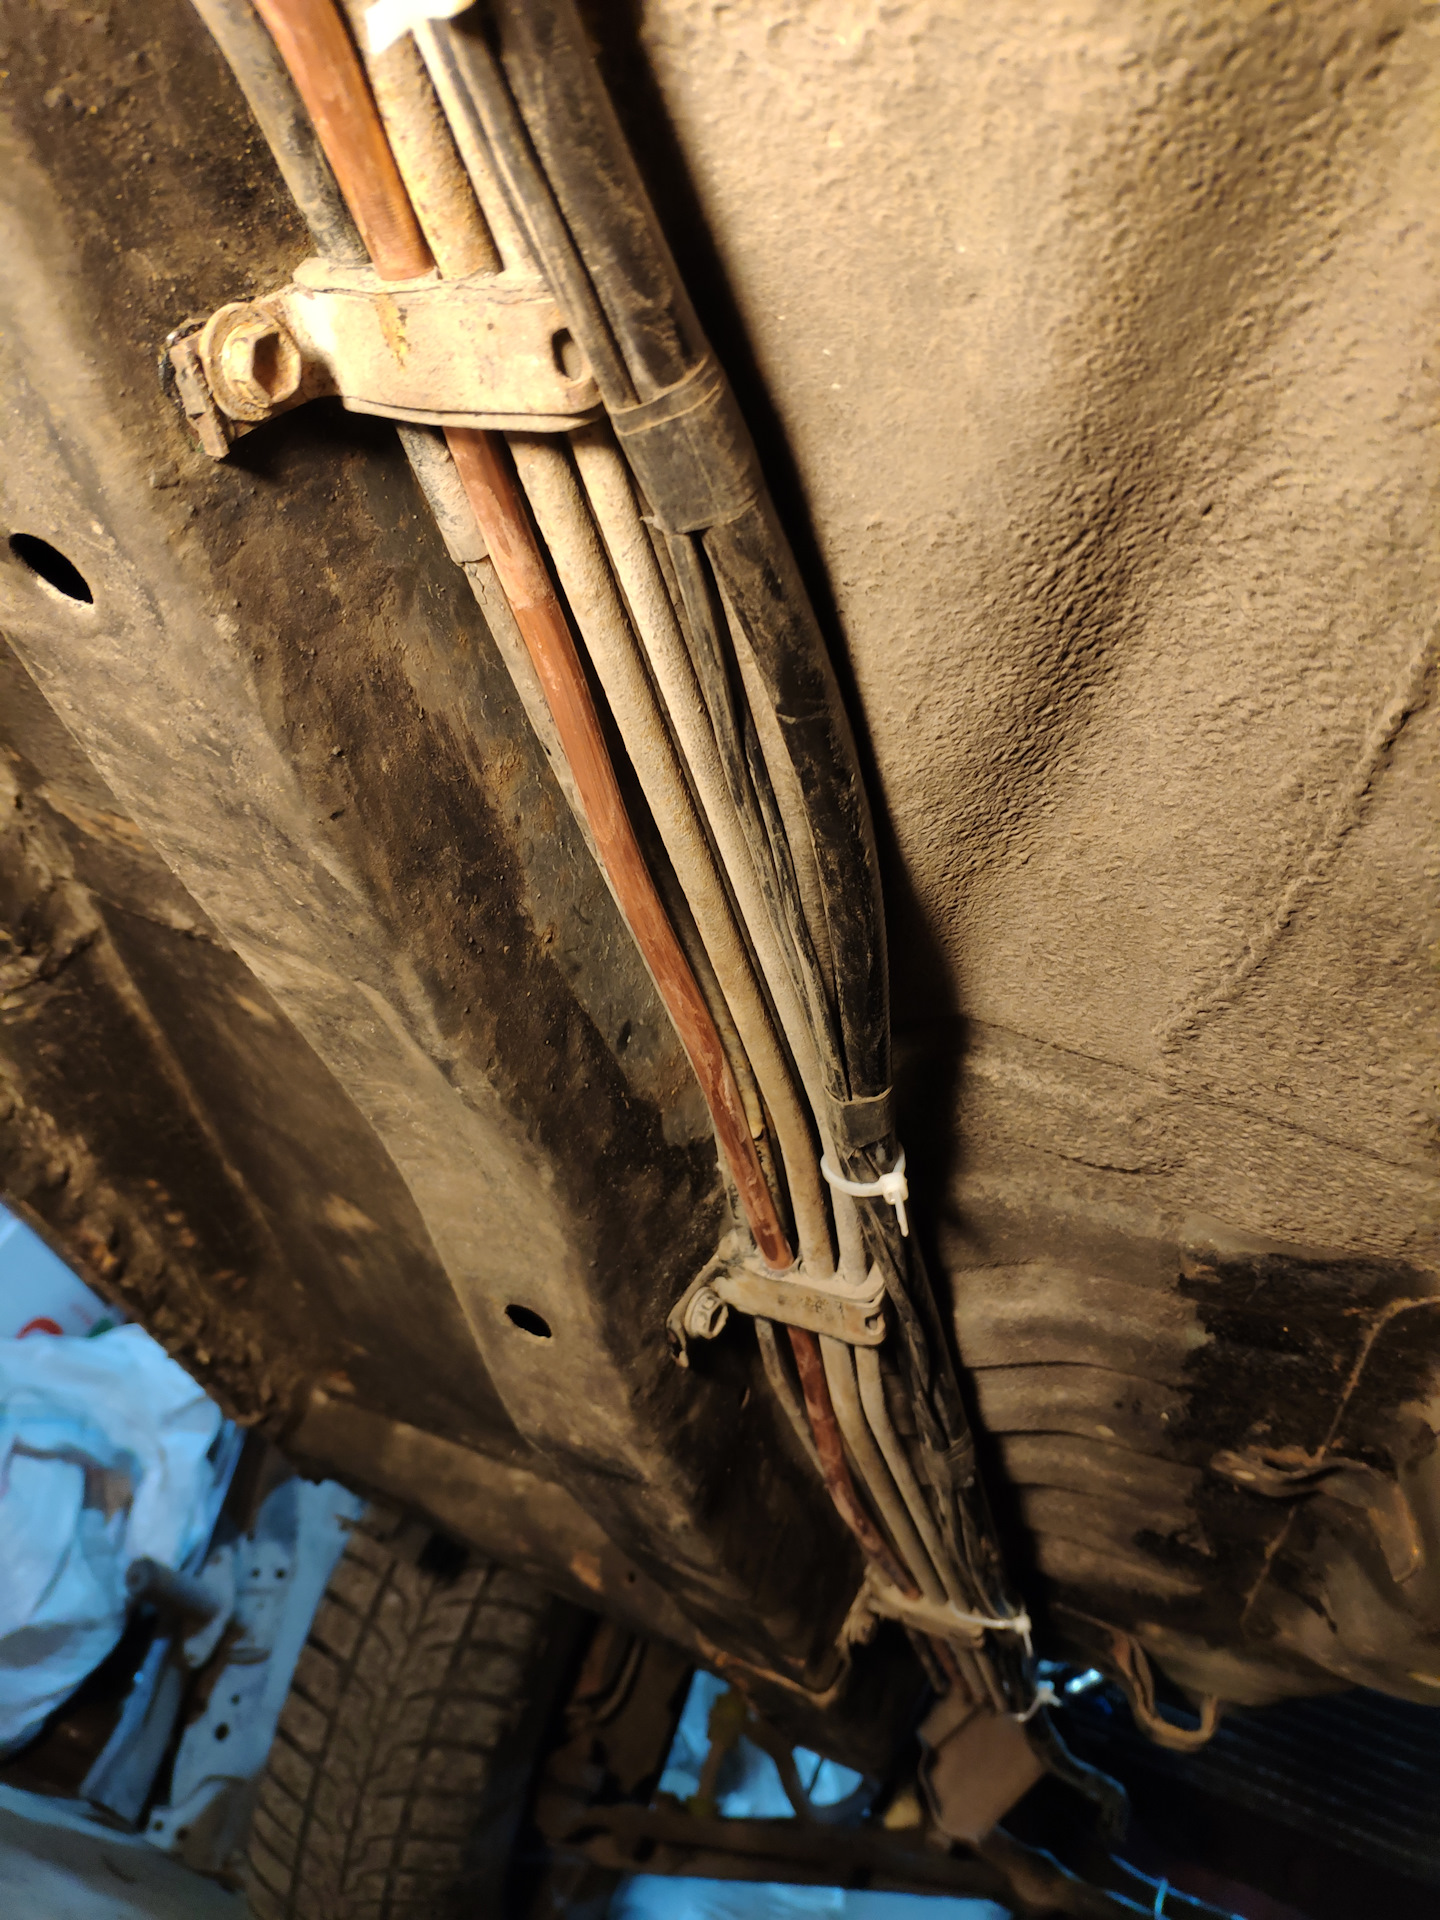
Параллельно с ней проложил и газовую пластиковую магистраль, на обычные стяжки.
Так что работы по питанию двигателя бензином и газом можно считать закончены.
Спасибо огромное за советы Mozgovnet)
Комментарии
Пока нет одобренных комментариев.