Автор — Pim25
Панели управления электроприводами стёкол «под дерево», установленные на обшивах, также могут потребовать реставрации.
Вот как они выглядели у меня:
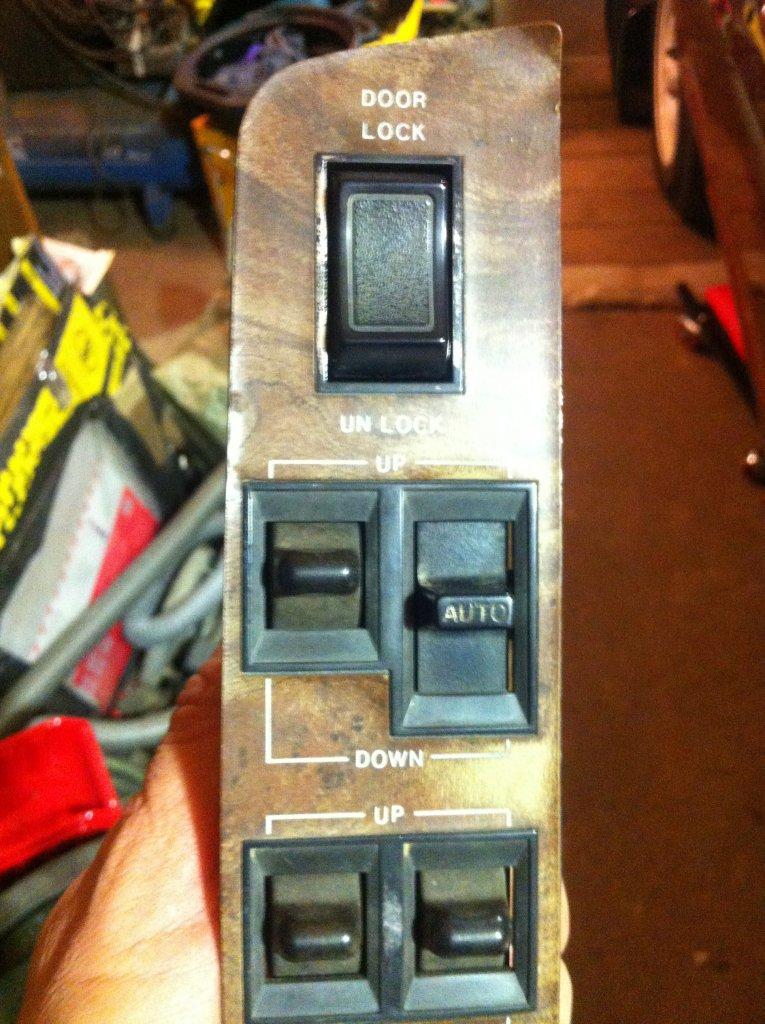
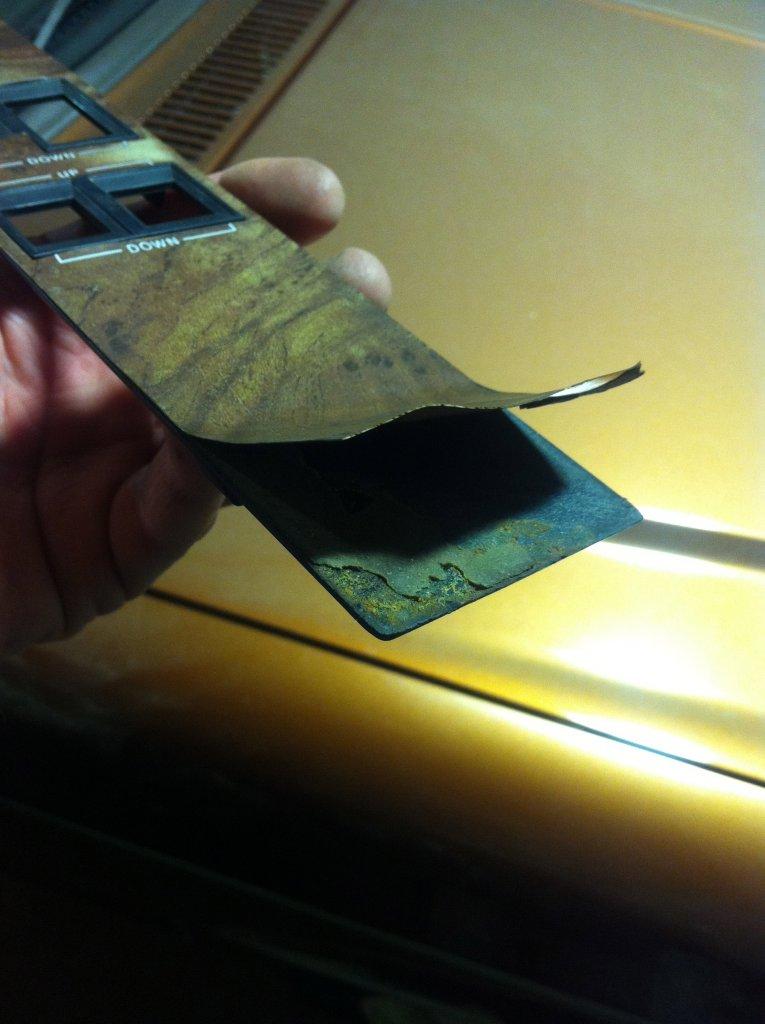
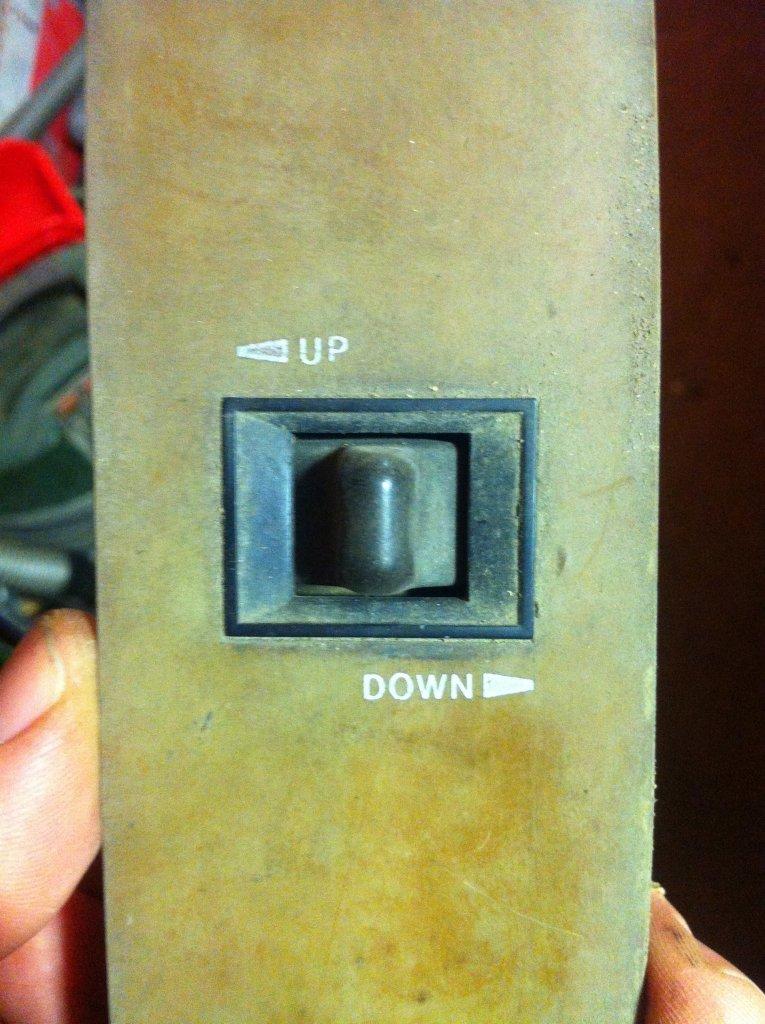
Слава богу, почти вся электрическая часть была исправна.
Немного повозиться пришлось только с авто-управлением стекла водительской двери – да и то дело ограничилось чисткой и смазкой его механической части (ну, и понять логику фиксации скользящей кнопки 🙂
Вся грязь с клавиш удалялась обычным способом – с помощью ушных ватных палочек (обязательно – деревянных, пластиковые не годятся) и очистителя «3000» или «5000».
А вот декоративное покрытие «под дерево», как видите, практически полностью пришло в негодность и требовало реставрации.
Само покрытие «под дерево» в наше время восстановить (заменить) нетрудно – после разборки блока и снятия верхней панельки просто отдаём её художникам, которые либо рисуют (если талантливы :), либо просто накладывают новое изображение (технология «аквапринт»).
Однако широко известна типичная проблема (недостаток) такой реставрации – полное удаление прежних надписей Auto, Up, Down и т.п.
Насколько я знаю, проблема отсутствия надписей пока не решена и является камнем преткновения для многих мастерских по ремонту и графическому тюнингу автомобильного салонного пластика.
Однако, немного подумав, проконсультировшись и разобравшись в вопросе, я эту проблему решил!
И тогда мои полностью отреставрированные панельки стали выглядеть вот так:
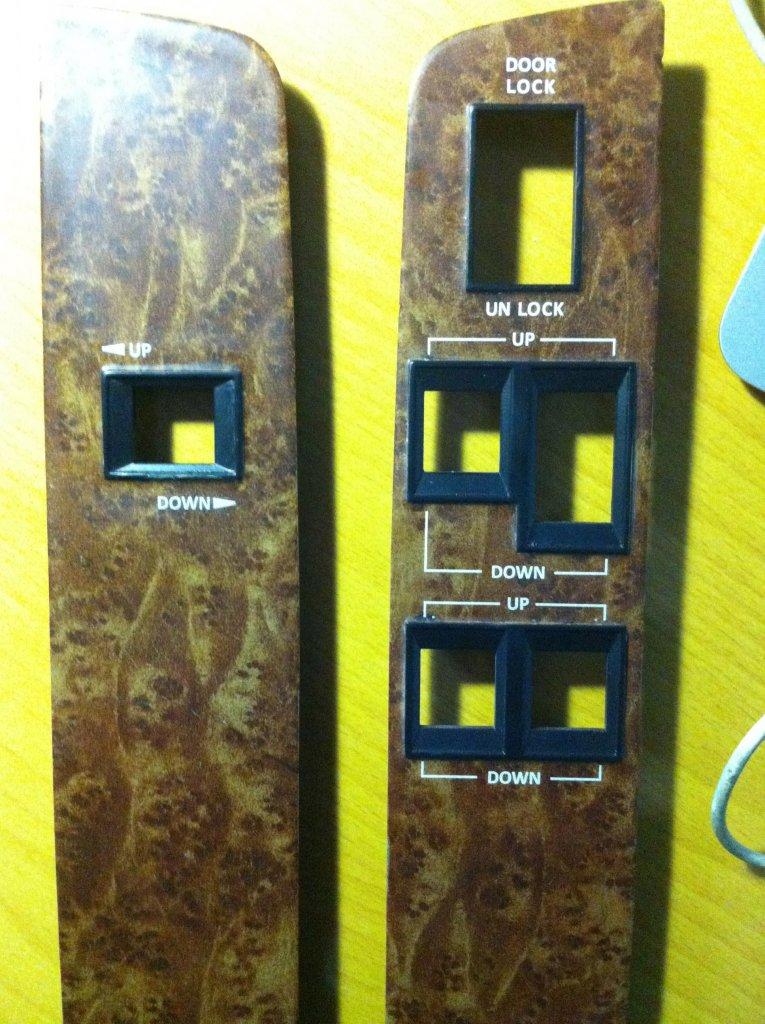
Как же я этого добился?
Вам, уважаемые читатели, я открою секрет нанесения этих надписей 🙂
Трудности в данном процессе следующие:
Во-первых, мало кто возьмётся за печать БЕЛЫМ цветом.
Во-вторых, такие мастерские/салоны предпочитают печатать на своих заготовках.
В третьих, печатать все предпочитают на ровных плоских поверхностях.
Так вот, чтобы преодолеть все эти трудности и победить, вам для начала нужно найти в своём (ближайшем?) городе печатный салон, предлагающий услугу так называемой «ультра-фиолетовой печати» (UV-печать).
Вот пример такого салона у нас (Владивосток):
https://print-vl.ru/uf-pechat.html
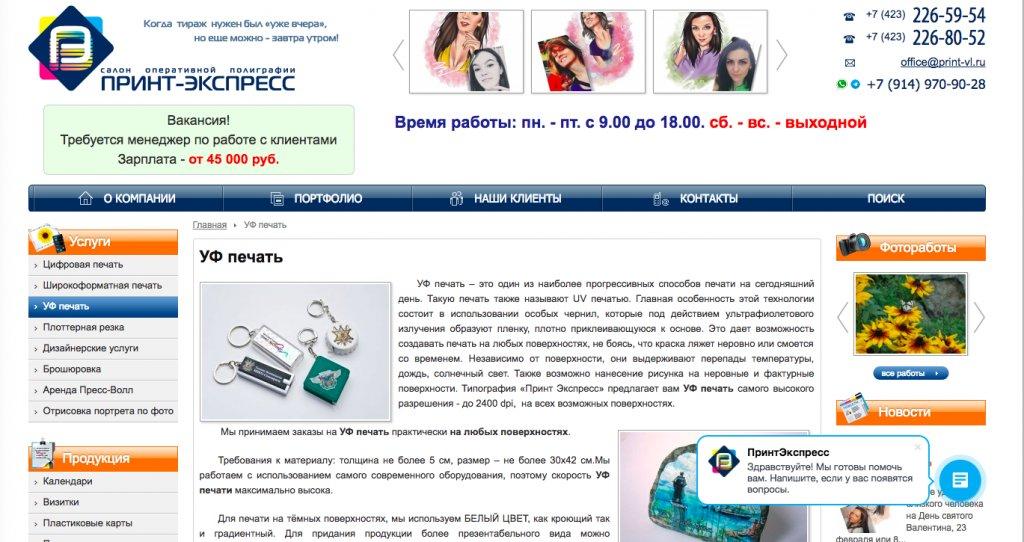
Затем для создания макета (я делал сам в CorelDraw) надо дать им заводские «шкурки» с панелек (с буквами), или сами панельки. Внимание! Это надо сделать до реставрации рисунка «под дерево» !
Потом, соответственно, передать панельки для нанесения «дерева» в годную мастерскую, где должна быть подобрана и нанесена максимально похожая на оригинальную текстура рисунка.
После мастерской вам надлежит вернуть панельки с воссозданным рисунком обратно в салон и – Внимание! – уговорить их напечатать вам «буковки», несмотря на выступающие (на 1-2 мм) части панельки!
Они, возможно, будут говорить вам, что головка печатной машины будет слишком высоко поднята, и распыл будет «не в фокусе» — тогда просто уговорите их попробовать 🙂
Как вы можете видеть на моём фото, приемлемого результата достичь можно – а в нашем «раритетном» случае – просто необходимо!
Для прочности к истиранию в этом же салоне производим на деталях дополнительное частичное (только поверх букв) UV-лакирование.
Сама панелька у меня перед нанесением букв была слегка заматирована – очень уж блестела (как новенькая 🙂 после реставрации «деревяшки».
По итогу получаем восстановленную панель, по всем параметрам очень схожую с заводским исполнением.
Такой вот Restoration Hack
🙂
Комментарии
Пока нет одобренных комментариев.