
Всем доброго вечера!
Так уж получается, что записи пишу с большим запозданием, но лучше поздно, чем вообще не писать.
Проблема с задним контуром кондиционера появляется у всех автомобилей, не зависимо от марки или модели. И Тоёта-Лексус не стала исключением. Большинство владельцев решают эту проблему путем обрезки заднего контура и установки различного рода заглушек на концы магистралей, в общем все в лучших традициях колхозника.
Меня проблема с задним контуром также не миновала. Понял я этого, когда свежезаправленная система кондиционирования перестала охлаждать мой автомобиль. Стал искать утечку. Сначала осмотрел конденсатор — все сухо. Затем все магистрали + компрессор под капотом — аналогично, все сухо. Оставалось лишь осмотреть магистрали заднего контура. Поднимаю авто на подъемнике и вижу замасленную трубку в районе топливного бака. По месту очистил от грязи и масла и увидел гниль… Сразу понял, что за один вечер починить не удастся, поэтому поехал домой пораньше, чтоб выспаться и приготовиться к бессонным ночам.
В следующий вечер заново поднял авто на подъемнике и еще раз оценил проблему.
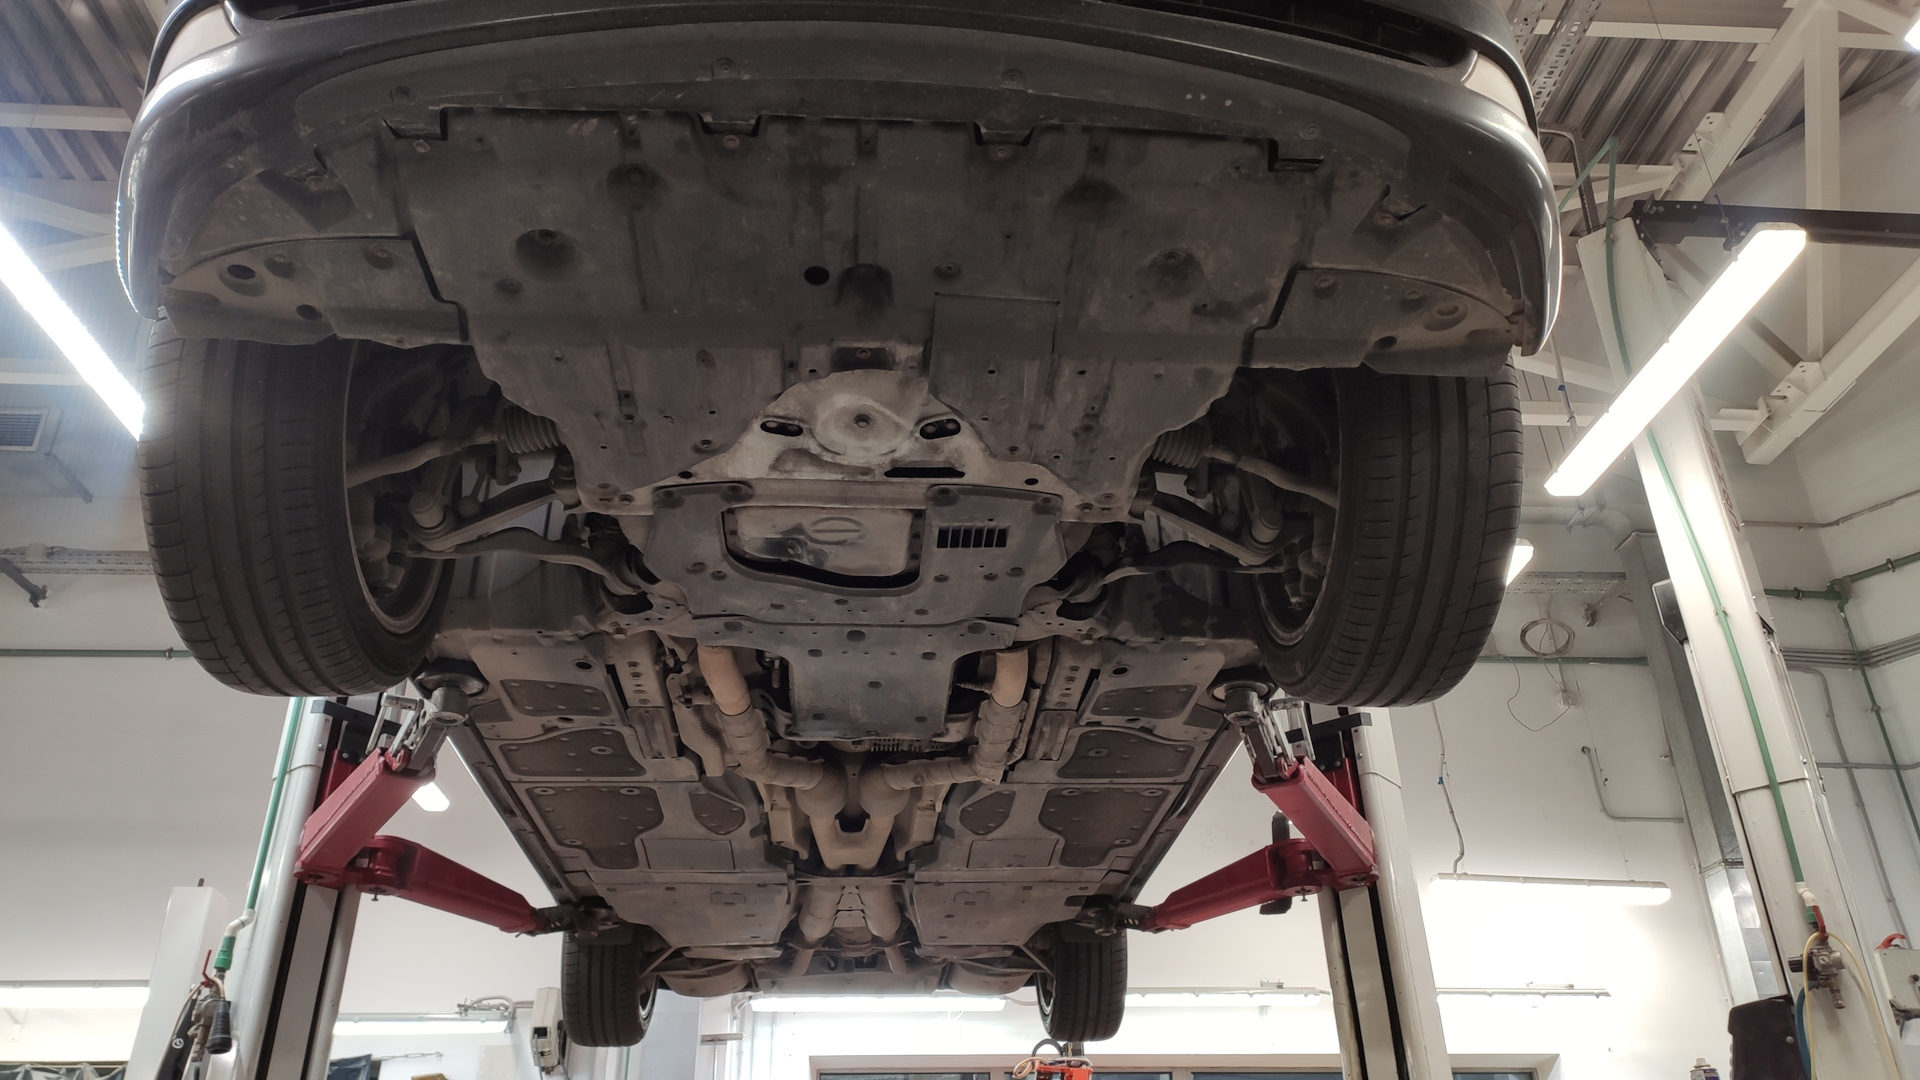
В интернете, в чатах по LS все мне в один голос писали, что снять трубку без снятия подрамника и топливного бака невозможно, но привычка никого не слушать заставила меня убедиться в том, а так ли это на самом деле.
Первым делом посмотрел на схеме места соединения магистралей:
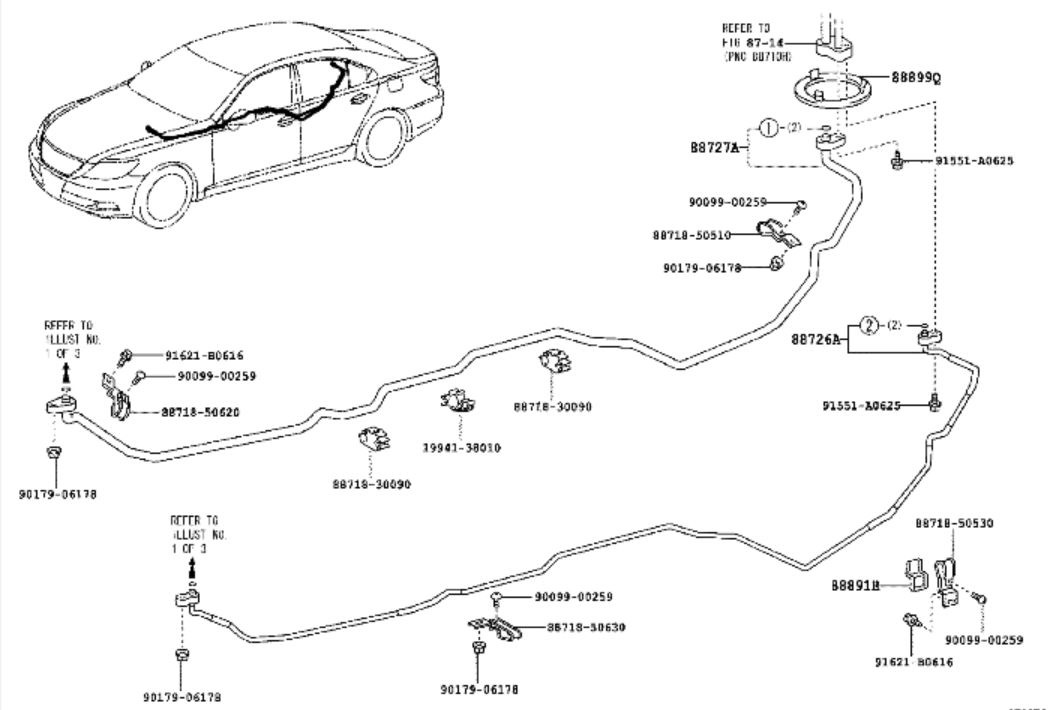
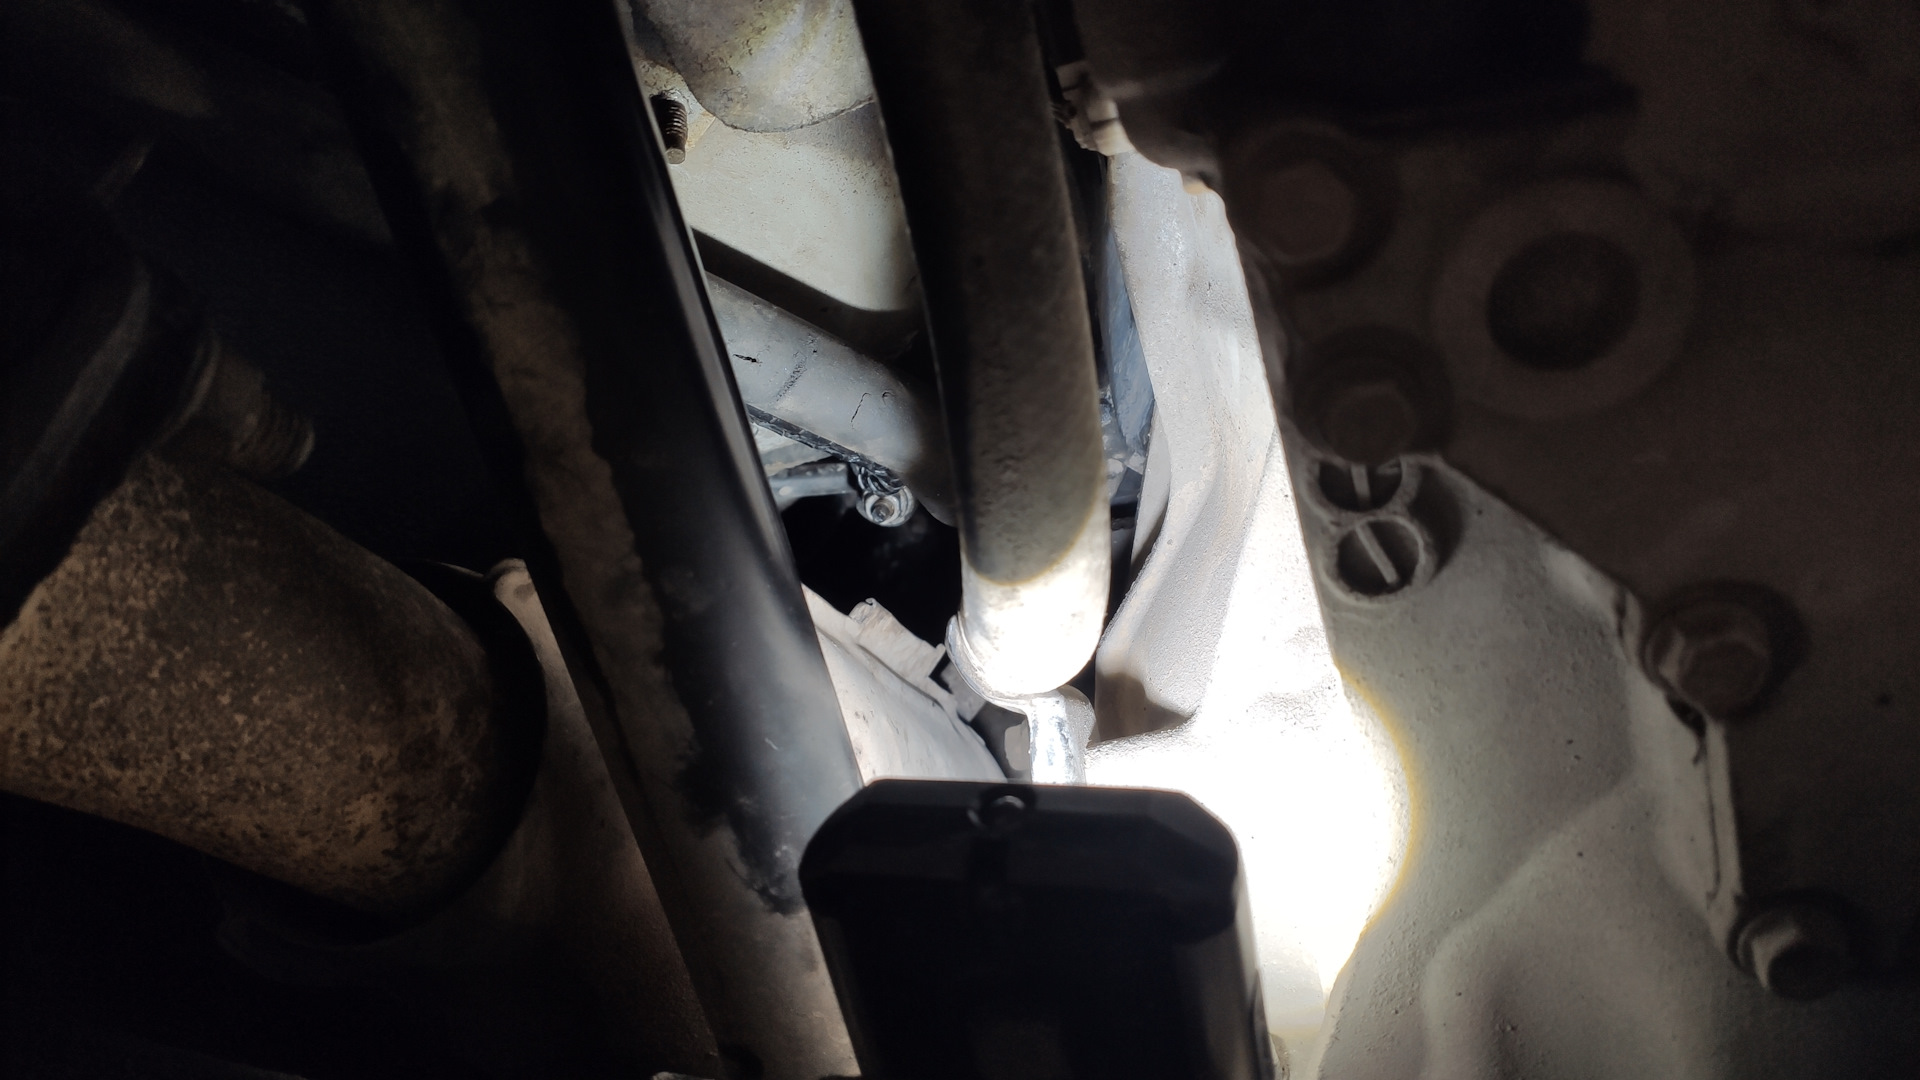
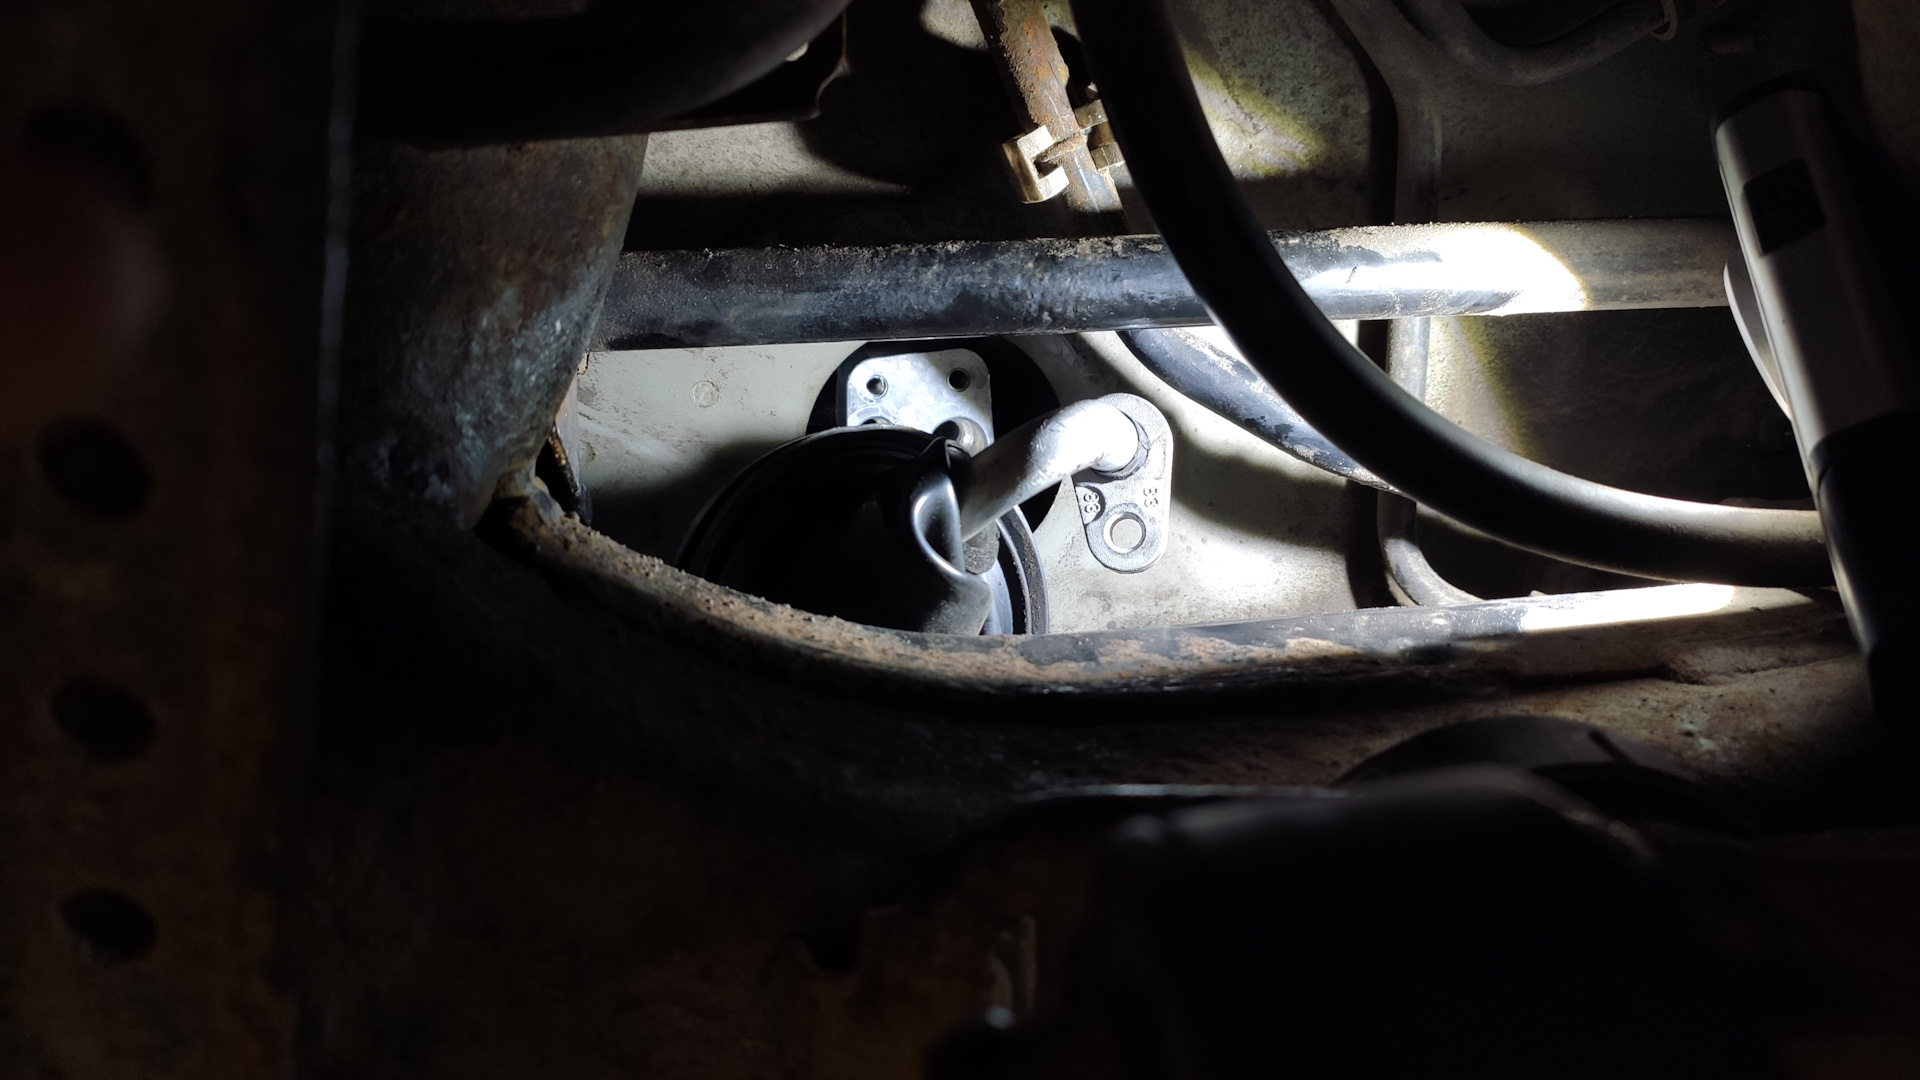
После чего нашел их на автомобиле и отсоединил:
Спереди:
Сзади:
Далее приступил к демонтажу, всего, что мешает демонтировать трубку, а именно все пластиковые защиты днища по левой стороне, а также пыльник двигателя. Кроме того пришлось снять тепловую защиту в районе первого левого катализатора — самое не удобное мероприятие. После чего открутил все хомуты крепления магистрали к кузову, отщелкнул защелки и приступил к демонтажу. Сначала чуть-чуть сдвинул всю магистраль назад и вращая ее то влево, то вправо вытянул переднюю ее часть. Далее задняя, тут сложнее, так как трубка в задней части имеет множество изгибов. Для удобства пришлось открутить левое крепление топливного бака, чтоб было удобнее поворачивать трубку. Занятие не интересное и требует терпение, но за час-полтора мне удалось ее полностью демонтировать и главное без снятия бензобака и подрамника, несмотря на то, что все в один голос говорили мне, что это невозможно.
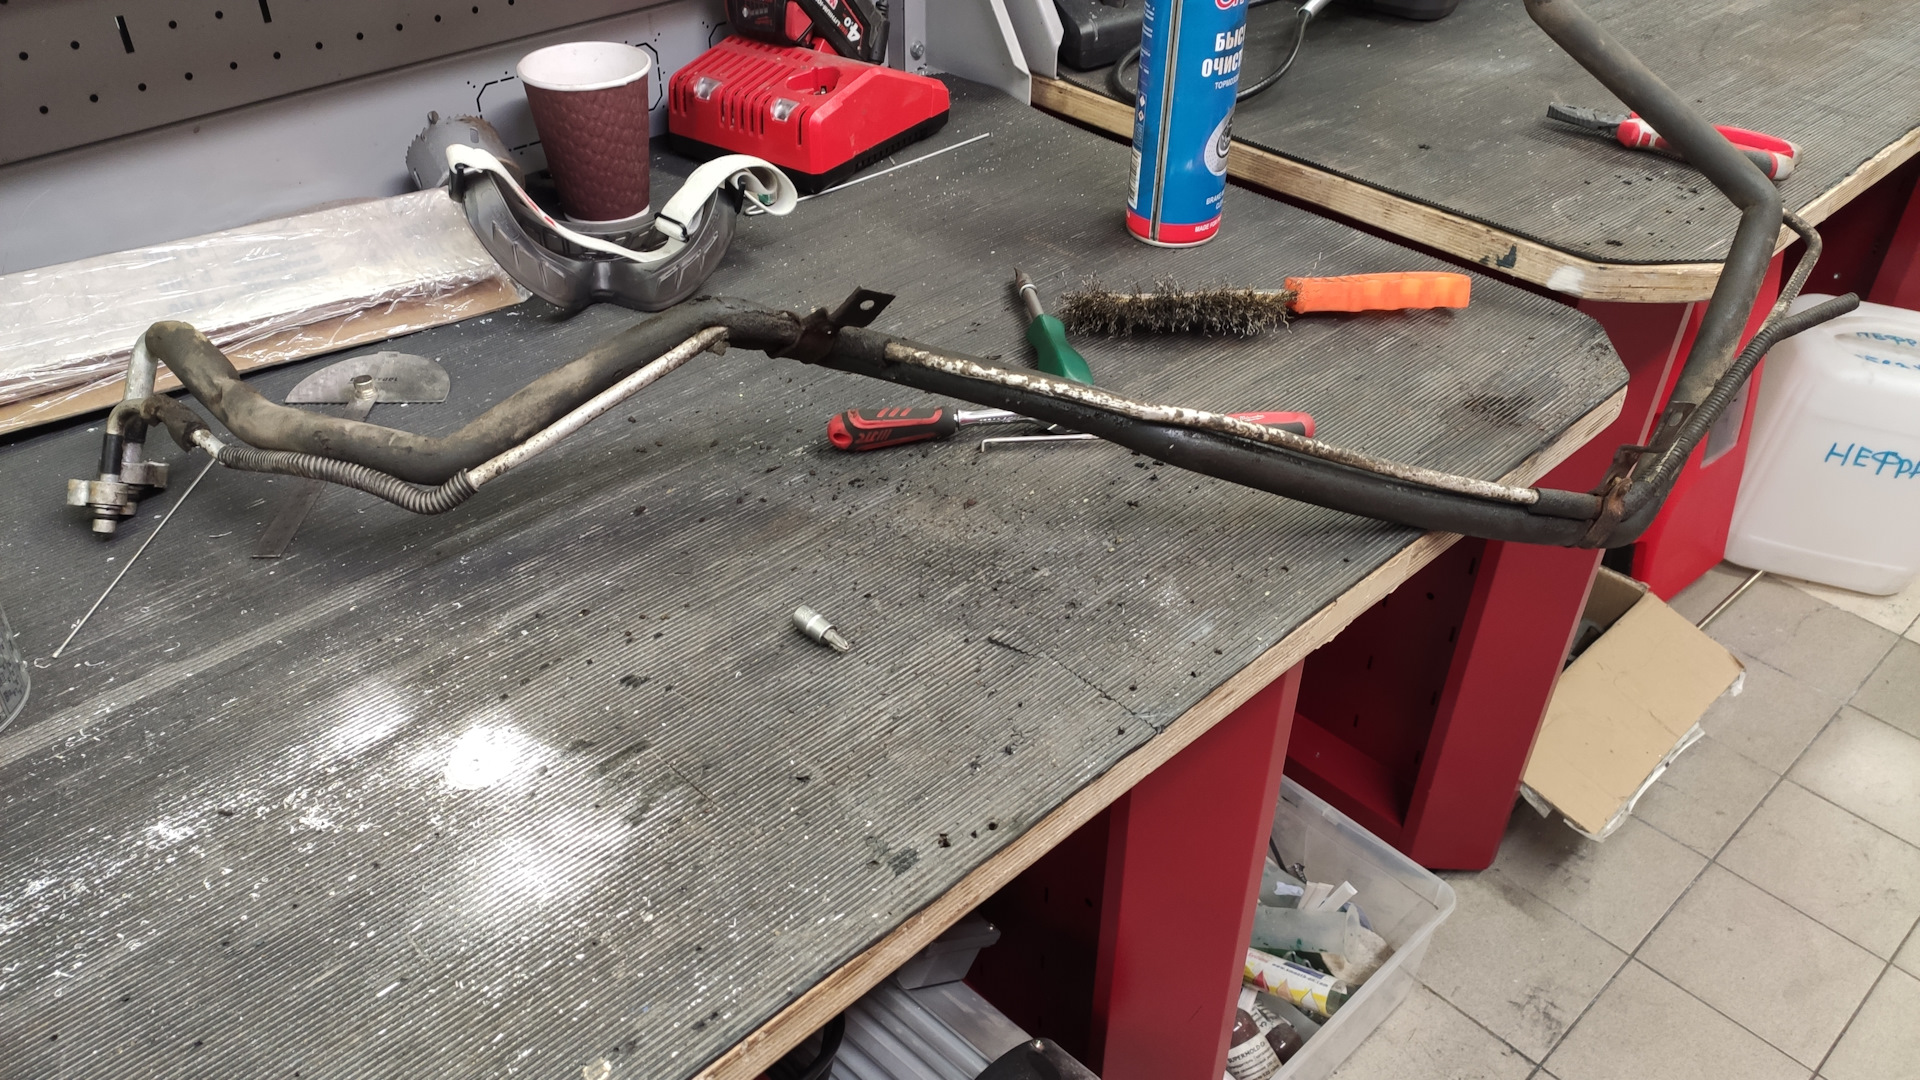
Приступаю к поиску утечек. После очистки замасленных зон нашел четыре отверстия… Выглядели они примерно вот так:
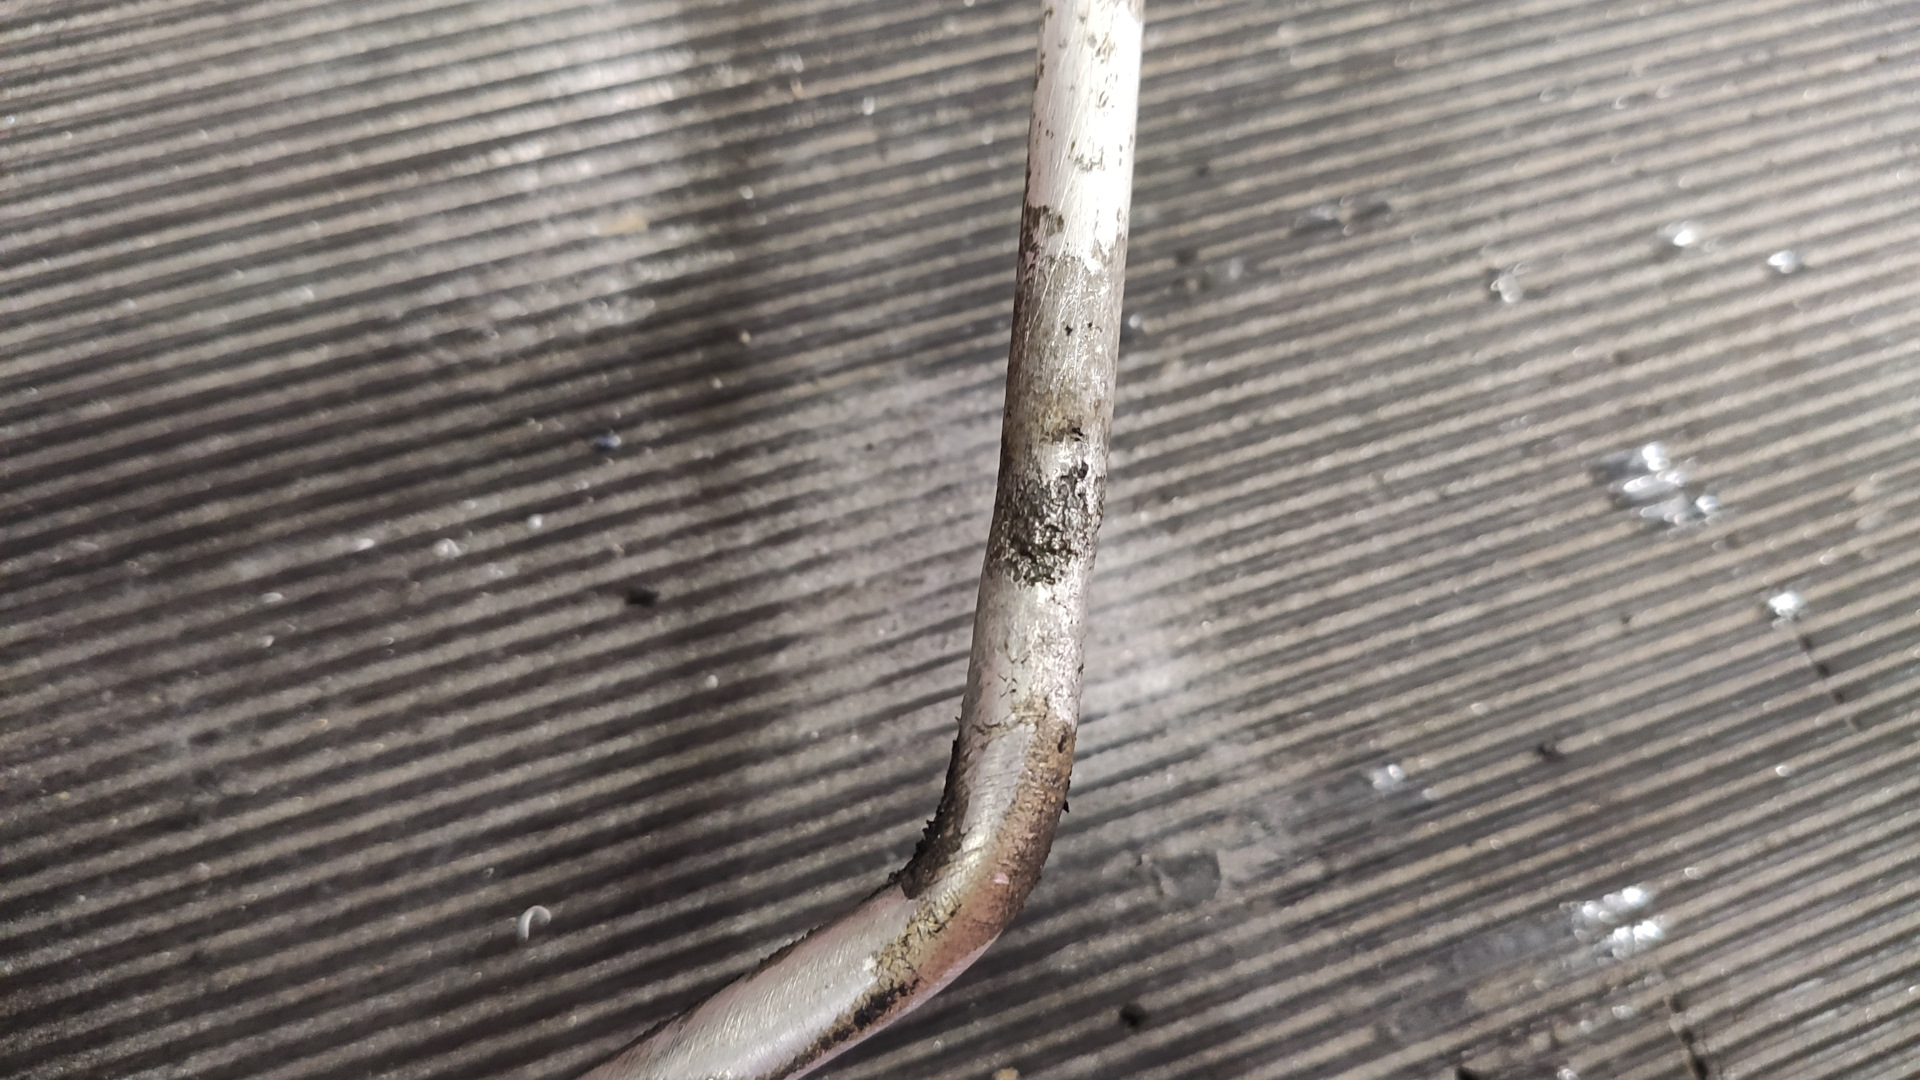
Благо повреждена оказалась лишь трубка высокого давления, с магистралью низкого давления, тьфу-тьфу-тьфу все ок. Оптимистичный я решаюсь их заварить. Подготавливаю к сварке. Тщательно зачищаю и обезжириваю.
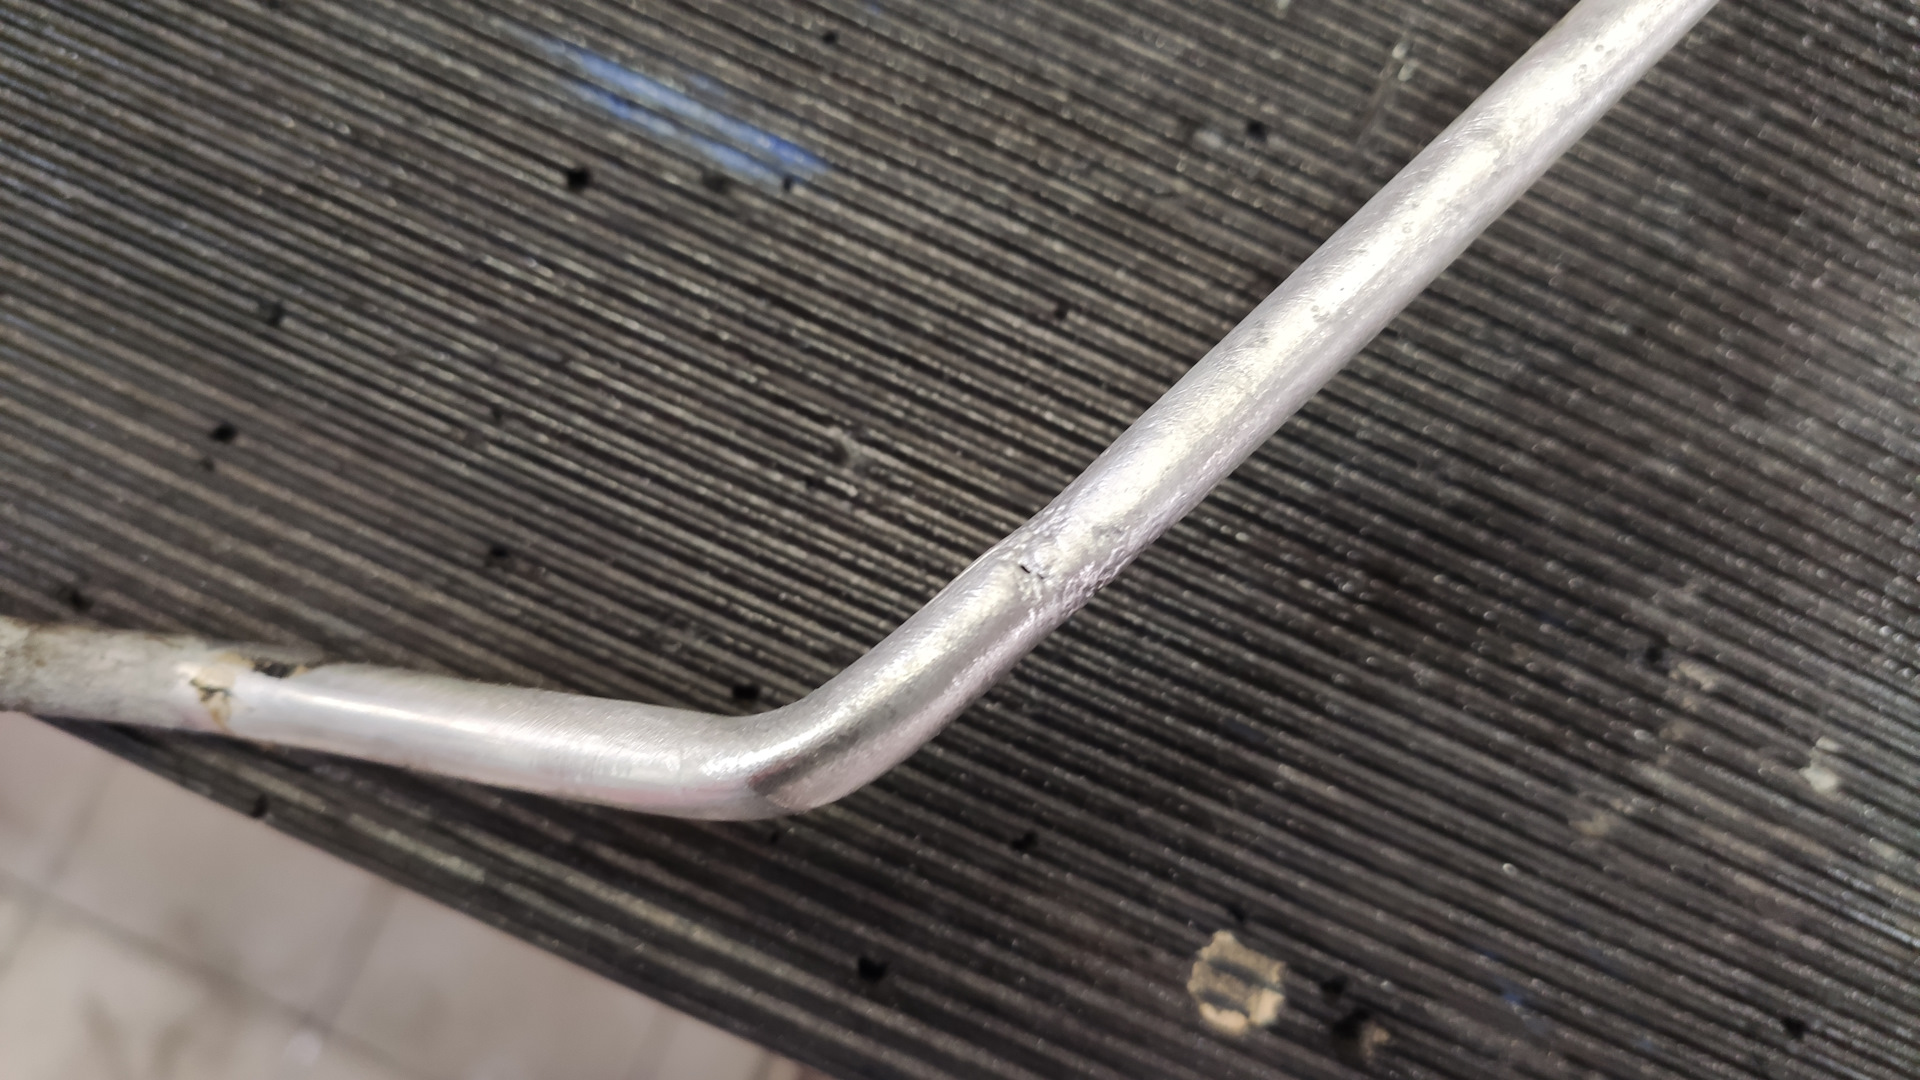
Первое место готово:
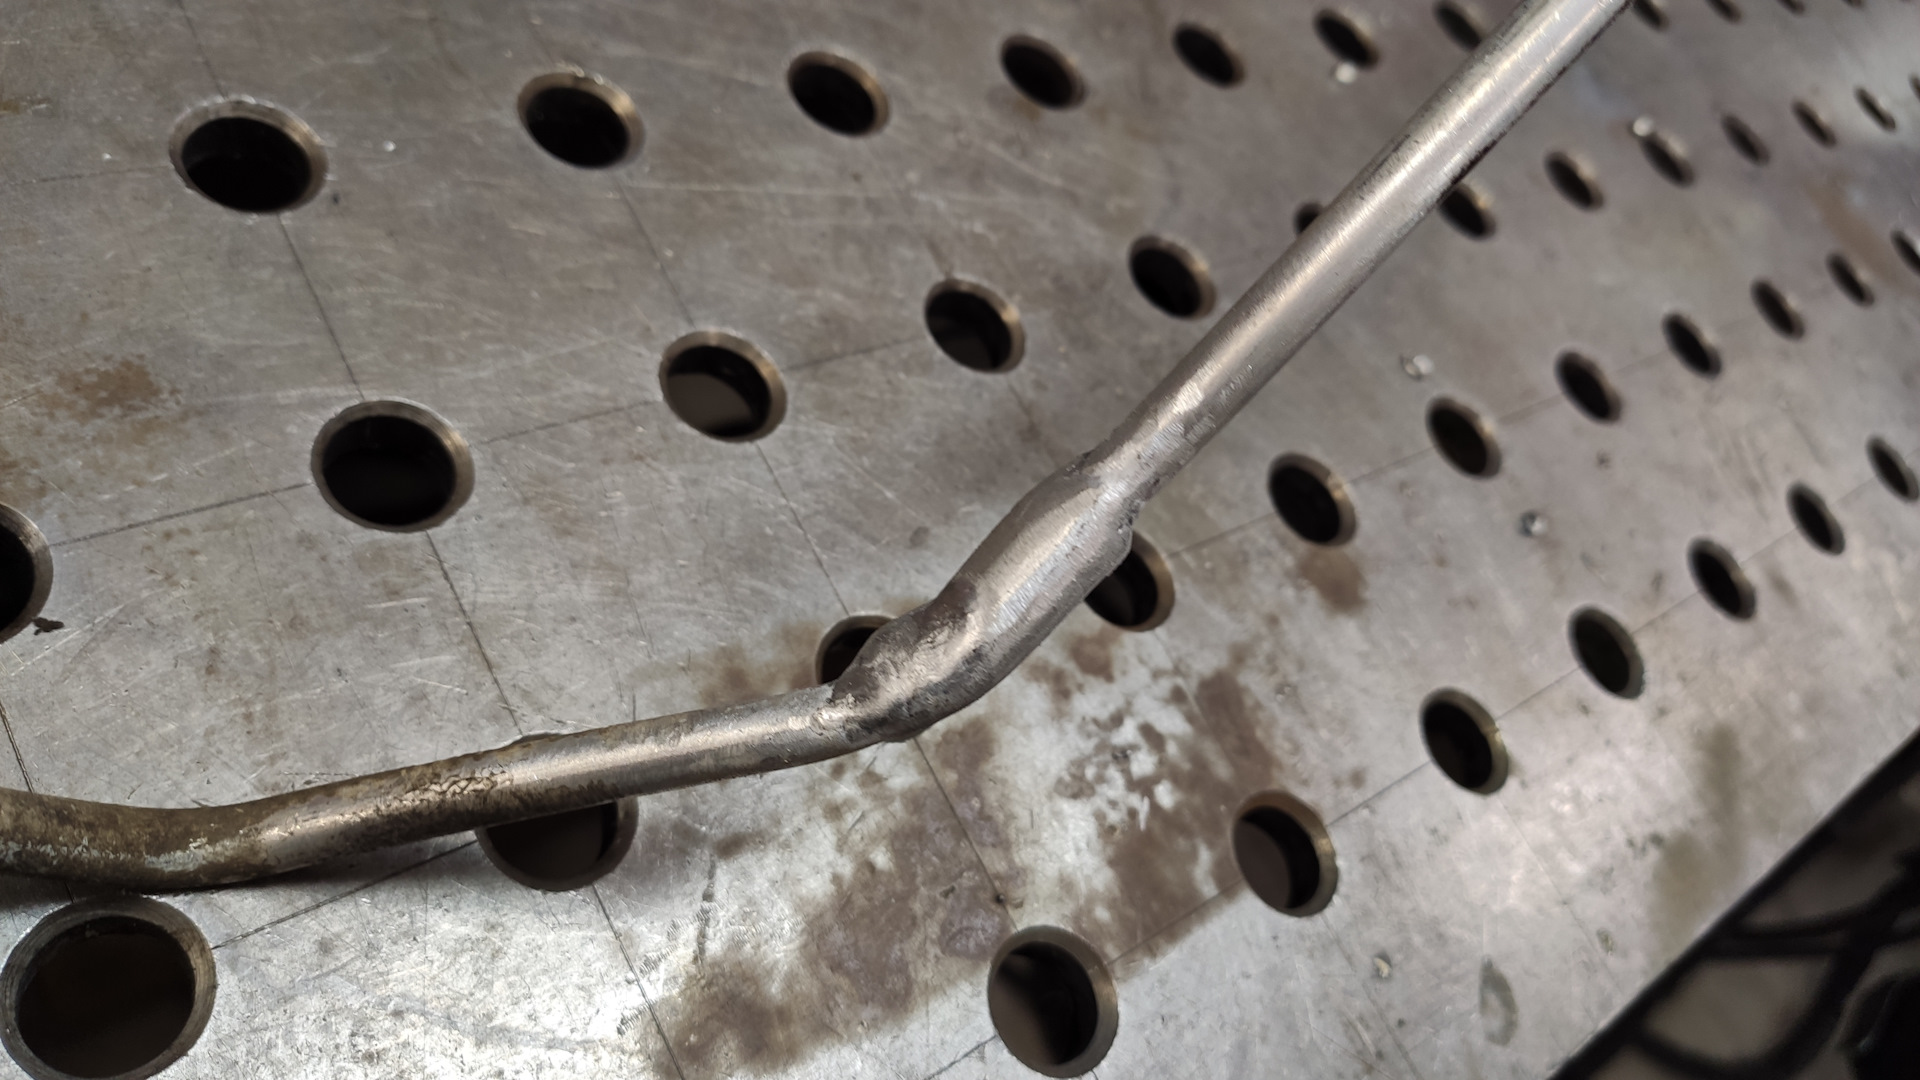
При сварке третьего места начинаю понимать, что попытка сохранить родную трубку попахивает колхозом и решаюсь обрезать все гнилье и заменить его на нормальную резиновую магистраль.
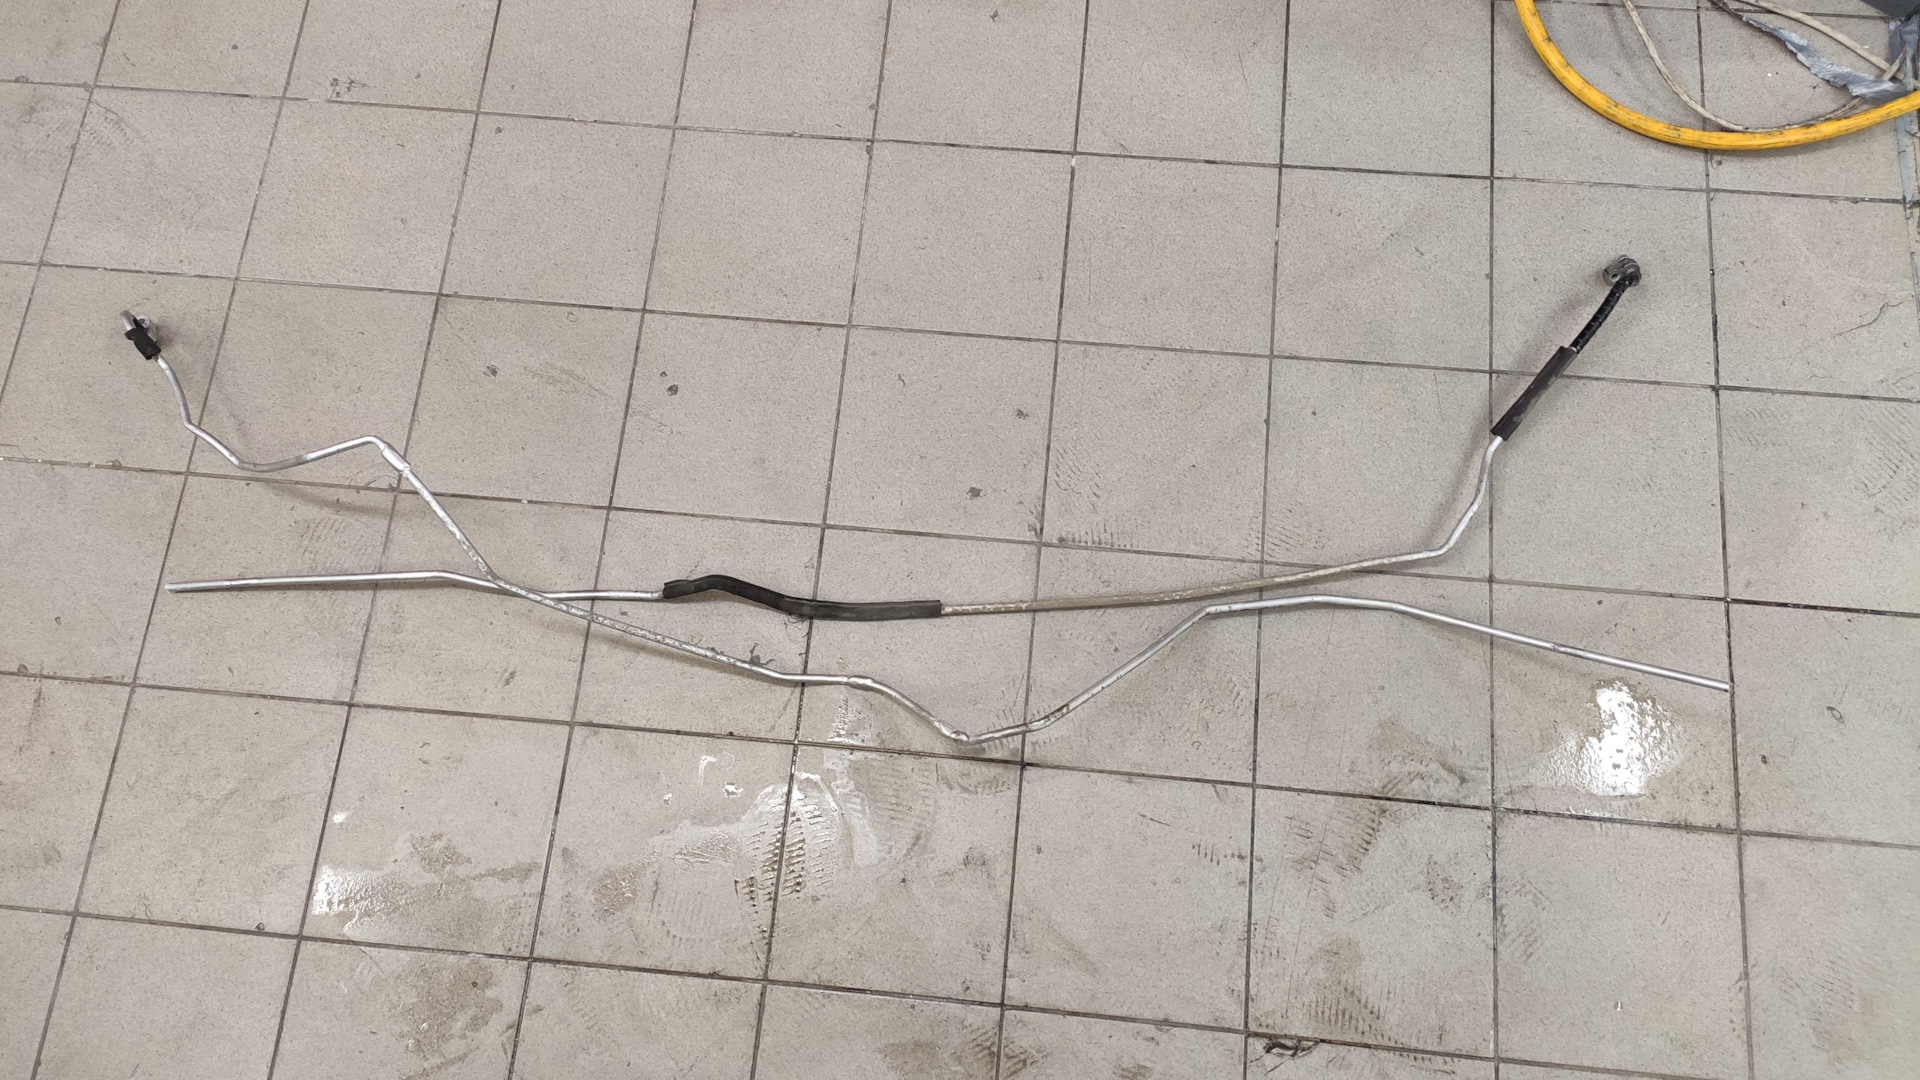
Вся часть от заднего бака до места соединения под подрамником идет в мусорку. Единственное, отпиливаю сам узел соединения, он мне еще понадобится. Готовлю законцовку части магистрали, которая идет от переда авто, очищаю ее от окислов, обезжириваю нефрасом. Далее центрую в резьбовом фитинге:
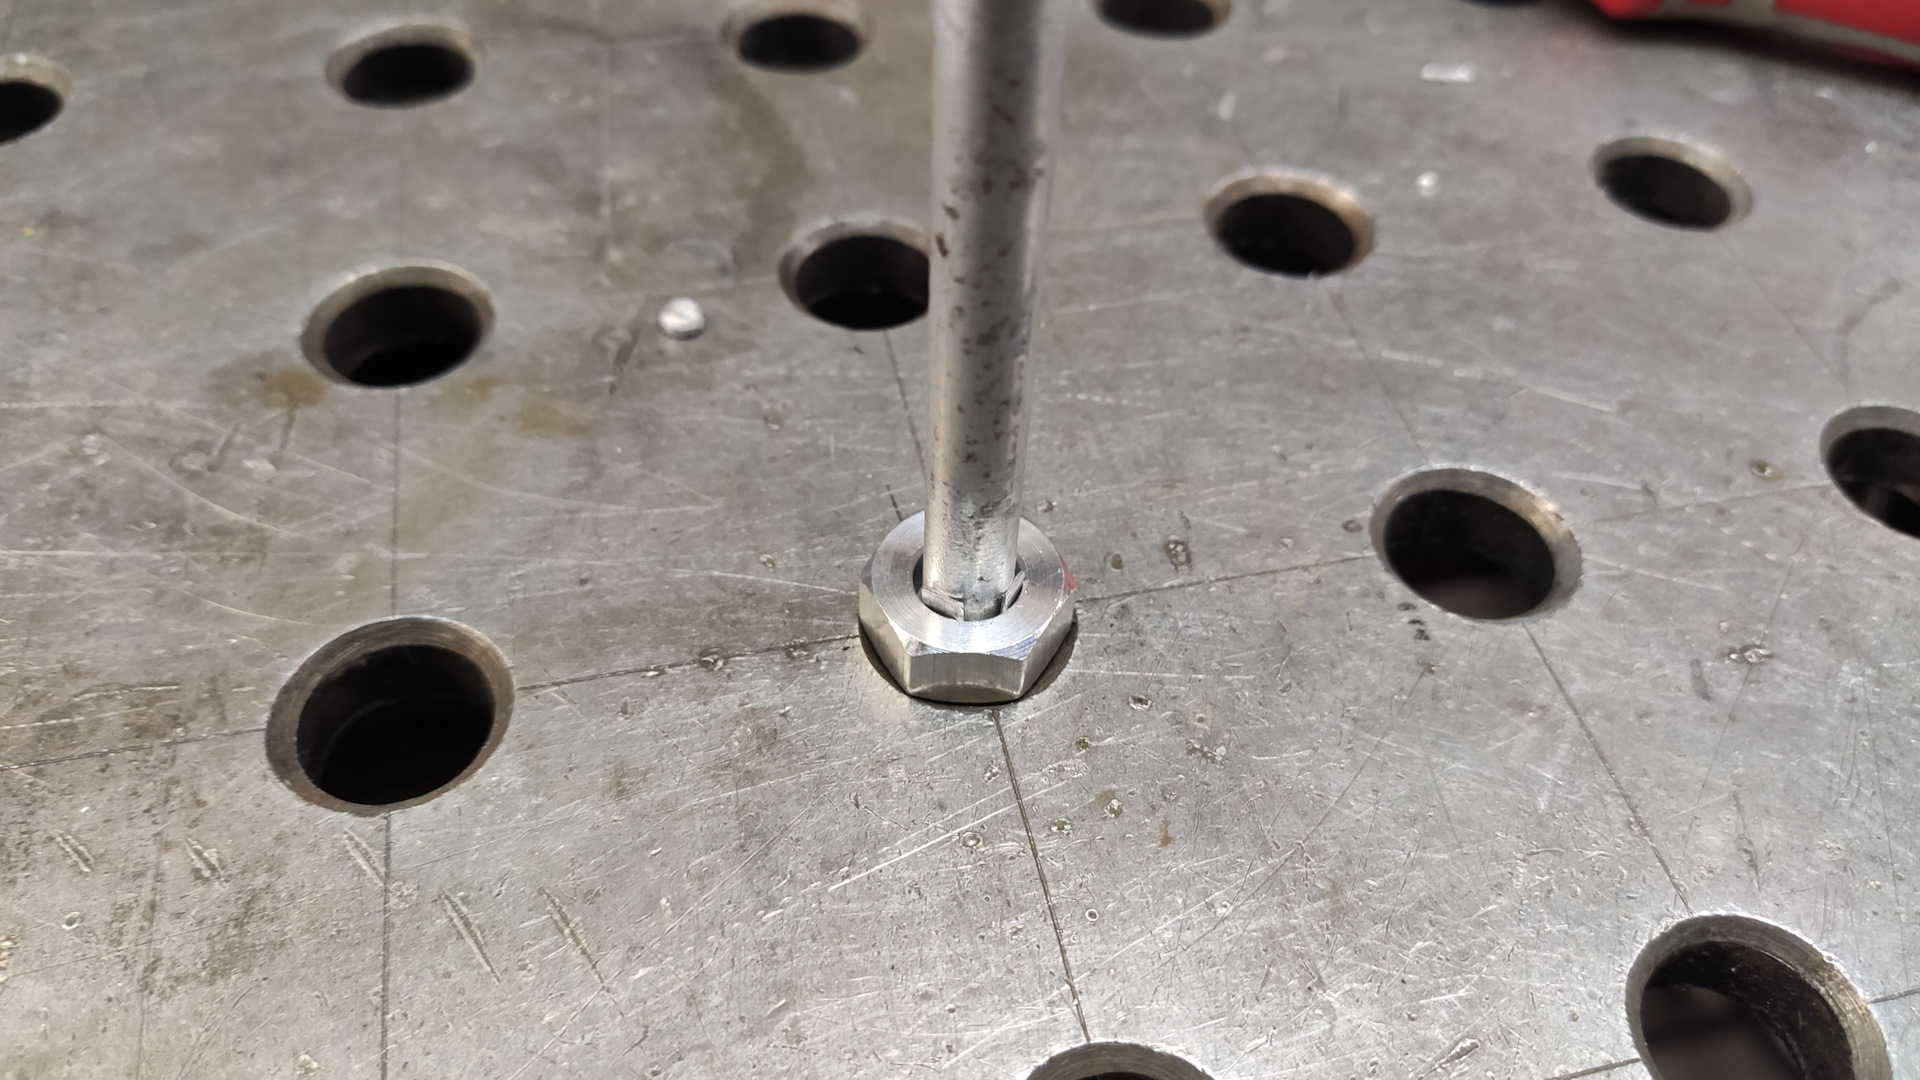
Привариваю и зачищаю сварной шов:
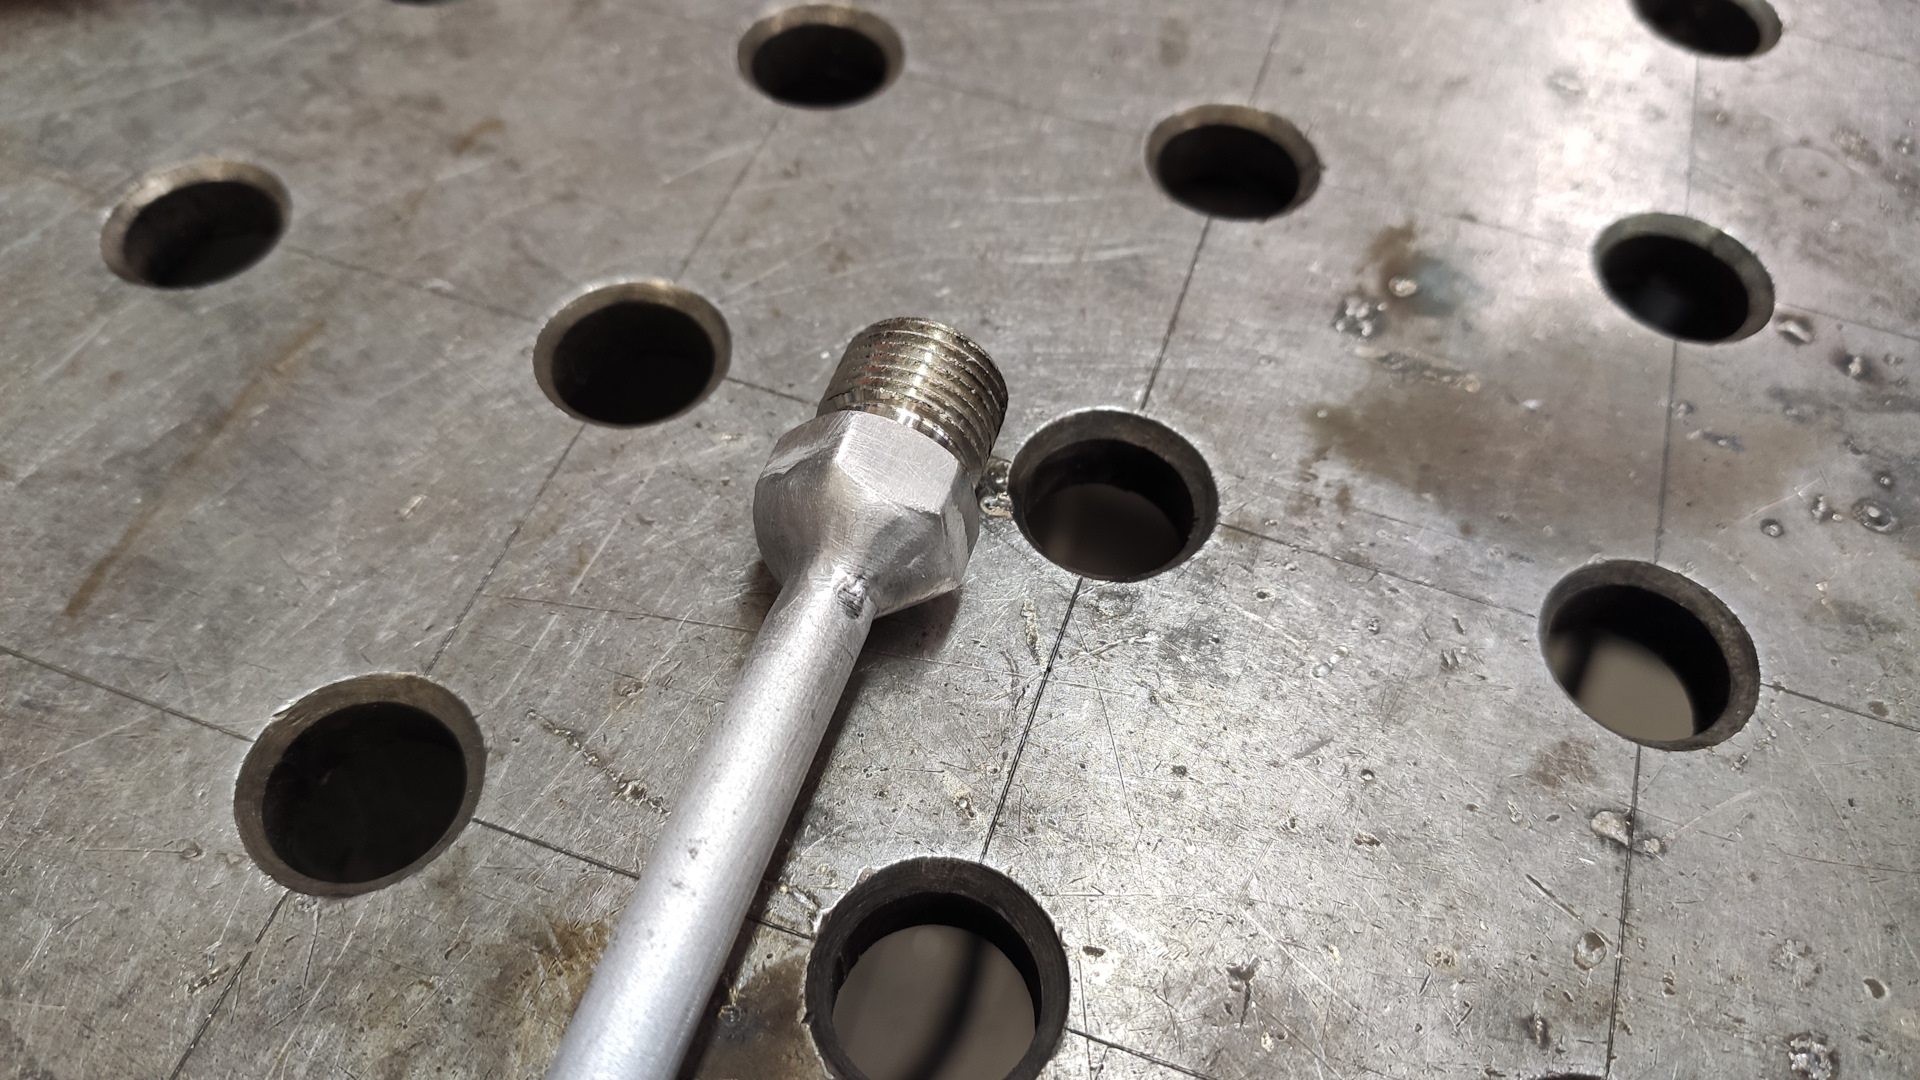
Да да, многие могут сказать, что трубки кондиционера паяют, а не варят, но тут, на мой взгляд, все зависит от заточенности рук… Так, одна часть готова, можно монтировать ее на автомобиль совместно с магистралью низкого давления.
Все также мучительно монтирую цельную магистраль низкого давления, в конце концов мне это удается. Креплю ее в передней и задней части, заменив резиновые уплотнения на новые.
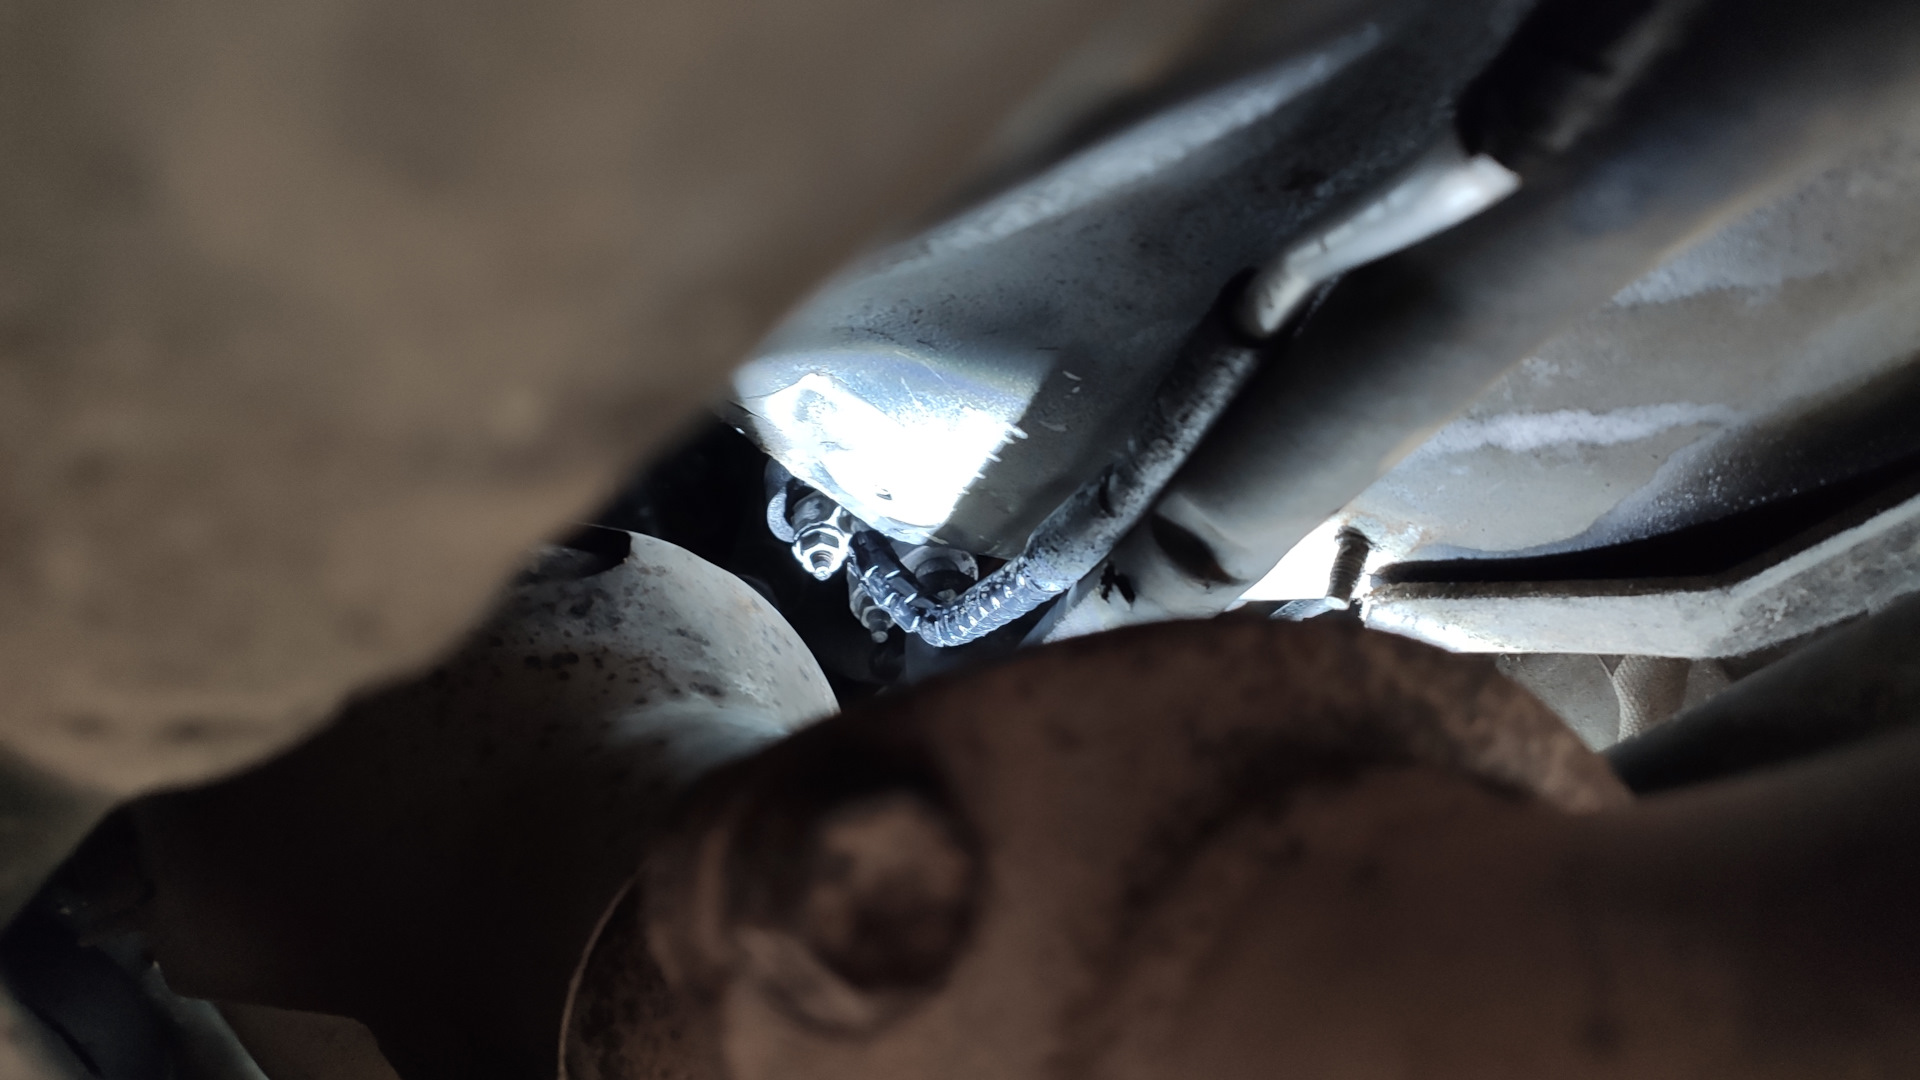
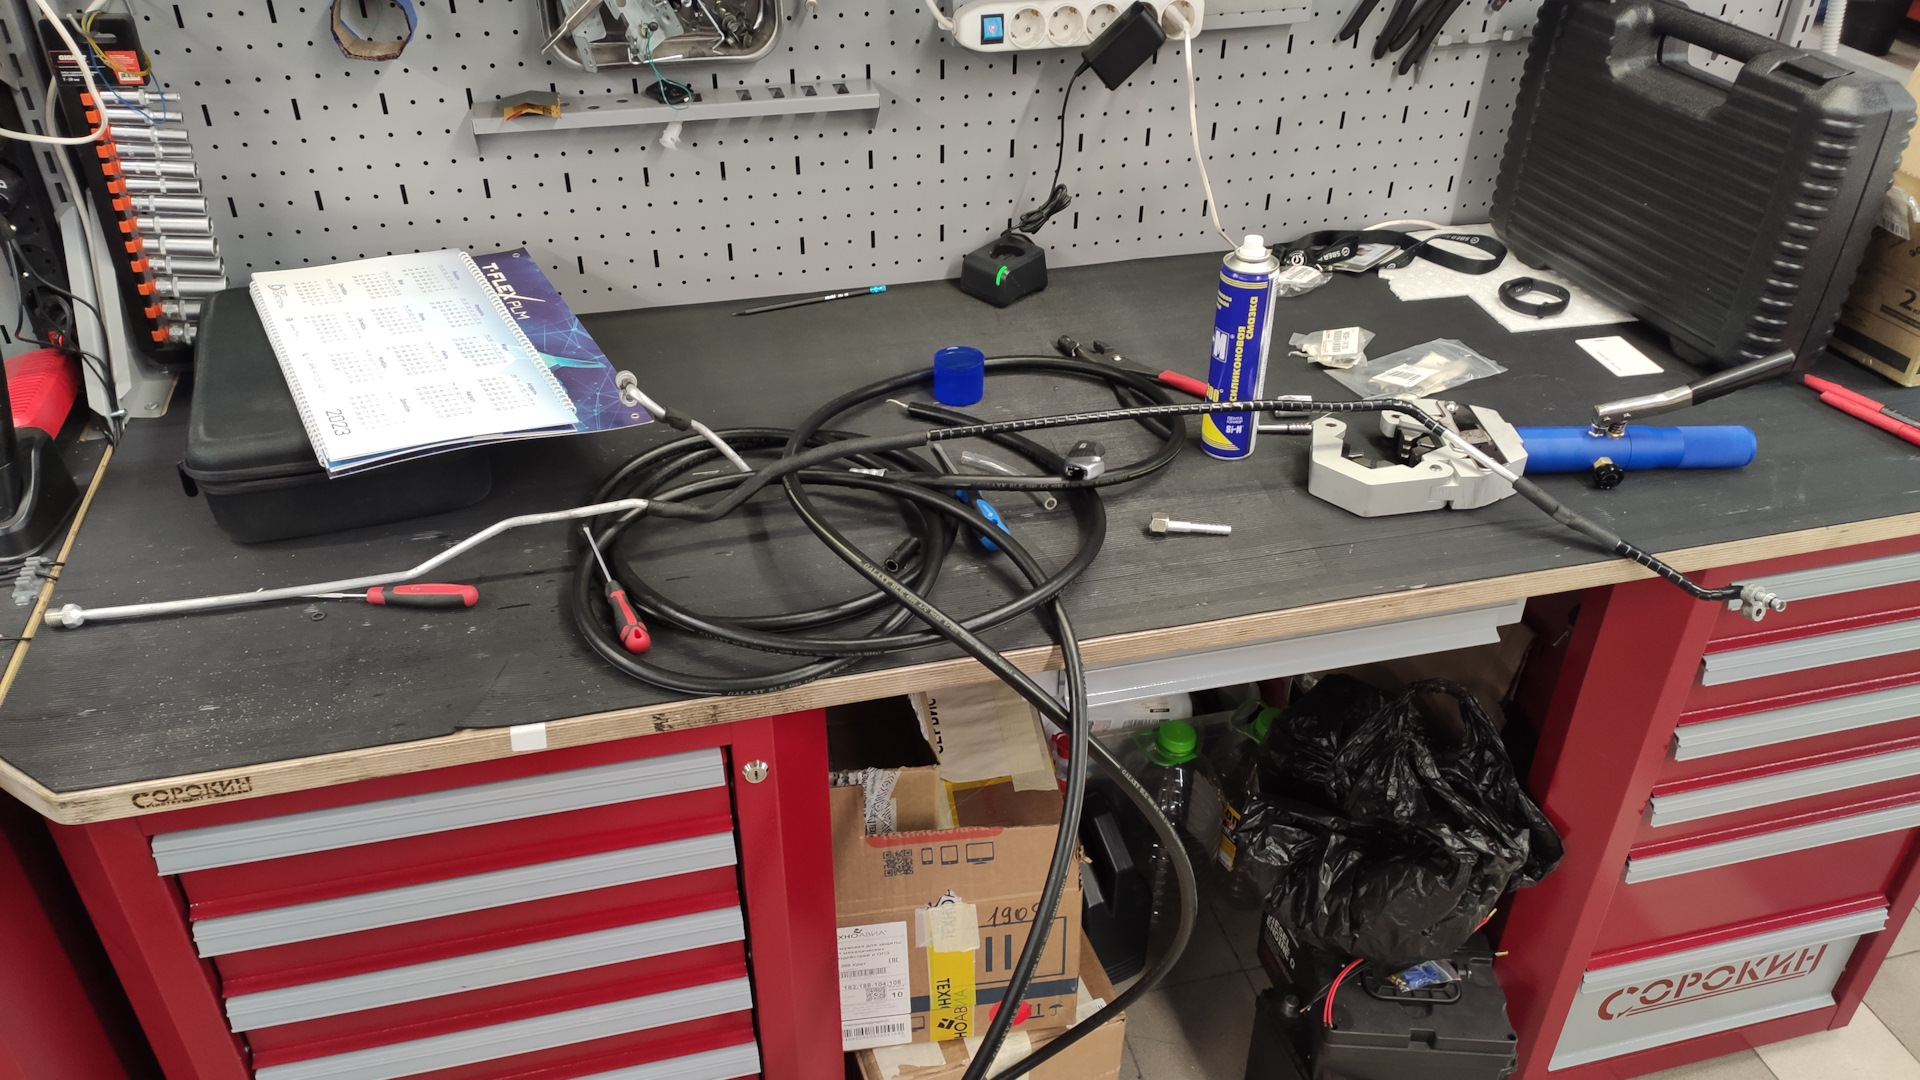
Приступаю к изготовлению замены сгнившему отростку. Привариваю "ёлочку" к живому остатку трубки и готовлюсь к изготовлении резиновой магистрали. Шланг использовал Galaxy, 8мм. Взял с запасом пару метров.
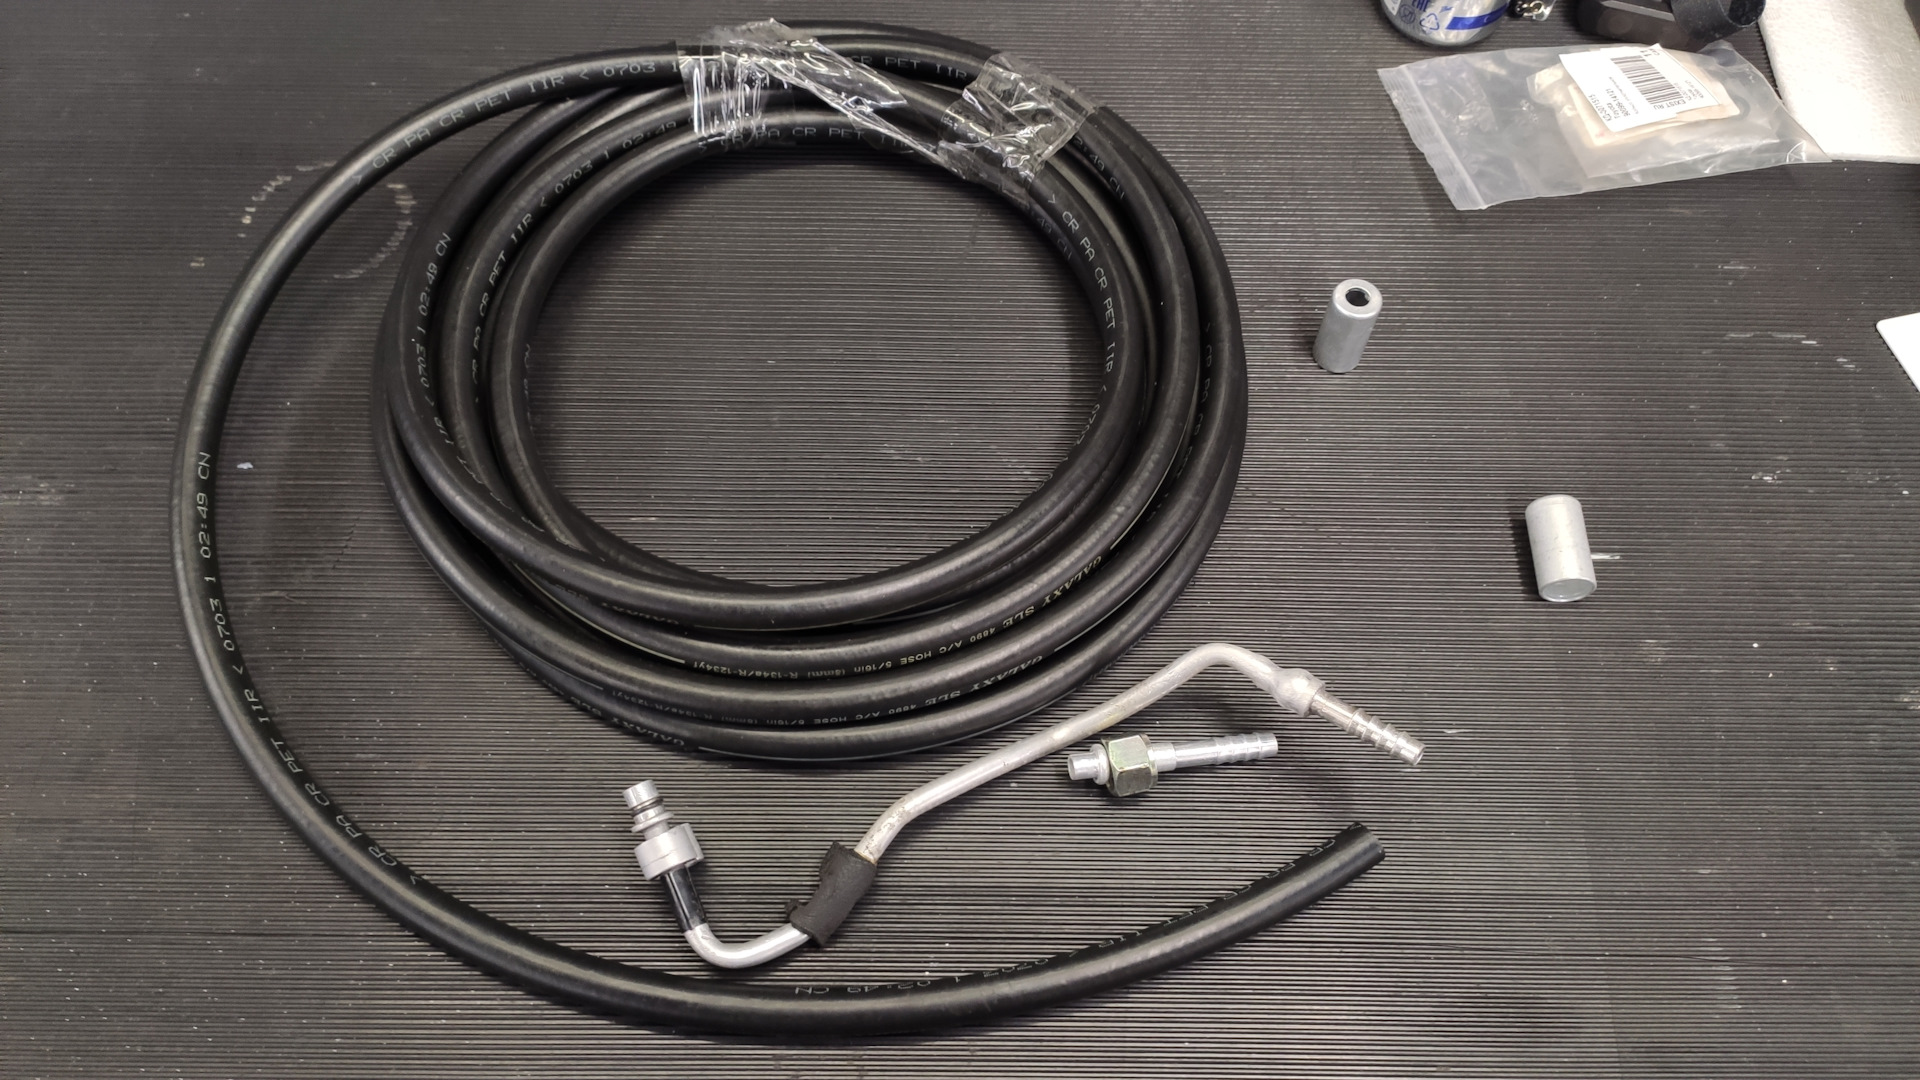
Обжимаю шланг на этом отростке и устанавливаю на автомобиль, чтоб по месту замерить необходимую длину шланга. После замеров обрезаю, достаю обратно и обжимаю фитинг с другой стороны.
Ремонтная магистраль готова:
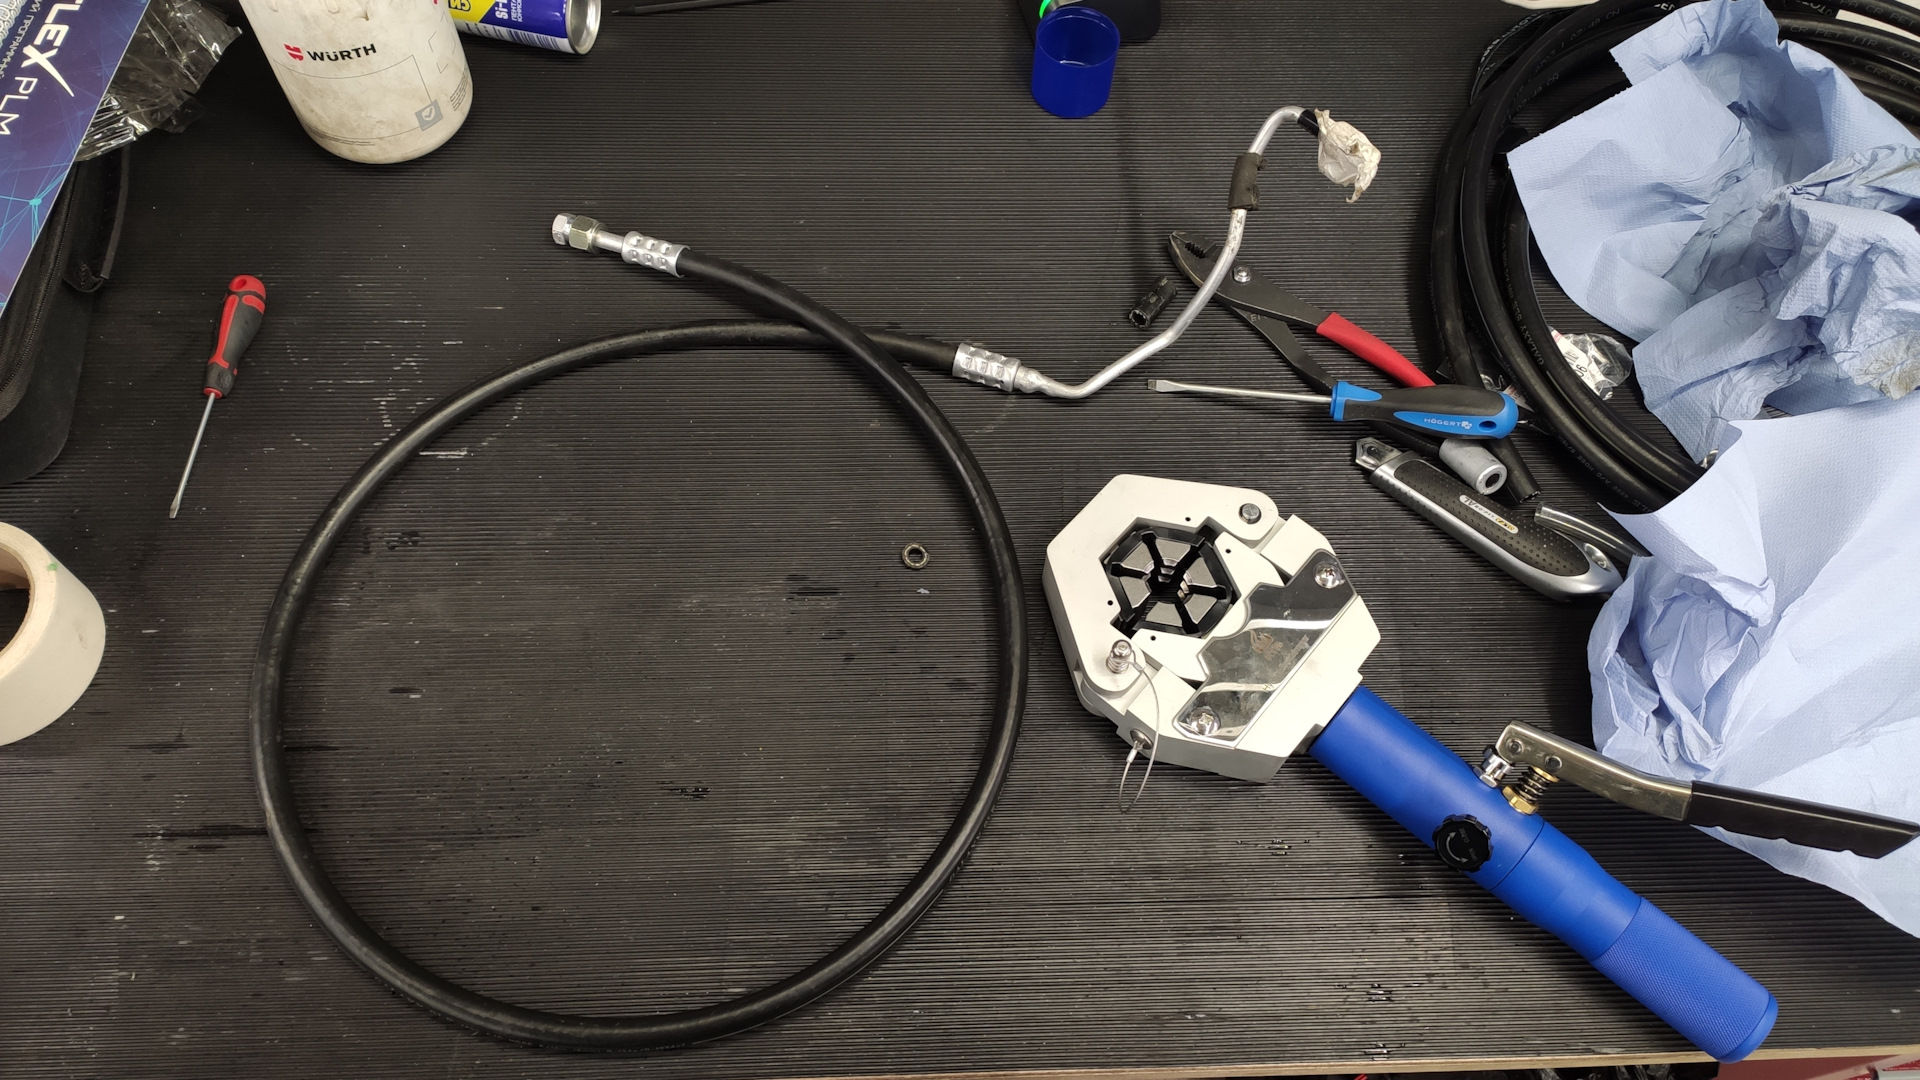
Далее все сильно проще: устанавливаю ее на автомобиль, параллельно магистрали низкого давления.
Креплю под задним подрамником:
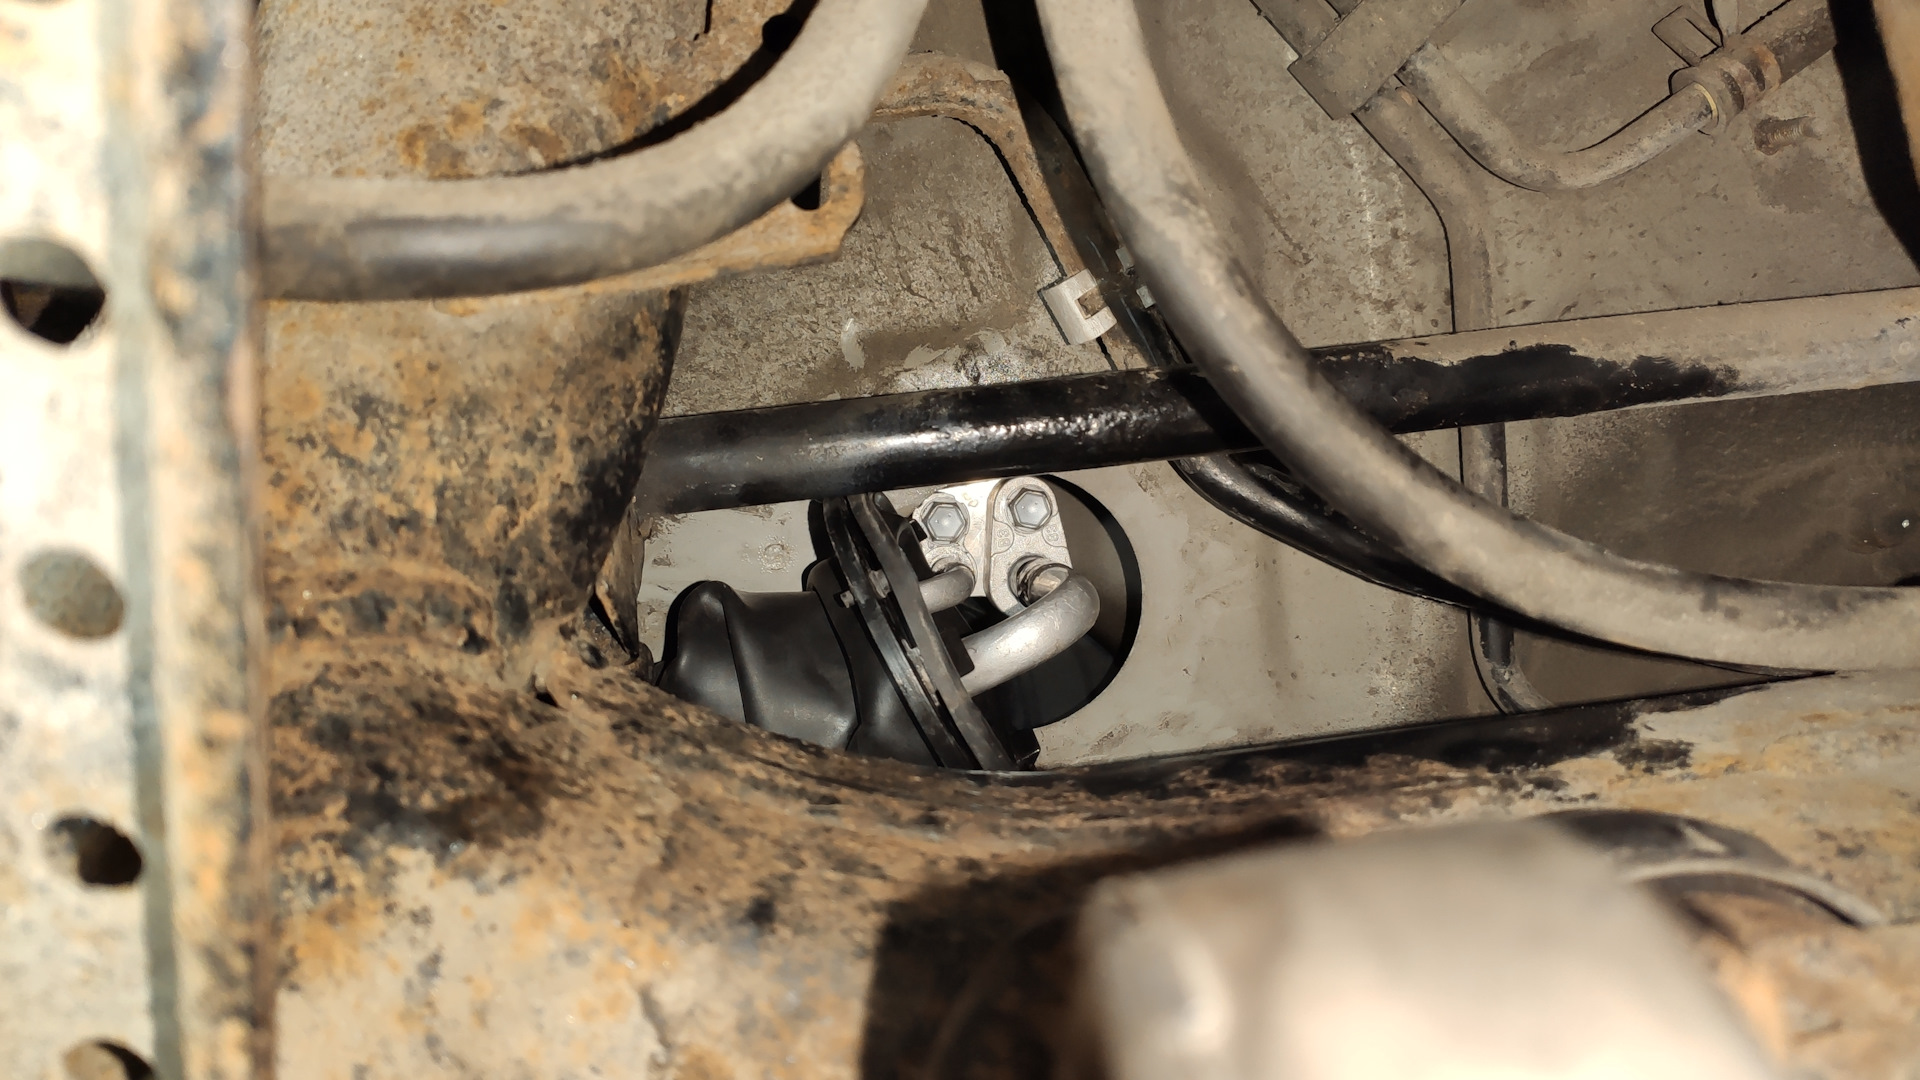
Сразу защелкиваю пыльник:
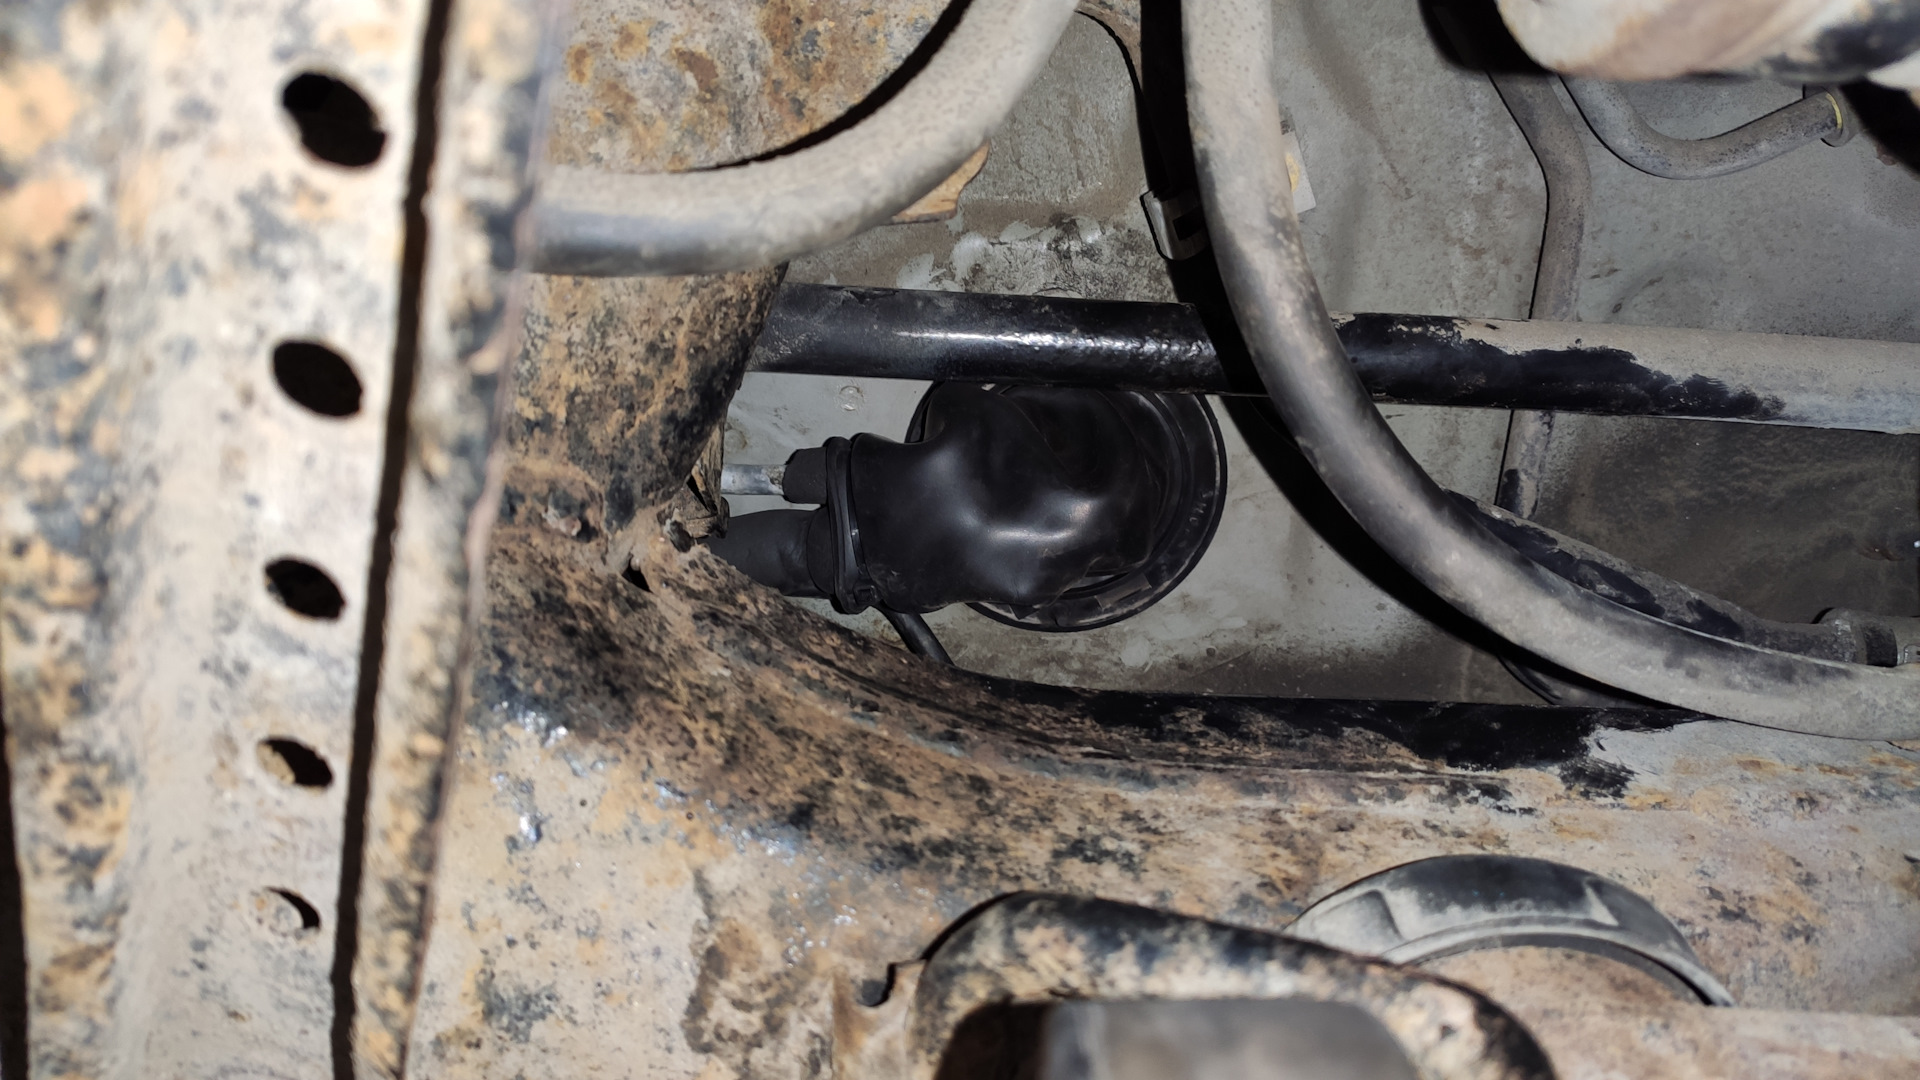
Ну и соединяю с ранее установленной частью магистрали высокого давления.
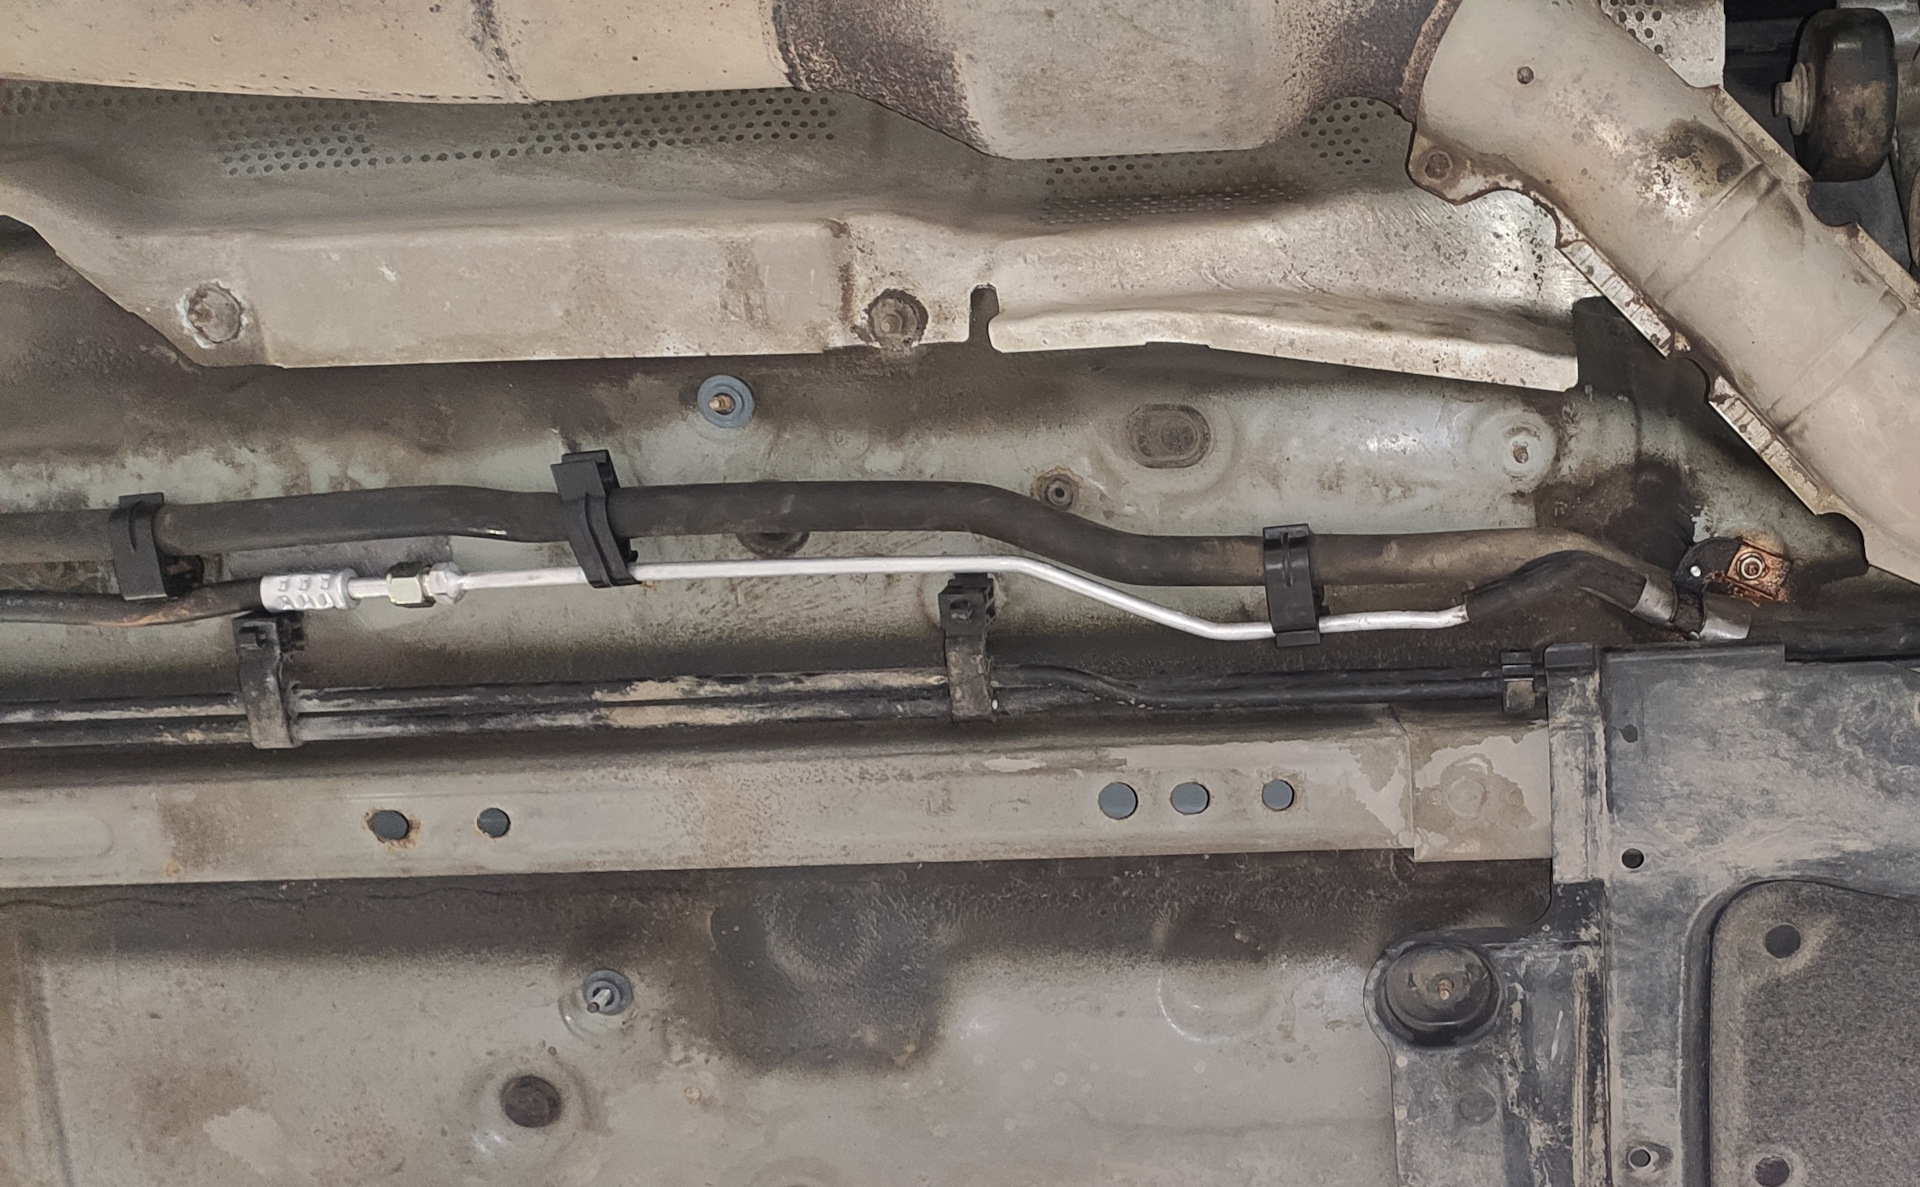
Не забываю про установку всех штатных хомутов крепления магистрали. Резиновую часть местами дополнительно крепил стяжками, чтоб четко повторяла геометрию магистрали низкого давления. Креплю левое крепление топливного бака, устанавливаю все ранее снятые пластиковые защиты и термоэкраны.
Сборка завершена. Теперь опрессовка и, при положительном результате, заправка фреоном.
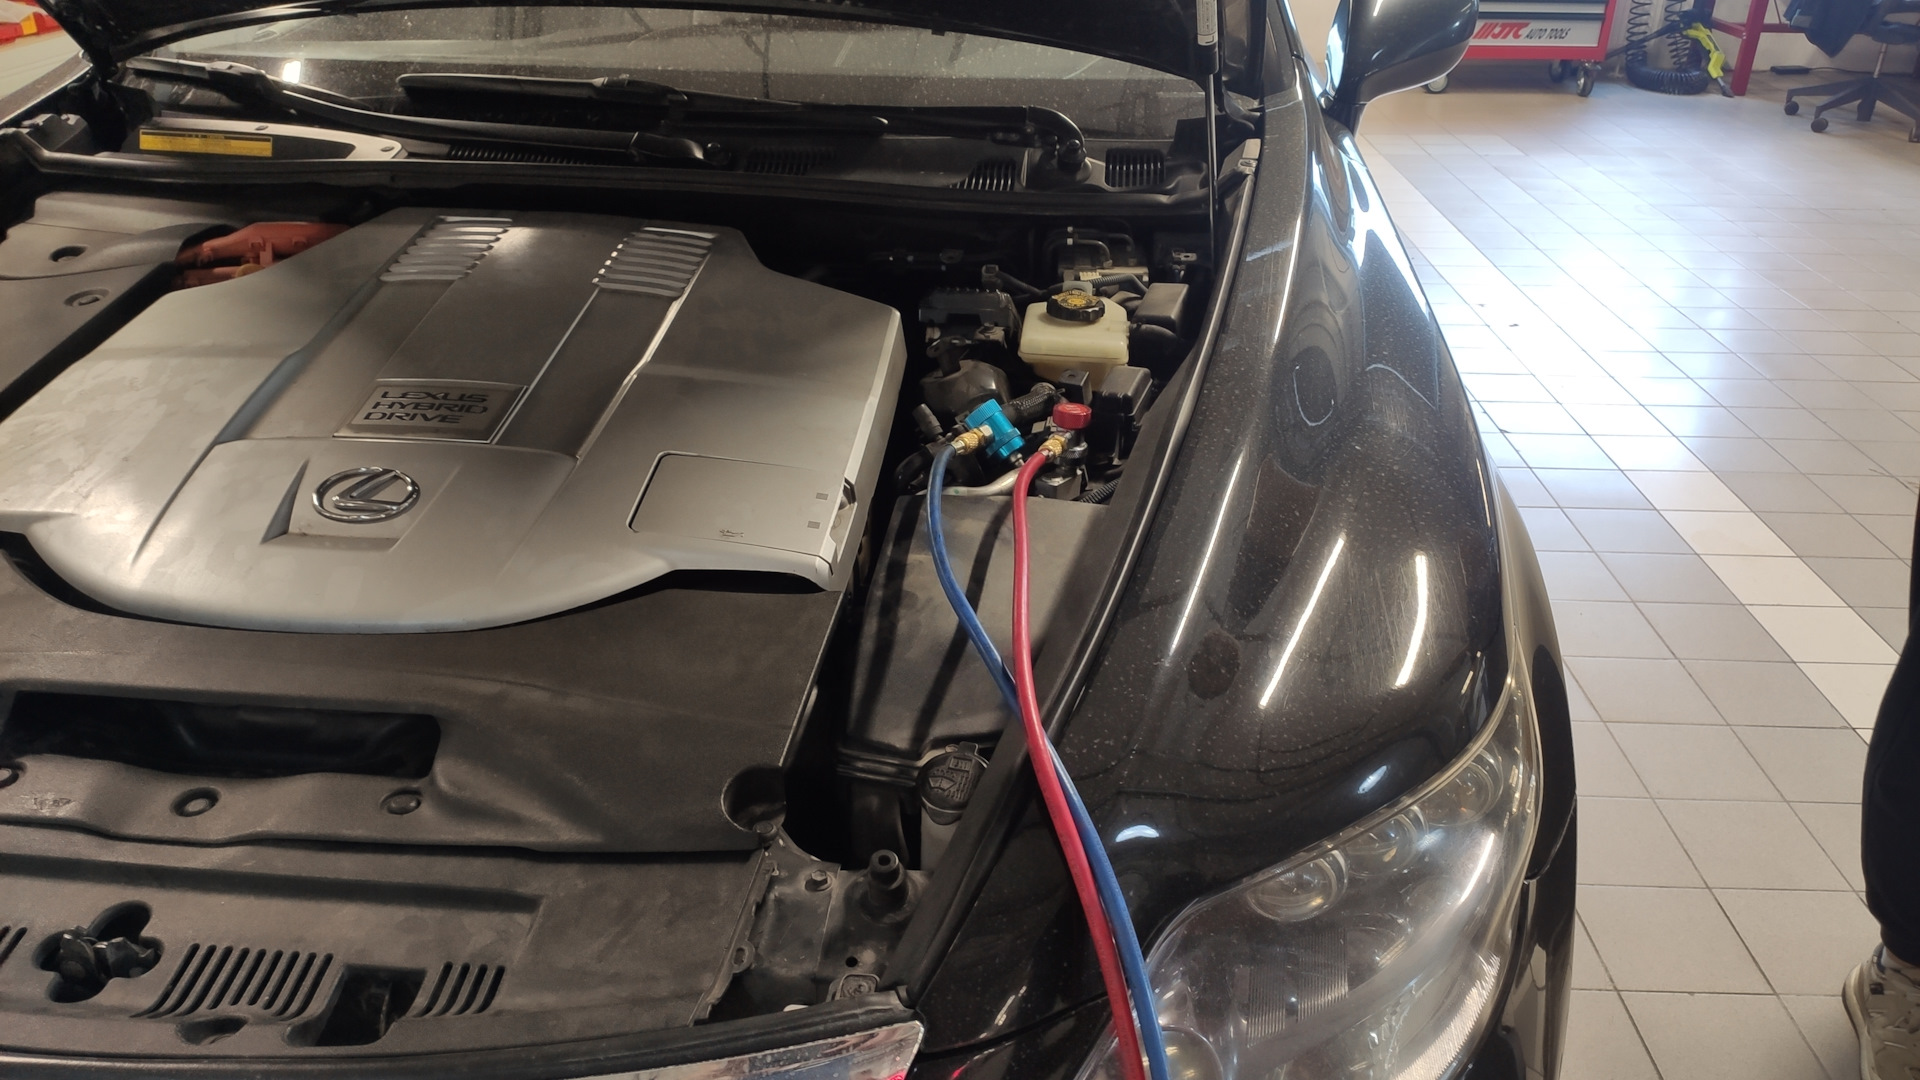
Опрессовка прошла успешно, утечек не обнаружено. Заправляю и радуюсь работающему кондиционеру, как и моя высоковольтная батарея))))
В итоге, на все работы потратил 3 вечера. Для себя еще раз понял, что нет смысла кого-то слушать. Если не получилось у них, это не значит, что не получится у меня.
Совет для тех, у кого аналогичная проблема: Если у Вас сгнили трубки примерно в том же месте, что и у меня, то можно сэкономить кучу времени, не демонтируя полностью магистраль. Достаточно лишь аккуратно отрезать по месту гнилую часть и демонтировать лишь ее. Изготовить ремонтную часть и установить в штатное место. В таком случае вполне можно уложиться в один вечер =)
Ну а у меня на этом все, надеюсь кому-нибудь данная статья поможет в ремонте своего автомобиля.
Комментарии
Пока нет одобренных комментариев.