════════════Frequently Asked Question════════════
Автор: awik80
Источник: www.drive2.ru/l/1984873/
Основание: тема
Разбор
Хочу подробно остановиться на основных моментах разбора панели. Когда разбирал у себя онаружил поломанные крепления нескольких панелей. На фото кратко поясню очерёдность и места крепления составляющих панелей. Думаю поможет тем кто будет разбирать первый раз. Чтоб не сломать или не доломать при разборке.
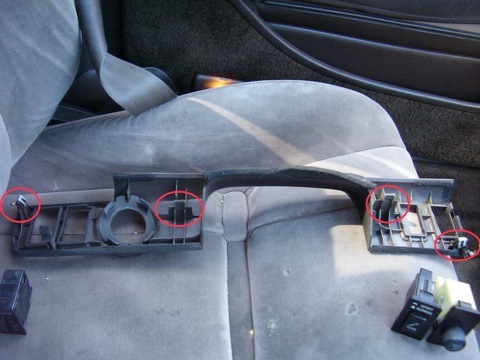
Начинаем с нижней декоративной панели. Я всегда начинаю с блока управления зеркалами. Вынимаем его и отсоединяем проводку. Через образовавшееся отверстие можно без труда снять панель и кнопки в ней (темс, регулировки яркости приборки и ионизатора). Она крепиться четырьмя зажимами.
Затем снимаем декоративную панель приборной панели.Для этого нужно открутить два шурупа крепления ящичка (в моём случае) с кнопкой аварийной сигнализации.
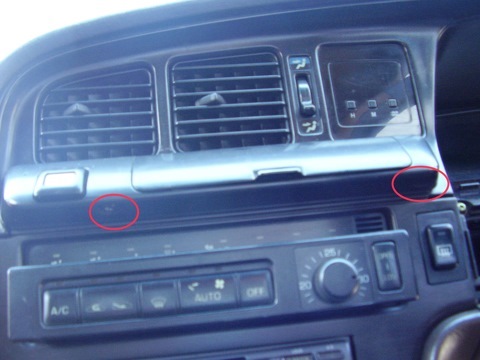
Потом в образовавшемся проёме два шурупа крепления самой панели (в моём случае сломаны).
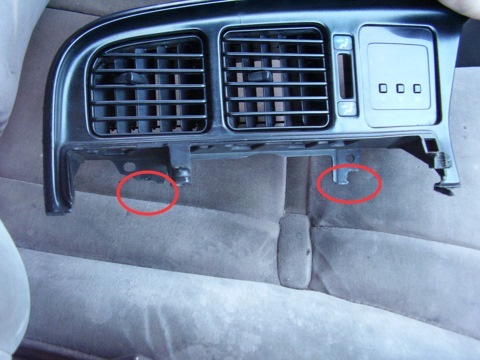
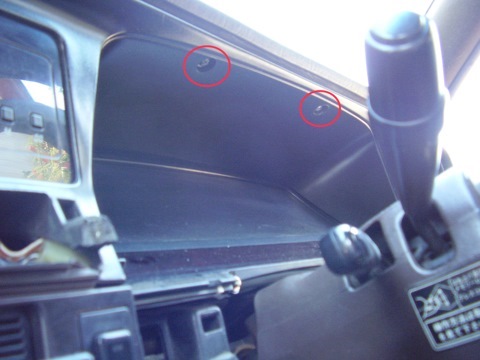
Ещё два шурупа сверху.
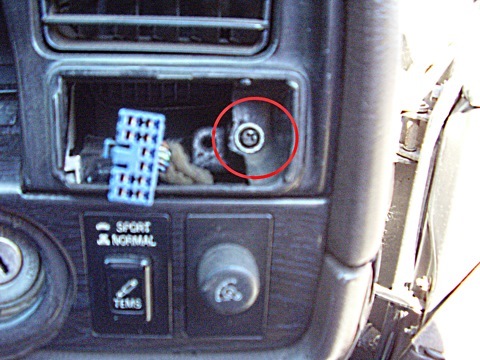
И один шуруп в проёме от блока управления зеркалами. Не забываем про зажим за часами.
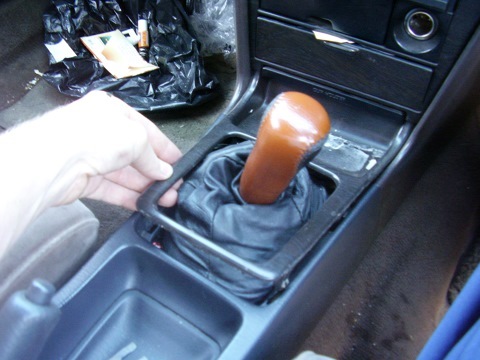
Снимаем верхнюю консольную панель(четыре зажима) и центральную заднюю консоль(четыре болта внутри бардачка и два шурупа)
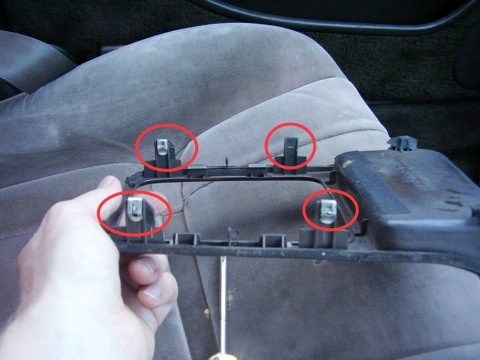
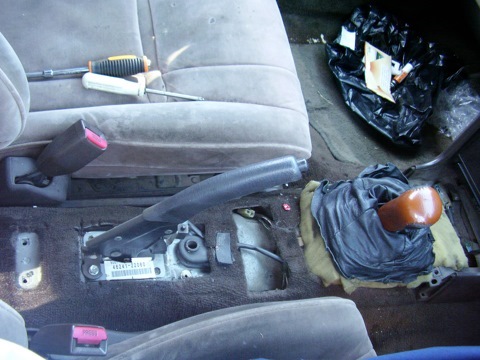
Снимаем держатель(два шурупа).
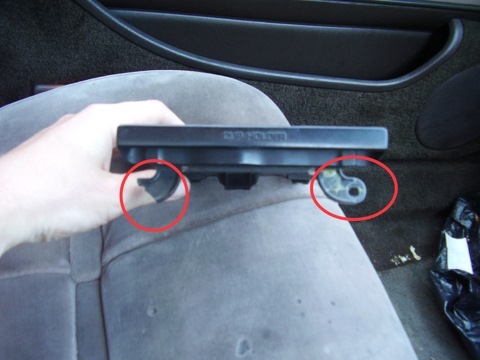
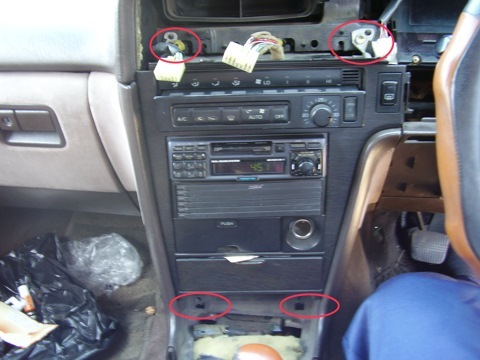
За держателем два нижних болта крепления кронштейнов центральной приборной декоративной понели. Верхние болты и так видно. Сама панель крепится на шурупах к этим кронштейнам с внутренней стороны.
Комментарии
Пока нет одобренных комментариев.