═════════════════Frequently Asked Question═════════════════
Автор: SelfMade
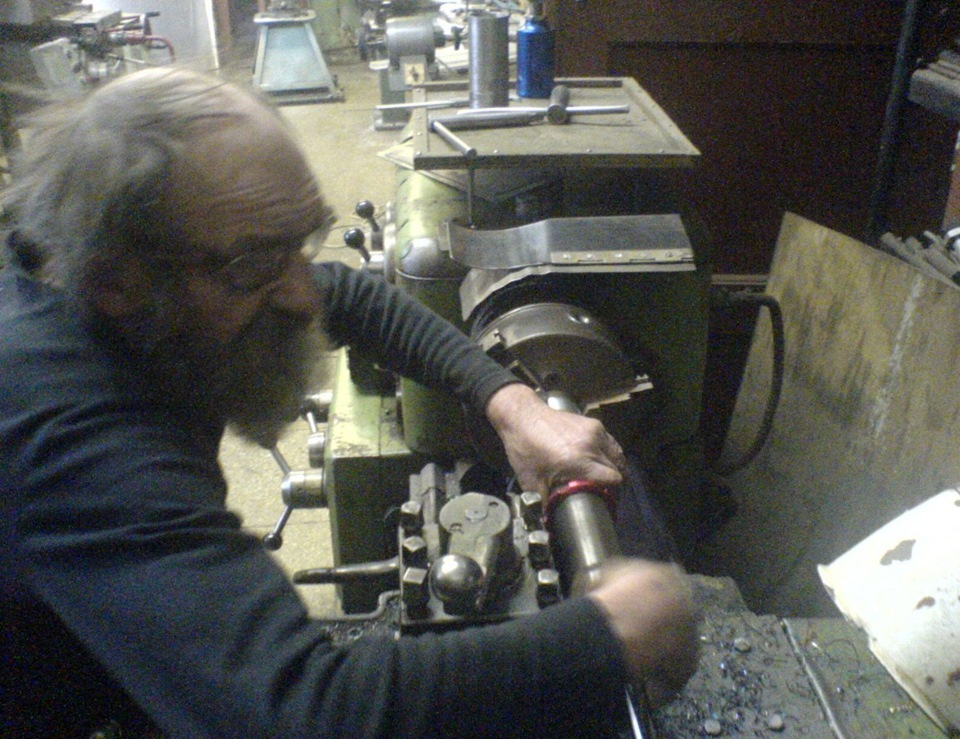
Рецепт стоек я присмотрел на сайте oldschool-cars.ru, где был выложен перевод оригинальной статьи с какого-то иностранного форума, все осмыслил и внес на мой взгляд более грамотные корректировки и в результате получился очень качественный продукт нашего с тестем коллективного творчества! Для начала, чтобы не портить заводскую деталь, а именно нижний башмак передних стоек, который крепится к поворотному кулаку у Сильвии я, с помощью прикольного токаря в моей организации Виктора Михайловича изготовил специальные переходные стаканы, которые накручиваются на передний амортизатор.
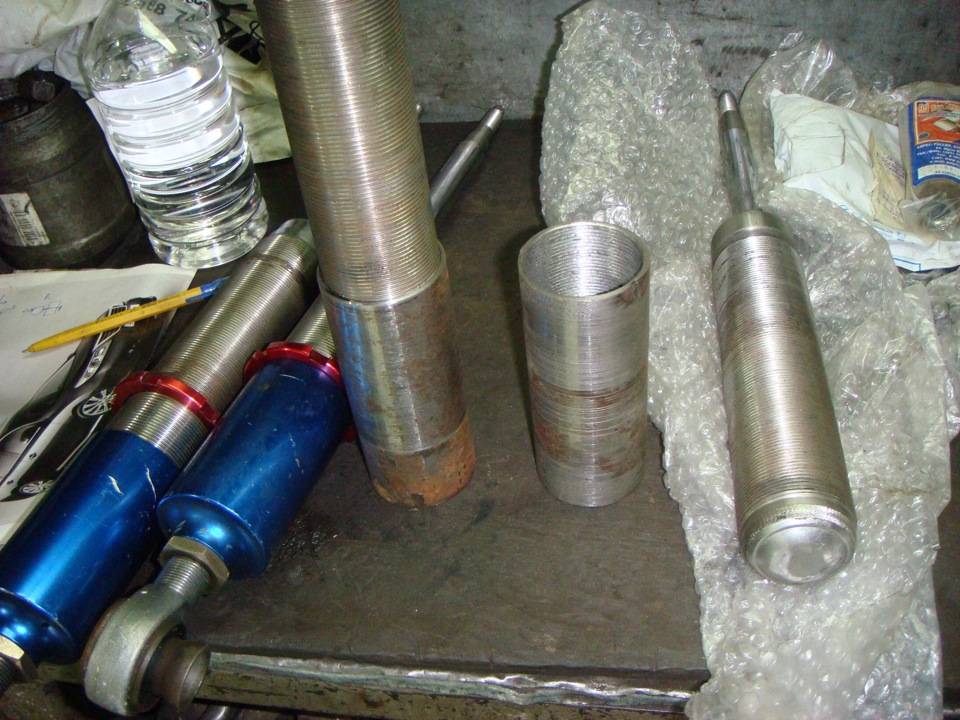
Дальше полностью разбираем штатные стойки с Марка и вытаскиваем картриджи амортизаторов. Берем передние стойки и отрезаем трубу от ступицы. При этом надо оставить кусок трубы примерно 3 см, поскольку дальше идет утолщение, на которое не налезет наш переходной стакан.
Дальше в получившейся детали надо увеличить центральное отверстие на 1 мм путем развальцовки его шарошкой по диаметру для того, чтобы верхняя опора от стойки Сильвии проходила туда без проблем. Также на верхней опоре задних стоек Сильвии мы имеет две шпильки для которых намечаем два отверстия, сверлим и собираем вместе новую верхнюю опору.
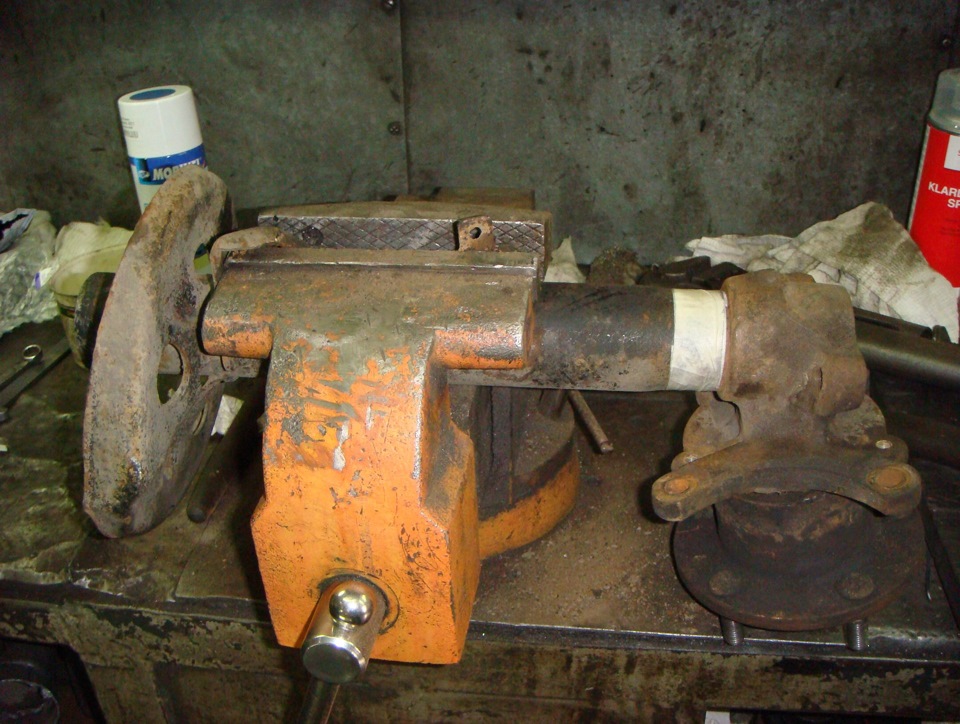
Дальше одеваем наш переходной стакан на оставшуюся часть ступицы и завариваем все по кругу, но здесь надо быть очень аккуратным и выдержать полную соосность старой трубы и нового стакана иначе развал уйдет в никуда! Для этого из отрезанного куска трубы штатной стойки вырезаем кольцо высотой 6мм и разрезаем его в трех местах, чтобы получилось 3 полумесяца и при установке на оставшийся кусок трубы в 3 см на ступице между ними получались зазоры для прихвата сваркой переходного стакана. Потом тщательно выравниваем их по высоте путем шлифовки, одеваем переходной стакан на оставшийся кусок трубы и под нижнюю грань подкладываем эти полумесяцы расставляя их так, чтобы получились зазоры для прихвата, таким образом мы выводим в ноль параллельность плоскостей опирания куска трубы и нашего переходного стакана на ступице. Чтобы переходной стакан не гулял туда-сюда на трубе, наматываем на трубу скотч бумажный и одеваем стакан с натягом. Скотч сгорит после сварки. Дальше прихватываем тремя точками стакан к трубе и обвариваем деталь по кругу током высокой мощности и получаем готовый сапог!
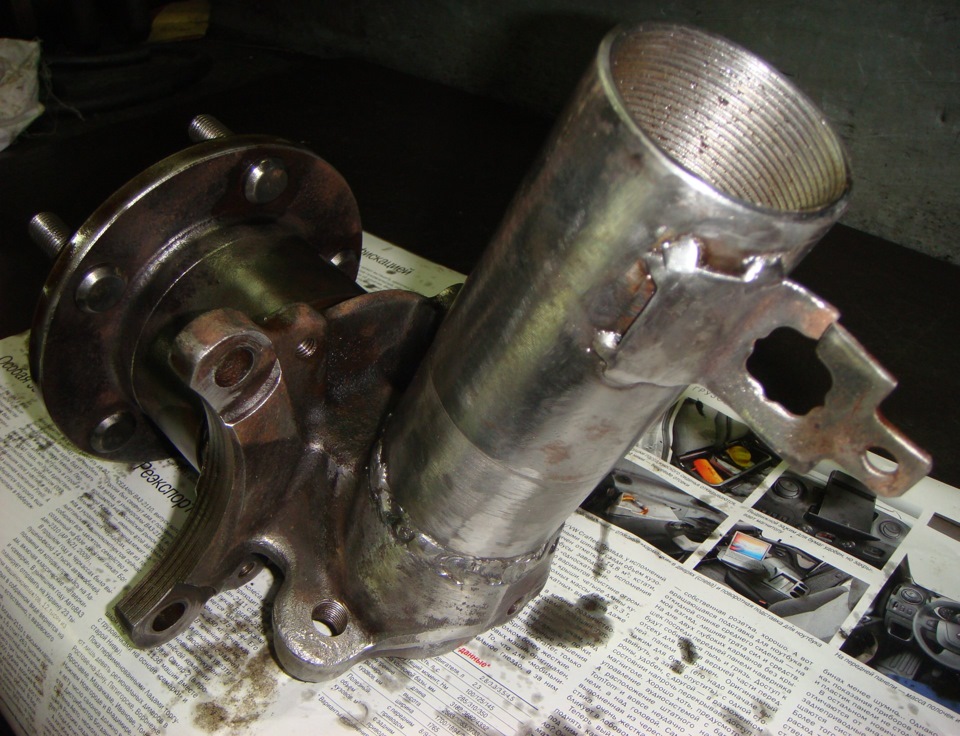
Потом привариваем кронштейны крепления тормозных трубок предварительно зарисовав их место расположения, вся зачищаем и красим. Прикручиваем башмаки к передним амортизатором и с передком закончили!
Теперь подробно о задних стойках. Дело в том, что у 81 кузова совсем другие верхние опоры и крепление к кузову, а также есть отличия в нижнем сайлентблоке. После разбора штатных задних стоек мы берем верхние опоры и разделяем их на две половины путем высверливания 9 точек заводской сварки и в результате получаем плоскую верхнюю часть с тремя шпильками крепления к кузову.
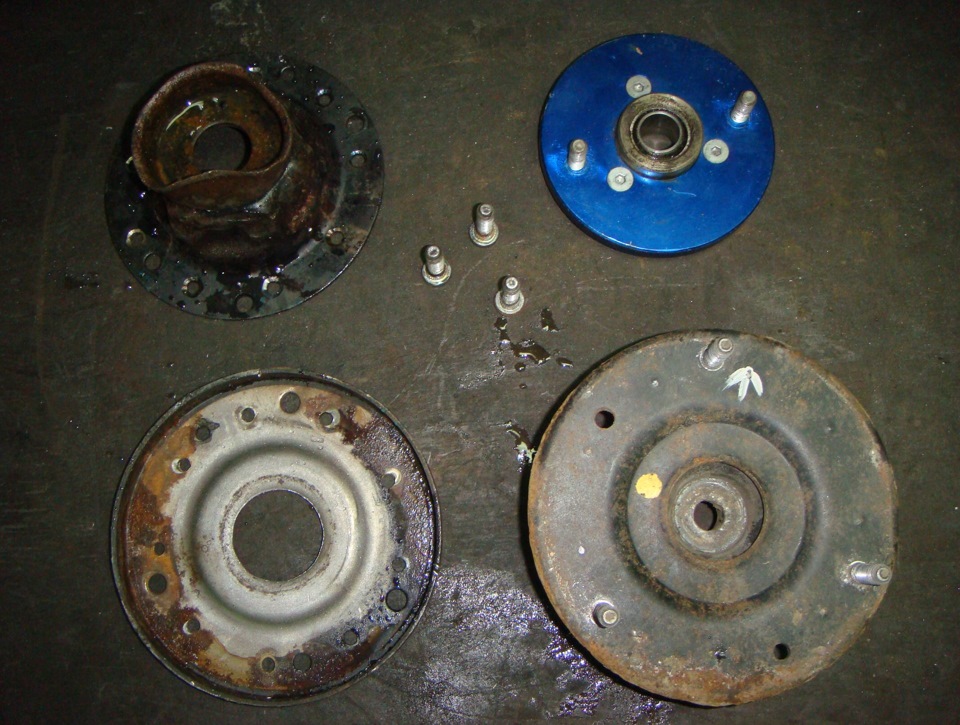
Дальше в получившейся детали надо увеличить центральное отверстие на 1 мм путем развальцовки его шарошкой по диаметру для того, чтобы верхняя опора от стойки Сильвии проходила туда без проблем. Также на верхней опоре задних стоек Сильвии мы имеет две шпильки для которых намечаем два отверстия, сверлим и собираем вместе новую верхнюю опору.
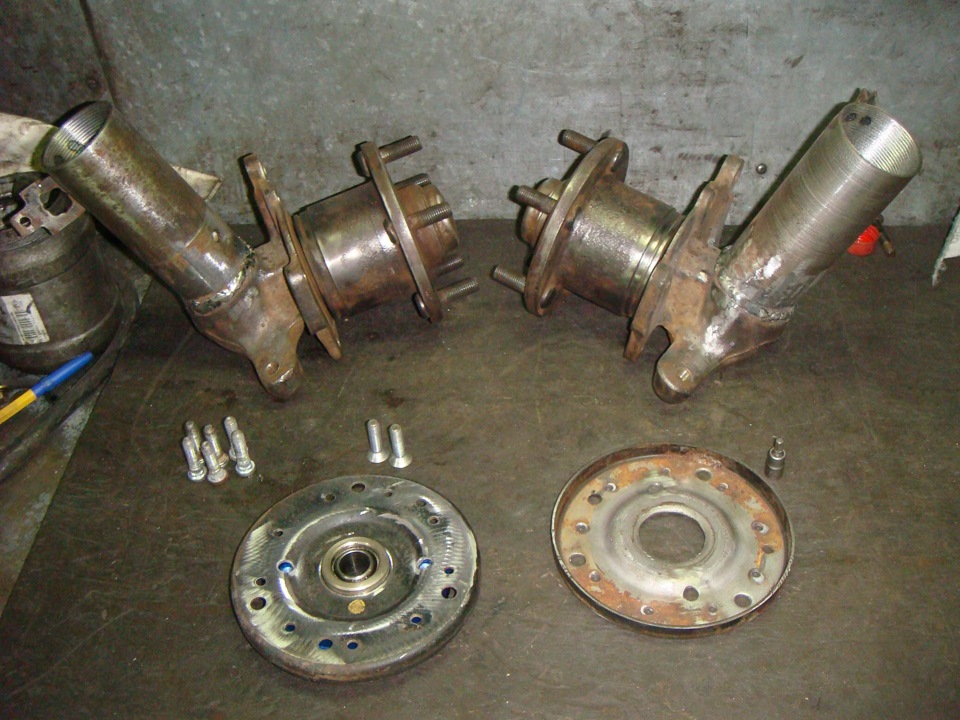
Теперь немного о нижнем креплении. Диаметр сайлентблока и отверстие под болт у койловеров Сильвии немного больше, чем у 81 марка, соответственно они не встанут на задний кулак. Для решения этой проблемы мы берем штатные сайлентблоки задних стоек и выжигаем у них втулки, в которые вставляется болт крепления.
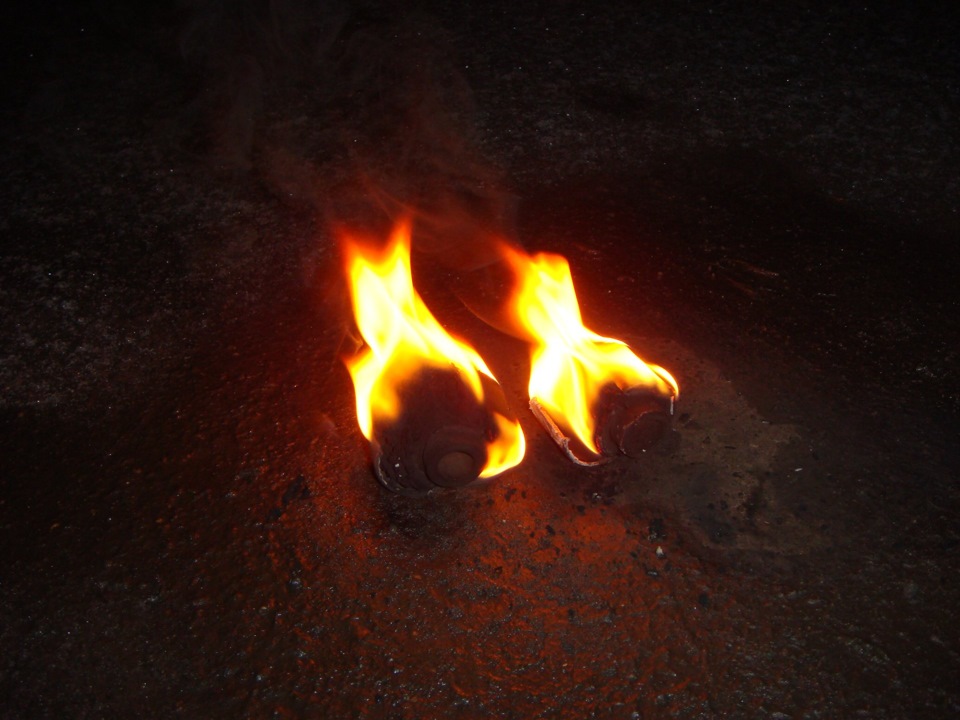
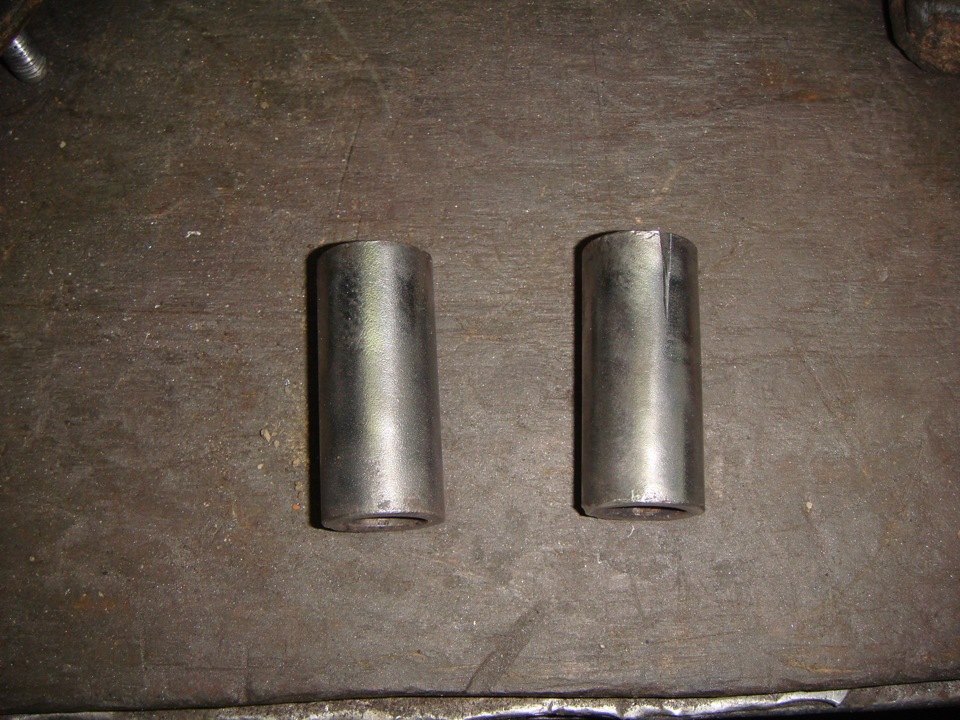
Дальше надо проточить у токаря, т.е. снять примерно 2 мм от внешнего диаметра чтобы они без проблем входили внутрь втулок сайлентблоков сильвии. Также у Сайлентов Сильвии эти втулки не симметричные относительно сайоентблока, т.е. с одной стороны втулка выпирает больше чем с другой. Балгаркой срезаем выпирающую часть втулки, чтобы она была как и с обратной стороны и заказываем специальные колечки, которые напрессовываем на втулку от 81 марка и подгоняем их заподлицо с втулкой сильвии. Получаем вот такой сайлентблок.
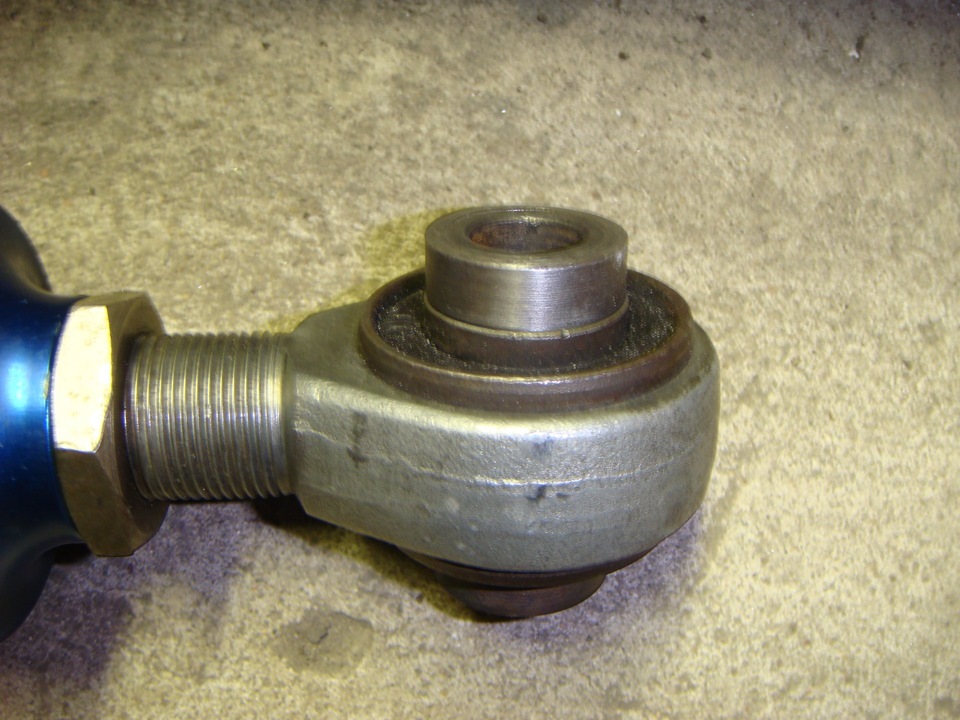
Дальше собираем все стойки и у нас готовый комплект для установки на 81 Марк)))
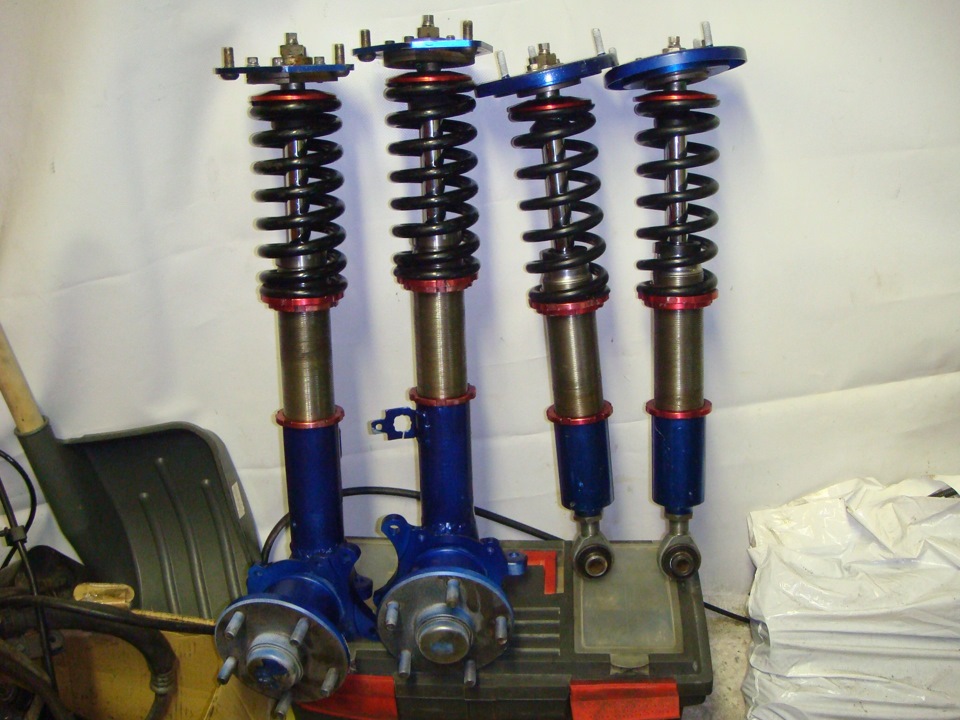
Спасибо за внимание, чуть позже напишу о процессе установки на машину, там тоже есть свои особенности.
P.S. Забыл добавить, что в получившихся башмаках передних стоек надо сделать небольшие отверстия для выхода воздуха, поскольку когда вкручиваешь амортизатор, то в стакане создается давление воздуха, и если ему некуда будет выходить, то вы просто не вкрутите амортизатор!
Комментарии
Пока нет одобренных комментариев.