═════════════════Frequently Asked Question═════════════════
Автор:SelfMade
Теперь стоит рассказать об особенностях установки сделанных нами стоек на автомобиль.
Сначала регулируем примерно все койловеры на одинаковую длину и приступаем к установке. Чтобы поставить передние стойки — надо просверлить 3 новых отверстия в чашке. Для этого там даже намечены углубления, но один болт не проходит и отверстие надо слегка подгонять, а так в общем все просто. Дальше прикручиваем верхнюю опору и сапог к сошке, прикручиваем суппорт, ставим тормозной шланг — передок готов.
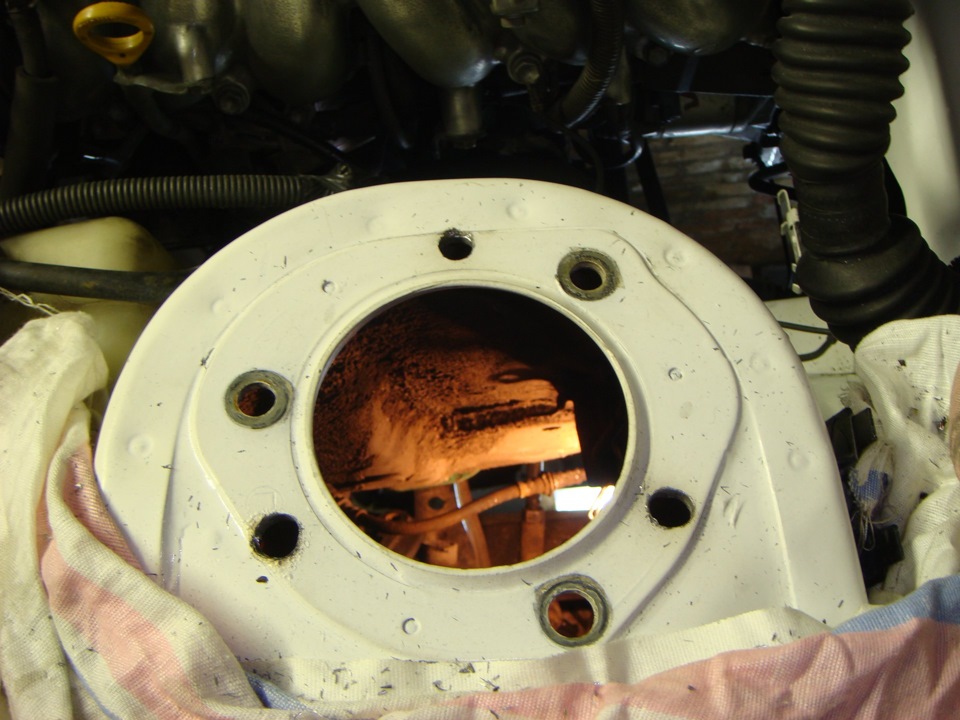
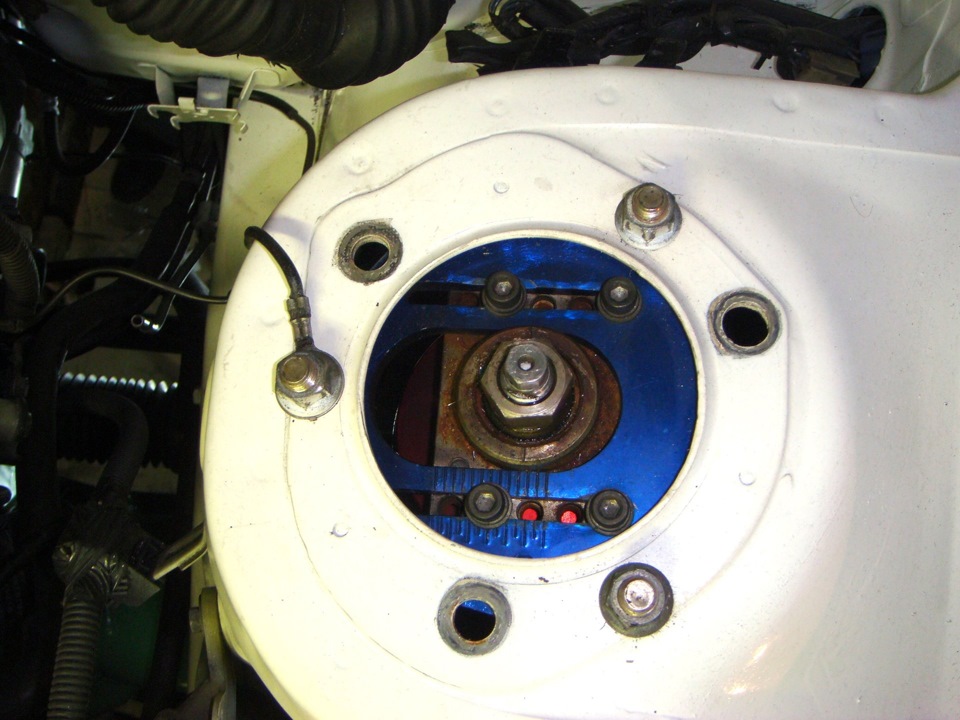
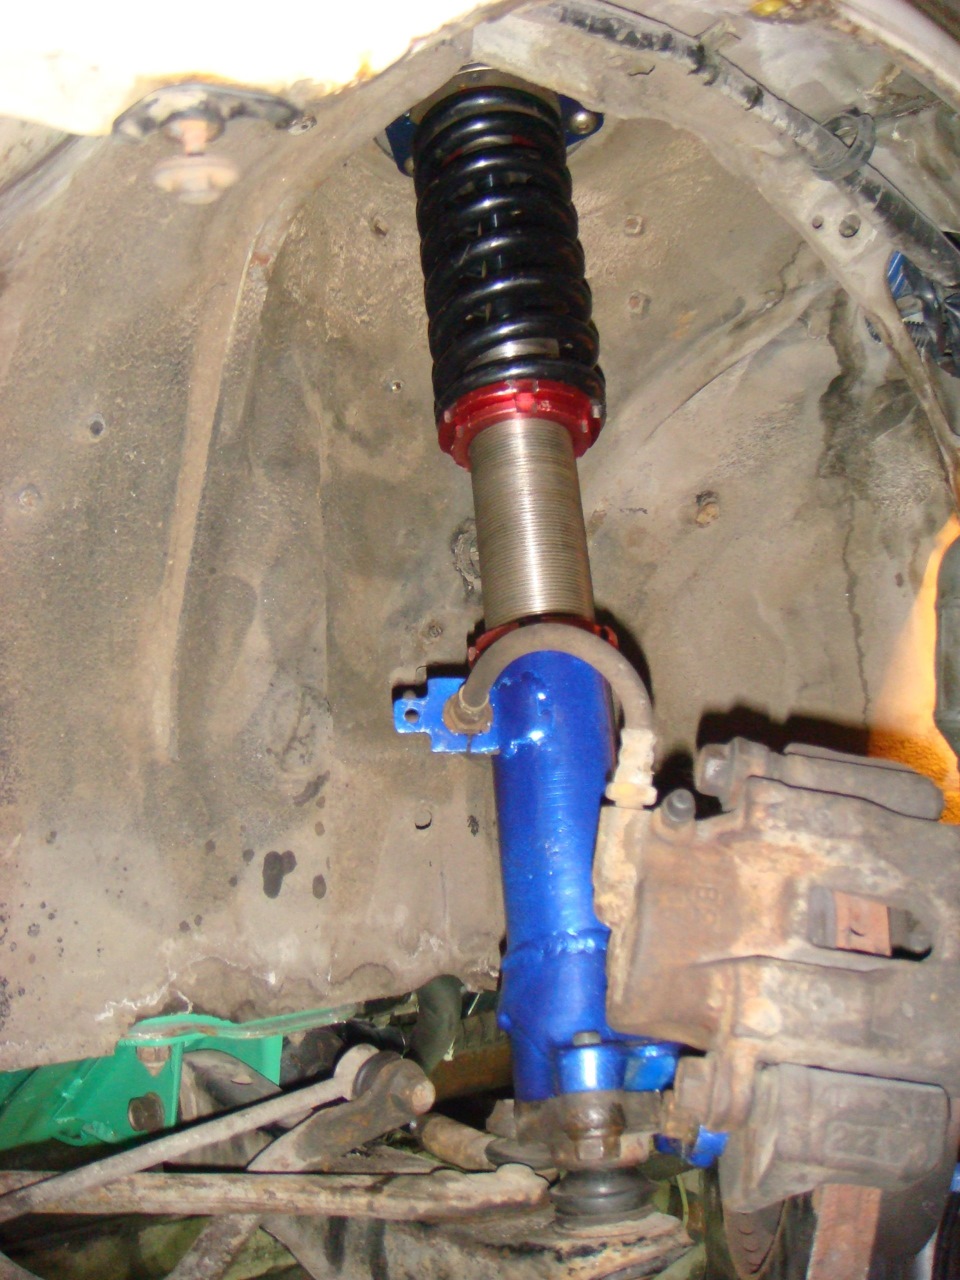
С задом немного посложнее. Дело в том, что две шпильки с гайками от верхней опоры стойки сильвии не проходят в отверстие на чашке, для этого надо слегка расшарошить места установки, после этого все встает четко, как и нужно. Дальше производим необходимые регулировки по высоте и ставим колеса. С клиренсом надо еще будет определятся. Конечно хочется как можно ниже, но наши дорожные условия не позволяют слишком сильно занижать машину, да еще колеса широкие и будут цеплять за арки, надо ставить резину поуже, а то сзади стоит 255. также у нас есть ограничения по регулировкам сток рычагов, т.е. развал допустим на передке можно попытаться отрегулировать за счет верхней опоры, благо там есть нужные регулировки, а вот с задом все сложнее, если слишком сильно занизить, то регулировок сток рычага может не хватить, чтобы выставить правильный развал, поэтому здесь мы ограничены и надо мутить рычаги подвески с нормальными регулировками развала, кастера и схождения.
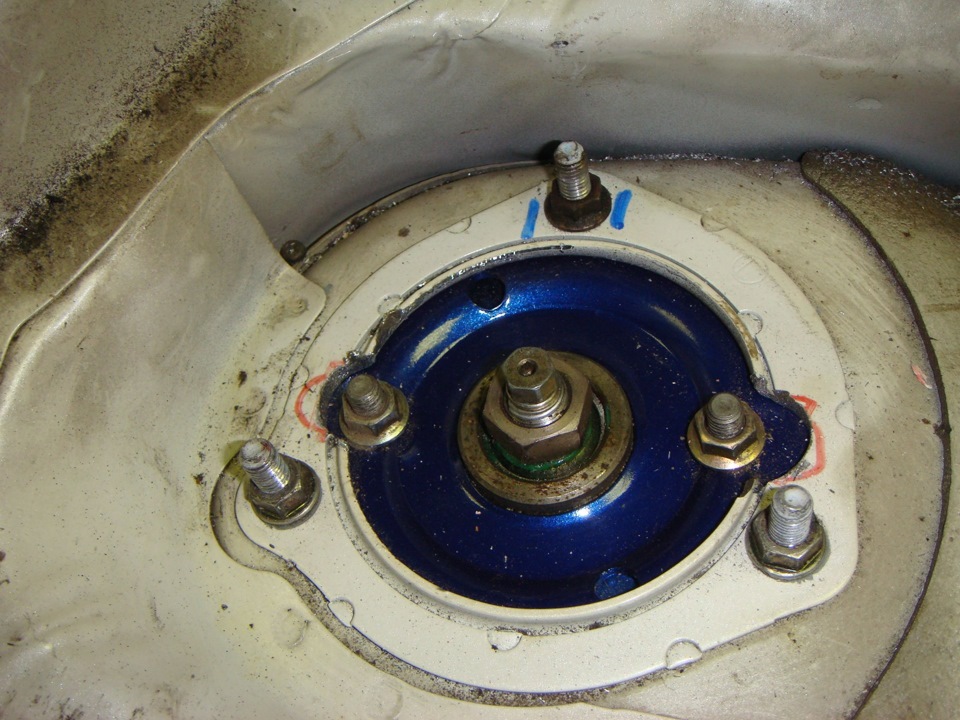
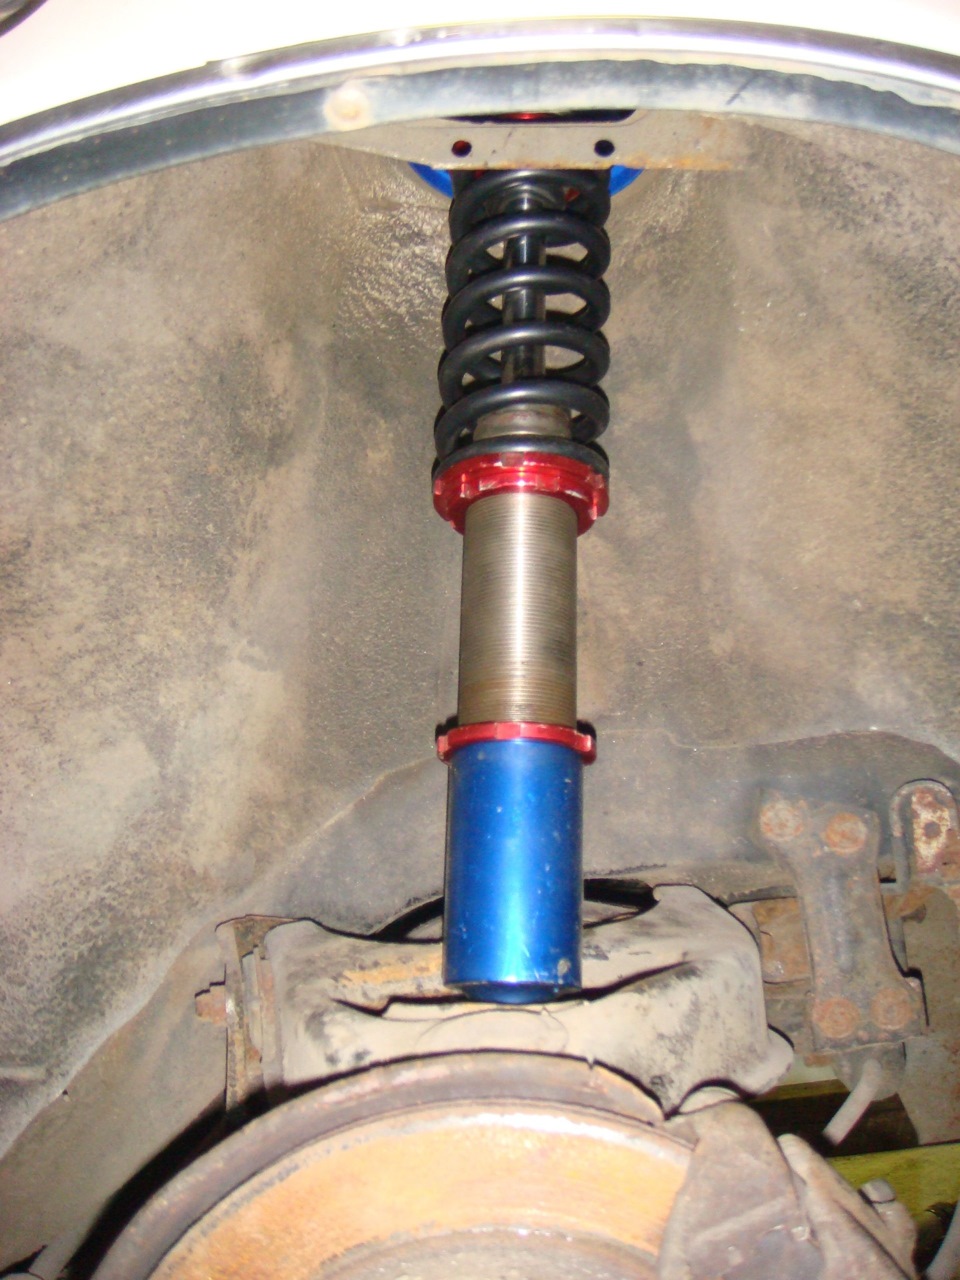
Все встало четко и ниже можно видеть конечный результат. Теперь осталось изготовить стойки стабилизаторы и проставки между сошкой и стойкой, чтобы рулевые тяги не работали на изгиб, но об этом в следующей серии!
Комментарии
Пока нет одобренных комментариев.