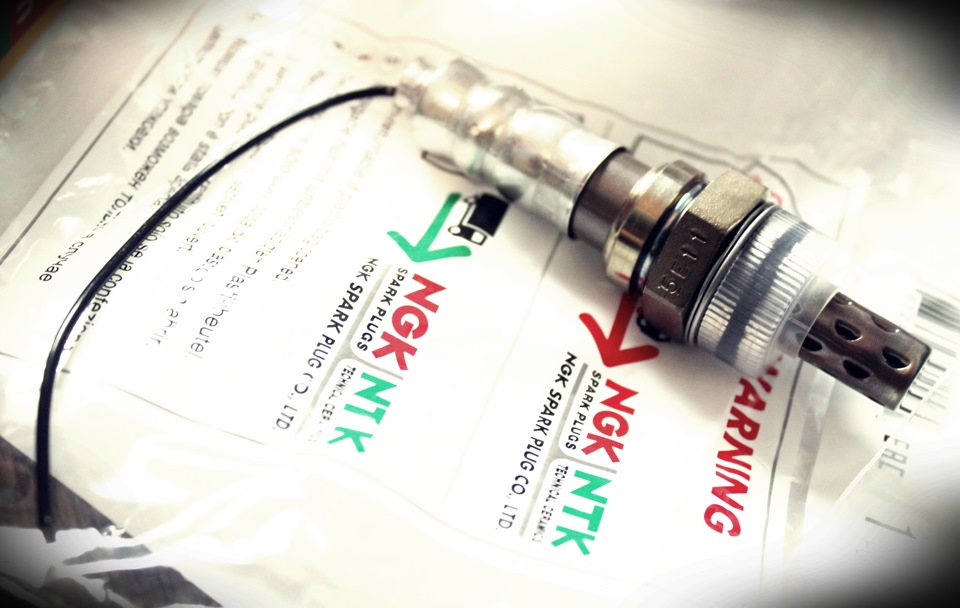
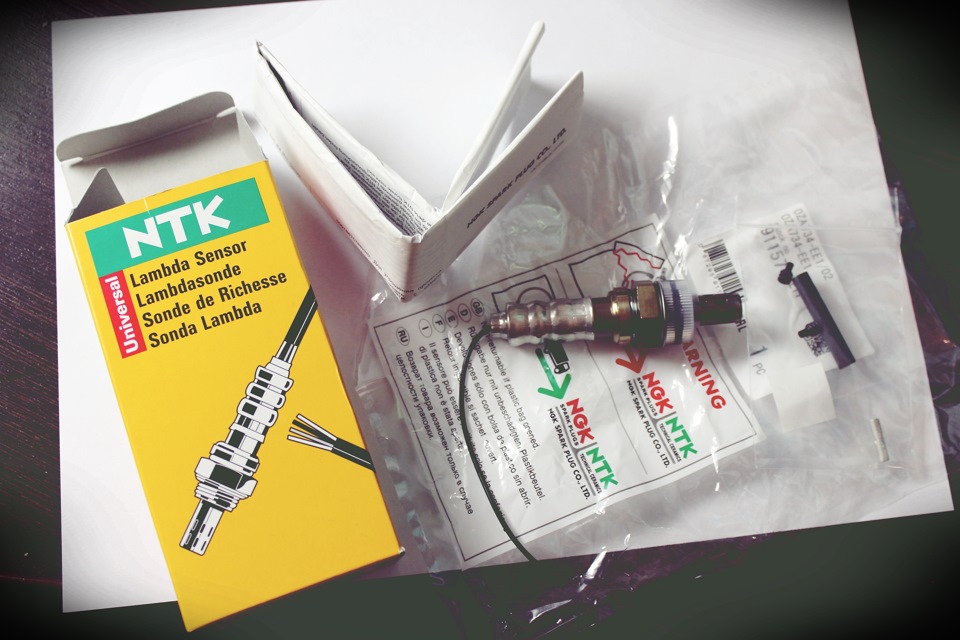
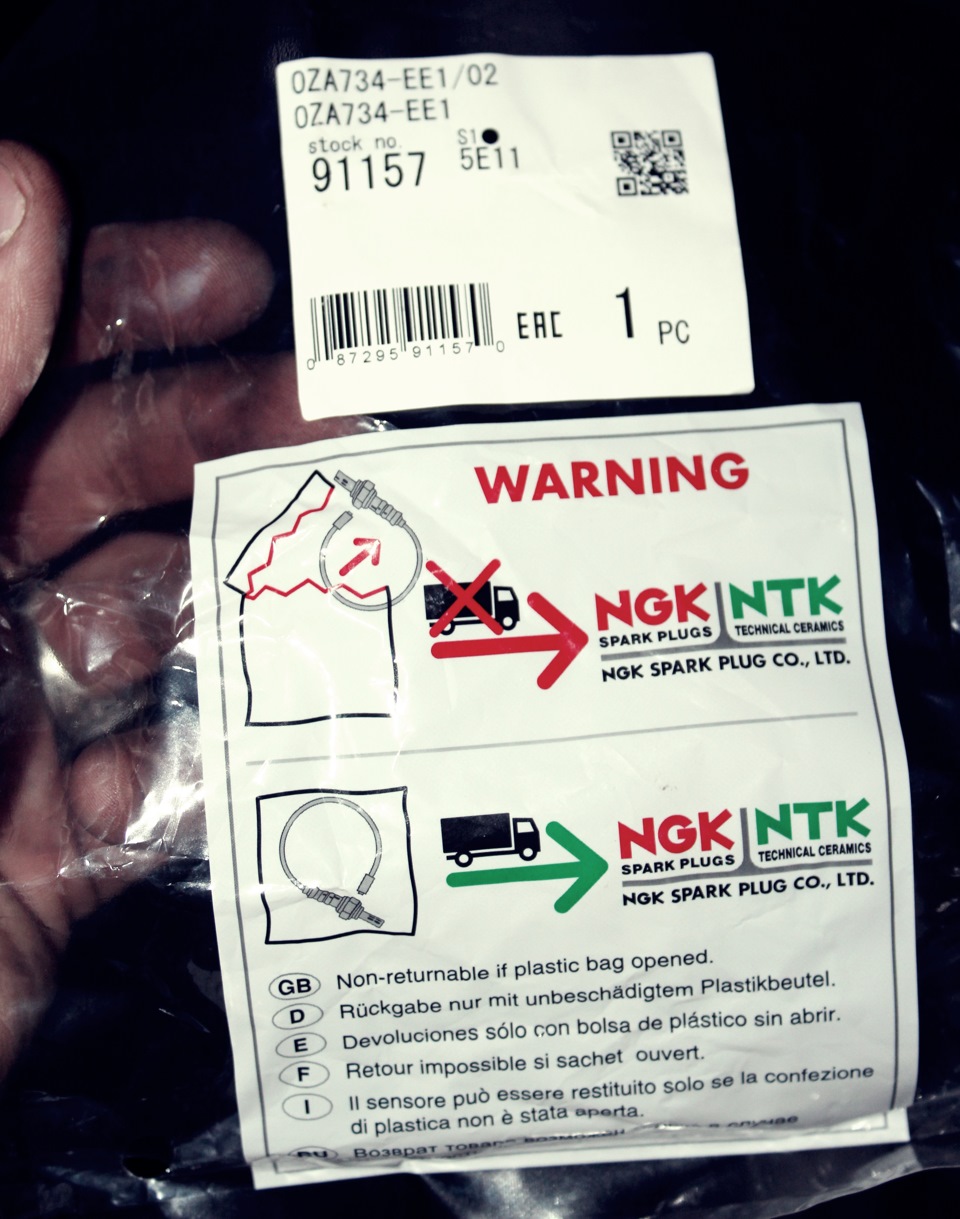
в общем продолжается моя война с большим расходом. следующий шаг — замена кислородного датчика (лямбда-зонда). у стандартного ресурс, как я читал на форумах, около 30-50 тысяч километров, но с нашим то качеством топлива он намного снижается. ну и в общем заказал себе однопроводный датчик NGK (NTK) OZA734-EE1 (аналог OZA624-E1, который ставят все на первый гоночный). по сопротивлению он хорошо подходит, насчёт этого изжёвано на форумах много жвачки, ну и грамотные люди говорят что по этому поводу всё нормально. вышел датчик 1040 рублей. и понеслась работа по замене.
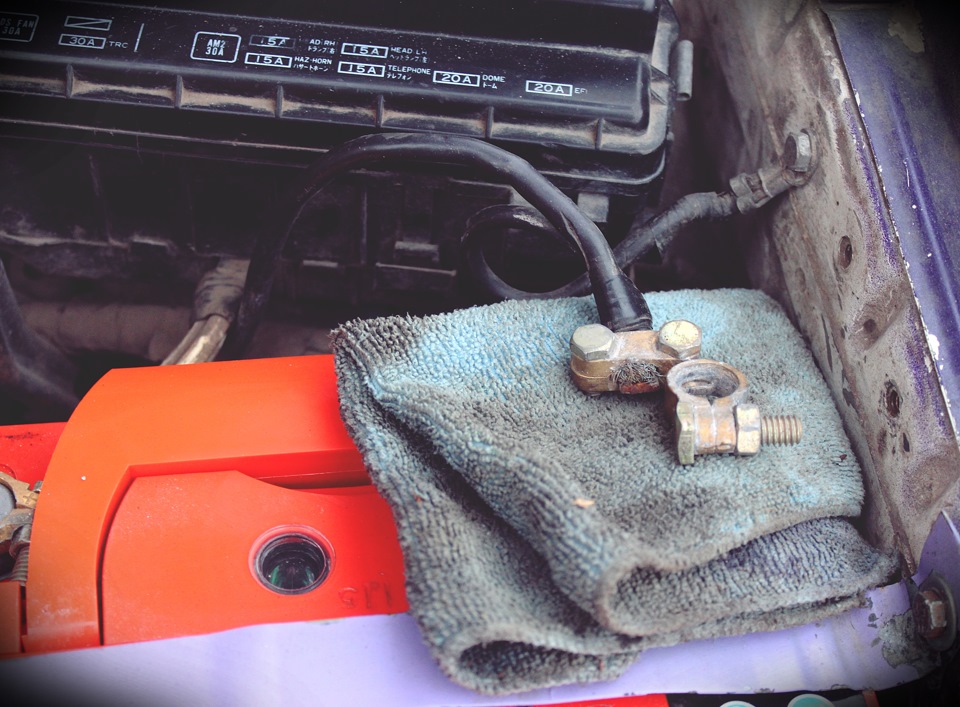
обязательно скидываем клемму с аккумулятора. дабы все старые настройки на ЭБУ скинулись и компьютер после подключения нового датчика уже думал по-новому, так сказать на свежую голову))
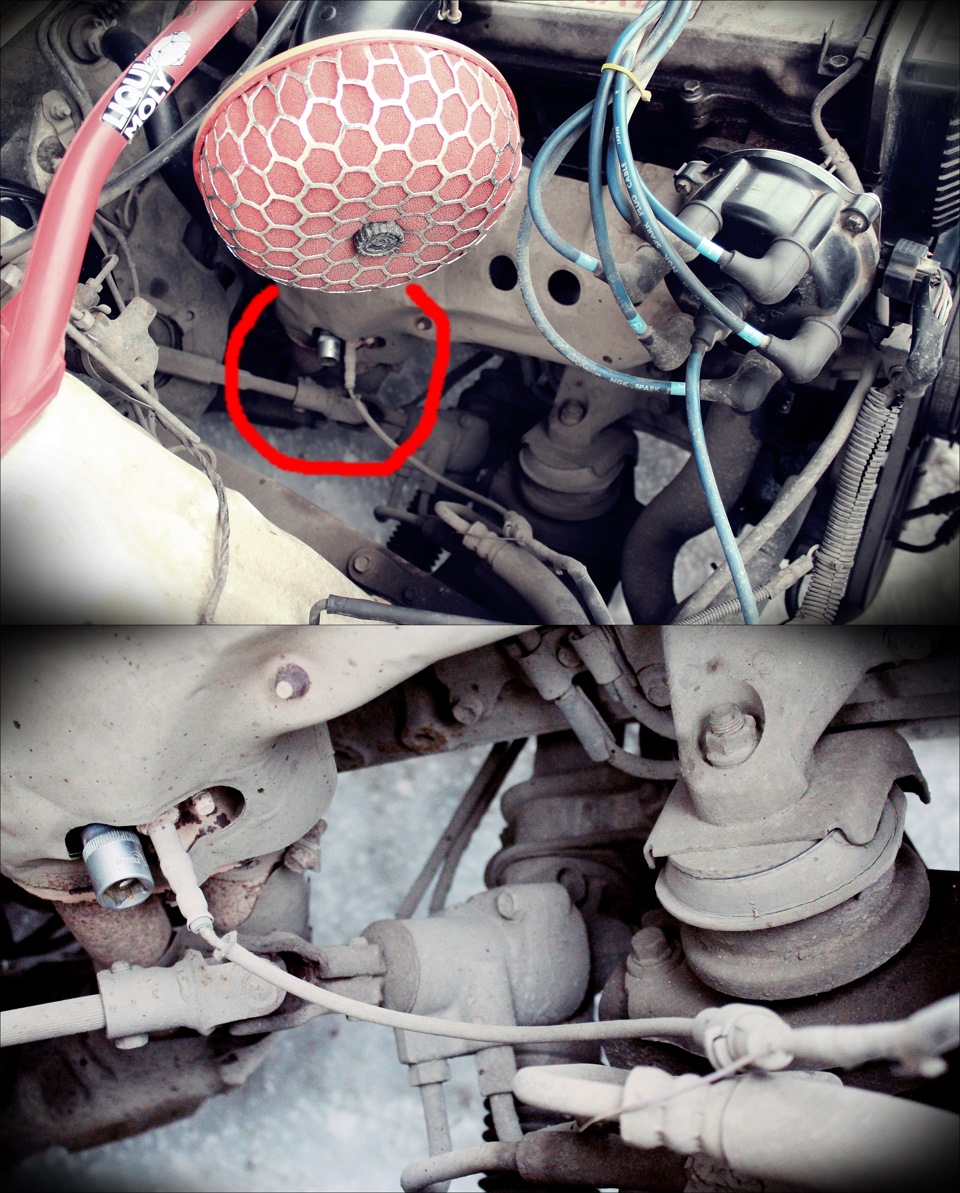
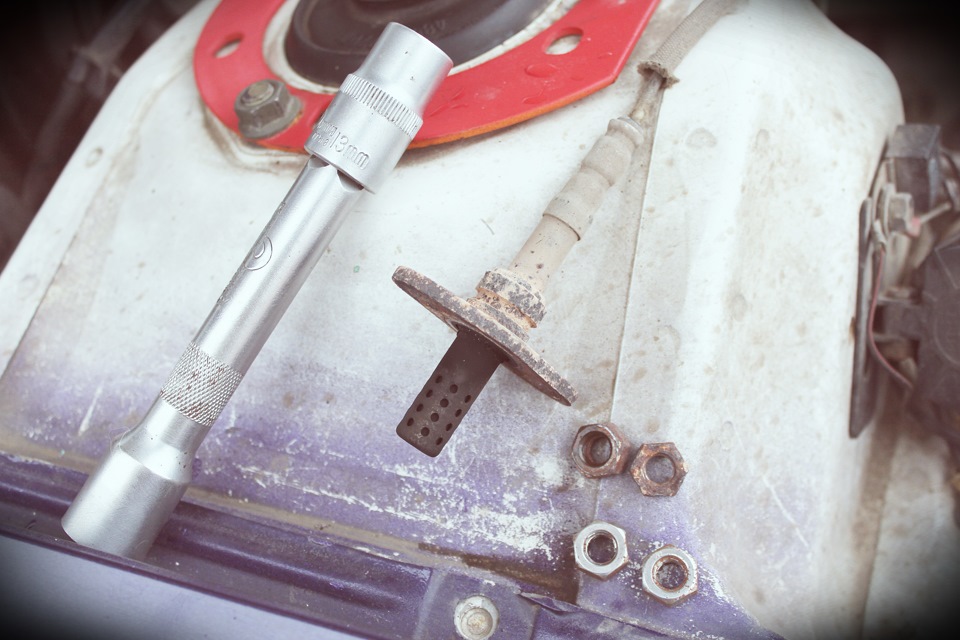
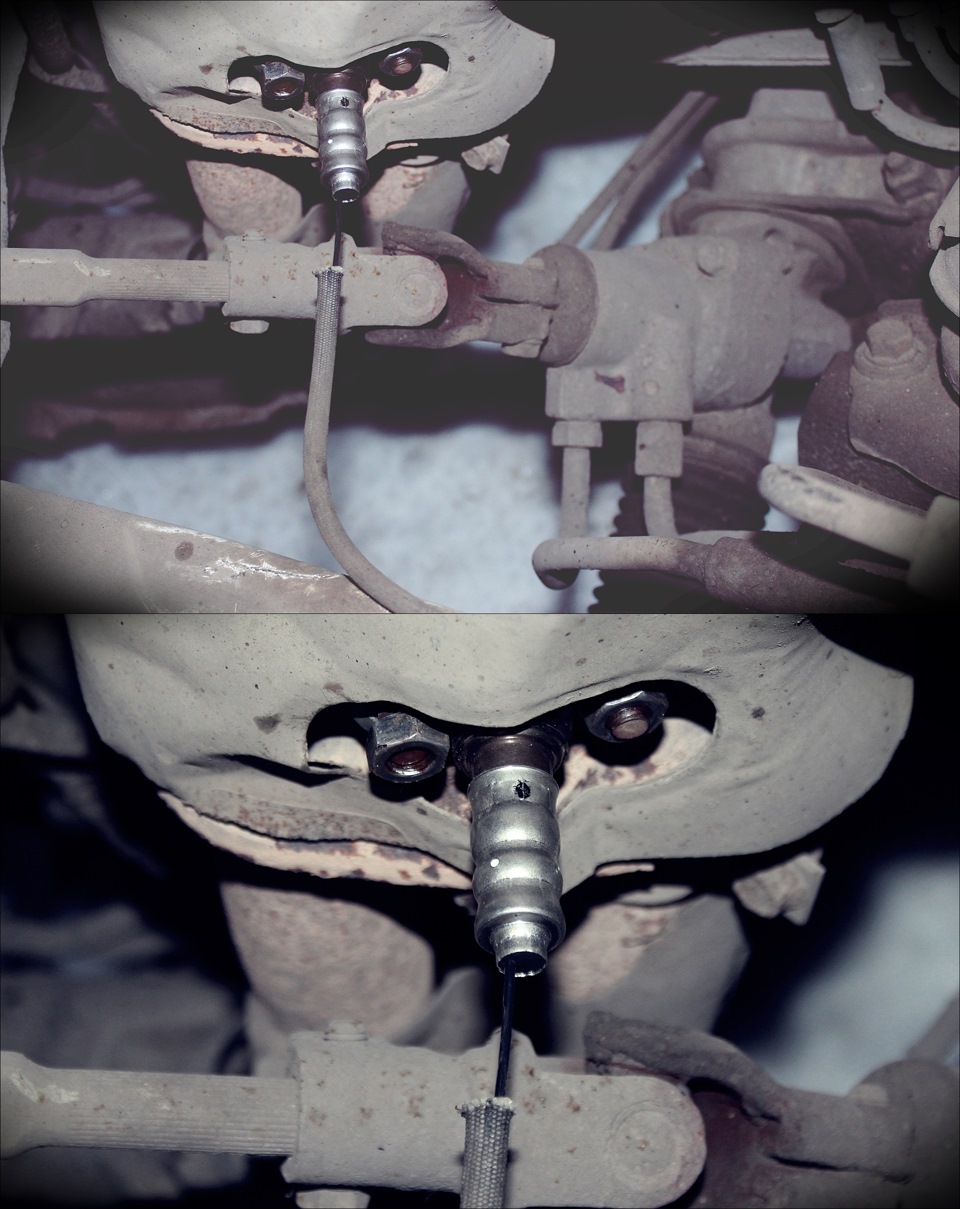
тут прячется сам лямбда-зонд. потребуется головка на 13. рожковым ключём туда не пролезешь, слишком глубоковато сидят гайки, который крепят датчик, а теплоотражающий экран выпускного коллектора ой как не охото скидывать, лишней морокой заниматься. так что имейте в виду.
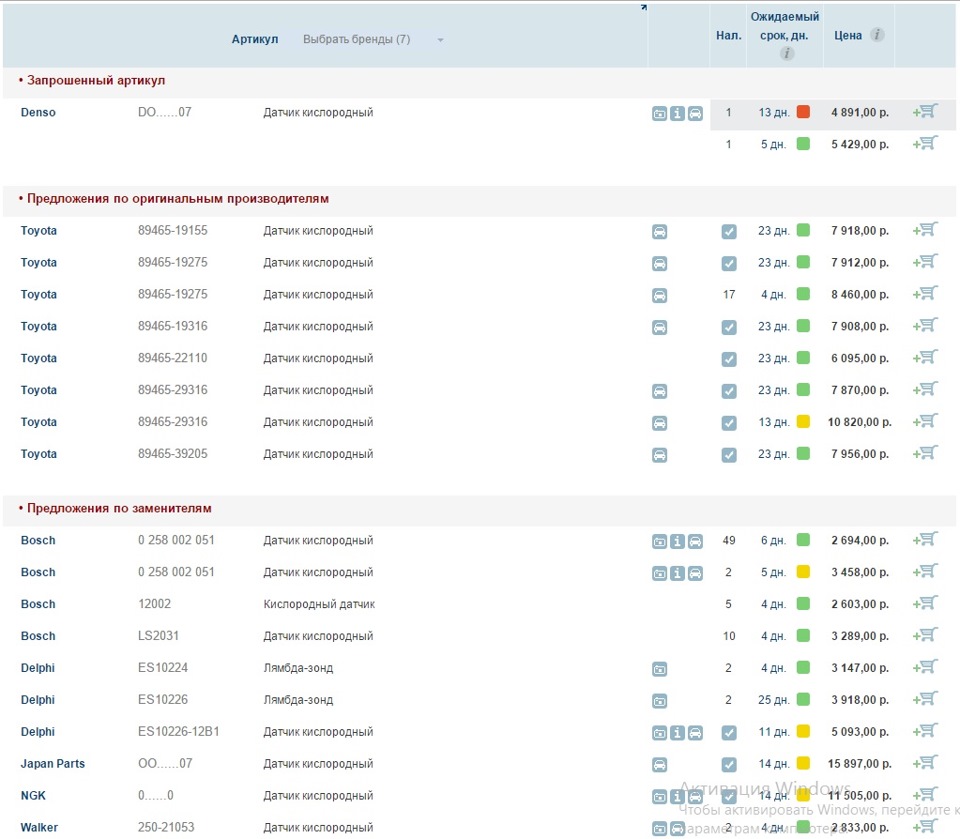
к слову, почему я выбрал именно универсальный датчик NGK, это из-за ценников на родной датчик и его аналоги. смотрите сами Denso DOX-0207, ценники на зисте на сегодняшний день. и смотреть даже страшно. ну а народ ставит именно такие и ничего, никто вродь не жалуется и расход скидывается, у кого проблема была именно в умершем кислородном датчике. кто-то ставит 4хпроводные, аналоги моего NGK. его плюсы в том что у него имеется свой независсимый подогрев, тобиш разогревается и набирает рабочую температуру на холодную в зиму он сам, независсимо от тепла выхлопных газов. главный плюс в том, что это уменьшает расход при прогревах зимой
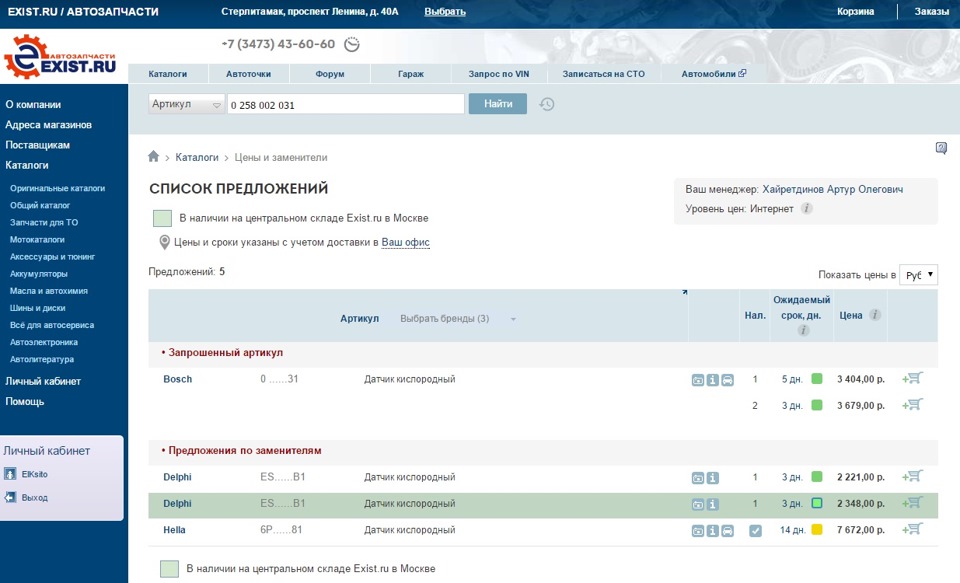
ценники даже на самые качественные аналоги на лямбду ой как кусаются, смотрите сами BOSCH
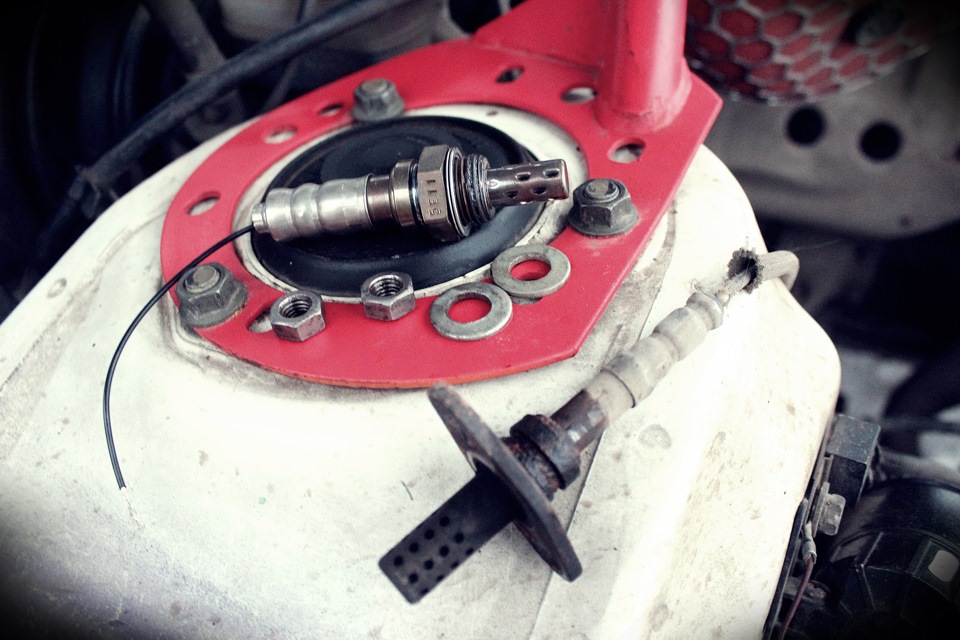
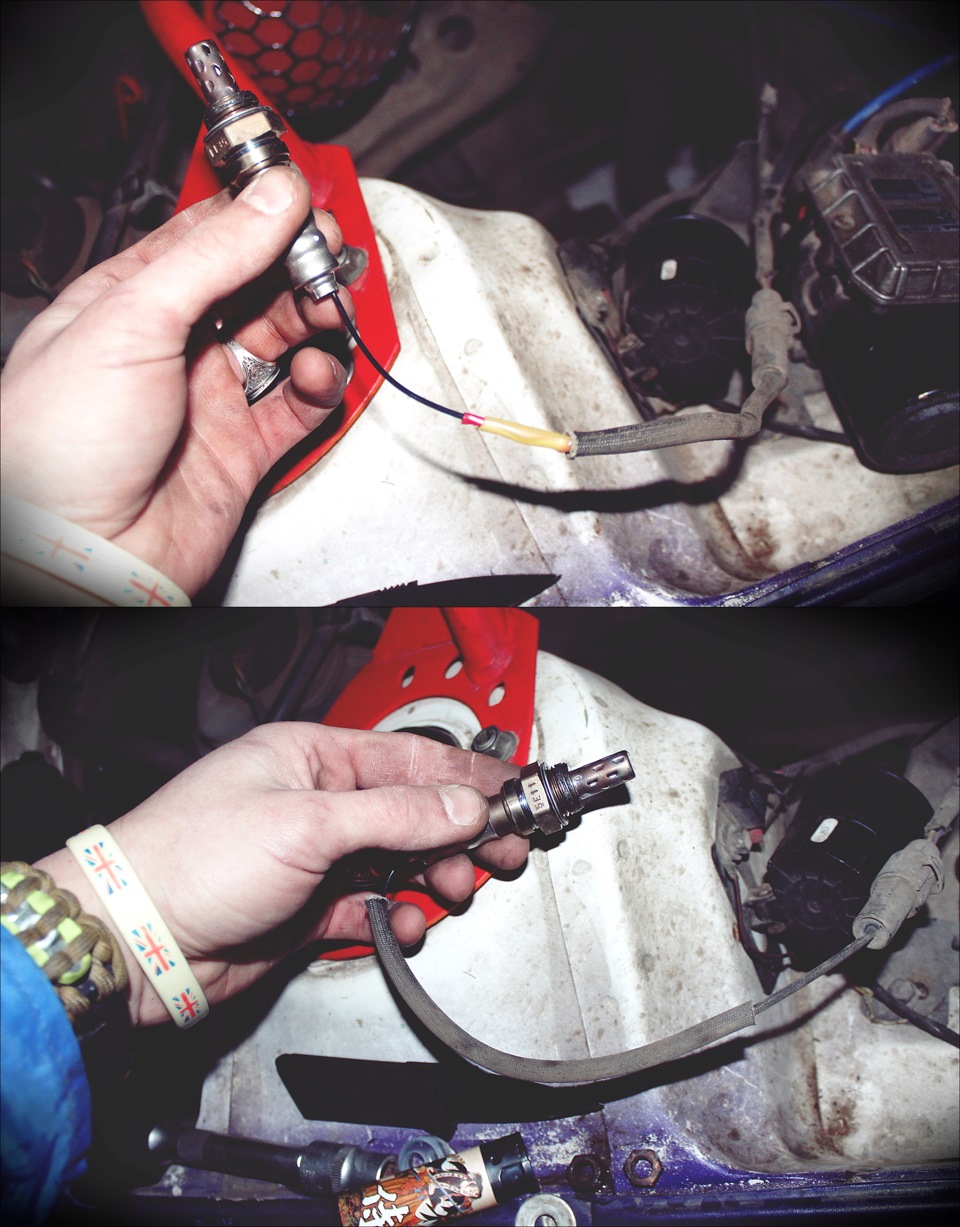
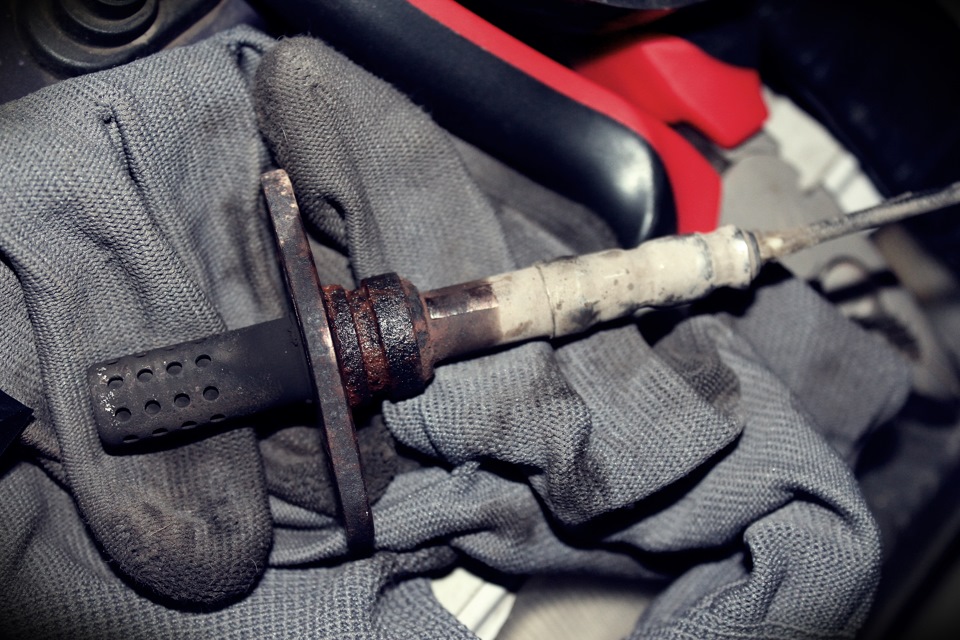
откручиваешь две гайки, вынимаешь датчик. вот мой старый. приготовил сразу две новых, блестячих :D гайки, старые выкинул нафиг.
единственная проблема, с которой сталкиваешься при монтаже нового датчика в том, что он не имеет проушин для закрепления его в коллекторе. многие решают этот вопрос по-разному, кто-то нарезает в коллекторе резьбу M18 под этот зонд (на датчике имеется как раз резьба для этого), кто-то тупо заказывает новые аналогичные проушины у токарей, кто-то выбивает эти проушины со старого датчика и приспосабливает их к новому путём всяческих подрезаний, подтачиваний и подпиливаний. я же париться вообще с этим не стал и тупо закрепил новый датчик с помощью шайб, благо есть шестигранник на новом лямбда-зонде для подтягивания его ключём в резьбе, именно это мне и пригодилось. втыкаешь датчик, сверху подобные шайбы, как у меня и закрепляешь всё это гайками. главное, всё ровно закрепить и подтянуть. я лично после этого долбил весь вечер боком на одной из парковок Стерлитамака и периодически открывал капот, проверял как себя чувствует датчик — сидит он намертво))
откусываем старый датчик, снимаем немного изоляцию с провода, провод, кстати, жаростойкий, ну и снимаем изоляцию с нового. проводка со старого датчика медная, на новом луженая медь (мне сначала она показалась аллюминиевой, но присмотрелся — всё норм, тоже медь)). делаем хорошую скрутку. я лично заизолировал всё это двумя слоями термоусадки, изолента на холоде задубела и потеряла свои клеящие свойства.
новый лямбда-зонд на борту)) запустился без всяких проблем. на замену ушло около часа, и то потому что всё старался фотографировать в подробностях. теперь буду замерять расход. кстати, неплохо было бы заехать к диагностам и померить CO CH. всем удачи в замене))
Комментарии
Пока нет одобренных комментариев.