════════════Frequently Asked Question════════════
Основание: тема
для тех, кто не видит взаимосвязь между датчиком ОЖ и повышенным расходом — нашёл соответствующую в тырнете статью:
Датчик температуры охлаждающей жидкости двигателя ( THW )
Как мы уже знаем, одним из основных датчиков является «датчик температуры охлаждающей жидкости двигателя», или THW, который расположен в «районе» термостата. Его показания крайне важны для стабильной и экономной работы двигателя, потому что в зависимости от сопротивления датчика компютер «рассчитывает» то количество топлива, которое необходимо двигателю для работы при «данной» ему датчиком температуре.
На различных марках и моделях автомашин показания THW различные, но если сказать «усредненно», то для «холодного» двигателя датчик «покажет» сопротивление от 2 до 6 Ком ( в зависимости от температуры «за бортом»), а для «горячего» — 250-350 Ом.
А теперь представим, что «наш» датчик температуры «говорит» компютеру при полностью прогретом двигателе, что двигатель «еще немного холодный», то есть «показывает» сопротивление 500 или более Ом.
Что делает компютер?
Процессор «сравнивает» те показания, которые «зашиты» в его Память и «понимает», что при данном сопротивлении — «топлива надо больше».
И «расширяет» импульсы на форсунки (инжектора).
И топлива поступает в цилиндры больше. Но это – следствие. А причина, вернее – причин, может быть несколько :
Неисправность самого датчика температуры
Неисправность термостата
«завоздушенность» системы охлаждения
неисправность радиатора
Ну и, в крайнем случае (такое, правда, встречалось всего несколько раз ) – «ошибка» самого компютера.
Кроме того, датчик температуры «напрямую связан» и с автоматической коробкой передач. И так уж «правильно устроена» «японская электроника», что если, например, датчик «не выдает» положенную температуру, то и АКПП не будет переключаться на повышенную передачу и автомобиль будет «плестись» на пониженной скорости и «дико жрать топливо».
взято с enc.drom.ru/3205/
кстати много чего умного в этой статье написано о борьбе с расходом, советую почитать))
а да и вот ещё:
ВЛИЯНИЕ ДАТЧИКА ТЕМПЕРАТУРЫ ОХЛАЖДАЮЩЕЙ ЖИДКОСТИ НА РАБОТУ ДВИГАТЕЛЯ
Сигналы датчика могут использоваться ЭБУ для осуществления следующих функций управления:
* Обогащение топлива в двигателях с впрыском топлива. Когда ЭБУ получает от датчика сигнал о холодной температуре, он увеличивает длительность импульса на форсунки для обогащения состава топливной смеси. Это улучшает работу двигателя на холостом ходу и предотвращает колебания при прогреве. По мере того, как температура двигателя приближается к рабочей, ЭБУ обедняет топливную смесь, чтобы уменьшить потребление топлива и количество выхлопных газов. Неисправность датчика, от которого всегда поступают сигналы о холодной температуре, может вызвать переобогащение, загрязнение и потерю топливной смеси. Постоянные сигналы о перегреве могут вызвать ухудшение управляемости при холодном двигателе, такие как заглохание, колебания и неровные обороты холостого хода.
* Опережение и запаздывание зажигания. Угол опережения зажигания должен быть строго отрегулирован для уменьшения количества отработавших газов, пока температура двигателя не достигнет нормы. Это влияет также на эксплуатационные характеристики двигателя и расход топлива.
* Рециркуляция отработавших газов во время прогрева. Для обеспечения оптимальной управляемости клапан рециркуляции отработавших газов не должен открываться до полного прогрева двигателя. Рециркуляция отработавших газов при холодном двигателе может вызвать неровные обороты холостого хода, заглохание и/или колебания.
* Продувка фильтра системы улавливания топливных паров. Для обеспечения оптимальной управляемости угольный фильтр, в котором скапливаются пары топлива, нельзя продувать до полного прогрева двигателя.
* Регулирование состава топливной смеси в режимах замкнутого/разомкнутого контура обратной связи. ЭБУ может не принимать во внимание сигнал обратной связи кислородного датчика, до тех пор, пока не будет достигнута определенная температура хладагента. Пока двигатель холодный, ЭБУ будет оставаться в режиме разомкнутого контура (без обратной связи) и поддерживать топливную смесь обогащенной, чтобы улучшить холостой ход и управляемость при холодном двигателе. Если ЭБУ не перейдет в режим замкнутого контура (с обратной связью) после прогрева двигателя, топливная смесь будет слишком обогащенной, что приведет к загрязнению и потере горючего, а также засорению свечей зажигания.
* Скорость холостого хода во время прогрева. Для предотвращения заглохания и улучшения холостого хода ЭБУ обычно увеличивает число оборотов на холостом ходу при первом запуске двигателя.
* Блокировка муфты гидротрансформатора коробки передач во время прогрева. Для обеспечения оптимальной управляемости ЭБУ не блокирует гидротрансформатор до полного прогрева двигателя.
Работа электрического охлаждающего вентилятора. По сигналам датчика температуры охлаждающей жидкости ЭБУ контролирует температуру двигателя, включая и выключая охлаждающий вентилятор – это необходимо для предотвращения перегрева двигателя. Примечание: на некоторых автомобилях второй датчик температуры охлаждающей жидкости или переключатель охлаждающей жидкости может использоваться исключительно для цепи вентилятора охлаждения.
взято с volgauniversal.ru/forum/index.php?topic=4214.0
да, у нас их 3 штуки. но этот именно стопудова отправляет сигнал на мозг, остальные 2 не знаю
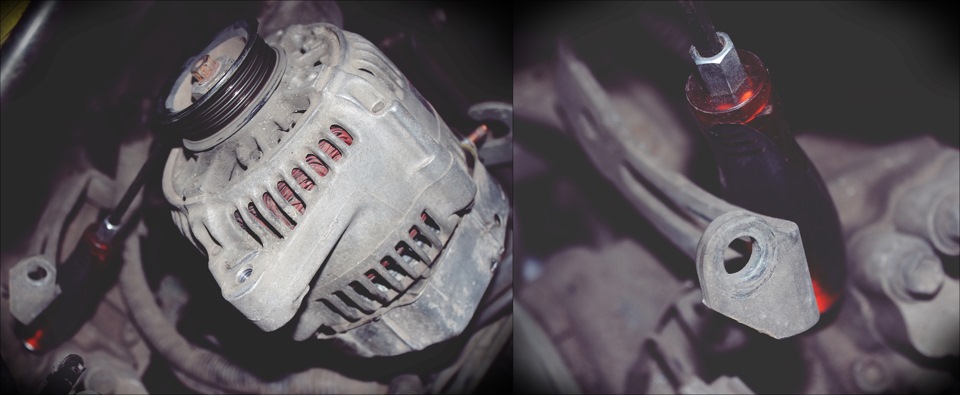
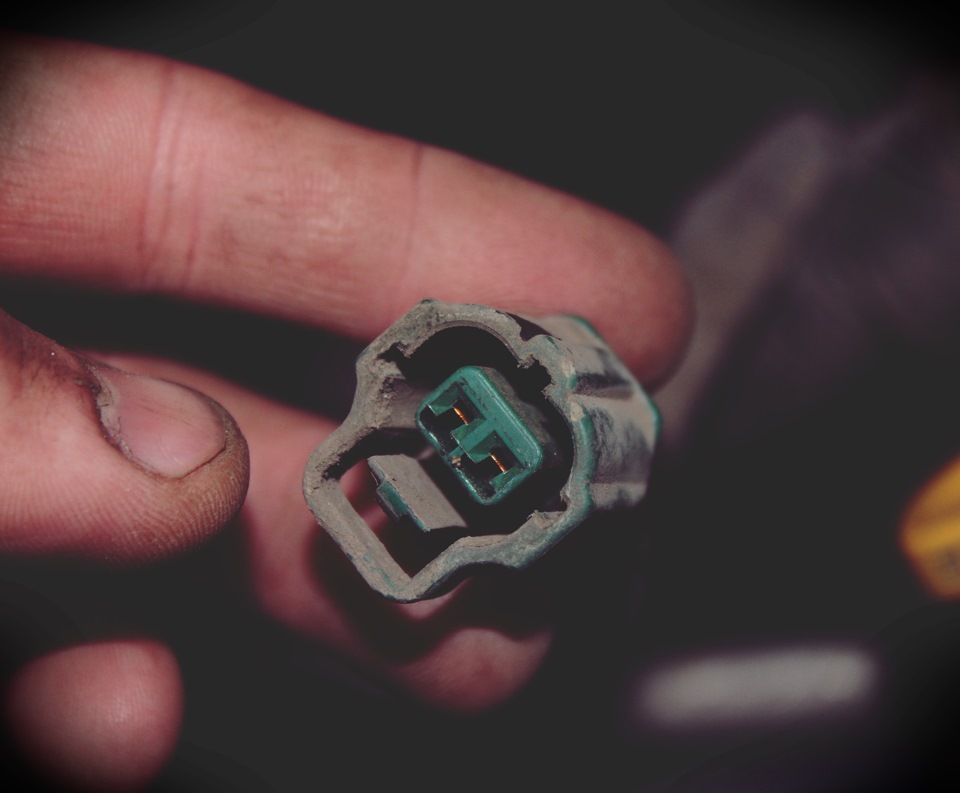
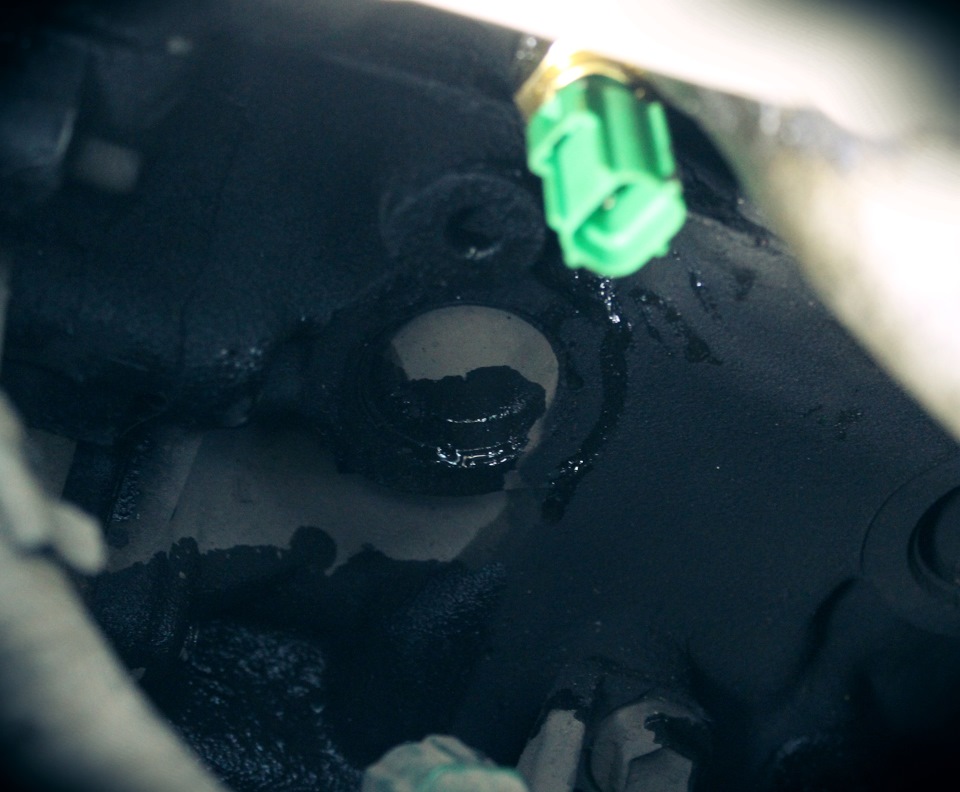
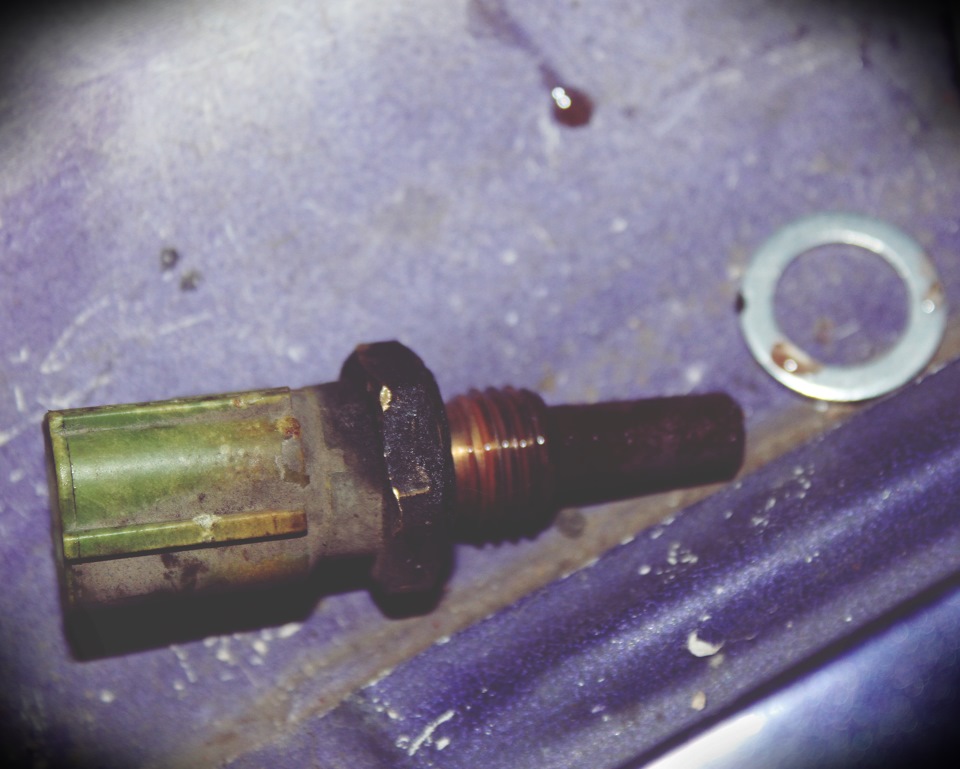
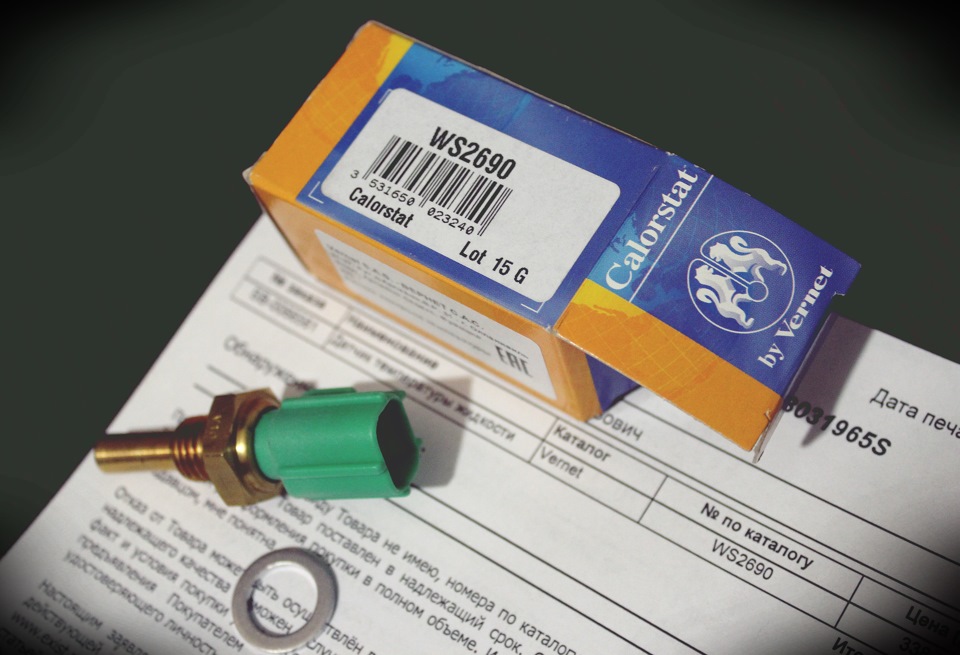
и у меня как раз всё это присутсвовало, что написано в этих статьях — поэтому подумал о замене. родной датчик на зисте стоит от 1800 до 2800 рублей, а так как ещё не понятно, в нём ли проблема моего повышенного расхода (около 20 литров по городу в режиме овоща, литр 6-7км) или нет — нашёл ему аналог от французской фирмы VERNET (вот его номер кому нужно WS2690), стоит он на нынешний момент 353,06 р. ребята на сквате посоветовали, народ ставит — полёт нормальный, у кого-то, если проблема была именно в датчике — расход естессно отсекается, не прям уж сильно на много, но падает. ну и решил написать небольшой faq по замене этого датчика)) если хотя бы одному-двум людям поможет эта запись — и то будет хорошо)
про расход пока ничего не скажу, толком ещё не ездил. но коробка ВРОДЕ как начала переключаться раньше, единственное что я заметил. может быть вру конечно. но раньше у меня скорости переключались на более высоких оборотах, в не зависимости от того как ты педальку газа будешь жать — всегда на повышенных. ну это возможно и фрикционы погорели, коробка у меня неплохо отжатая, пинки при переключении небольшие, незначительные но присутствуют. а задняя вообще с нехилого такого пинка только втыкается. стоит новая А42DL никак не поставлю. W57 я продал, была кое какая финансовая махинация и нужны были деньги.
Комментарии
Пока нет одобренных комментариев.