════════════Frequently Asked Question════════════
Автор: SelfMade
Источник: SelfMade
Основание: тема
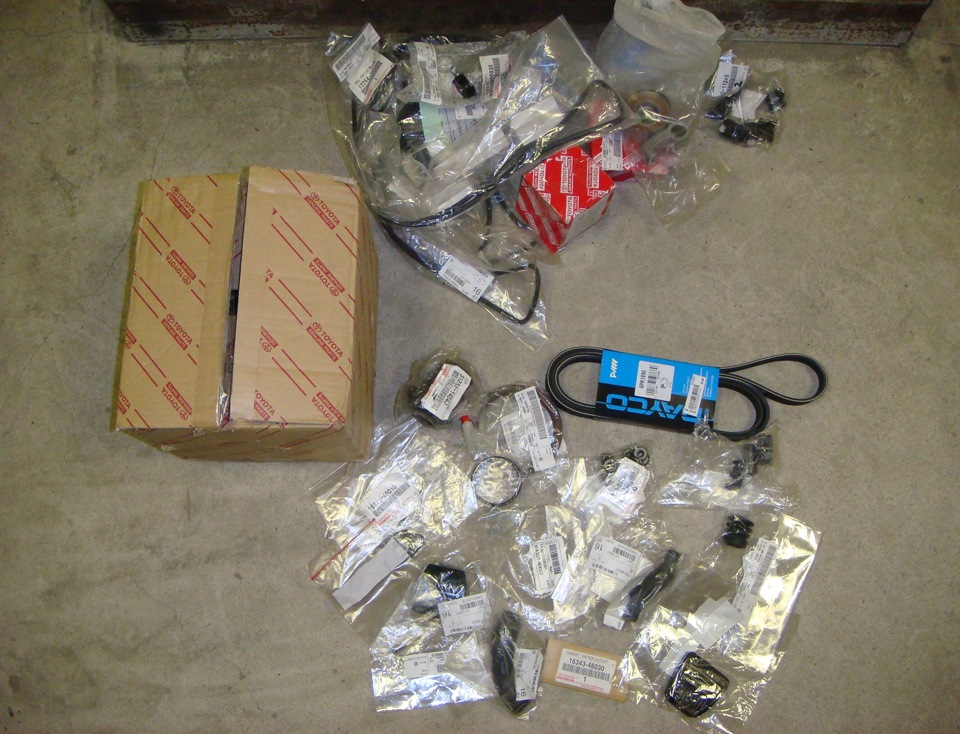
Итак продолжаем, дождался всего необходимого, а также сделал подготовку к сборке и приступил ставить все на свои места.
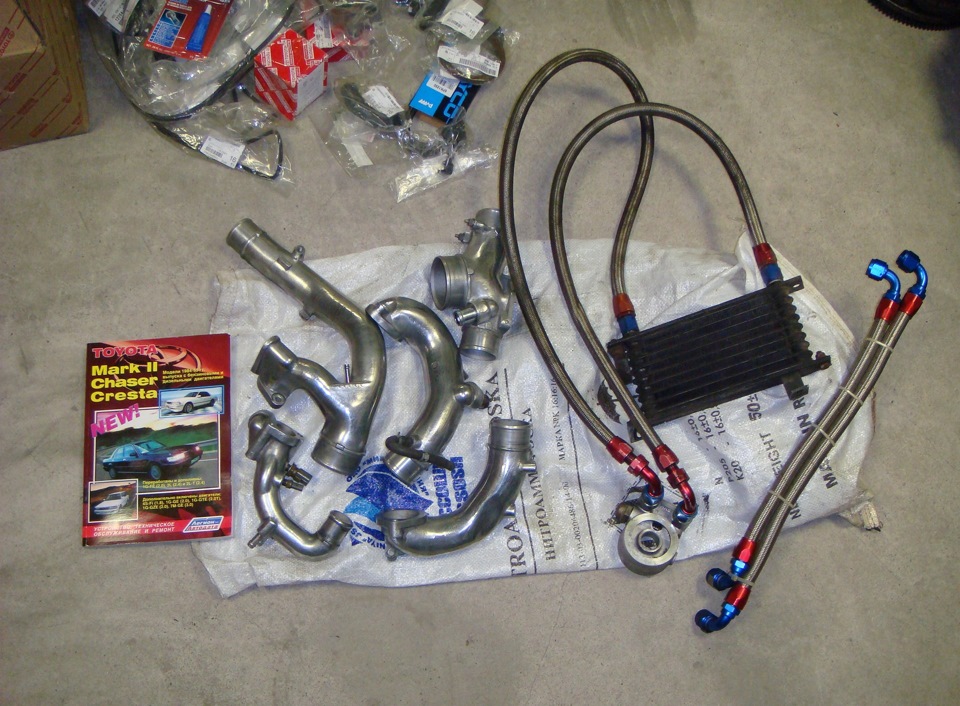
Вот остальные расходники, менял все, что вызывало сомнение, все затвердевшие шланчики, прокладки и т.д. Также прочистил и слегка полирнул патрубки компрессорной части турбин и тесть подогнал маслокулер Toyo с проставкой под масляный фильтр HKS и армированные шланги с фитингами. Проставка с термостатом!
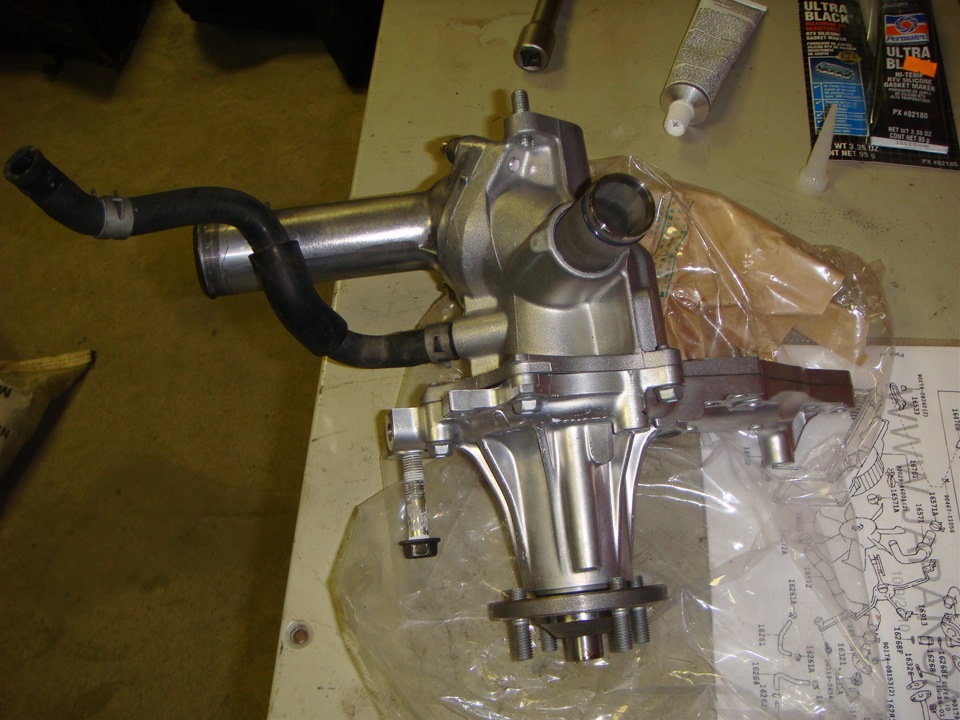
Собственно вот как отличается новая помпа от старой, она еще и намного легче) Помпу взял с мотора 1JZ-GTE VVTI. В новой помпе нет насоса гидропривода вентилятора охлаждения радиатора, от этого и конструкция проще и весит она легче и крыльчатка там стоит более продвинутая — металлическая против пластиковой в старой с более производительными лопостями, что улучшает охлаждение)
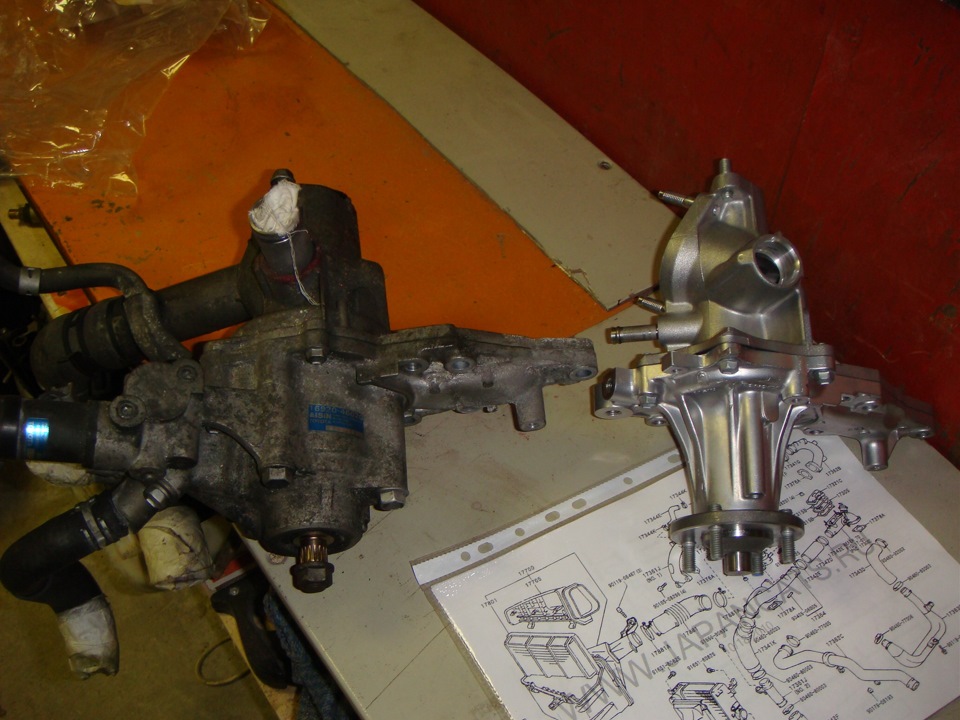
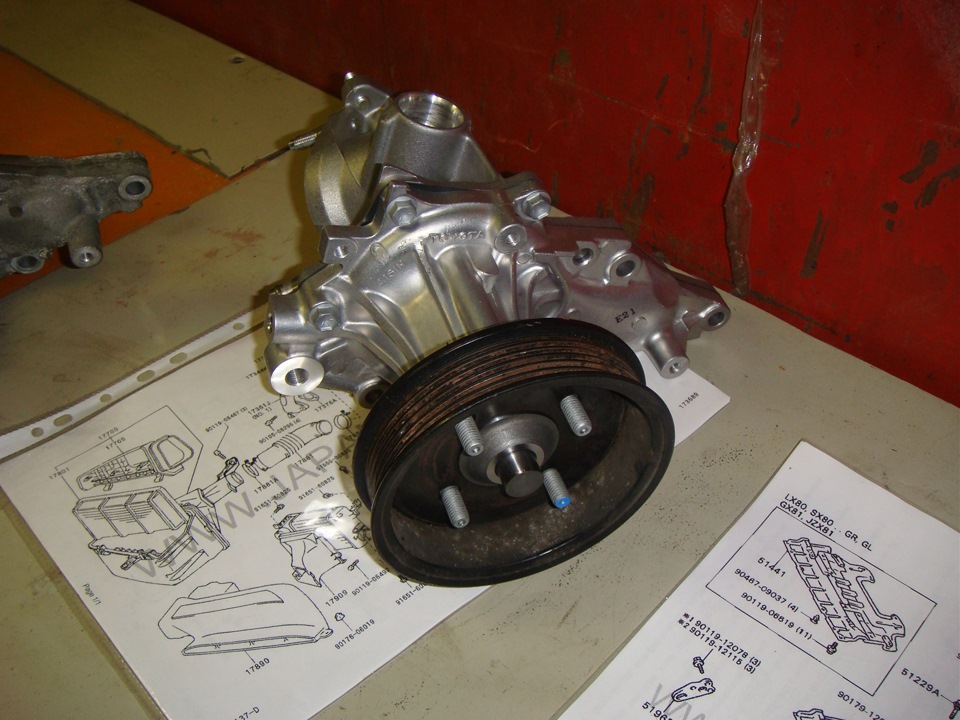
Отличие крыльчаток помпы
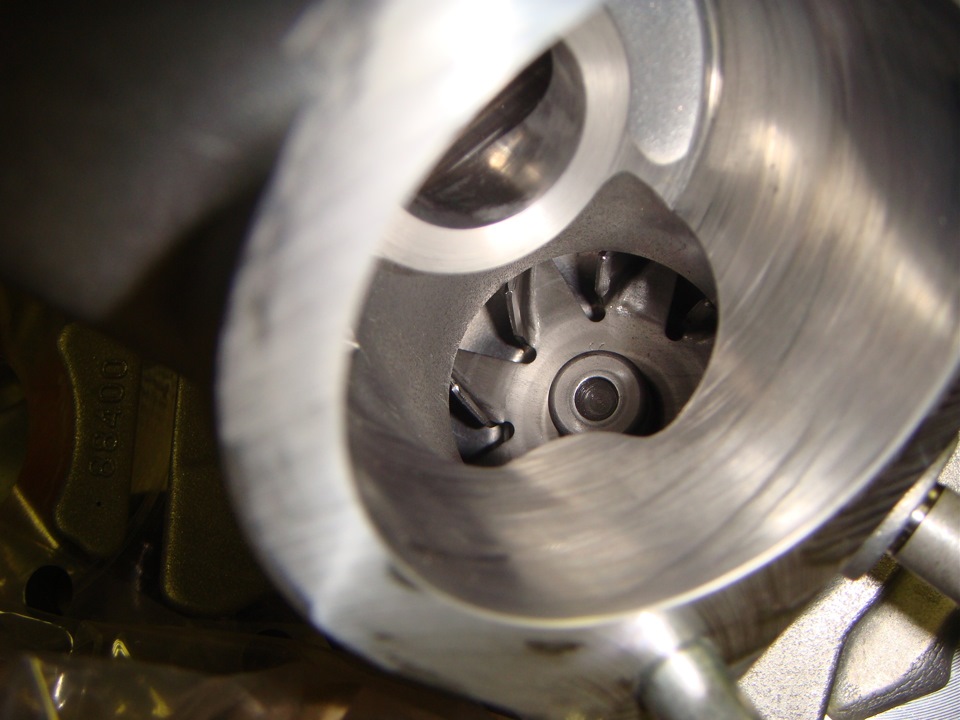
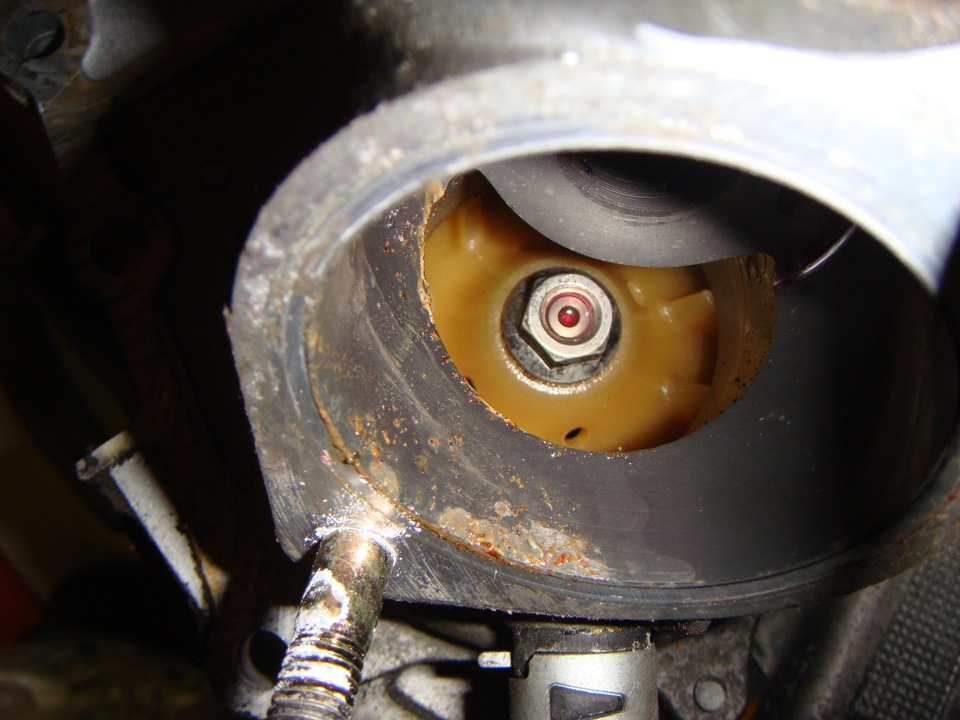
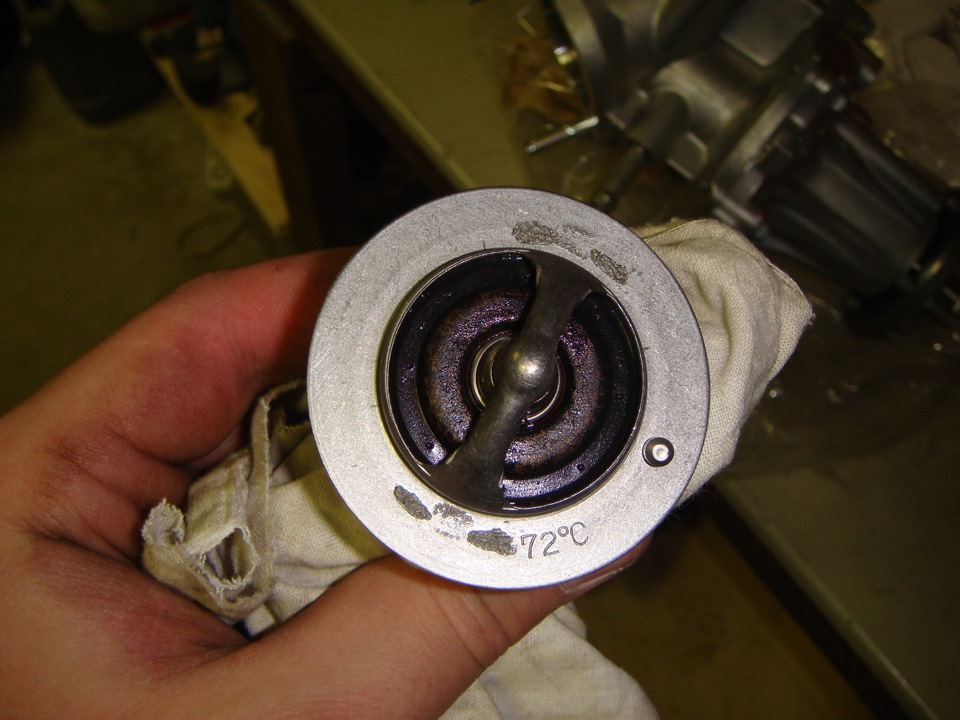
Очень много времени потратил на поиски нормального спортивного термостата с более ранним открытием клапана, но так ничего приличного и не нашел, либо придется ждать долго. Поэтому решил заморочиться этим вопросом ближе к весне, но тут вскрывая старую помпу обнаружио какой-то прогрессивный термостат на 72 градуса, чей он — не понятно, поскольку на нем ничего не написано, но вроде штатные термостаты на 80 или 82 градуса! Думаю его мне будет достаточно и вопрос о его замене пока отпал)) Все, что не делается — все к лучшему)
Ну собственно переставил все трубки со старой в новую помпу и поставил ее на законное место) Все встало как родное, не смотря на то, что мотор у меня 2jz, а помпа с мотора 1jz — Toyota forever!
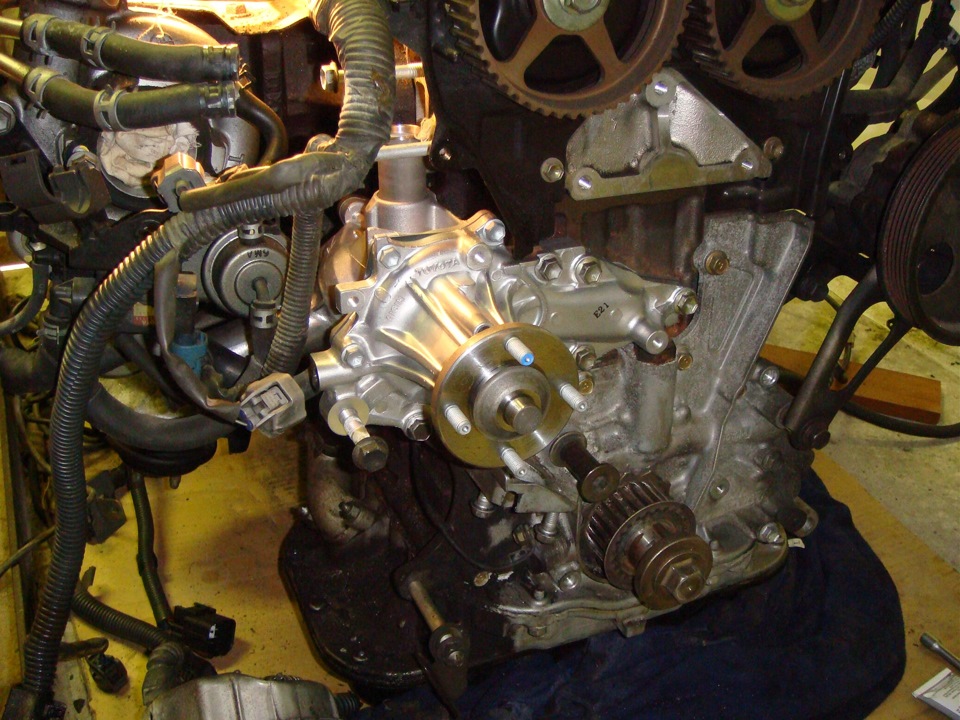
Подготовил к установке верхний патрубок помпы. Выкрутил штатный датчик температуры ОЖ и вкрутил новый Бош, который специально адаптирован для блока управления двигателем Autonic SM4.
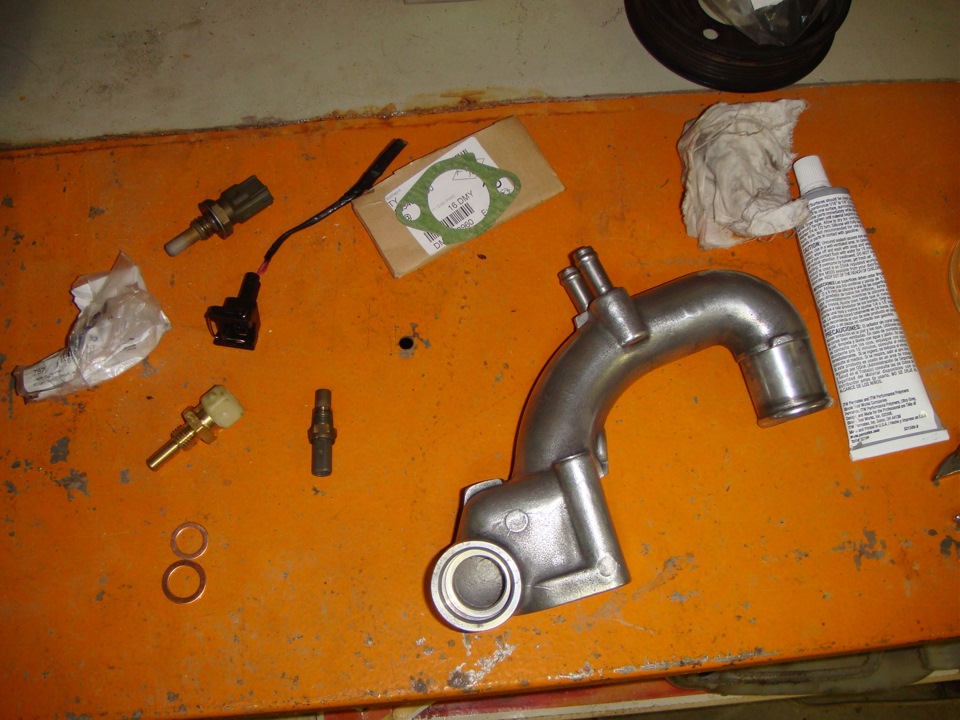
Дальше поставил патрубок на мотор и приступил к ГРМ. Совместил метки, одел ремень, ролик и натяжитель. ПРовернул коленвал на 360 градусов, проверил совпадение меток и уже потом выдернул чеку из натяжителя)
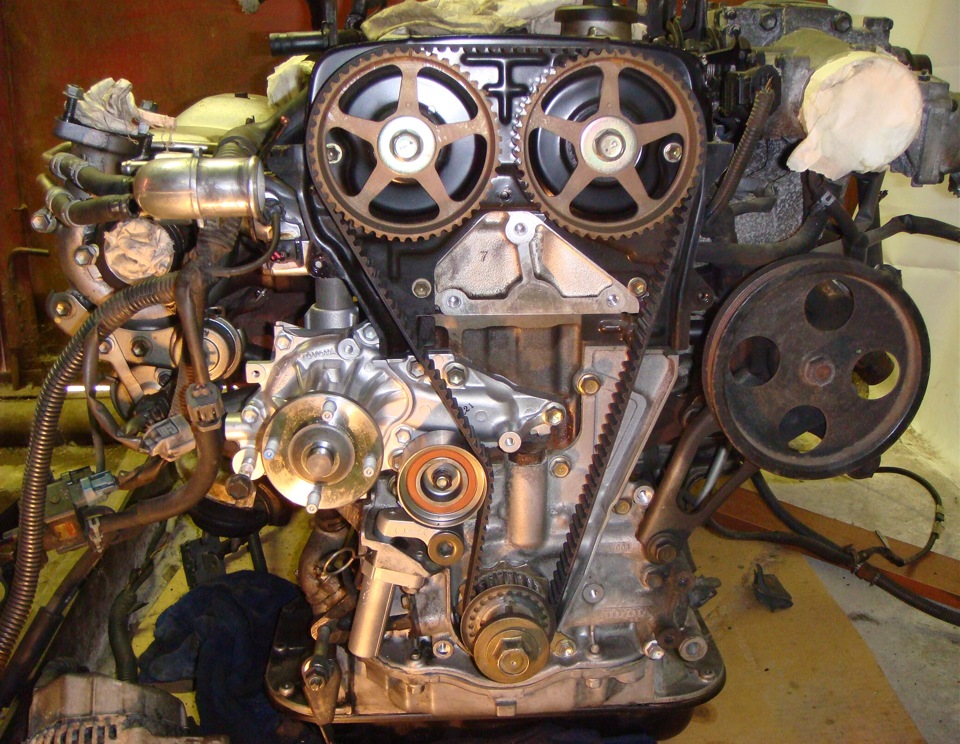
Дальше ставим крышки ГРМ и ролик-натяжитель ремня навесных агрегатов.
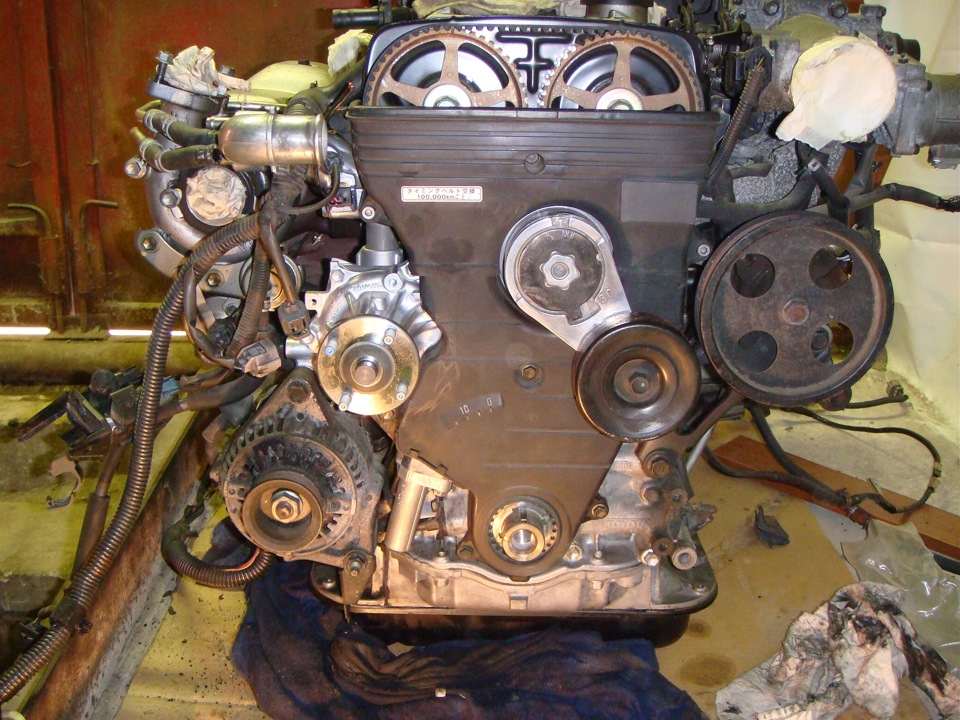
Прикручиваем шкив на помпу и одеваем новый, более короткий ремень)
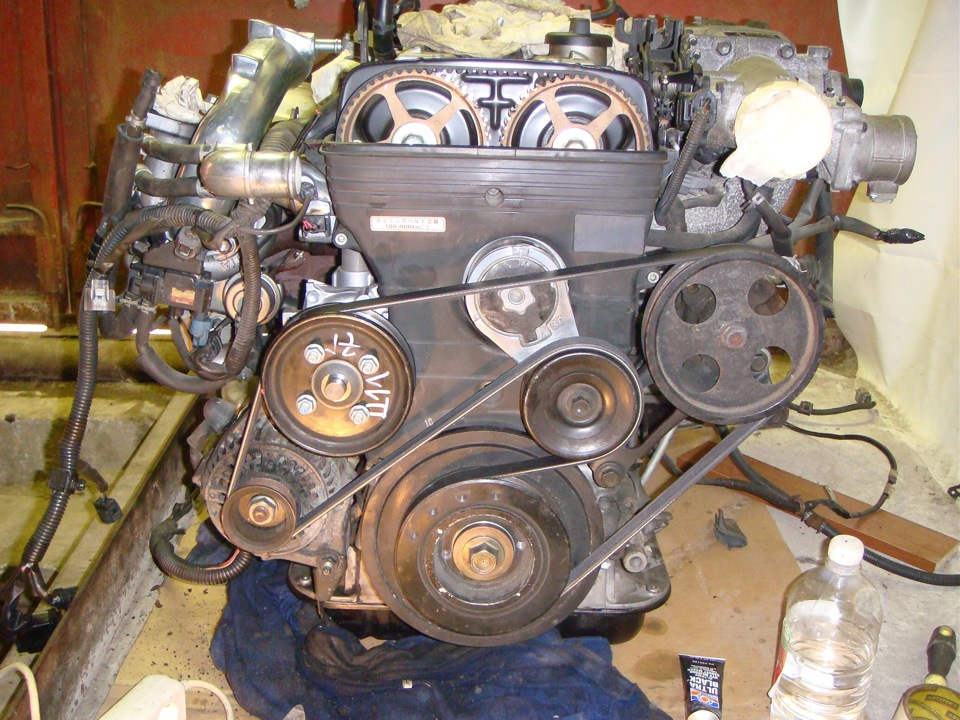
С передней частью закончили, теперь приступаем к установке патрубков.
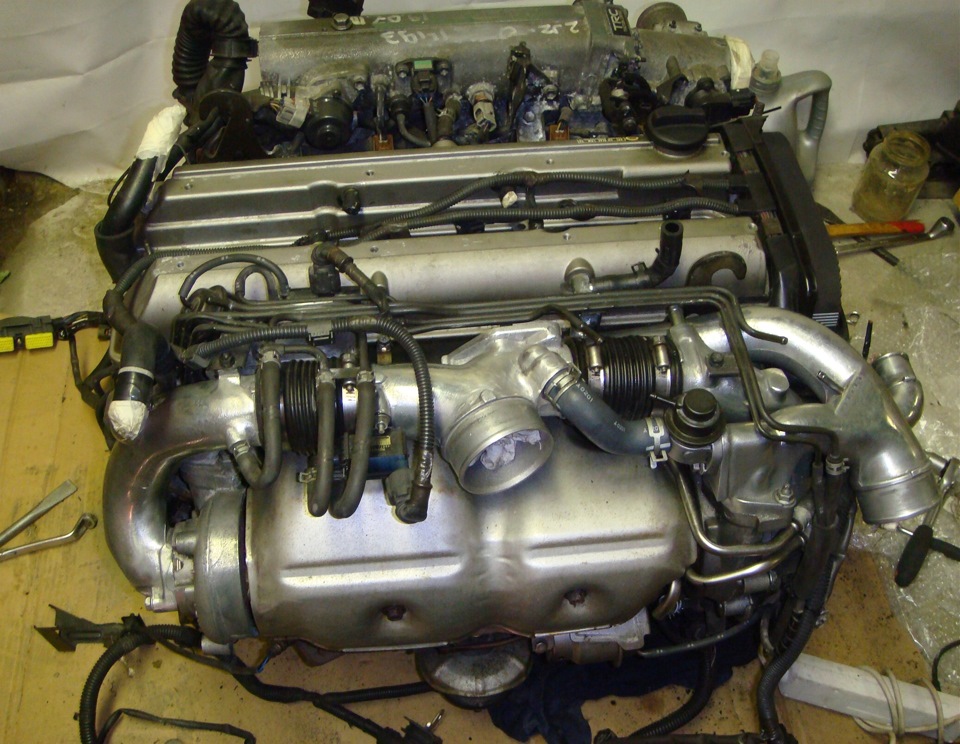
НУ вот пока все, что успел сделать. Чтобы оценить работу, посмотрите на впускной коллектор, который я пока не трогал и на полированные патрубки, которые до этого были такие же как и коллектор))
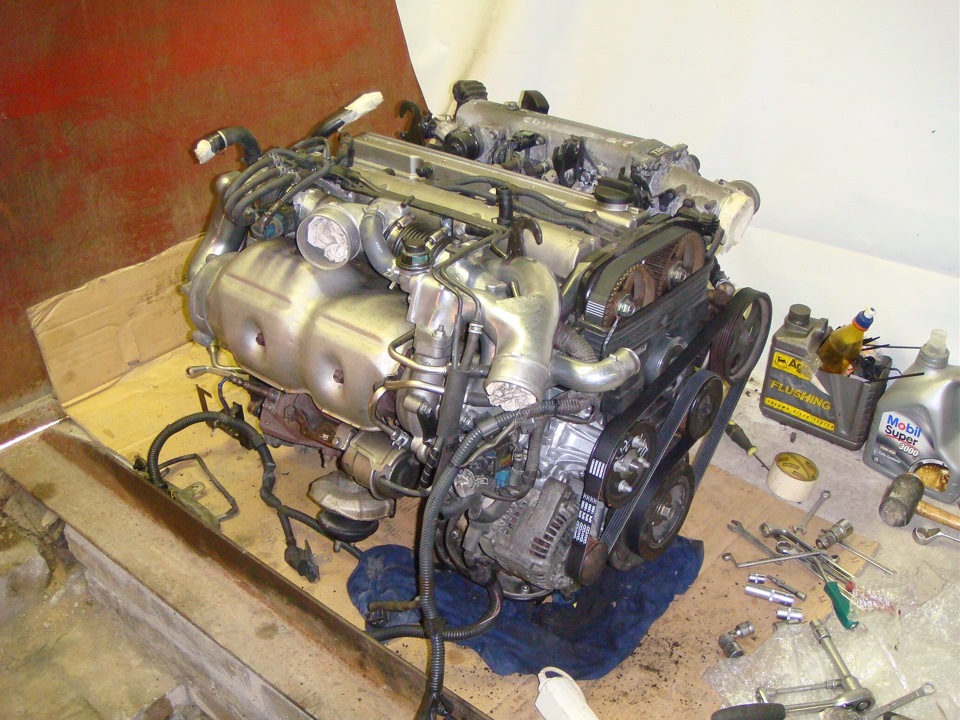
Продолжение следует)) Смотрите в следующих сериях: замена прокладок клапаных крышек, снятие, очистка и полировка впускного коллектора, удаление дополнительной дроссельной заслонки, замена заднего сальника коленвала и окончательная сборка мотора для свапа)
Спасибо за внимание, до новых встреч. Буду рад коментариям и пятакам)
Комментарии
Пока нет одобренных комментариев.