════════════Frequently Asked Question════════════
Автор: SelfMade
Источник: SelfMade
Основание: тема
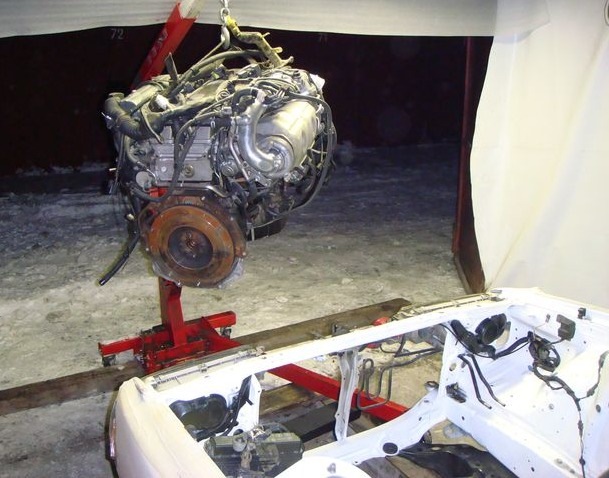
Вместо того, чтобы как все нормальные люди отдыхать и пить водку, мы с тестем 5, 6, 7 и 8 Января провели в гараже и местами в сервисе) Я понимал, что пока праздники (поскольку я и тесть не пьем), то надо провернуть как можно больше с машиной, потому что когда начнется рабочая неделя, то опять ни на что не будет времени! Итак мы заехали в сервис, взяли кран и выдвинулись в гараж. Сначала потратили кучу времени на расчистку ворот, потому что снега выпала тонна! Вдвоем перетащили мотор, весом в 260 кг из одного конца гаража в другой, прикрутили подушки к балке и установили кран в рабочее положение. Потом подкатили машину, подняли и впихнули мотор под капот. Перед этим мы сняли размеры для опорных пластин кронштейнов крепления двигателя.
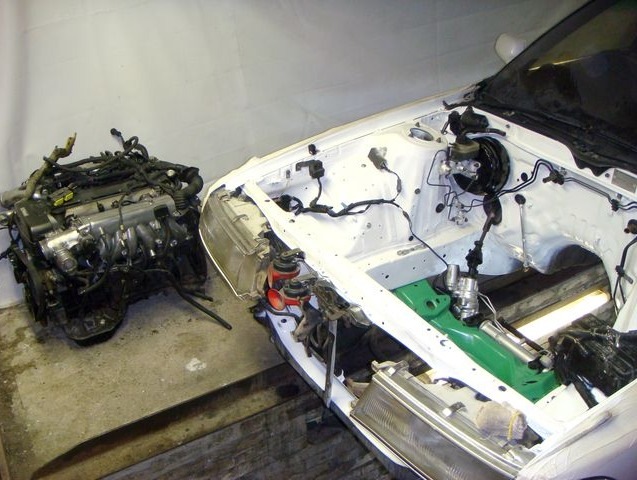
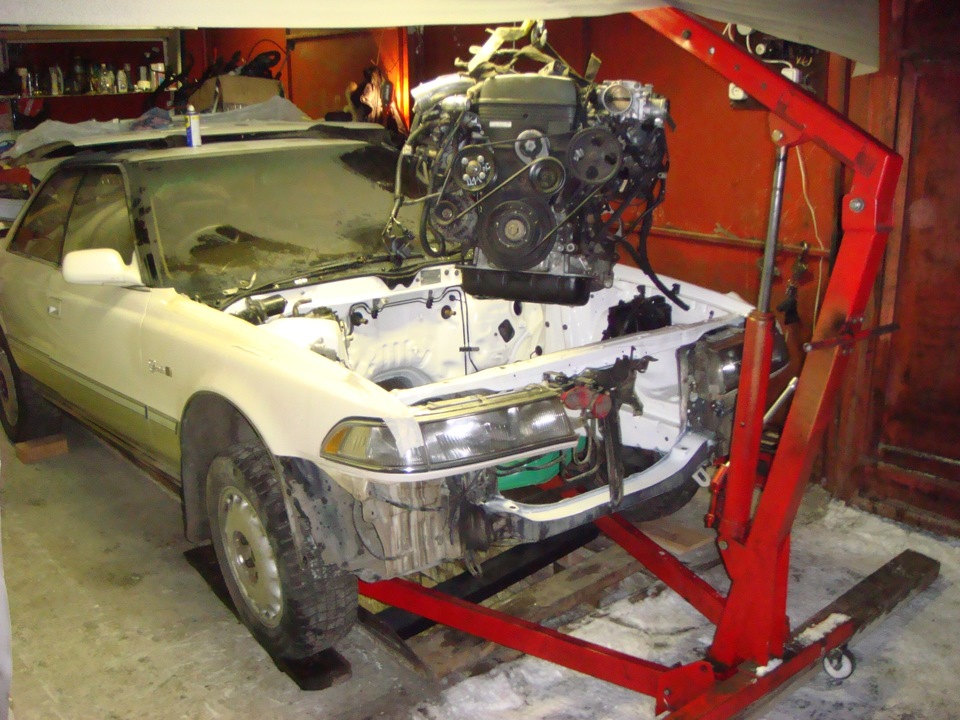
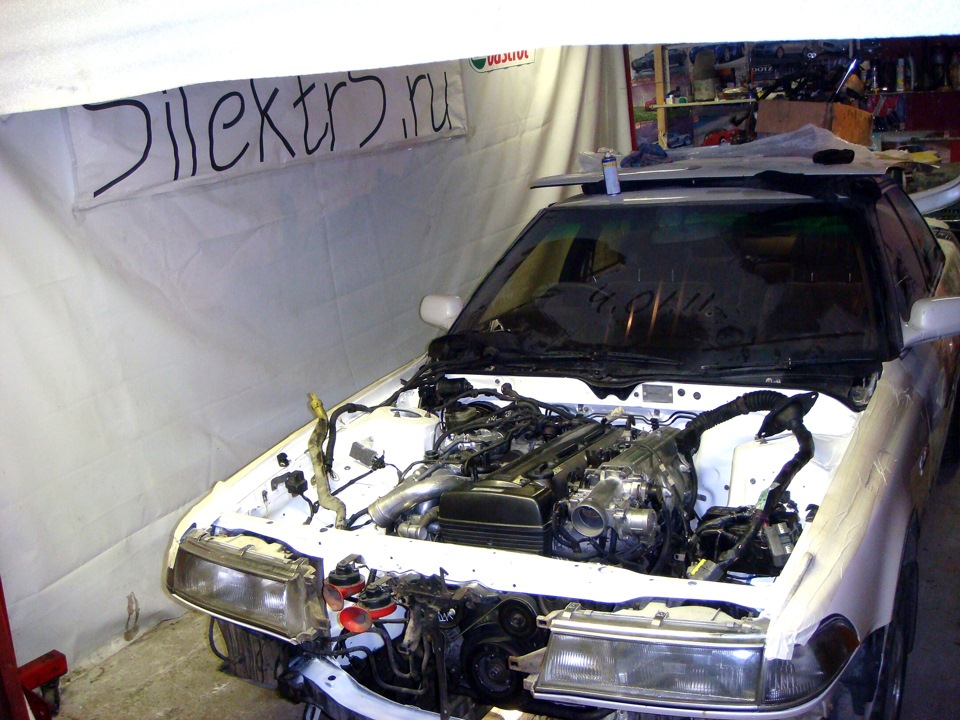
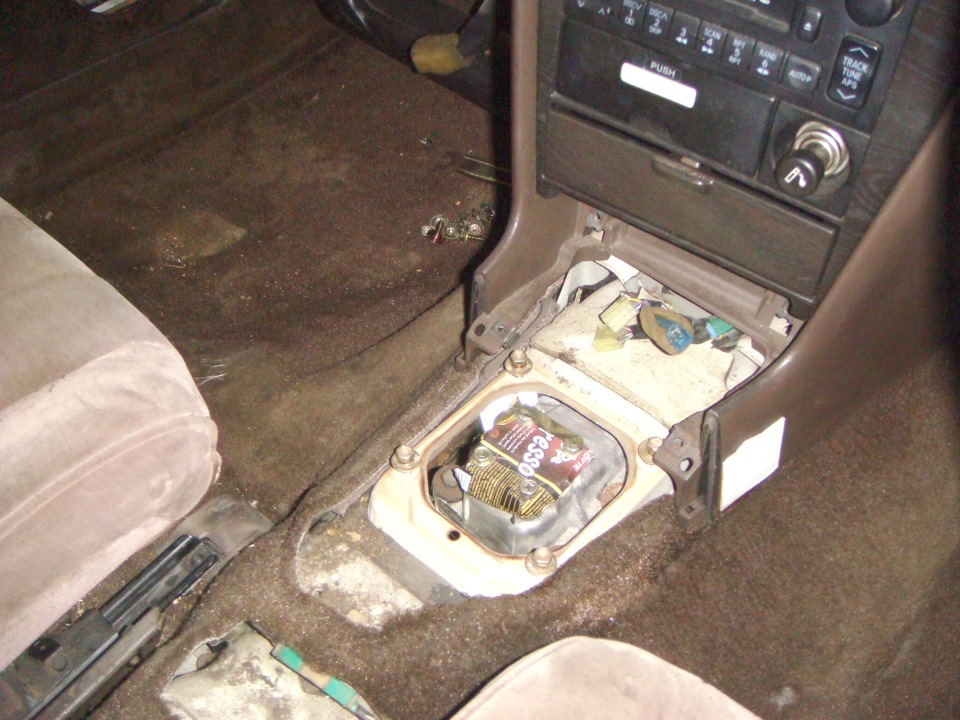
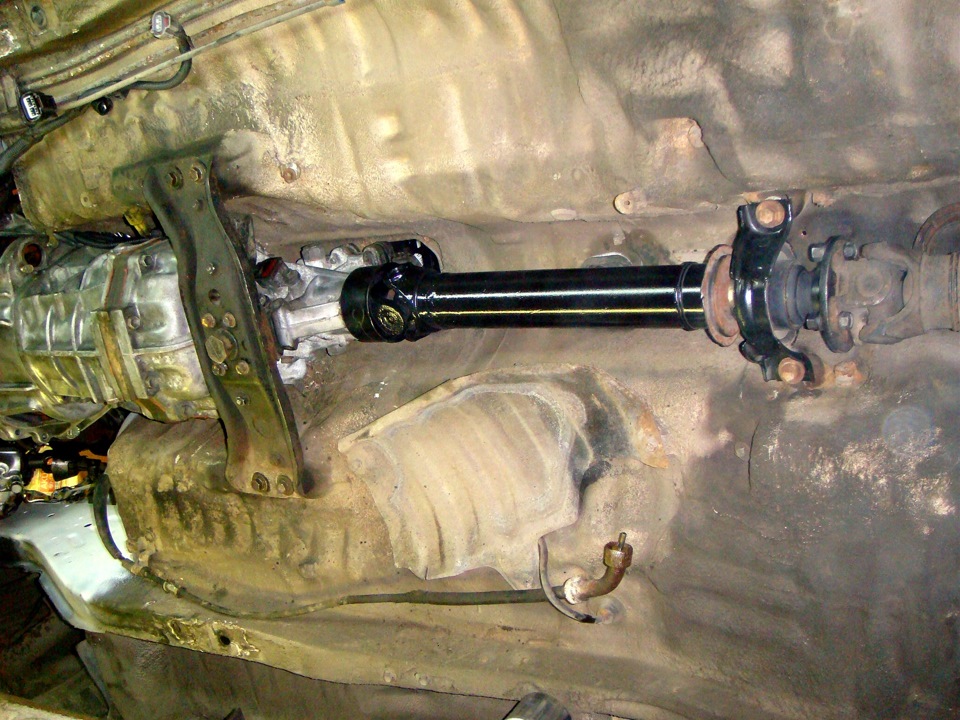
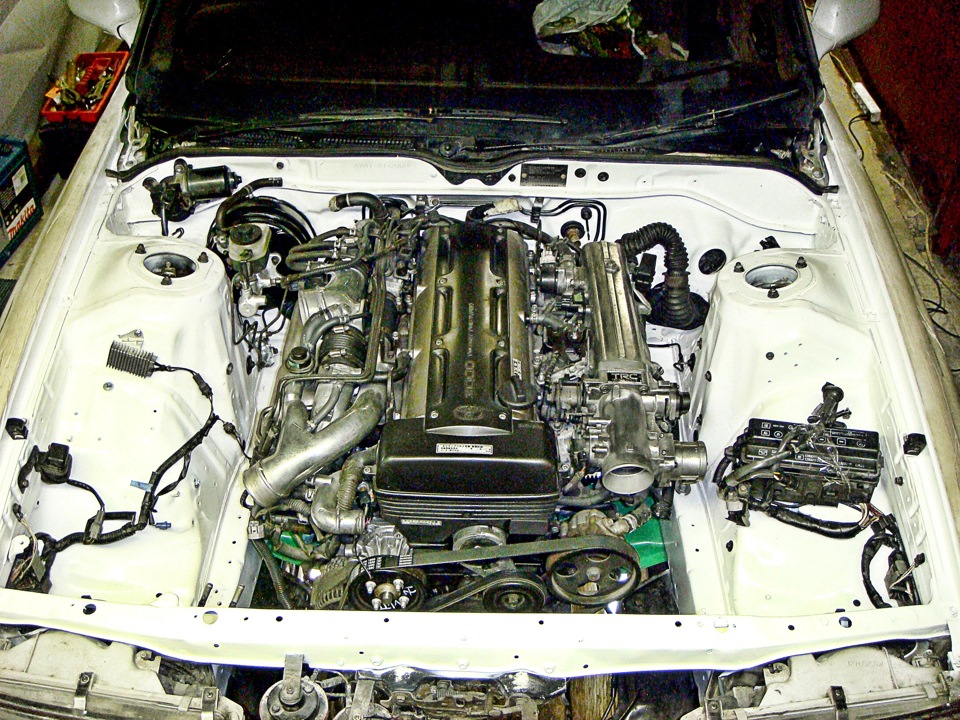
На следующий день изготовили нужные пластины и поехали снова в гараж. Задача стояла следующая — надо было четко выставить мотор и коробку, чтобы можно было изготовить опоры. Проблема в том, что коробка r154 никогда не стояла в 81 кузове и, соответственно тоннель не рассчитан под коробас такой толщины. Это нас не остановило и мы, взяв кувалду в руки начали реальный тюнинг по доработке тннеля))) Приходилось несколько раз снимать и ставить коробку, но в конце концов мы добились нужной глубины. Потом прикрутили коробку к мотору на пару болтов и начали пытаться выставлять весь этот узел на машине. Сначала решили разобраться с задней траверсой коробаса. Траверса, которую мне отдали от 70 Супры не подошла! Она уже! Потом я схватил траверсу от АКПП А340Е, которая стояла изначально на этом кузове и начал прикидывать ее. Подушки коробки вроде визуально одинаковые, но автоматная подушка не подходит, поэтому я сделал симбиоз из подушки от 70 Супры и траверсы от 340 коробки, в итоге подушки прикрутилась к траверсе как родная)) Потом начали сдвигать мотор максимально назад, чтобы улучшить развесовку машины и у нас получилось, что траверса прикручивается именно в родные места на кузове, как и в случае с 340 АКПП. Это порадовало и мы начали примерять кардан. Родной от автомата оказался коротковат, но у нас еще был от 30 Соарера, но он оказался слишком длинный и его пришлось укорачивать на 16 мм. Вроде кто-то говорил, что передняя часть кардана подходит как родная от 70 Супры, но за неимением сего, пришлось довольствоваться чем есть) Кулиса оказалась строго по центру отверстия в тоннеле, а мотор был максимально сдвинут назад. Потом начали выставлять непосредственно мотор. Тут есть на что обратить внимание. Его надо расположить максимально низко для понижения центра тяжести и улучшения управляемости, а также соблюсти необходимые зазоры. Тут проблема с вакуумным усилителем. В него пытается упереться холодная часть турбины. Также надо соблюсти зазор между балкой и поддоном, а также между шкивом коленвала и стабилизатором. Мотор надо соорентировать строго по центру!, а также строго вертикально. После долгих манипуляций и замеров нам всетаки удалось выставить правильно мотор и ничего рихтовать и пилить не пришлось!
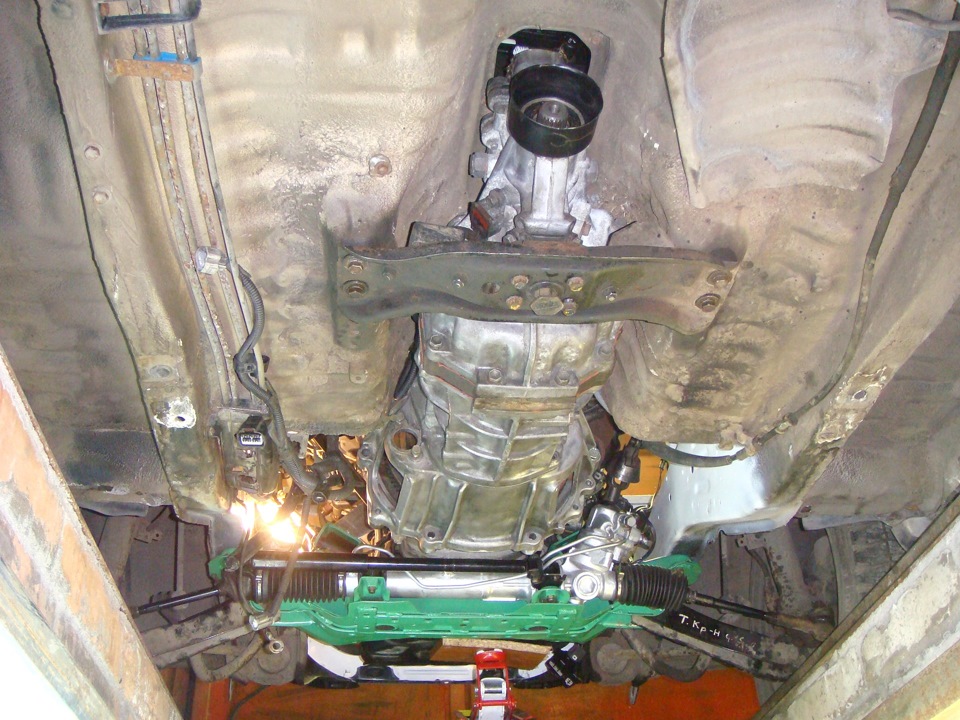
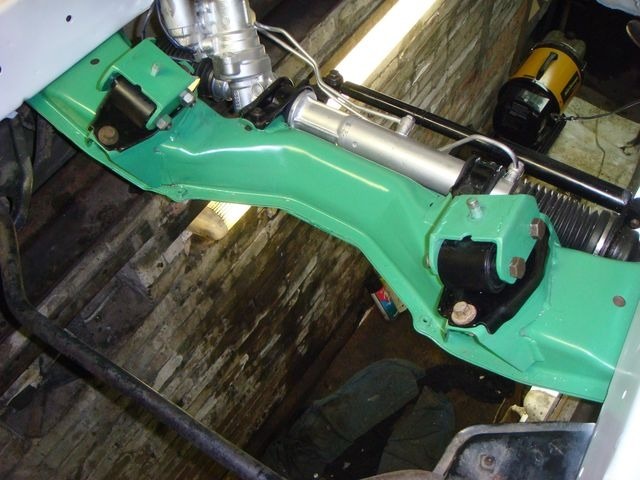
Следующий этап — это изготовление опор двигателя. Тут у нас возникли некоторые трудности в виде того, что в гараже конечно очень не удобно заниматься такими вещами и инструмент нужен хороший, а у нас была полуживая балгарка, которую в конце-концов спалили и еще удручало отсутствие сварки! Начали с того, что прикрутили изготовленные ранее пластины к блоку. Перед этим я снял радиатор масла и часть аутлета. Потом сделали опорные пластины, которые прикручиваются к подушкам. Сложность в том, что ось опирания подушки оказалась слишком смещена вперед относительно центра пластины на блоке и соответственно кронштейн получался очень сложным, а еще надо учесть то, что его надо прикрутить к блоку с помощью головки, которой надо как-то подлезть к болтам. Посмотрев на все это дело, я понял, что без сварки тут не обойтись и мы начали продумывать варианты. У тестя на работе есть сварочный аппарт, но он не подходил по вольтажу, поскольку сам на 380 вольт, а у нас в гараж дай боже 220 и то сеть слишком слабая! Потом он набрал одному своему другу жестянщику и у него по случаю оказался нужный нам аппарат, который он нам благополучно дал в пользование)) Мы его притащили в гараж, изготовили переходные пластины и начали пробовать прихватывать, но сеть не выдерживала и вышибало пробки, в итоге пришлось варить в полной темноте выключив все источники питания и с малым током, что опять усложняло сварку. Так мы долго промучались прихватывая и подгоняя пластыны, доробатывая и изгибая до нужной формы!
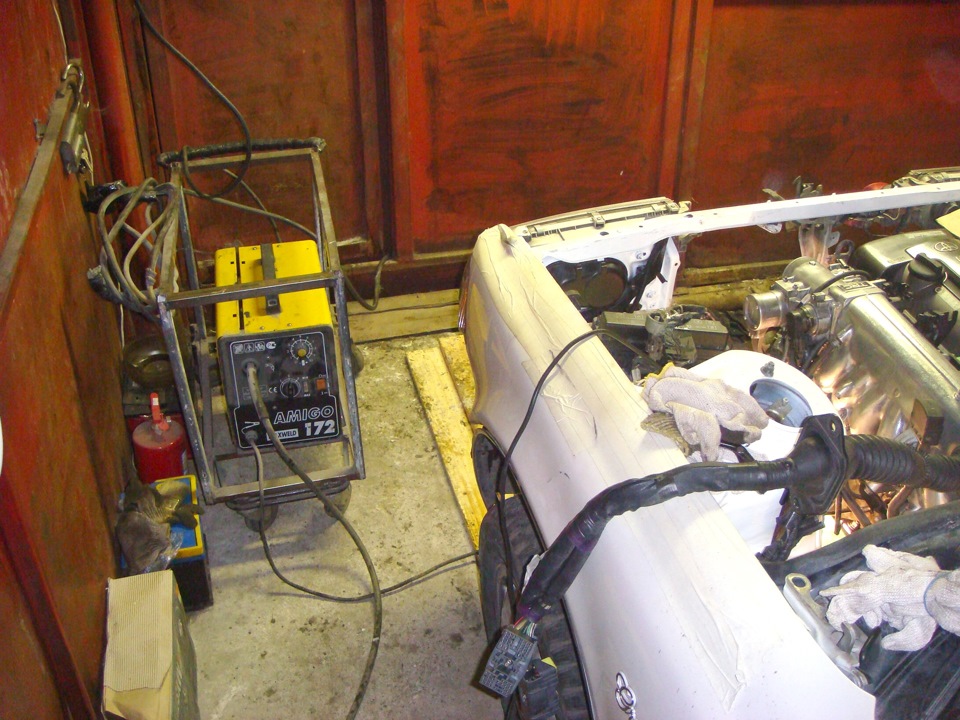
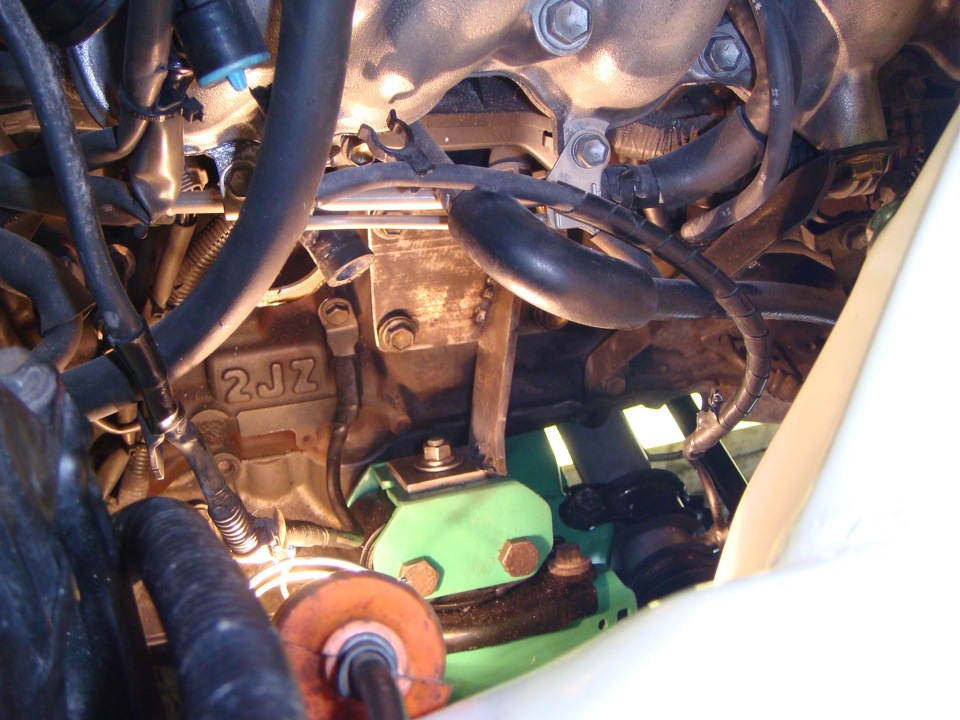
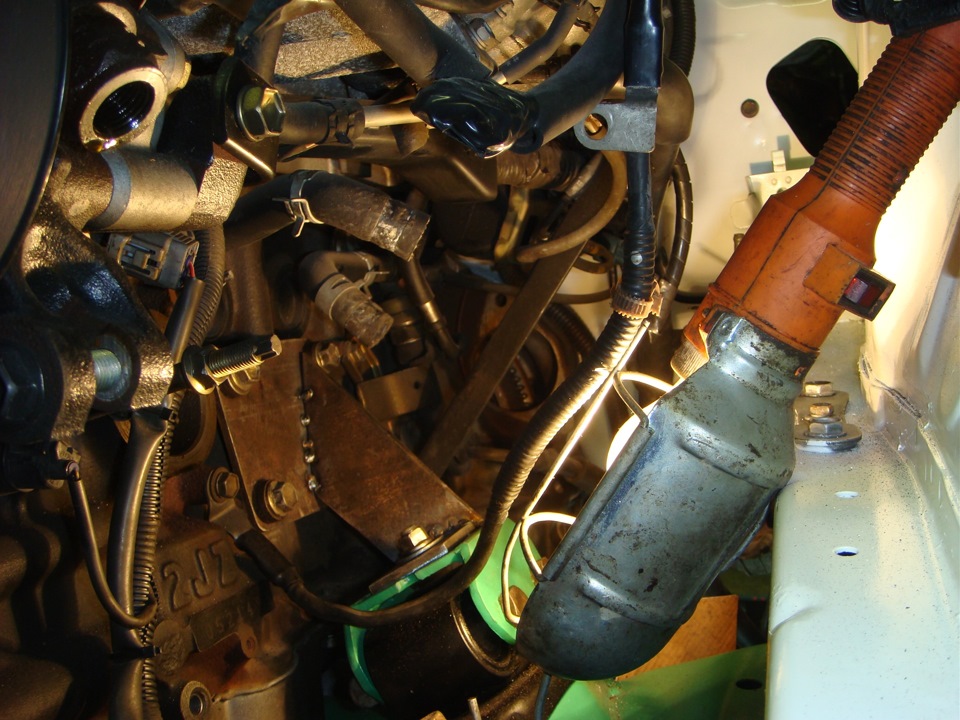
Вот такие вот опоры получились. К сожалению сварочник варил очень плохо и качество конечно не на высоте! Все это дело покрасил и поставил на свое место)
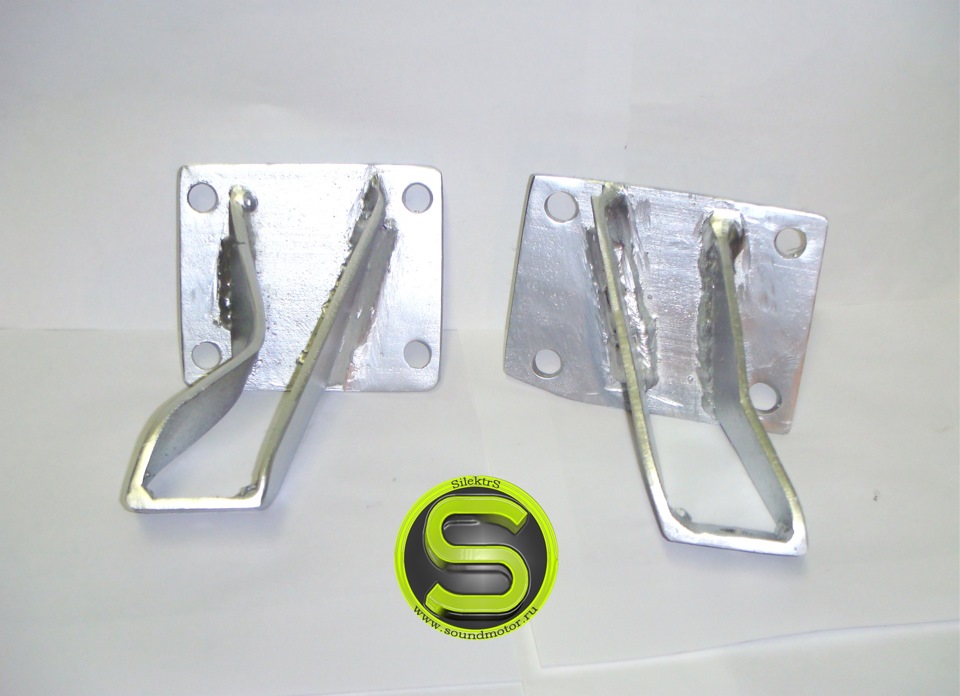
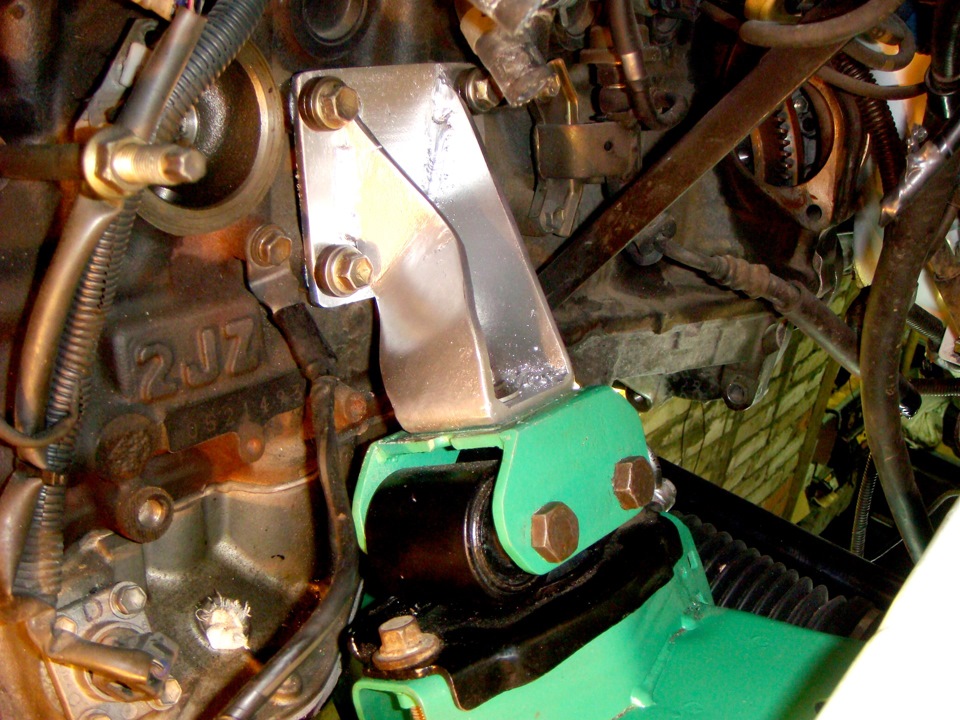
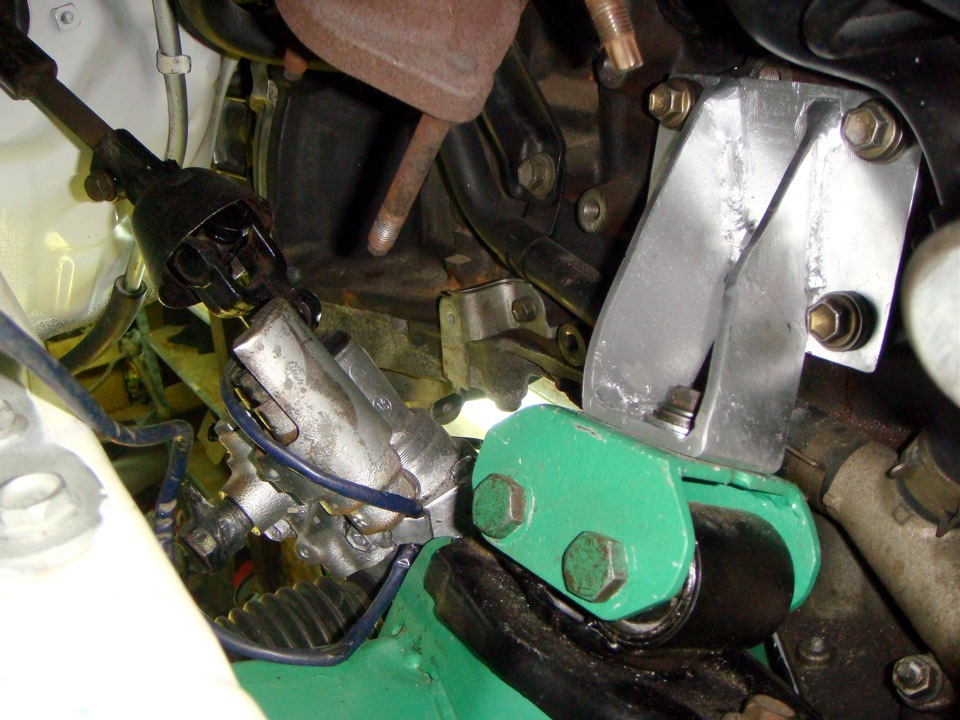
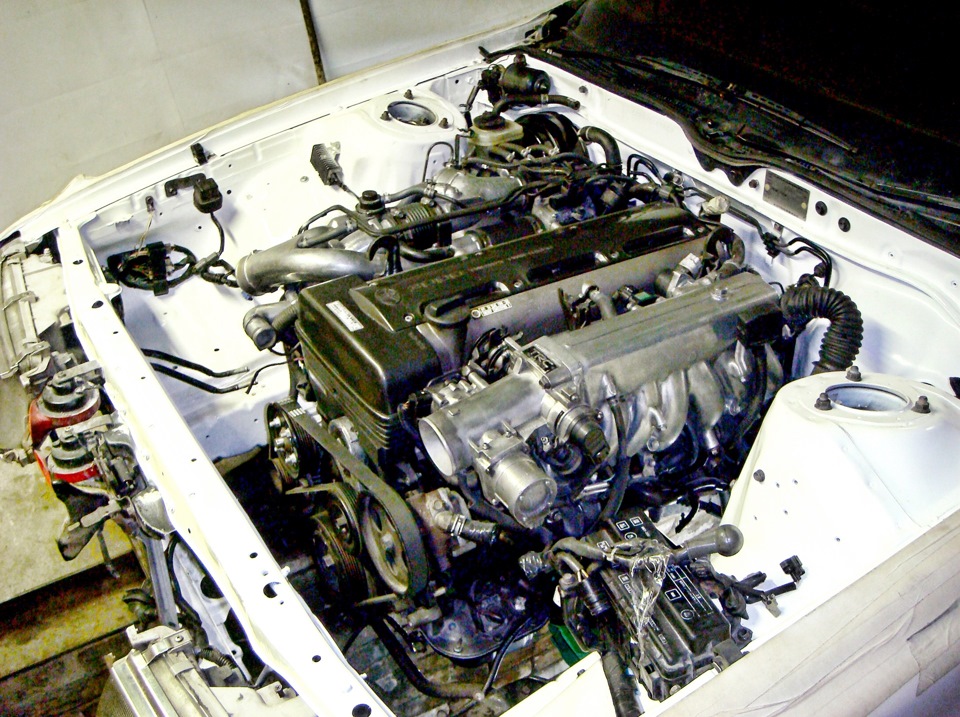
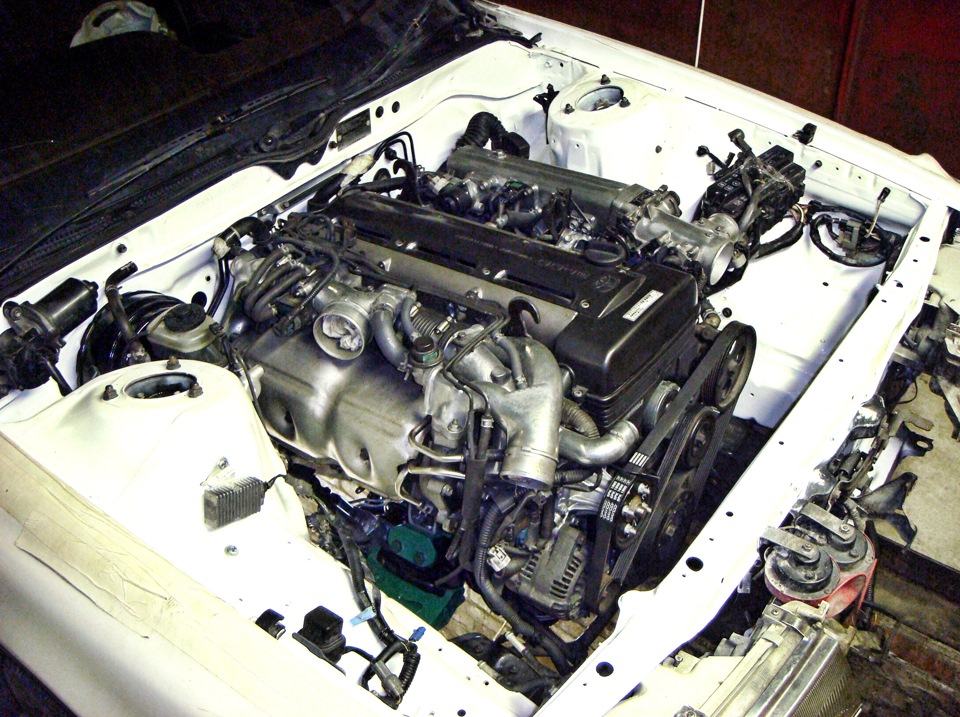
Также укоротили кардан и теперь он стоит как родной) Ну и заключительные фотографии Свапа. Основная часть сделана. Мотор и коробка стоят на своих местах, правда коробку еще придется снимать, поскольку не приехал диск сцепления, а без него я не могу собрать узел, также пока отсутствует стартер. Теперь надо работать над переферией. Электрика, Гур, охлаждение, интеркулер и т.д. И готовить мотор к запуску! Ожидайте следующих серий и ждите обновлений)) И конечно огромное спасибо моему тестю за непосильную помощь в этом деле!
Комментарии
Пока нет одобренных комментариев.